
Introduction
Before we begin talking about how to back up Ubuntu System via grsync, let's briefly understand – What is grsync?
A grsync is a graphical user interface (GUI) for the rsync command-line tool. It provides an easier and more user-friendly way to perform file synchronization and backup tasks. Rsync is a powerful utility used to synchronize files and directories between different locations, but it is primarily a command-line tool that requires knowledge of specific command-line options and syntax.
It is a simple, open-source rsync-based tool that users may use on their Linux desktop to create system backups. It has the ability to back up files and directories without the use of complicated commands and was developed to simplify the complete backup system.
In this tutorial, you will back up Ubuntu System via grsync. We will also address a few FAQs on how to back up Ubuntu System via grsync.
How to Back Up Ubuntu System Via grsync
A cross-platform tool called grsync is already present in the Ubuntu source repository. Run the following command to install this tool from the repository:
sudo apt-get install grsync
When the installation procedure is complete, you can launch the utility using the command listed below, and the default user interface will appear as follows:
grsync
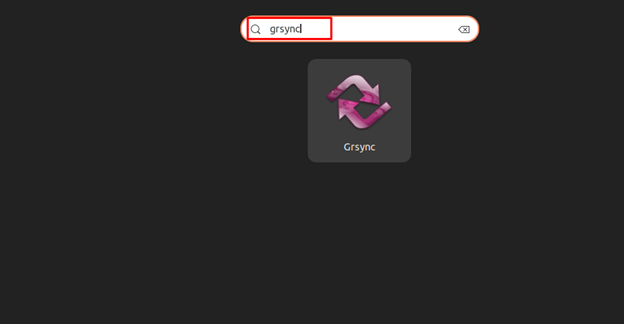
Additionally, you can start it from the GUI by looking for it in the application menu:
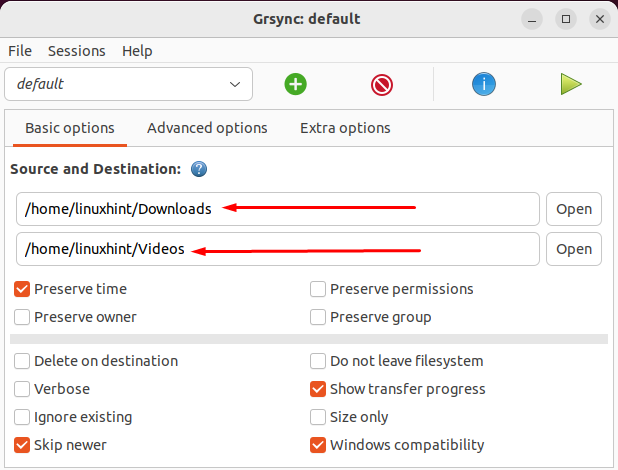
The Basic, Advanced, and Extra options are the available choices. All of these options are self-explanatory; information about them will be displayed on your screen when your cursor is over them.
You must specify the source and destination paths under the Basic options in order to back up the system. Here, I'm backing up the Downloads directory into Videos.
Note: Your Linux system allows you to select a destination from a connected hard drive or USB.
Select your backup from the available options under Advanced Options.
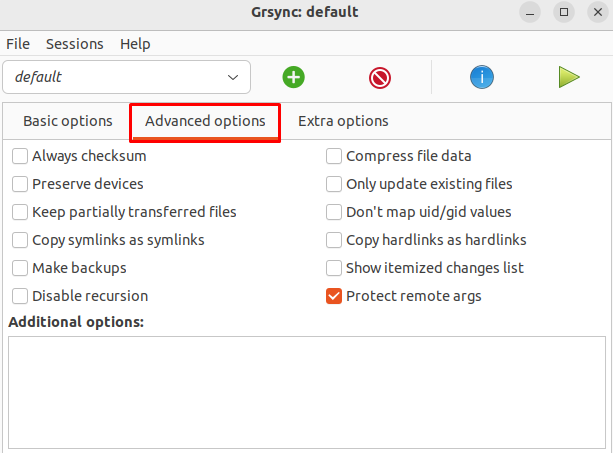
Note: Whichever option you choose is entirely up to you. You can disregard them and use the default option.
By selecting the Play option from the top menu, you may begin the backup procedure:

The "Completed successfully" message will show up on your screen when the procedure is finished:
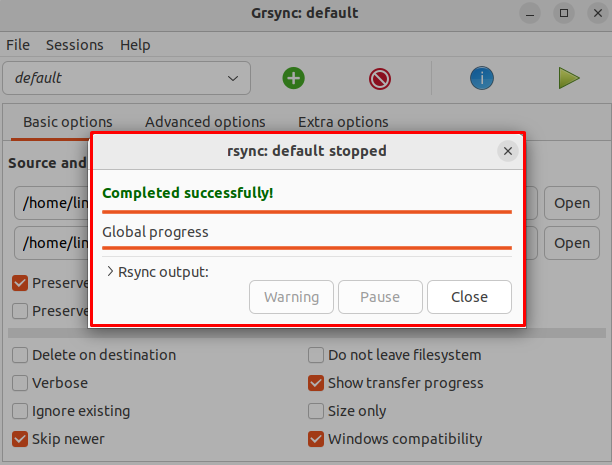
At this moment, the Ubuntu system has successfully completed the backup. By using the ls command, you can see the backup files in the Destination directory:
How to Remove grsync From Ubuntu
You can run the following command in your terminal to remove grsync from Ubuntu:
sudo apt-get remove grsync
FAQs to Back Up Ubuntu System Via grsync
Can I use grsync to back up my entire Ubuntu system?
No, grsync is primarily used for backing up individual files and directories. To back up the entire system, you may want to consider using other tools like Clonezilla or Timeshift.
Where should I store my grsync backups?
It is recommended to store your grsync backups on an external storage device such as an external hard drive, USB flash drive, or network attached storage (NAS) device.
How often should I backup my Ubuntu system using grsync?
The frequency of backups depends on your data's importance and how often it changes. As a general rule, it's a good practice to perform regular backups, such as daily, weekly, or monthly.
Can I schedule automatic backups with grsync?
No, grsync does not have built-in scheduling capabilities. You can use other tools like cron or systemd timers to schedule backups by running grsync with a predefined set of parameters.
Can I exclude specific files or directories from my grsync backup?
Yes, grsync allows you to exclude files or directories from the backup process. You can configure exclusions by clicking on the "Advanced Options" button in the grsync GUI and adding relevant exclusion patterns.
Does grsync compress my backups?
No, grsync does not perform compression. If you want to compress your backups, you can use utilities like tar or gzip before or after running grsync.
How can I restore files from my grsync backup?
To restore files from a grsync backup, open grsync, select the backup destination as the source, and the original location as the destination. Then click on the "Execute" button to initiate the restore process.
Conclusion
A front-end tool for rsync called grsync is used to back up personal directories and files. It is a robust backup application for the Ubuntu operating system that is easily installed using the apt command.
It offers a user-friendly interface for your Linux desktops and supports the most of rsync's key features. To begin the backup process, all you have to do is choose the source and destination directories, and then press the Play button.
If you have any queries or doubts, please leave them in the comment below. We'll be happy to address them.