

Introduction
Before we begin talking about how to download and install RHEL 9.4 for Free, let's briefly understand – What is RHEL?
RHEL, or Red Hat Enterprise Linux, is a popular operating system that provides a stable and secure foundation for business applications. It offers a reliable and scalable platform for managing critical workloads, ensuring high availability and performance.
RHEL is known for its robust security measures, including mandatory access controls and strong encryption. With long-term support and a vast ecosystem of software, RHEL empowers organizations to build and deploy applications with confidence, helping them stay ahead in today's competitive landscape.
In this tutorial, you will download and install RHEL 9.4. We will also address a few FAQs on how to download and install RHEL 9.4.
Advantages of RHEL 9.4
- Stability: RHEL 9.4 provides a dependable and consistent platform for running critical workloads, ensuring uninterrupted operations.
- Security: With state-of-the-art security features and rigorous testing, RHEL 9.4 keeps your data and applications safe from threats.
- Scalability: RHEL 9.4 allows effortless scaling to accommodate growing business needs, ensuring your infrastructure can handle increasing demands.
- Support: Red Hat offers extensive technical support for RHEL 9.4, helping you address any issues and minimize downtime.
- Ecosystem: RHEL 9.4 benefits from a vast ecosystem of compatible software, providing a wide range of tools and applications for your business.
Download RHEL 9.4 for Free
For individual developers who wish to take advantage of all the features offered by Red Hat Enterprise Linux, the Red Hat Developer Subscription is a free offering of the Red Hat Developer program.
It provides developers with access to all Red Hat Enterprise Linux versions as well as other Red Hat products including software updates, add-ons, and security errata.
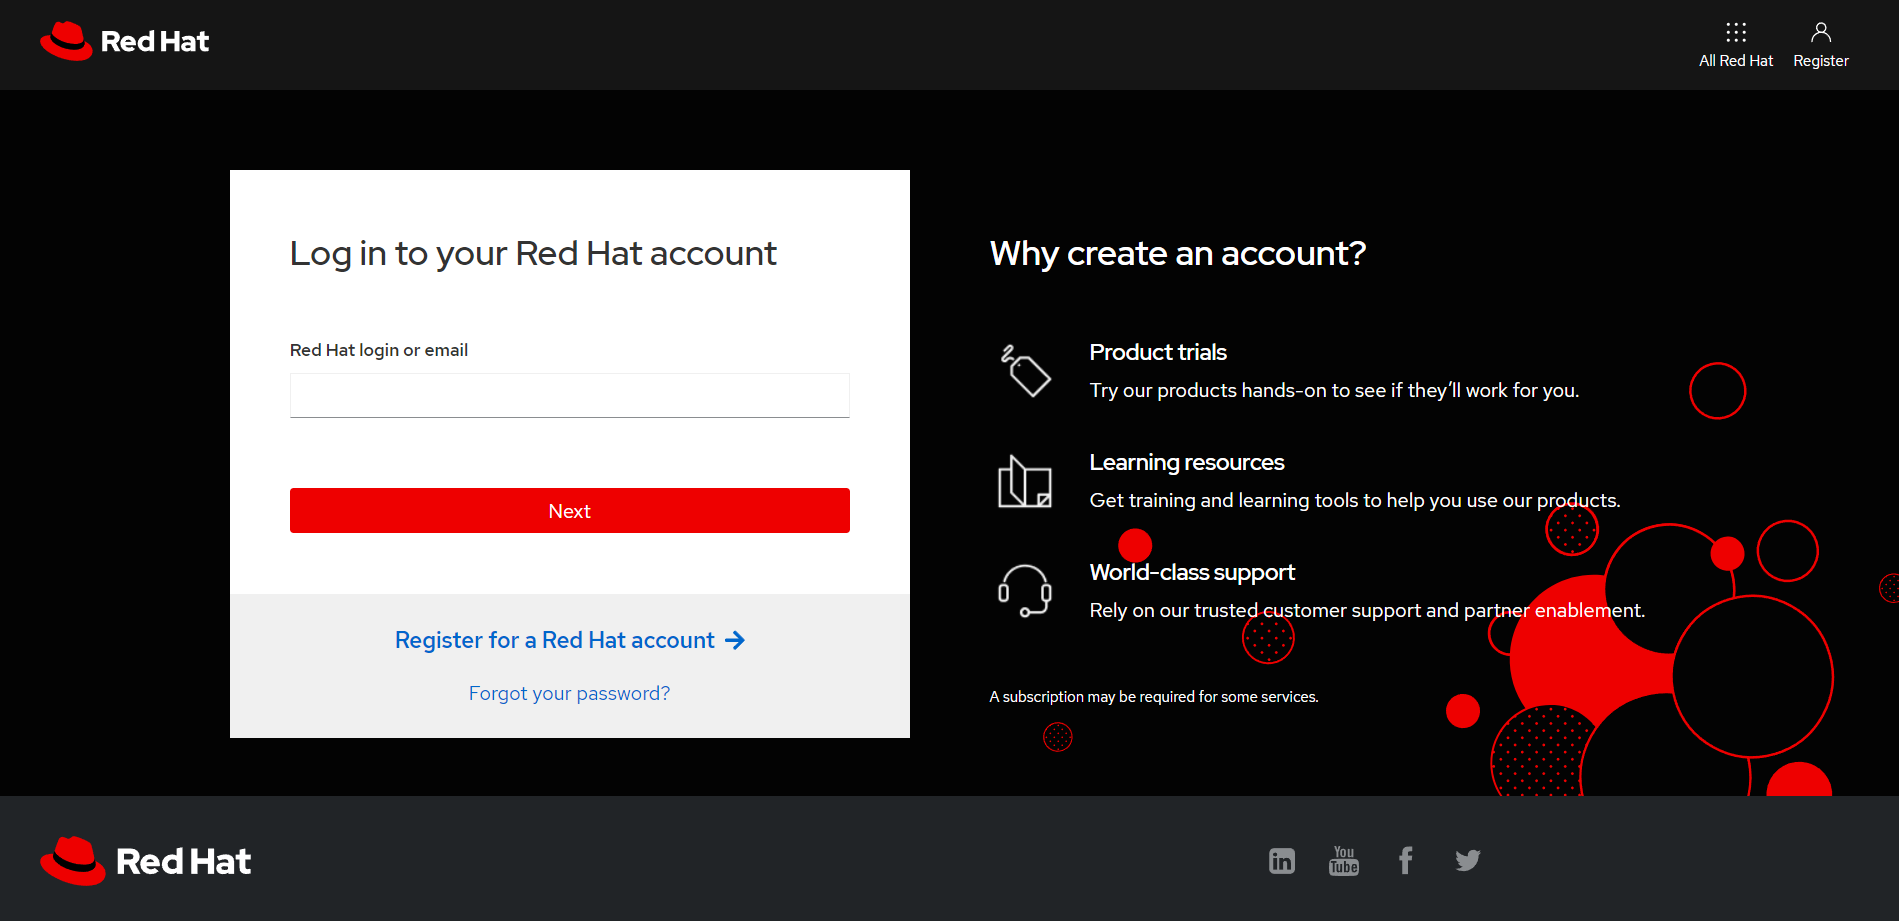
Make sure your Red Hat account is active before proceeding. To create a Red Hat account if you don't already have one, go to the Red Hat Customer Portal, click the "Register" button, and enter your information.
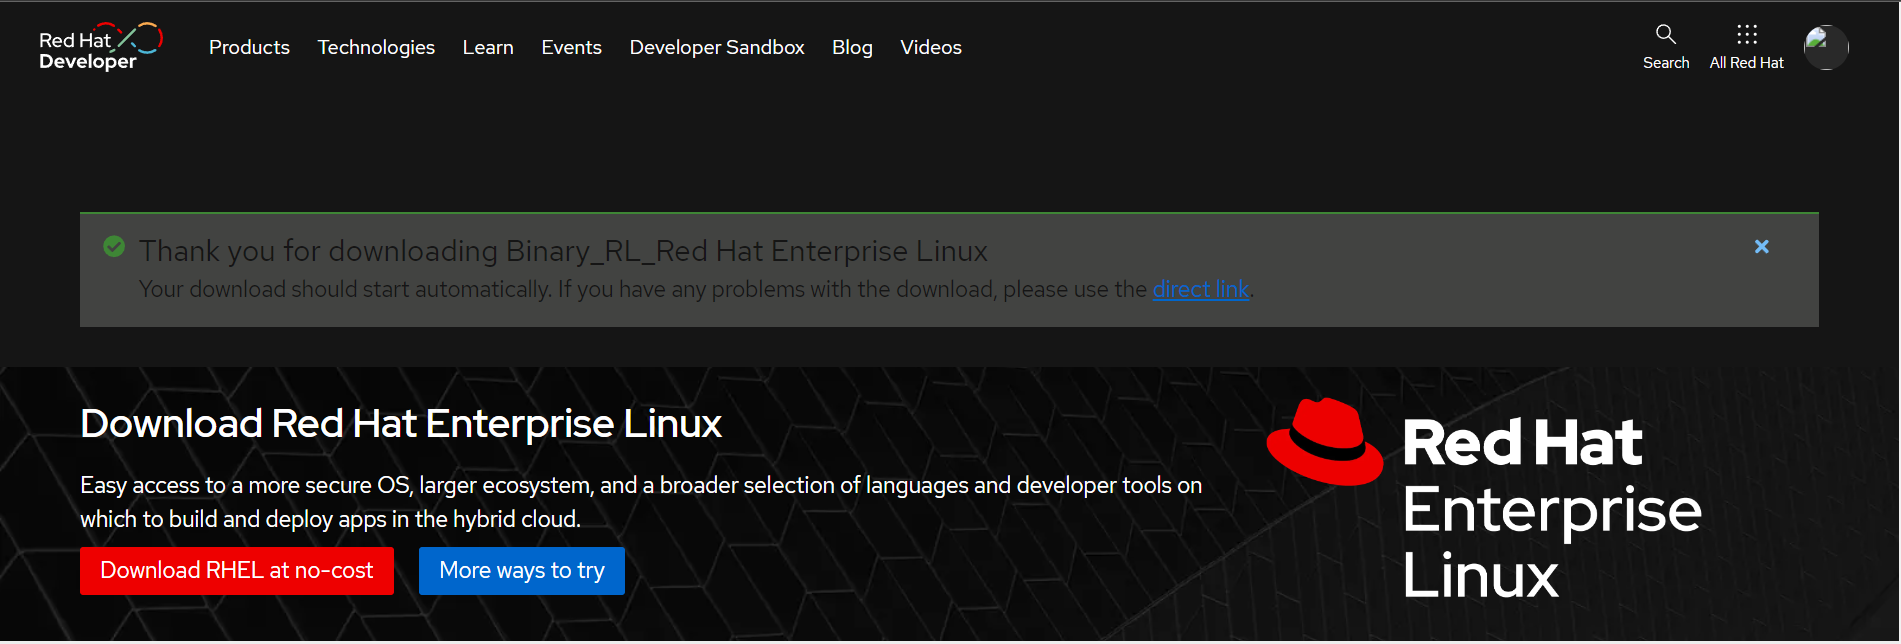
You are ready to begin downloading RHEL 9.4 after creating a Red Hat account. Visit the Red Hat Developer Portal, log in using your account details, and download Red Hat Enterprise Linux 9.4 for free.
After that, go to the RHEL 9.4 download page and select it by clicking the button below.

The RHEL 9.4 ISO image download will start shortly after. A confirmation message stating that the RHEL 9 download is in progress should appear.
The ISO image has a download size of roughly 1GB. For a quicker download, make sure you have a high-speed internet connection.
How to Install RHEL 9.4 for Free
With the ISO image downloaded, grab a 16 GB USB drive and create a bootable USB drive using application such as UnetBootIn or dd command to make it bootable.
Having your bootable medium ready, insert it into the computer you want to install RHEL 9.4 on, then restart it. To ensure that the machine boots into the bootable medium first, don't forget to set the BIOS to prioritize that boot order.
Make sure you have a fast internet connection as well, as it will be helpful for the installation.
Step 1: Start RHEL 9 Installation
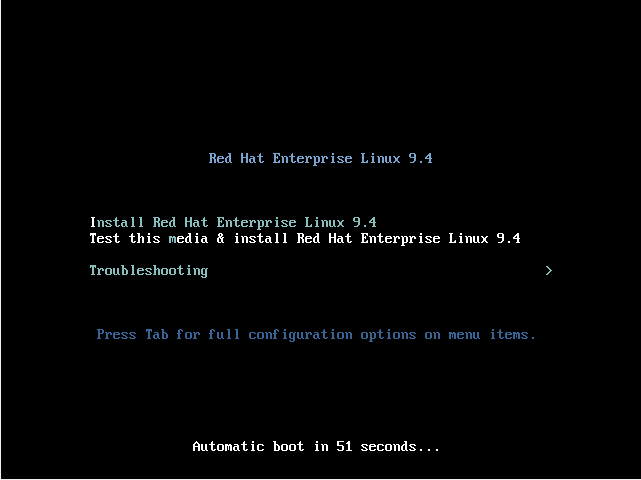
You will get a blank screen with the following options when the machine reboots. Press ENTER on the first choice, "Install Red Hat Enterprise Linux 9.4", to start the installation.
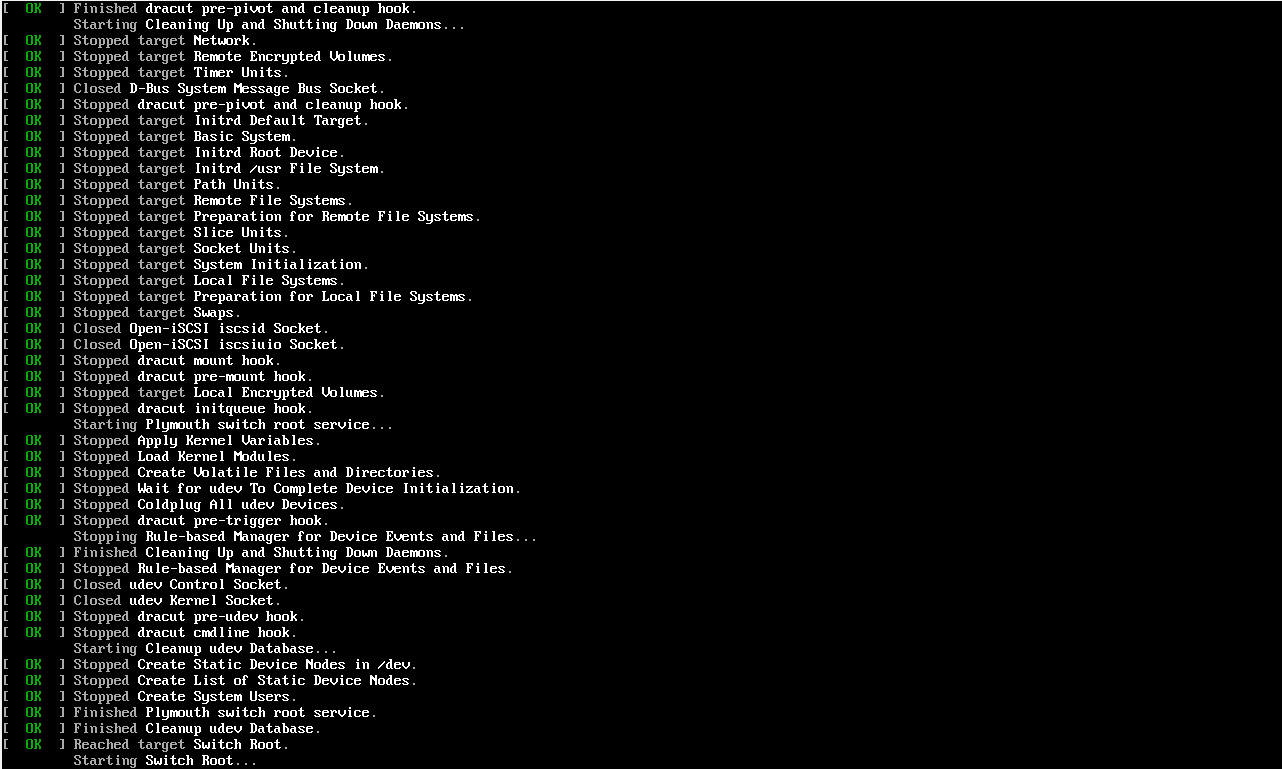
The following boot messages will appear on the screen shortly after. Just wait patiently as the installer prepares to install RHEL; no action is needed.
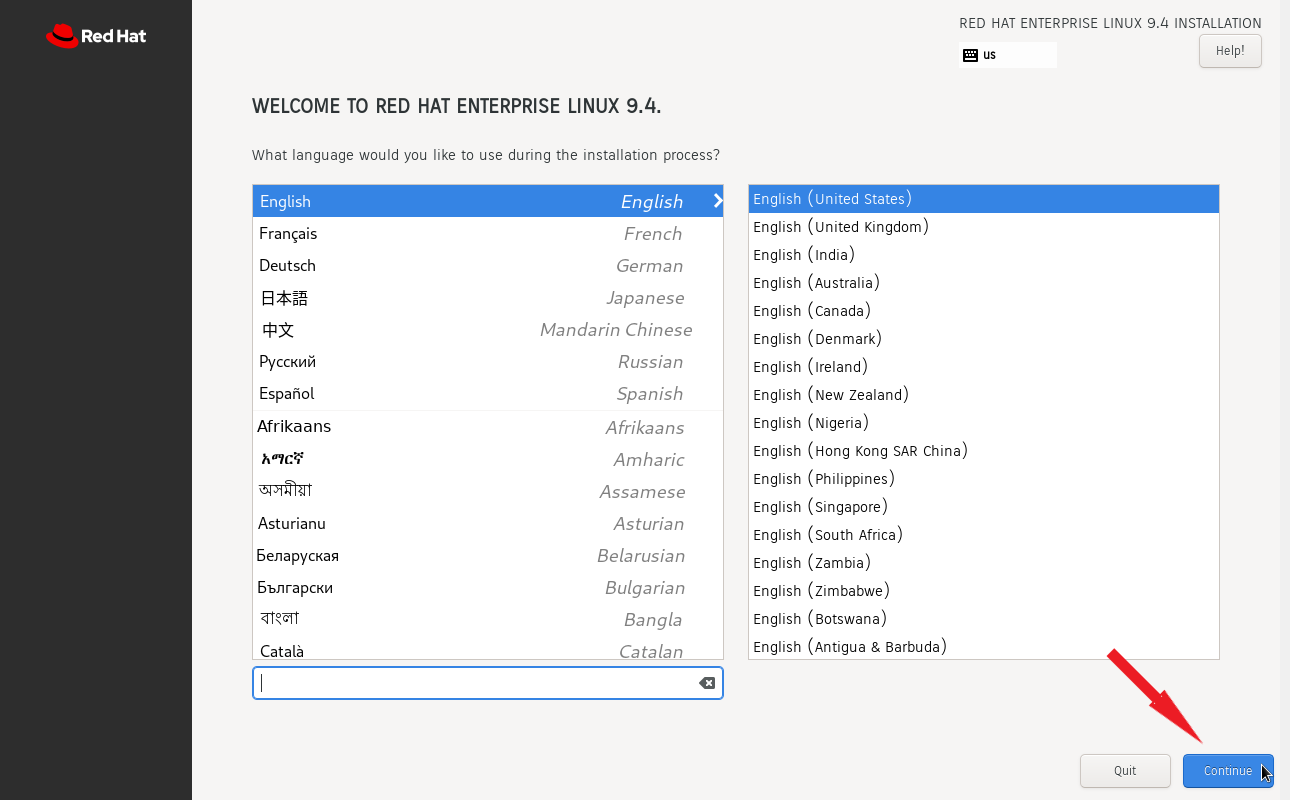
The graphical installation wizard for Red Hat Enterprise Linux 9.4 appeared after a short while. Choose your favorite language in the first step and click "Continue".
Step 2: Configure Partitioning
In the following step, you will see an installation summary divided into four sections:
- LOCALIZATION
- SOFTWARE
- SYSTEM
- USER SETTINGS
We will only be concentrating on the Installation Destination, Root Account, and Regular Account creation, as these are the only three requirements that must be met before starting the installation.
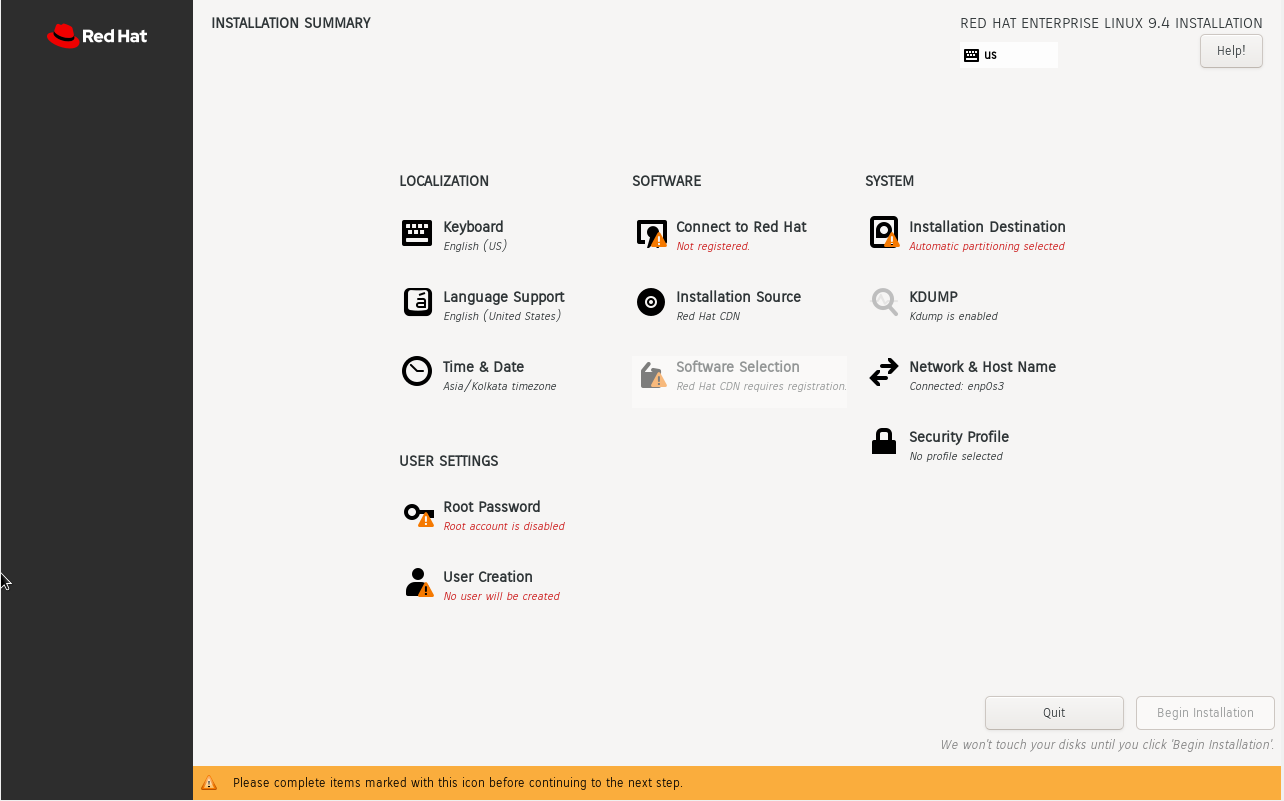
Click on "Installation Destination" under "SYSTEM" to configure partitioning. If you want the wizard to partition the hard drive automatically, make sure you have chosen the "Automatic" option on the "Installation Destination" tab. If not, choose "Custom" to divide the sections by hand.
Furthermore, confirm that you have chosen your computer's hard drive. Next, select "Done".
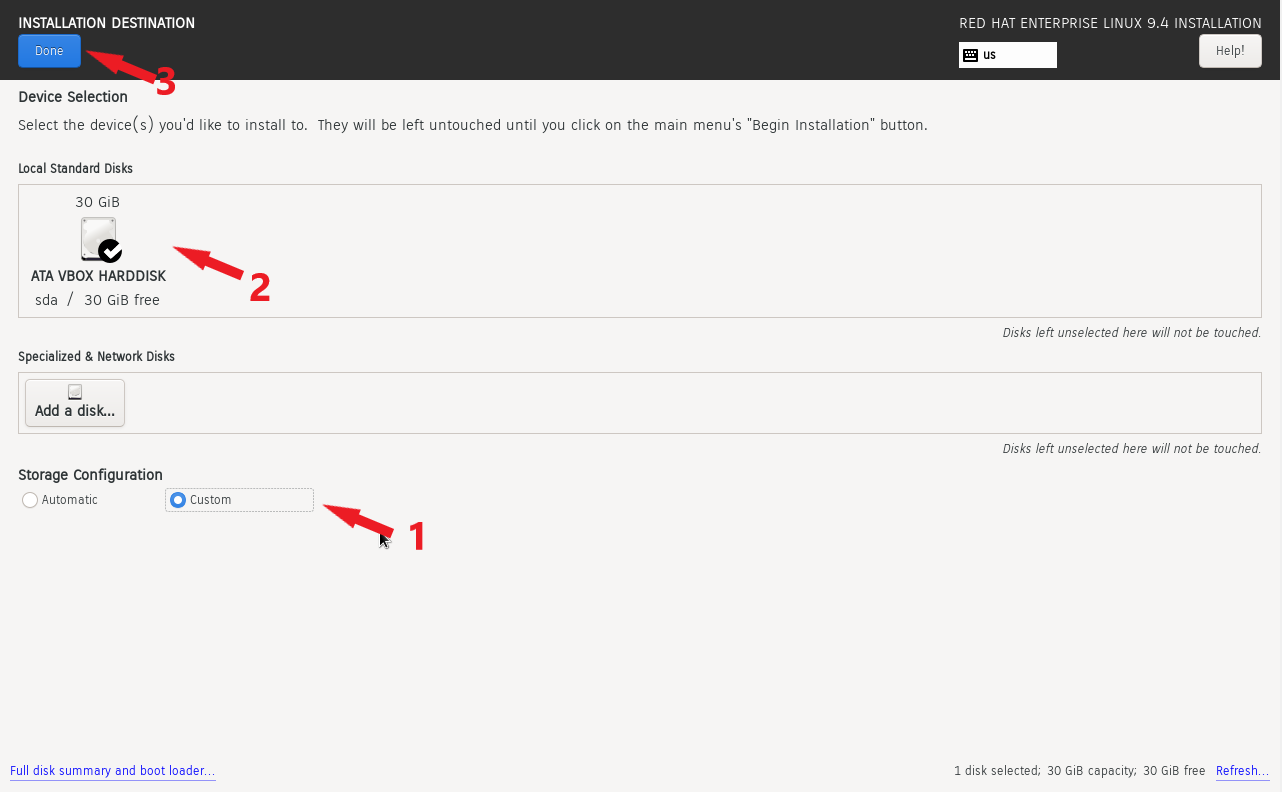
This opens the "Manual Partitioning" window for you. It's quite acceptable that the LVM partitioning strategy is chosen by default.
Click the plus [+] sign to begin building the partitions.
We'll make the following partitions for examples.
/boot -	1GB
/home -	10GB
/root -	10GB
swap  - 8GB
We will define the boot option first.
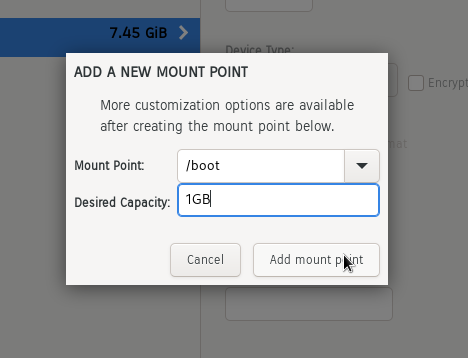
The boot partition has been created, as can be seen in the partition table below.
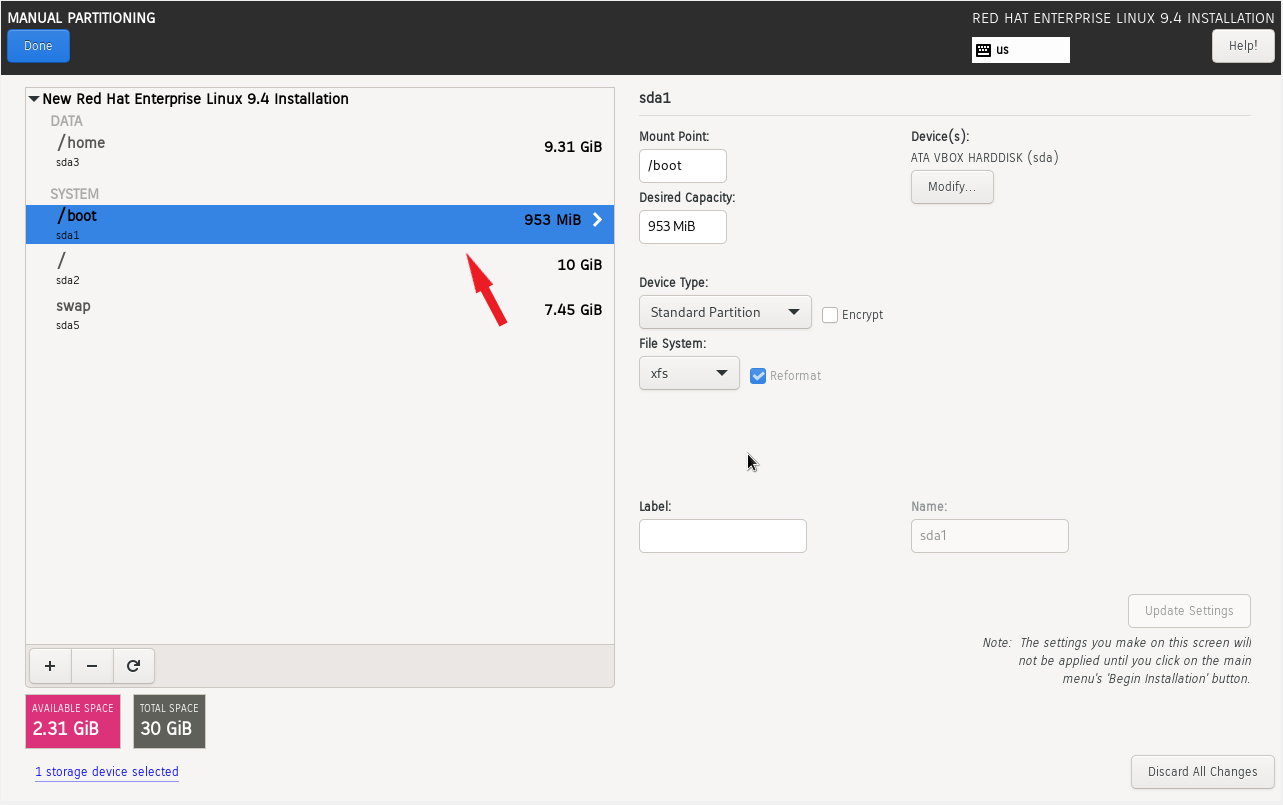
Create the /home, /root, and swap mount points by following the same procedures.
After this you'll get an entire partition table. Click "Done" to save the changes.
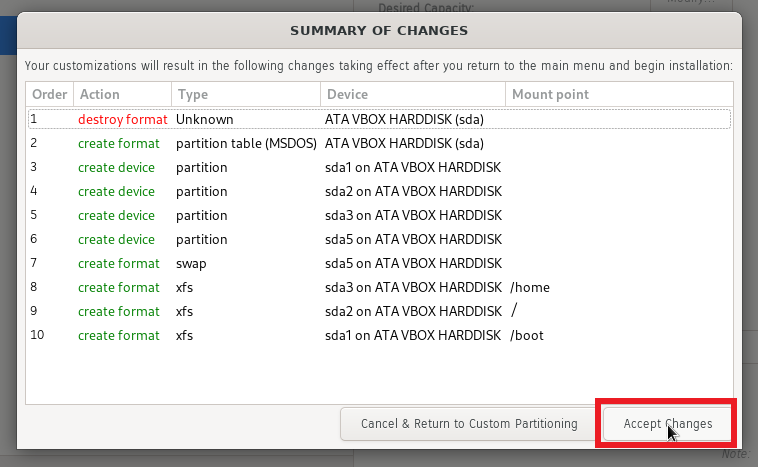
Next, select "Accept Changes" from the pop-up window that displays.
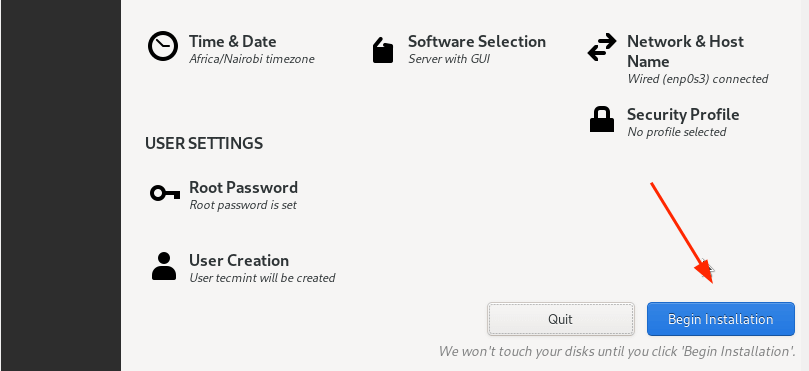
Step 3: Configure User Settings
We will then establish the user settings, beginning with the Root password. Thus, select the icon labeled "Root Password".
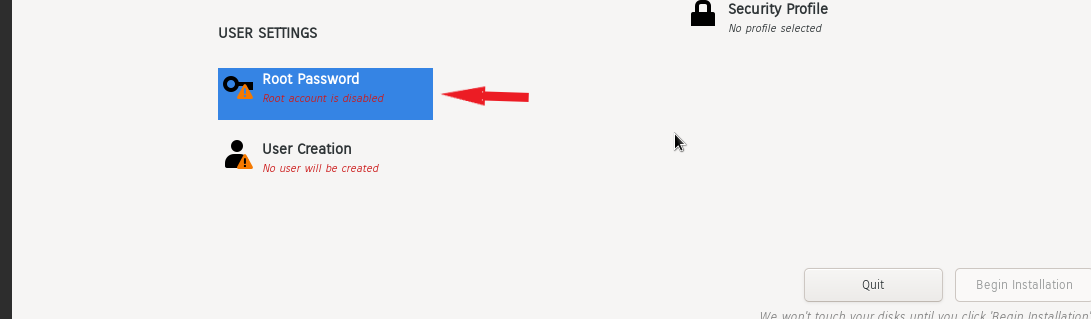
By entering and verifying a root password, you can unlock the Root account. Next, select "Done".

Next, select "User creation" to establish a conventional login user.
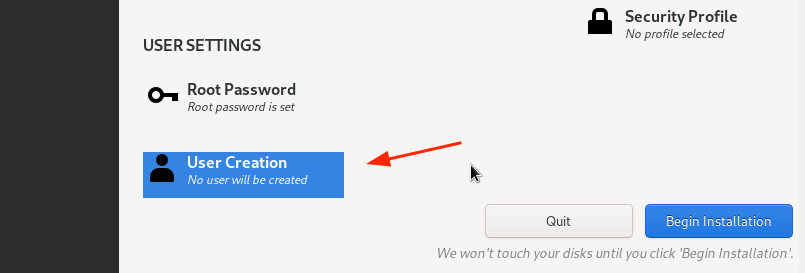
Enter the user's username and password, then select "Done".
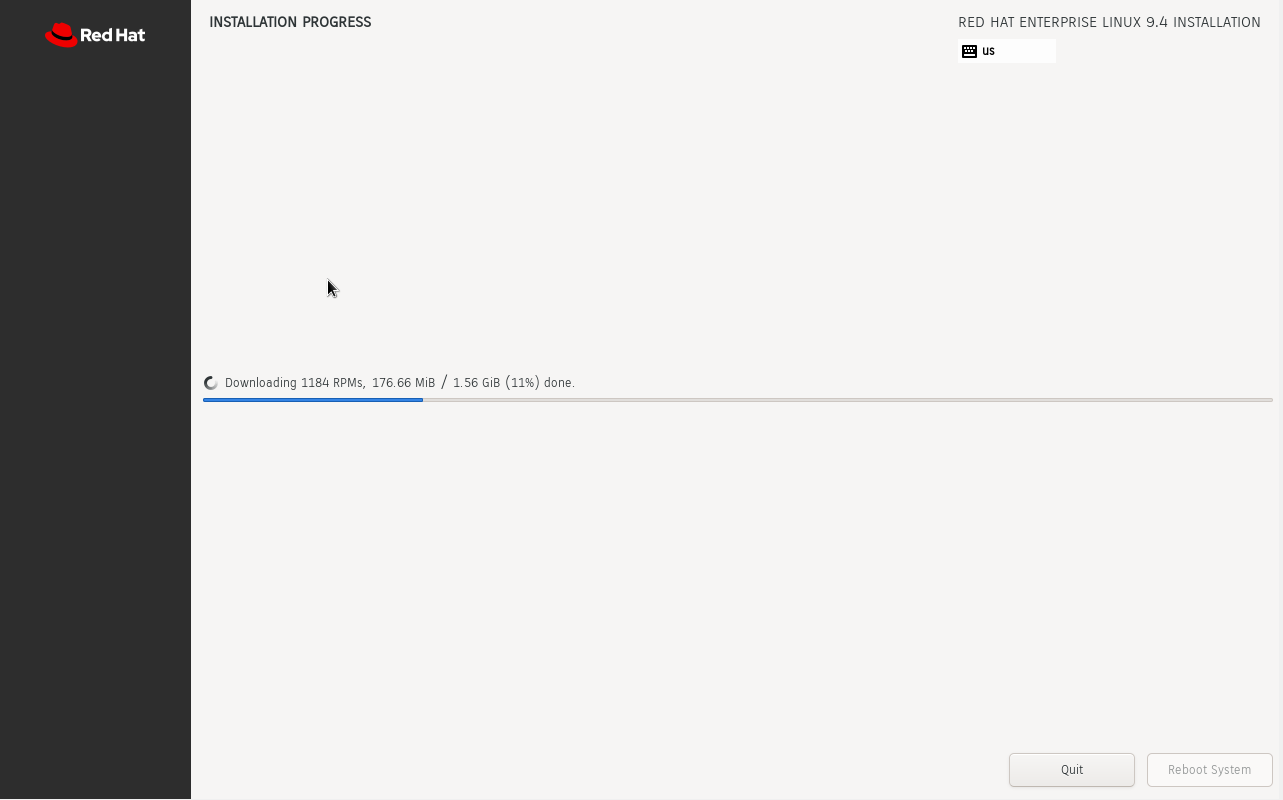
Now that everything is ready, we may start the installation. Click "Begin Installation" now.
All necessary packages will be downloaded by the Wizard from the RedHat ISO image and saved to the hard disk. This is a lengthy process, so now would be a great time to take a break while the installation gets underway.
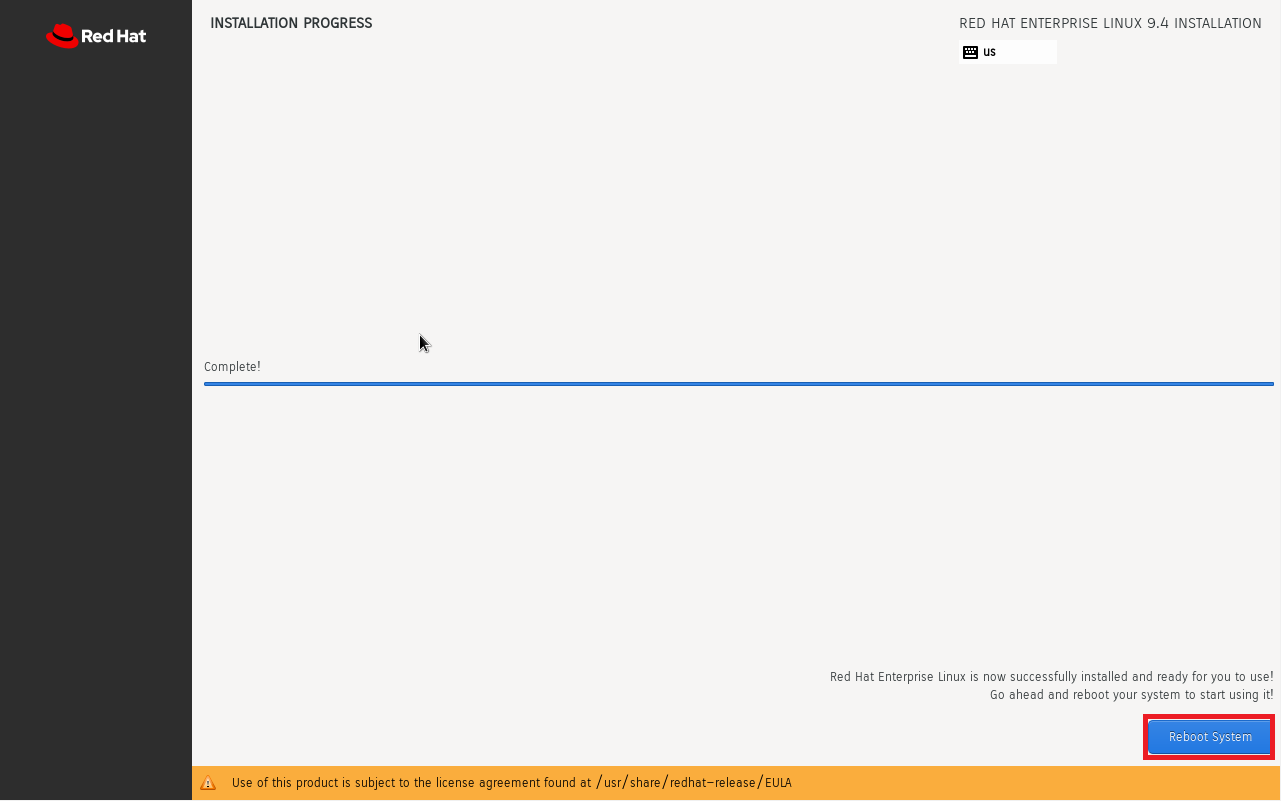
You will need to restart your computer after the installation is finished in order to access your brand-new RHEL 9.4 installation.
Thus, select "Reboot System" from the menu.
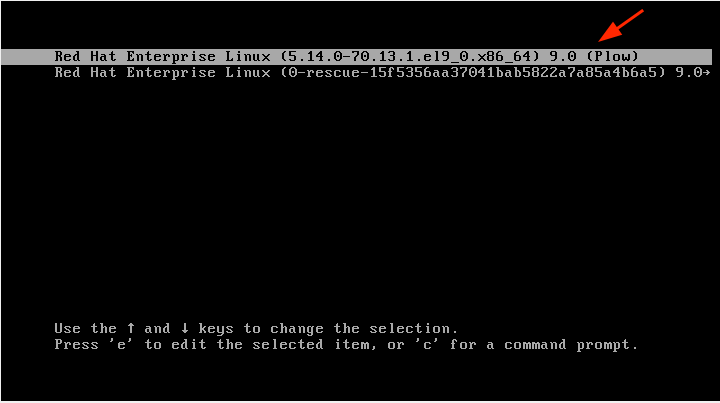
Step 4: Boot Into Red Hat Enterprise Linux 9
After the system has restarted, choose Red Hat Enterprise Linux 9.4 from the first option on the GRUB menu.
A moment later, input your password and hit Enter on the login screen.
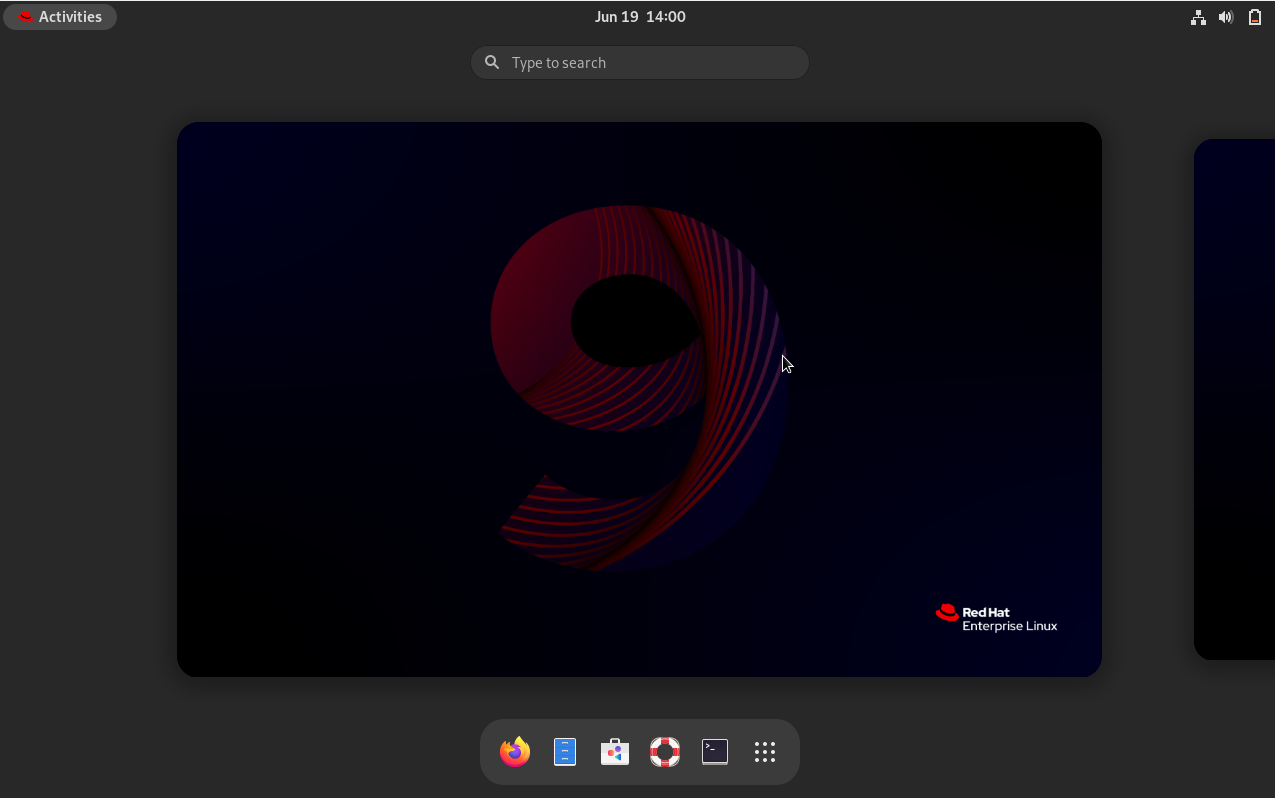
After logging in, you have the choice to either accept and proceed on to the Desktop or take a tour of the recently installed RHEL 9.4.
Lastly, you will witness the recently redesigned and elegant-looking GNOME 42 desktop environment.
Step 5: Enable Red Hat Subscription on RHEL 9
After installing RHEL 9.4, use the terminal to run the following command to register your RHEL subscription. Your Red Hat account login credentials are your username and password.
sudo subscription-manager register --username=username --password=password
sudo subscription-manager attach --auto
Use the following command to verify that the system is registered with Red Hat Subscription Management (RHSM):
sudo subscription-manager list --installed
You can now take use of all the benefits offered by Red Hat, such as bug patches, security upgrades, and the most recent software packages, from this point on.
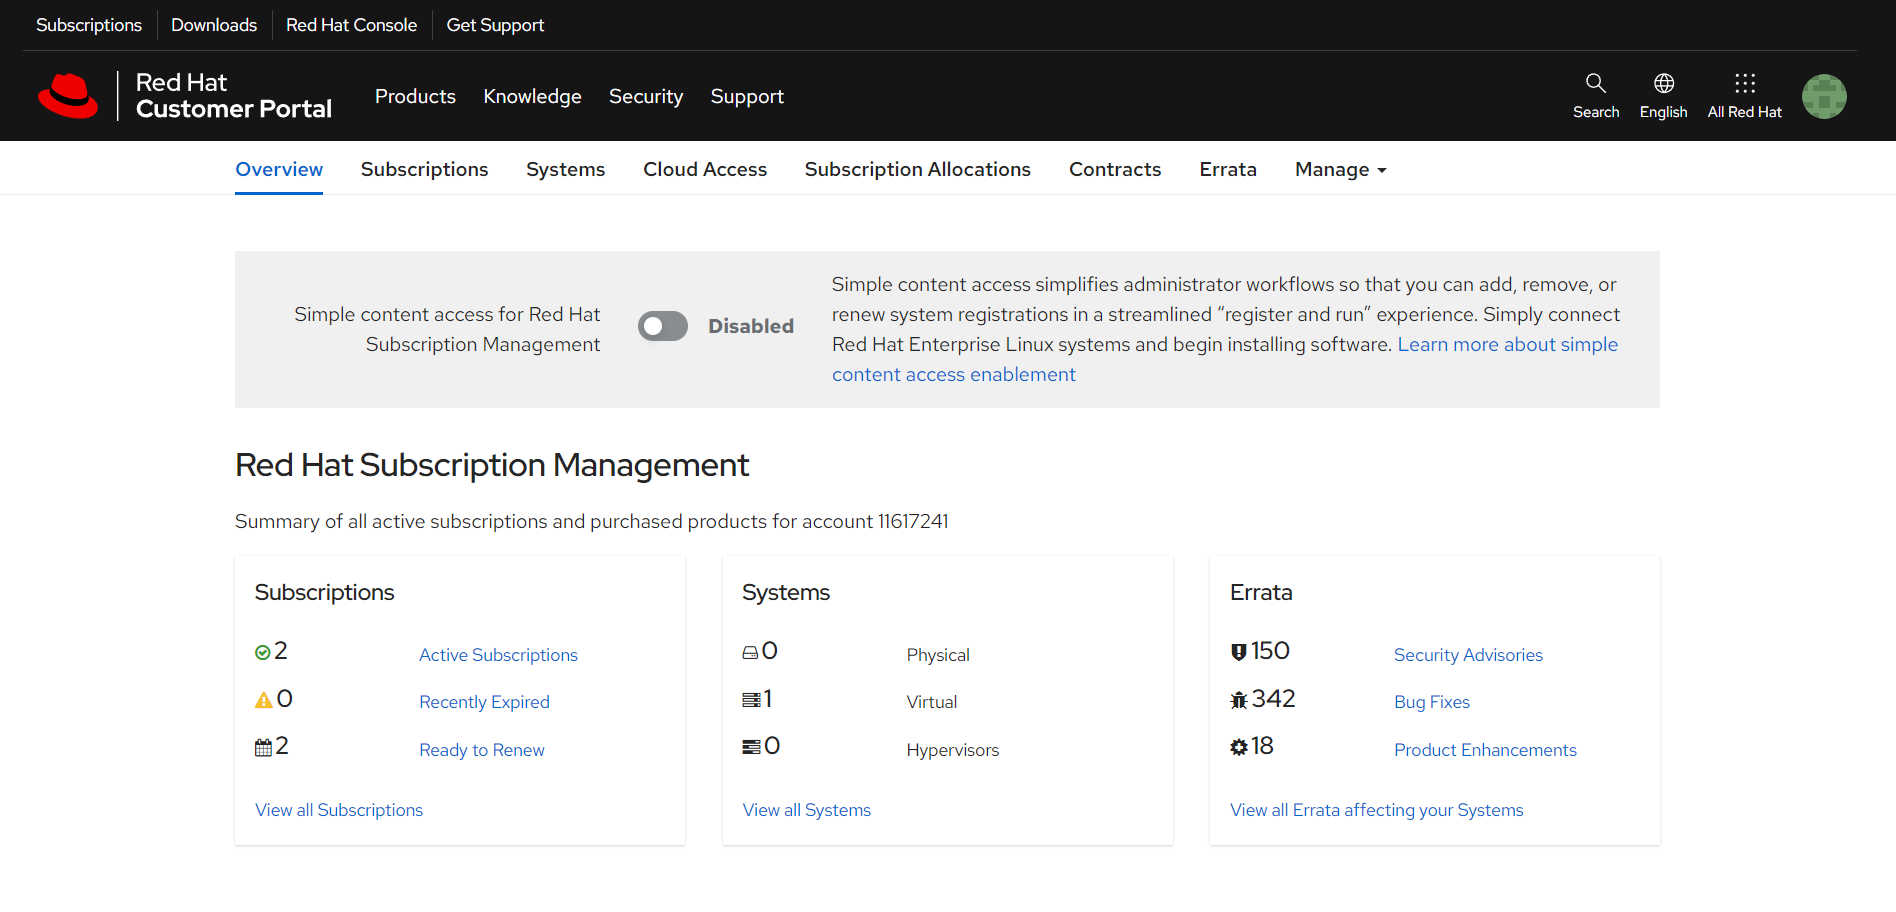
NOTE: You can always visit the Red Hat Subscription Management Portal to view the specifics of your Free RHEL membership.
With this, the tutorial comes to an end. In order to fully benefit from Red Hat Enterprise Linux, we hope you can download and install RHEL 9.4 without any problems. You may then register it for a free RHEL subscription.
FAQs to Download and Install RHEL 9.4
What are the system requirements for installing RHEL 9.4?
RHEL 9.4 requires a 64-bit x86 processor, at least 4 GB of RAM, and a minimum of 20 GB of disk space.
Is RHEL 9.4 available for both desktop and server installations?
Yes, RHEL 9.4 is available for both desktop and server installations, allowing you to choose the version that suits your needs.
Can I upgrade to RHEL 9.4 from a previous version?
Yes, Red Hat provides upgrade paths from older versions to RHEL 9.4. Detailed instructions can be found in the official documentation.
Is RHEL 9.4 a free version?
RHEL is a commercial distribution and requires a subscription for sustained usage. However, a trial version of RHEL is available for evaluation purposes.
What installation options are available for RHEL 9.4?
RHEL 9.4 can be installed using various methods such as DVD, USB, or network-based installations. Detailed instructions are provided by Red Hat.
Can RHEL 9.4 be installed on virtual machines?
Yes, RHEL 9.4 is compatible with popular virtualization platforms, allowing you to install and run it on virtual machines.
Are there alternatives to downloading RHEL 9.4?
Yes, Red Hat provides installation media for RHEL 9.4 that can be acquired through physical media or network installations.
Conclusion
We hope this tutorial helped you understand how to download and install RHEL 9.4.
Also, read the RHEL 9.4 release notes for a more comprehensive overview of all the improvements and new features.
If you have any queries, please leave a comment below, and we’ll be happy to respond to them for sure.