
Choose a different version or distribution
Introduction
Before we begin talking about how to install and configure ownCloud with Apache on Ubuntu 18.04, let’s briefly understand - What is ownCloud?
ownCloud is an open-source platform for file sync and file sharing. It works on the lines of Dropbox, Microsoft OneDrive, and Google Drive. It also has mobile and desktop clients for various platforms.
In this tutorial, you will install and configure ownCloud on Ubuntu 18.04. Also, we will answer some FAQs regarding the ownCloud installation.
Prerequisites
- You should log in as a sudo user to complete this tutorial.
Step 1 - Creating MySQL Database
ownCloud supports SQLite, Oracle 11g, PostgreSQL, and MySQL databases to store its configurations.
We'll be using MySQL as a database back-end.
1) Install the MariaDB server:
sudo apt install mariadb-server -y
2) Log in to the MySQL shell using the following command:
sudo mysql
3) After that, create a database from within the MySQL shell with the help of this SQL statement:
CREATE DATABASE owncloud CHARACTER SET utf8mb4 COLLATE utf8mb4_general_ci;
4) Then, create a user account and grant access to the database.
GRANT ALL ON owncloud.* TO 'ownclouduser'@'localhost' IDENTIFIED BY 'change-with-strong-password';
5) Now, exit the console with the following command:
EXIT;
Step 2 - Installing PHP and Apache
Since ownCloud is a PHP application, it works with PHP 7.4. Ubuntu 18.04 does not have PHP 7.4 by default hence, we need to install it using ppa:
sudo apt update
sudo apt -y install software-properties-common
sudo add-apt-repository ppa:ondrej/php
sudo apt update
Install required PHP extensions:
sudo apt install php7.4 openssl unzip php-imagick php7.4-common php7.4-curl php7.4-gd php7.4-imap php7.4-intl php7.4-json php7.4-ldap php7.4-mbstring php7.4-mysql php7.4-pgsql php-smbclient php-ssh2 php7.4-sqlite3 php7.4-xml php7.4-zip libapache2-mod-php7.4 -y
Set the default PHP version to 7.4 :
sudo update-alternatives --config php
Output

There are 2 choices for the alternative php (providing /usr/bin/php).

  Selection    Path             Priority   Status
------------------------------------------------------------
  0            /usr/bin/php8.2   82        auto mode
* 1            /usr/bin/php7.4   74        manual mode
  2            /usr/bin/php8.2   82        manual mode

Press <enter> to keep the current choice[*], or type selection number: 1
1) Now, you need to install Apache and its PHP extensions with the help of the following command:
sudo apt install apache2 libapache2-mod-php7.4
Step 3 - Configuring Firewall
1) In case you are using UFW to manage your firewall, open HTTP (80) and HTTPS (443) ports. This can be done by enabling 'Apache Full'.
sudo ufw allow 'Apache Full'
Step 4 - Downloading ownCloud
1) The latest stable version of ownCloud available according to this article is 10.3.2. You can check the ownCloud download page to get the latest version.
2) After that, use the following wget command to download the ownCloud zip archive:
wget https://download.owncloud.com/server/stable/owncloud-complete-latest.zip -P /tmp
3) Now, extract the files to the /var/www directory.
sudo unzip /tmp/owncloud-complete-latest.zip -d /var/www
4) Then, set the correct ownership to allow Apache webserver access to ownCloud's files and directories.
sudo chown -R www-data: /var/www/owncloud
Step 5 - Configuring Apache
1) Create the following Apache configuration file:
sudo nano /etc/apache2/conf-available/owncloud.conf
Alias /owncloud "/var/www/owncloud/"

<Directory /var/www/owncloud/>
  Options +FollowSymlinks
  AllowOverride All

 <IfModule mod_dav.c>
  Dav off
 </IfModule>

 SetEnv HOME /var/www/owncloud
 SetEnv HTTP_HOME /var/www/owncloud

</Directory>
2) After that, enable this configuration and all the required Apache modules with it.
sudo a2enconf owncloud
sudo a2enmod rewrite
sudo a2enmod headers
sudo a2enmod env
sudo a2enmod dir
sudo a2enmod mime
3) Restart the Apache service to activate the changes.
sudo systemctl reload apache2
Step 6 - Installing ownCloud
1) Now, you need to run your ownCloud installation by opening your browser and entering your domain name or IP address followed by /owncloud.
http://domain_name_or_ip_address/owncloud
2) You will then see the following page:
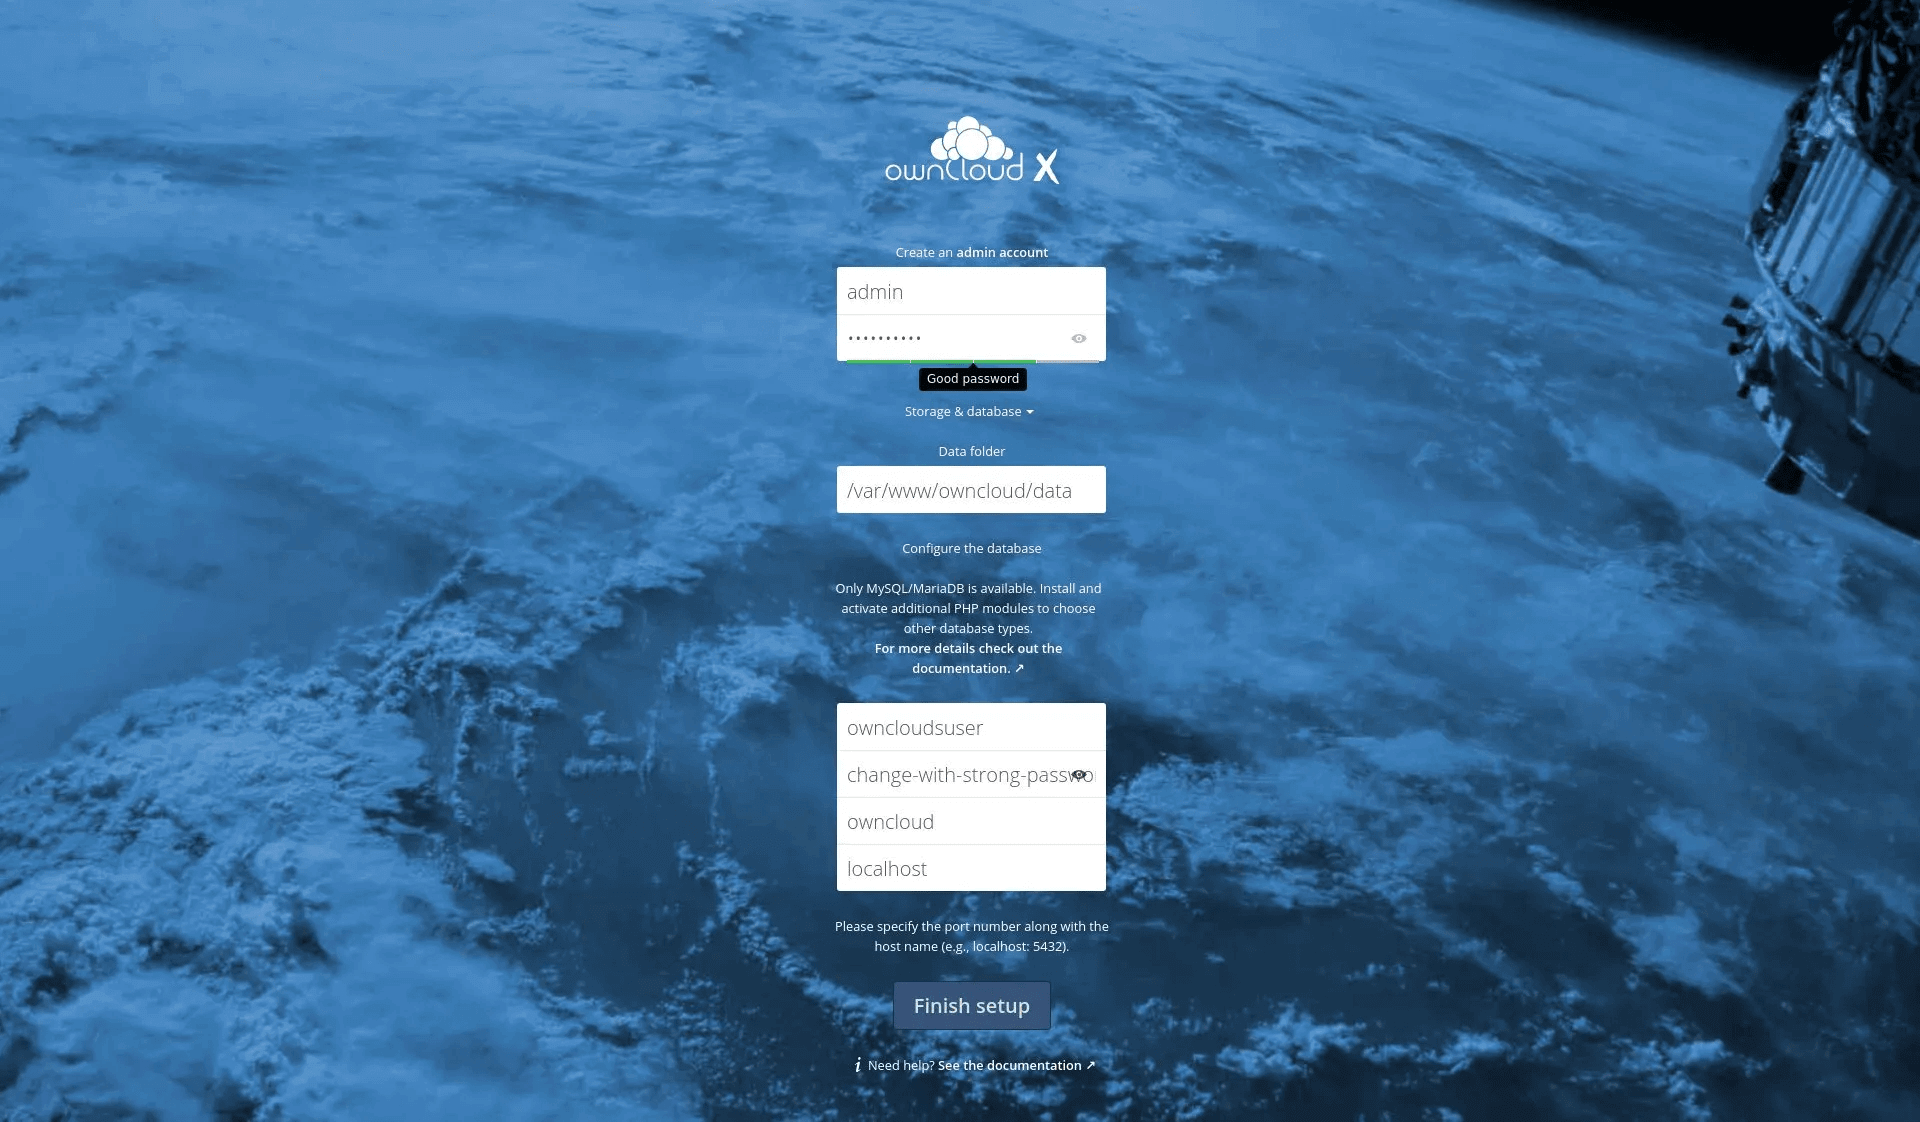
3) Fill in a username and password of your choice along with the MySQL user and database created earlier.
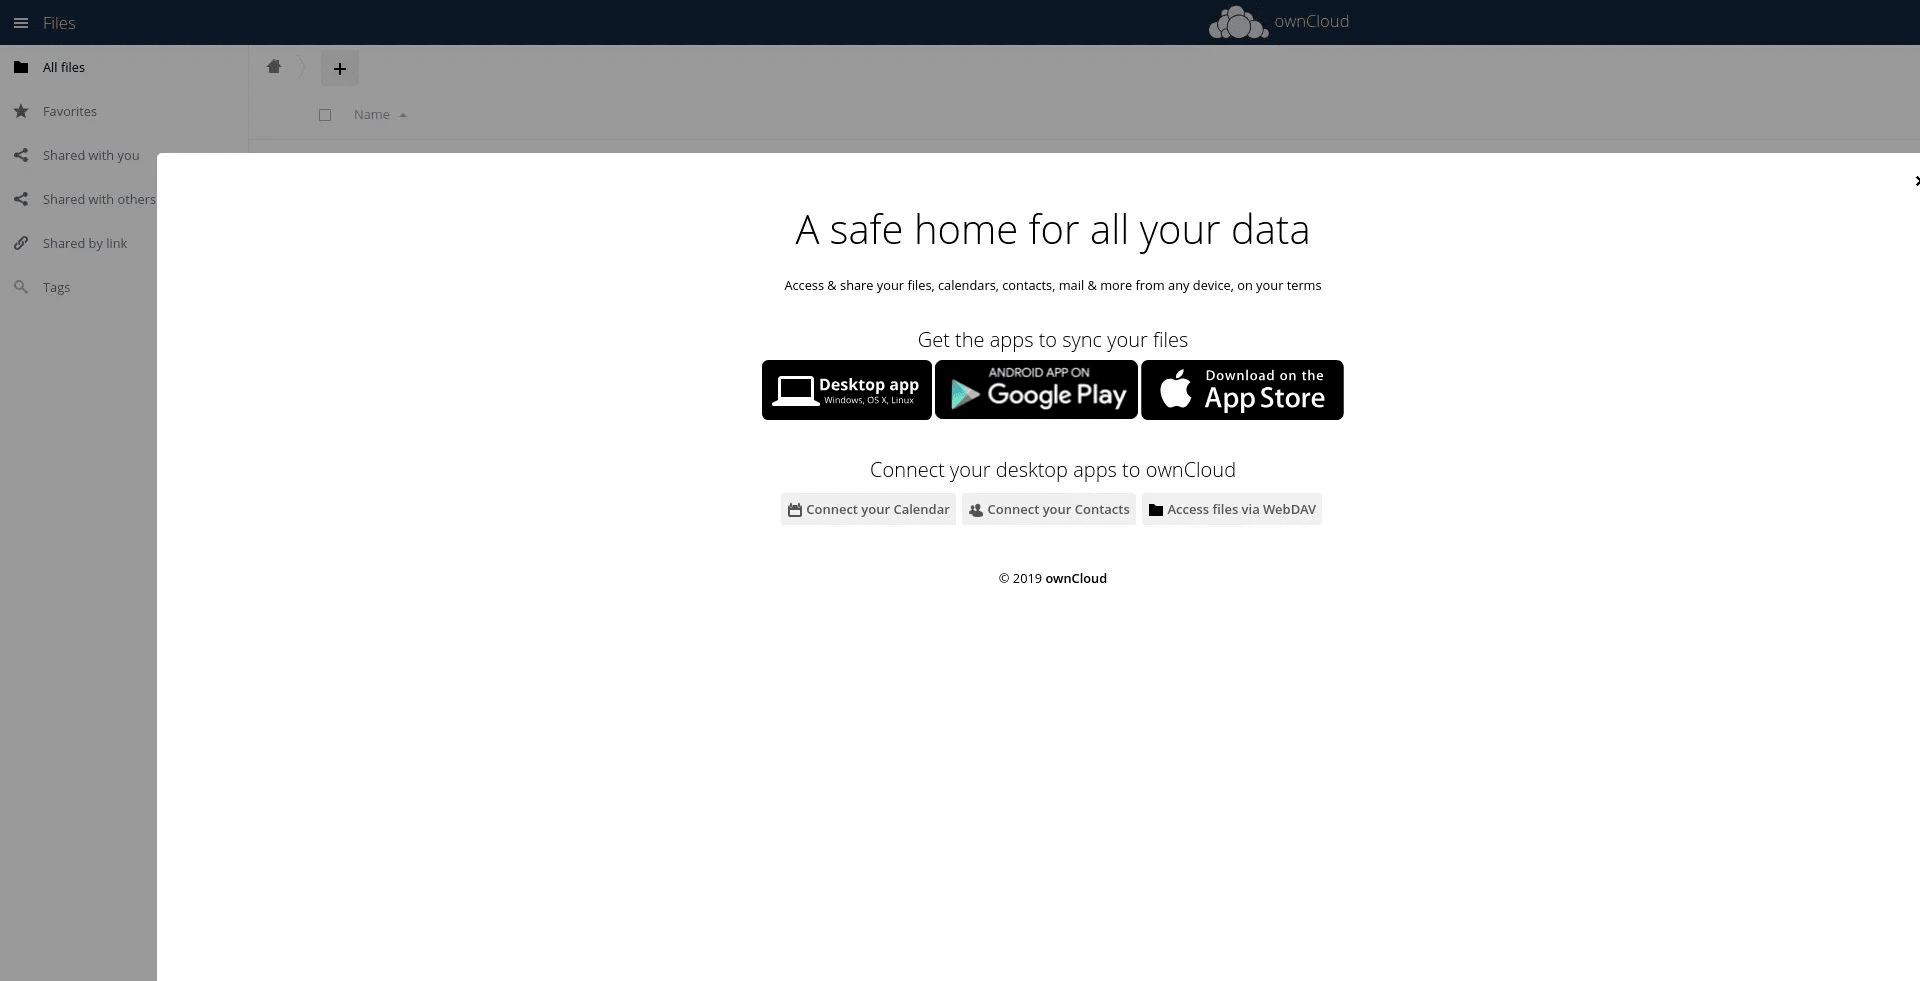
4) After that, click on the Finish setup button. On completion, the installer will redirect you to the ownCloud Dashboard logged in as an admin.
FAQs to Install and Configure ownCloud on Ubuntu 18.04
What are the benefits of ownCloud being open-source software?
As the code is open-source, it means you can audit the code to make sure it does what you want. It also means that ownCloud is more flexible and adaptable than closed-source software – you can more easily write extensions and even modify the core. Transparency enables peer review which leads to efficient code, good performance, and reduces cost.
For which deployment scenarios is ownCloud suitable?
ownCloud fits a number of needs and scenarios. The company has compiled several needs that ownCloud addresses, please have a look to learn more.
What are the system requirements for ownCloud on Ubuntu 18.04?
ownCloud recommends a server with at least 2GB of RAM, 2 CPU cores, and sufficient disk space to store your files. These requirements ensure optimal performance for your ownCloud instance on Ubuntu 18.04.
Which web server is recommended for ownCloud on Ubuntu 18.04?
ownCloud works well with Apache and Nginx as a web server on Ubuntu 18.04. Although either option can be used, Apache is often recommended due to its wide community support and compatibility.
How can I configure a database for ownCloud on Ubuntu 18.04?
ownCloud requires a database backend such as MySQL or PostgreSQL. During installation, you will need to create a database and user with appropriate permissions. The installation guide provides step-by-step instructions for database configuration.
Can I use SSL/TLS encryption with ownCloud on Ubuntu 18.04?
Yes, it is highly recommended to secure your ownCloud instance with SSL/TLS encryption. This ensures data integrity and protects sensitive information during transmission. You can obtain and install SSL certificates from trusted certificate authorities or use self-signed certificates.
How do I access ownCloud after installation on Ubuntu 18.04?
After successful installation, you can access ownCloud by navigating to the URL of your ownCloud server using a web browser. You will be prompted to set up an admin account, and once done, you can start utilizing the ownCloud platform.
Conclusion
We hope this detailed guide helped you understand how to install and configure ownCloud on Ubuntu 18.04. To learn more about ownCloud installation on Ubuntu 18.04 server, check out the official ownCloud installation document
If you have any queries, please leave a comment below, and we’ll be happy to respond to them for sure.
