

Choose a different version or distribution
Introduction
Before we begin talking about how to install and configure Samba on Ubuntu 24.04, let's briefly understand – What is Samba?
Samba is a free, open-source software that connects Linux and Windows systems on a network. It allows seamless file-sharing, printer access, and other services between different operating systems.
With Samba, users can easily share files and resources across a network. This powerful tool simplifies cross-platform networking, making it ideal for homes and offices with multiple systems. Discover the benefits of Samba for efficient sharing and collaboration across diverse devices.
In this tutorial, you will install and configure Samba on Ubuntu 24.04. We will also address a few FAQs on how to install and configure Samba on Ubuntu 24.04.
Advantages of Samba
- Cross-Platform Compatibility: Samba supports various operating systems, facilitating seamless file sharing among Windows, Linux, and macOS devices.
- Secure File Access: Provides secure access controls and authentication mechanisms, ensuring data confidentiality and integrity.
- Resource Sharing: Allows easy sharing of files, printers, and other resources across a network, enhancing collaboration and productivity.
- Cost-Effective Solution: Being open-source, Samba eliminates the need for expensive proprietary software, making it a budget-friendly option for businesses and individuals.
- Community Support: Benefit from a large community of Samba users and contributors who offer assistance, updates, and troubleshooting tips to enhance your sharing experience.
Installing Samba on Ubuntu 24.04
Samba Server can be found in Ubuntu 24.04's default repositories. Here's a guide on installing Samba on Ubuntu 24.04.
Step 1: Install Samba
As the installation uses default repositories, it's recommended to start by updating the package list:
sudo apt update
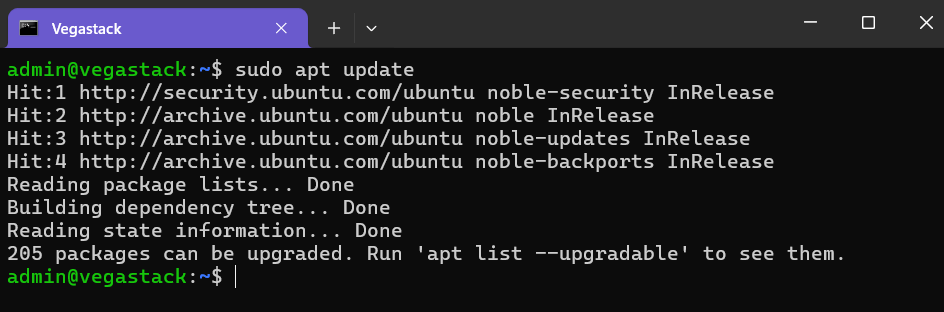
This ensures that you have the latest version of Samba available.
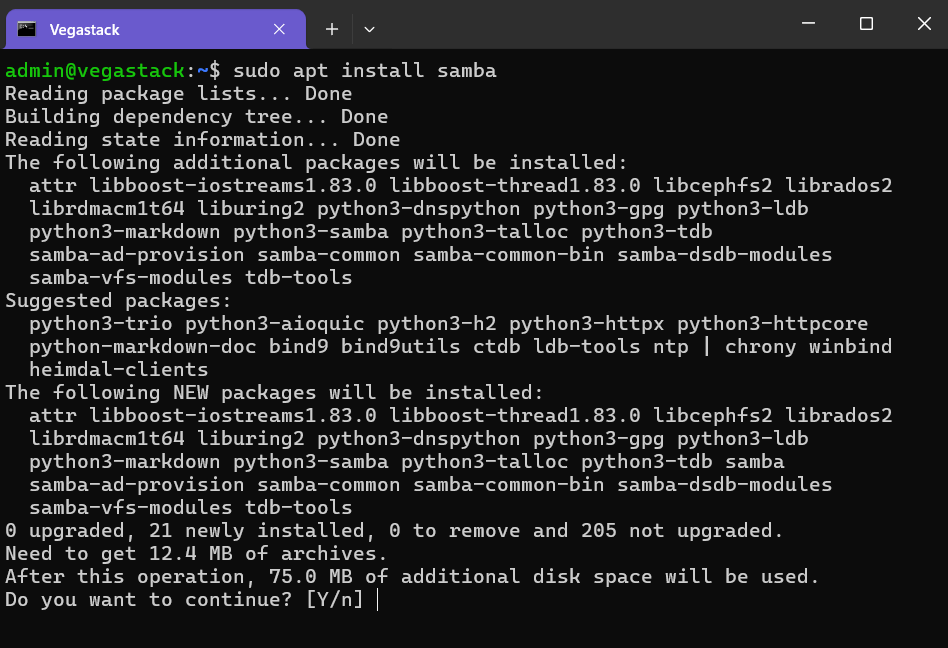
Now, proceed to install Samba using the command:
sudo apt install samba
Step 2: Verify the Installation
Verify the installation by checking the installed version of Samba:
samba -V

Alternatively, use the command below to check the installation location of Samba:
whereis samba
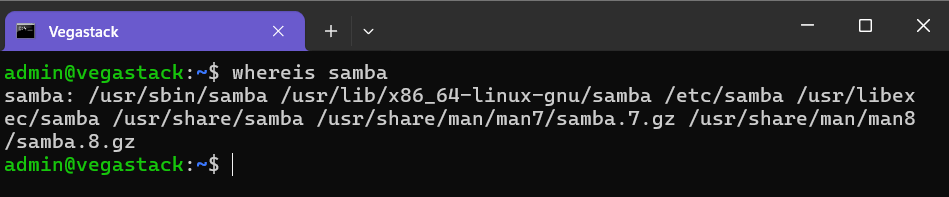
You must configure Samba before using it. The next section will guide you through the steps to configure and utilize Samba.
Configuring Samba on Ubuntu 24.04
After installing Samba, configuration is essential before use. This involves adjusting the Samba service, configuring the firewall, and setting up a dedicated Samba user. Let's proceed with the configuration:
Step 1: Allow Samba Over the Firewall
Because Samba interacts with external connections, you need to allow all incoming connections related to Samba. Use the following command:
sudo ufw allow samba

Alternatively, you can specifically open the port for Samba. Samba listens for incoming connections on Port 445.
Step 2: Create a Shared Directory
Samba operates within a shared directory or folder. Use the mkdir command to create it:
sudo mkdir <Path>
We created it within the home directory.

Note: This Samba share can also be referred to as a Network Drive, designed to share files within a network.
To test this, let's create another directory and a text file within /home/SambaShare:
sudo mkdir /home/SambaShare/genie
sudo touch /home/SambaShare/data.txt

Step 3: Add a Samba User
When working across multiple systems, it's advisable to create a dedicated user for Samba. Use the following smbpasswd command to do so:
sudo smbpasswd -a <username>
Here’s the breakdown of the command:
smbpasswd: This command line utility manages Samba usernames and passwords.
-a: This flag adds an existing Unix/Linux user to the Samba user database.
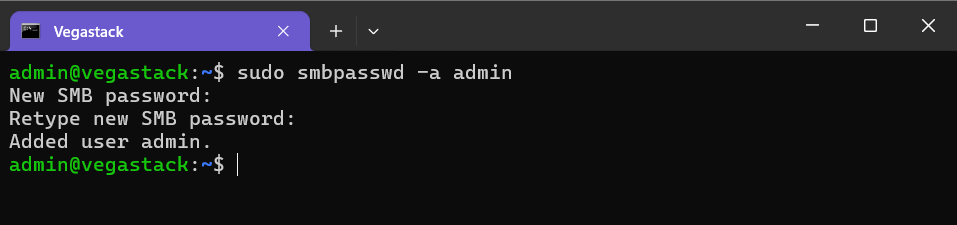
This command searches for the username in the Unix user database and adds it to the Samba user database. If not found, the smbpasswd command will create and add the user to the Samba group.
In this instance, we used the following command to add the user admin to the Samba user database:
sudo smbpasswd -a admin
Now, assign ownership of the directory to the newly created/added Samba user:
sudo chown <user>:<usergroup> <Path>

While not mandatory, it's recommended when setting up a dedicated user. Additionally, ensure that the shared directory is owned by this specific user
Step 4: Add a Service in the Configuration File
After completing the previous three steps, integrate these configurations into the main Samba configuration file. Open the configuration file located at /etc/samba/smb.conf in your preferred text editor:
sudo nano /etc/samba/smb.conf
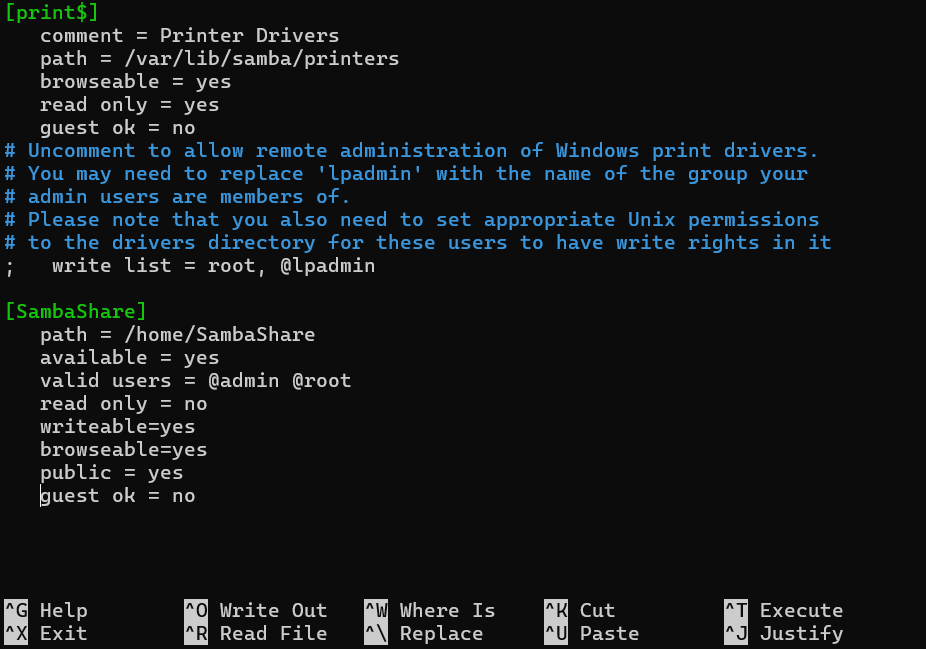
Within this configuration file, append the following parameters to the end:
[SambaShare]

path = /home/SambaShare
available = yes
valid users = @admin @root
read only = no
writeable=yes
browseable=yes
public = yes

guest ok = no
Here is the breakdown of the parameters:
path: specifies the directory path to be shared for Samba.available: indicates whether Samba is available for use, with possible values of "yes" or "no".valid users: lists the usernames permitted to access this share. For multiple users, use their names like @user1 @user2.read only: determines if the share is read-only. Setting its value to "no" grants read-write permissions to valid users.writeable: allows writing to the shared directory. If "read only" is set to "no", this parameter can be omitted.browseable: indicates if the share can be browsed within already shared directories or drives.public: signifies that the share does not require authentication.guest ok: determines if anonymous users can connect to the Samba share.
Note: Only three parameters are necessary for this service: path, valid users, and read only.
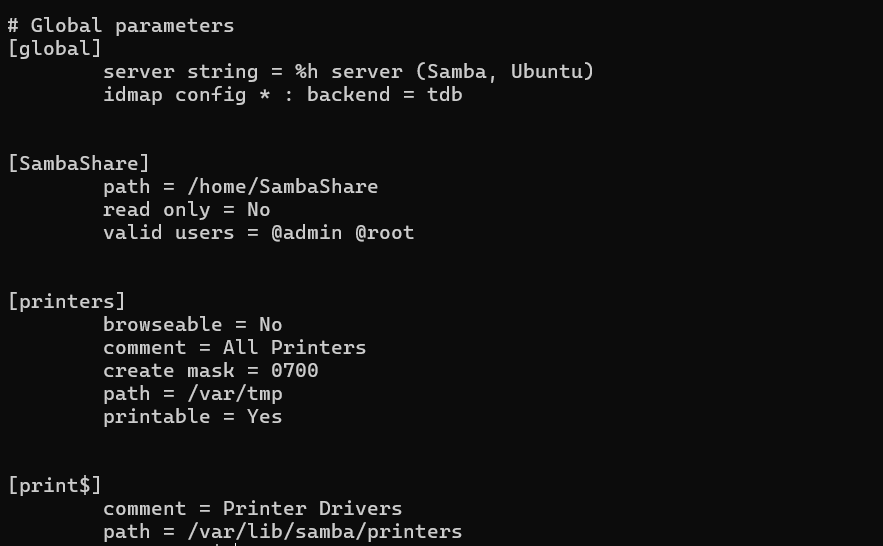
Our configuration file appears as follows:
Step 5: Testing the Configuration
Next, verify the Samba configuration by using the command:
testparm
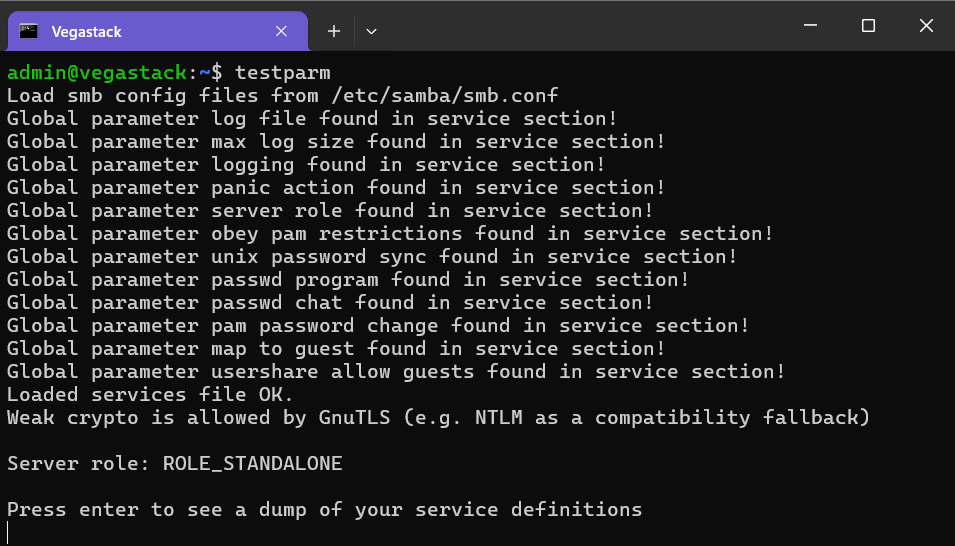
The services have been loaded successfully. Scroll down to verify that your added service is listed.
Always use the Samba utility (testparm) after making any changes to Samba's configuration.
Step 6: Restart the Service
After completing all configurations, restart the Samba service with the command:
sudo systemctl restart smbd

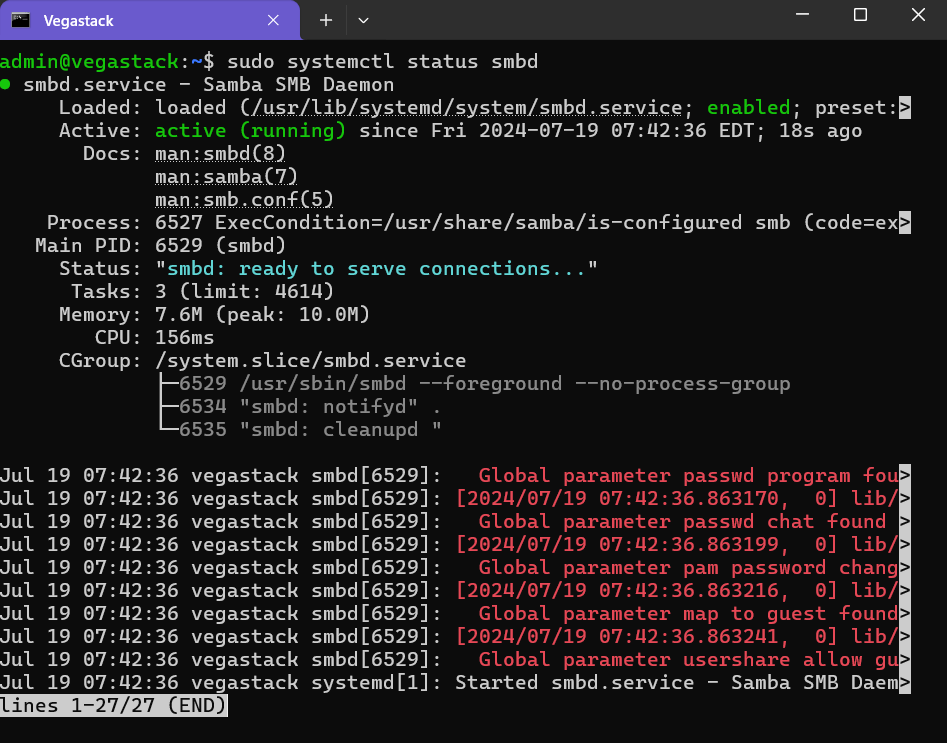
Verify the service status to ensure that Samba is operating correctly:
sudo systemctl status smbd
Step 7: Test the Samba Connection Locally
After completing the configurations, test Samba's functionality by connecting to your own system. Begin by installing the Samba client with CIFS-utils using the following command:
sudo apt install samba-client cifs-utils
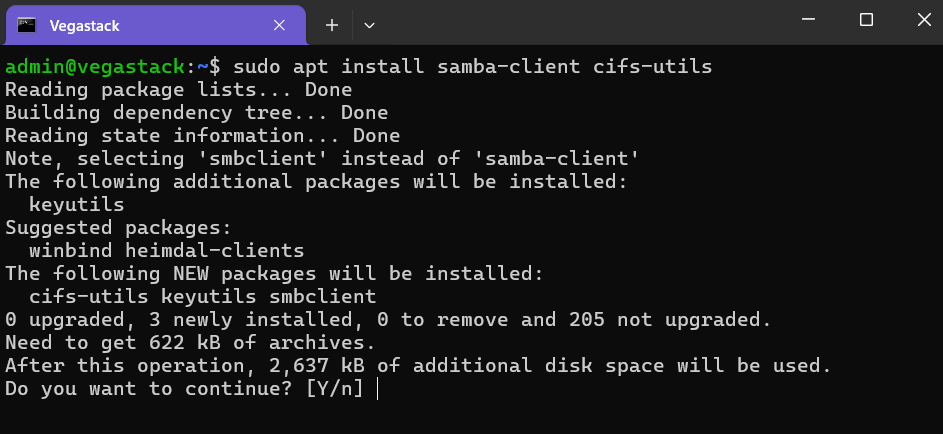
The cifs-utils offer tools for users to interact with Samba shares.
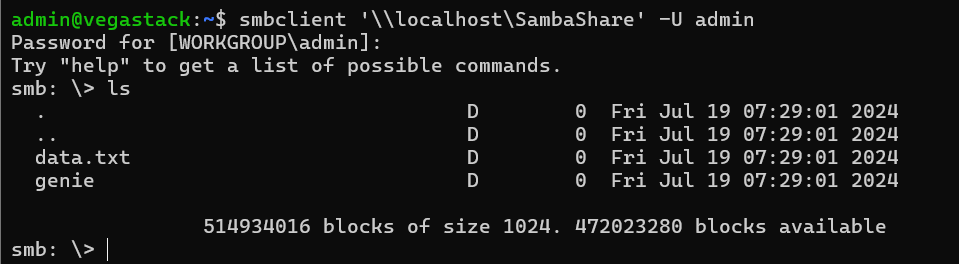
Once the prerequisites are installed, use the command below to connect to your system locally:
smbclient '\\localhost\<share-name>' -U <samba-user>
Replace <share-name> with the name of your created share, and <samba-user> with the dedicated Samba username:
You can see that the Samba Share has been accessed, and we used the ls command within it:
And there you have it! Samba is successfully connected, and now you can start working with it remotely.
File Sharing Using Samba in a Network
As mentioned earlier, the main function of the Samba server is to facilitate file transfers between Windows and Linux systems. We have set up the Samba Server, but have not yet tested file transfers. Let's now explore and practice transferring files between Linux and Windows.
Prerequisites: Install the Samba Client (For Linux Systems Only)
To establish a connection, you must install the Samba client on your system, whether it's Windows or Linux. Windows systems come with the Samba Client by default (supporting SMB/CIFS protocols). However, on Linux systems, you need to install the Samba client yourself (using the samba-client package). Use the following command to install the Samba Client on different Linux distributions:
sudo dnf install samba-client
#Fedora/RedHat/CentOS/etc
sudo apt install samba-client
#Debian/Ubuntu/Mint/etc
sudo pacman -S samba
#Arch/Manjaro/etc
Step 1: Check the Status of the Samba Service
First, check the status of the Samba service:
sudo systemctl status smbd
This ensures the server is working fine.
Step 2: Get the IP Address Where the Samba Share is Available
The Samba server connects to your system using the IP address and the username, so ensure they are used correctly.
Begin by retrieving the IP address of your machine using one of the following commands:
hostname -I
ip a
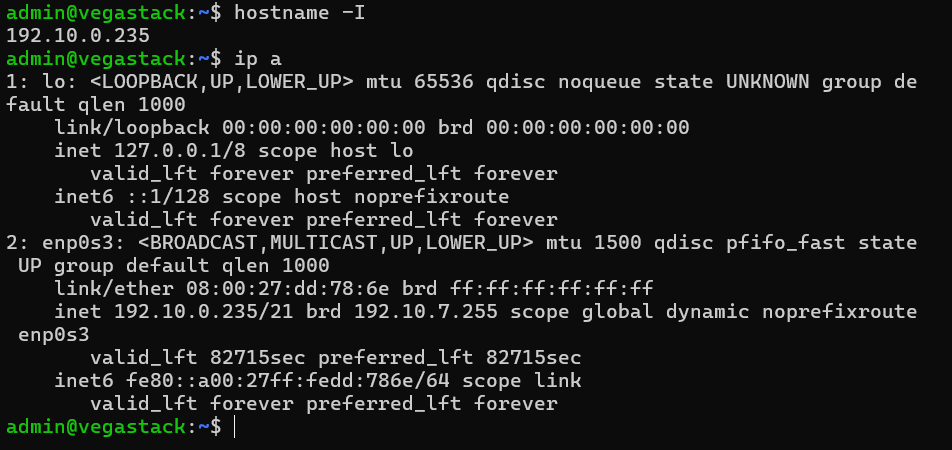
Furthermore, ensure that you use the correct share name that is locally available and integrated into your Samba configuration file.
Step 3: Access the Shared Folder
Now, it's time to establish a connection to your Ubuntu system from either Windows or any other Linux distribution.
3.1: From Windows to Linux (Ubuntu)
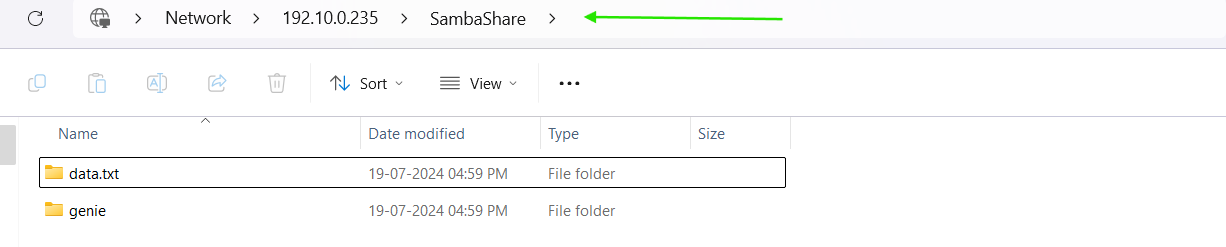
Open Windows File Explorer and enter the IP address along with the Samba share directory name in the following format:
\\<IP-Address-of-linux>\Sambashare
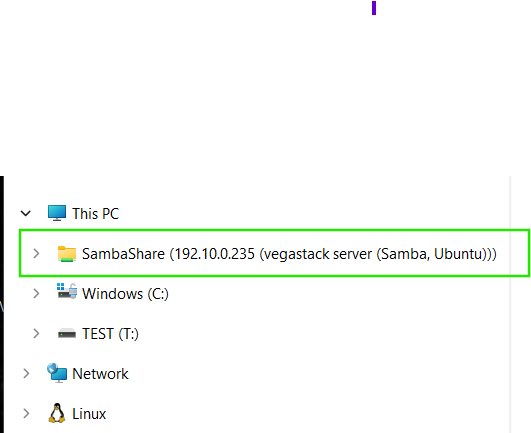
Alternatively, you can access the shared drive by adding it as a network drive. Right-click on "This PC" and select "Add a network location".

Specify the share location using the same syntax as mentioned above:
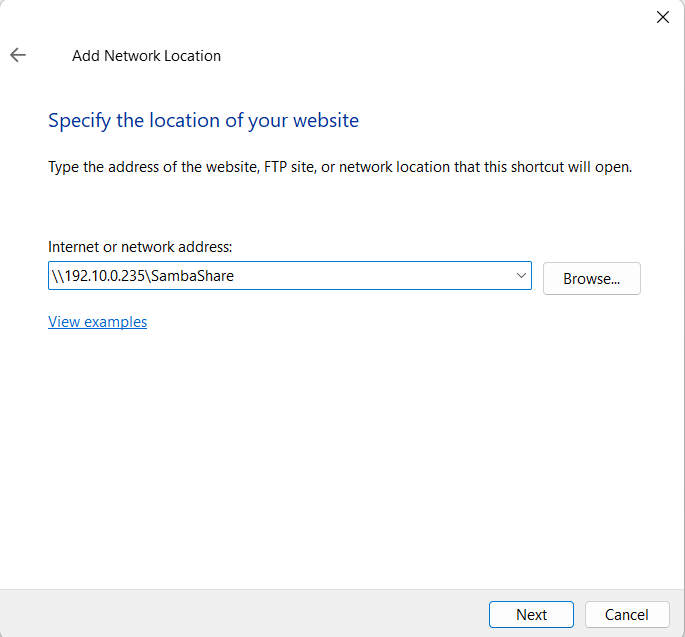
Follow the on-screen instructions, and you will soon access the shared directory with its contents, as shown below:
The shared network will appear on your Windows PC as:
- 3.2: From Linux to Linux (Ubuntu)
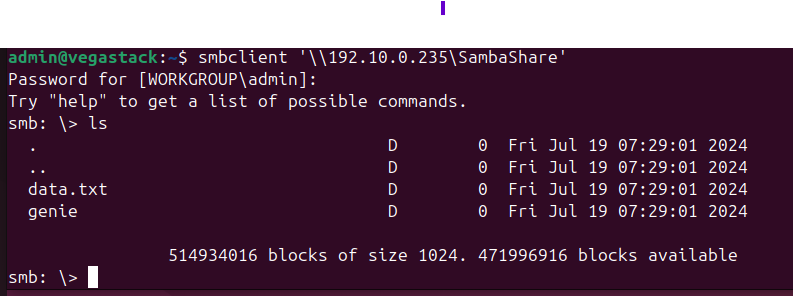
If you prefer using the terminal, simply use the following syntax to access the Samba Share:
smbclient '\\IP-Address\<share-name>' -U <samba-user>
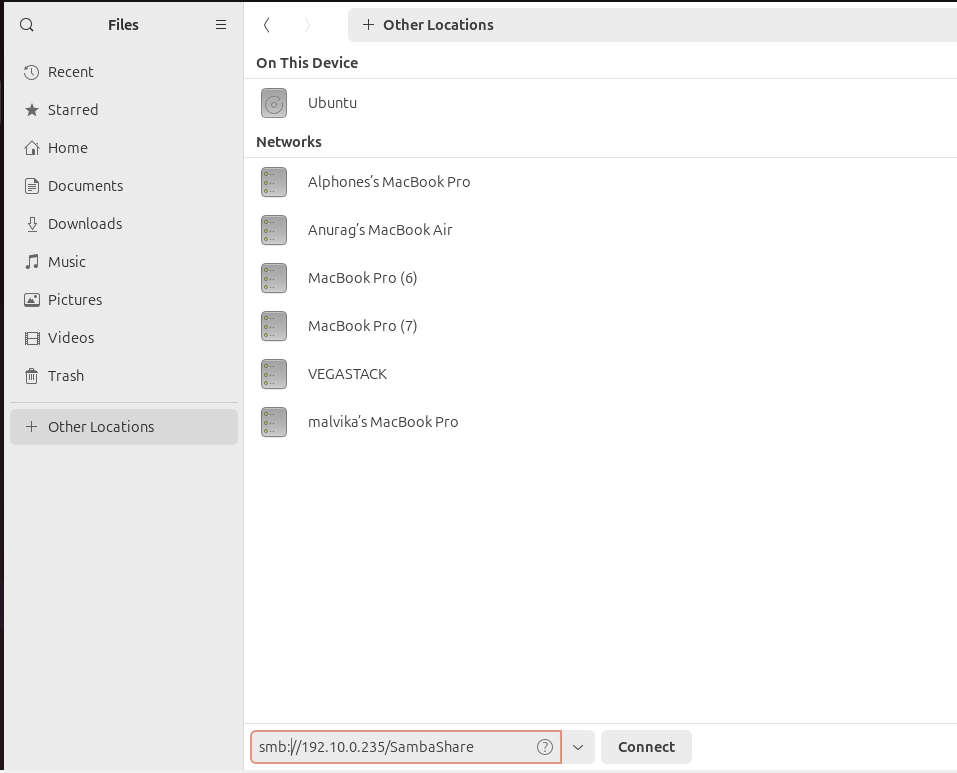
Open the file manager of Ubuntu (or any other Linux distribution) and go to "Other Locations". Here, enter the IP Address and the Samba Share name in the following format:
smb://your_ubuntu_server_ip/share_name
Input the details into the highlighted box below (located at the bottom of the Other Locations window):
Provide the username and password (for the user authorized to access Samba):
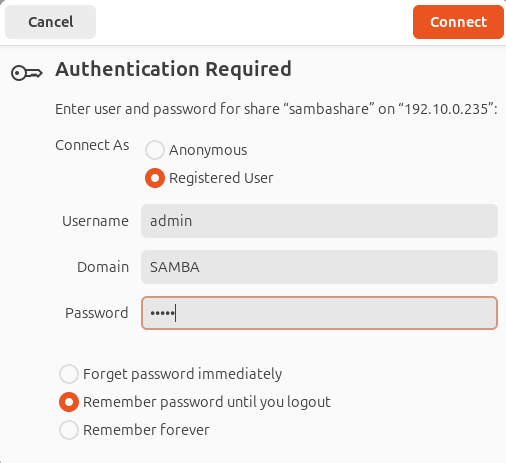
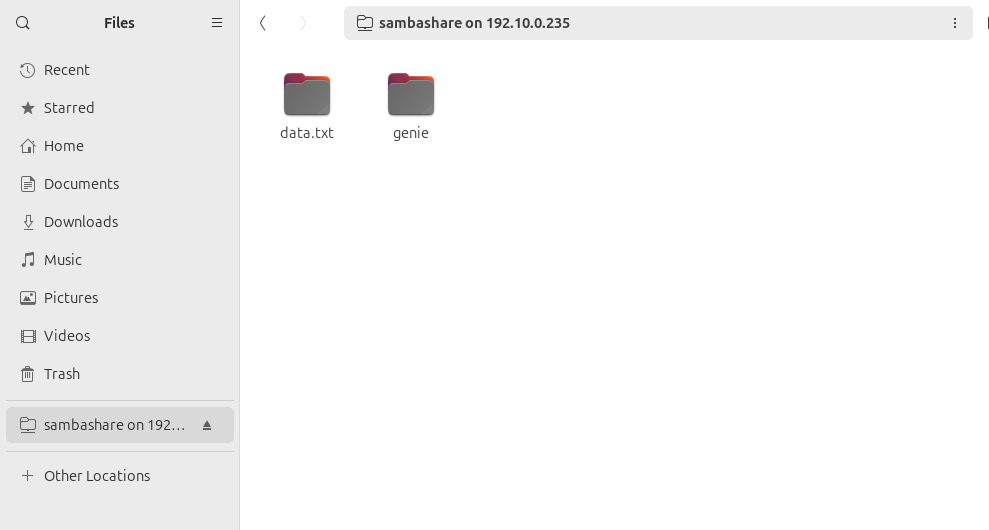
The share will be accessible:
That covers the installation, configuration, and establishment of a Samba-based connection.
How to Uninstall Samba From Ubuntu 24.04
If you no longer need Samba on your Ubuntu system, you can uninstall it using the command:
sudo apt autoremove samba --purge
FAQs to Install and Configure Samba on Ubuntu 24.04
How do I configure Samba on Ubuntu 24.04?
After installing Samba, you need to configure it to share files and folders. The main configuration file is /etc/samba/smb.conf. You can edit this file using a text editor like nano or vim:textsudo nano /etc/samba/smb.conf
How do I share a folder using Samba?
Samba shares are configured by adding the appropriate settings to the /etc/samba/smb.conf file.
How do I access a Samba share from a Linux computer?
Samba shares can be accessed from Linux by mounting the share using the mount command.
What is the difference between the samba and samba-common packages on Ubuntu 24.04?
The samba package contains the core Samba server components, while the samba-common package includes common files and libraries used by Samba.
What are the dependencies for installing Samba on Ubuntu 24.04?
The main dependencies for Samba include packages like libwbclient0, libpam-winbind, and libsmbclient.
What is the difference between the samba and samba-server packages on Ubuntu 24.04?
The samba package is the main Samba server package, while the samba-server package is a metapackage that installs the Samba server and related components.
How do I troubleshoot Samba issues?
Troubleshooting Samba issues involves checking the service status, reviewing log files, and verifying the configuration.
Conclusion
We hope this tutorial helped you understand how to install and configure Samba on Ubuntu 24.04.
If you have any queries, please leave a comment below, and we’ll be happy to respond to them for sure.