
Choose a different version or distribution
Introduction
Before we begin talking about how to install Apache on Ubuntu 20.04. Let's briefly understand – What is Apache?
Apache is an open-source web server software that powers millions of websites worldwide. It offers a reliable and flexible platform for hosting websites and handling HTTP requests. Developed by the Apache Software Foundation, Apache is highly customizable and compatible with various operating systems.
Its robust features, such as virtual hosting and security options, make it a popular choice for businesses and individuals seeking a scalable and secure web server solution. With Apache, users can easily manage their websites and ensure optimal performance.
This tutorial explains how to install Apache on Ubuntu 20.04. We will also address a few FAQs on how to Install Apache on Ubuntu 20.04.
Advantages to Apache
- Open-source: Apache is freely available, allowing users to modify and customize the software according to their needs.
- Flexibility: Apache is compatible with multiple operating systems and supports a wide range of modules, making it adaptable to different environments.
- Reliable: With a proven track record, Apache is renowned for its stability, ensuring consistent performance for websites and applications.
- Security: Apache offers robust security features and allows for the implementation of SSL/TLS encryption, protecting sensitive data.
- Scalability: Apache can handle high traffic loads efficiently, making it suitable for websites and applications of any size, from small blogs to large e-commerce platforms.
Prerequisites to Install Apache on Ubuntu 20.04
Make sure you are logged in as a user with sudo privileges before beginning the tutorial.
Install Apache
Apache is available in the Ubuntu default repositories.
The installation process is rather simple. The Apache package and service are known as apache2 on Ubuntu and Debian operating systems.
Execute the commands below to install Apache and update the package index:
sudo apt update
sudo apt install apache2
The Apache service will launch on its own after the installation is finished.
Running the below command will show whether Apache is active:
sudo systemctl status apache2
You should be able to see from the output whether the service is active and set to launch during system boot:
Output

● apache2.service - The Apache HTTP Server
     Loaded: loaded (/lib/systemd/system/apache2.service; enabled; vendor preset: enabled)
     Active: active (running) since Mon 2022-12-19 19:28:40 UTC; 36min ago
...
That is all. You have successfully installed Apache on your Ubuntu 20.04 server and are ready to use it.
Opening HTTP and HTTPs Ports
Apache is accessible on ports 443 (HTTP) and 80 (HTTPS). To access the webserver from the Internet, you must enable those ports in your firewall.
Assuming you are using UFW, you may accomplish this by turning on the “Apache Full” profile, which contains rules for both ports:
sudo ufw allow 'Apache Full'
Verify the changes:
sudo ufw status
Output

Status: active

To                         Action      From
--                         ------      ----
22/tcp                     ALLOW       Anywhere
Apache Full                ALLOW       Anywhere
22/tcp (v6)                ALLOW       Anywhere (v6)
Apache Full (v6)           ALLOW       Anywhere (v6)
Verify the Apache Installation
Open your browser, enter your server's IP address http://YOUR_IP_OR_DOMAIN/, and you should get the default Ubuntu 20.04 Apache welcome page as displayed below to confirm that everything is working as it should.
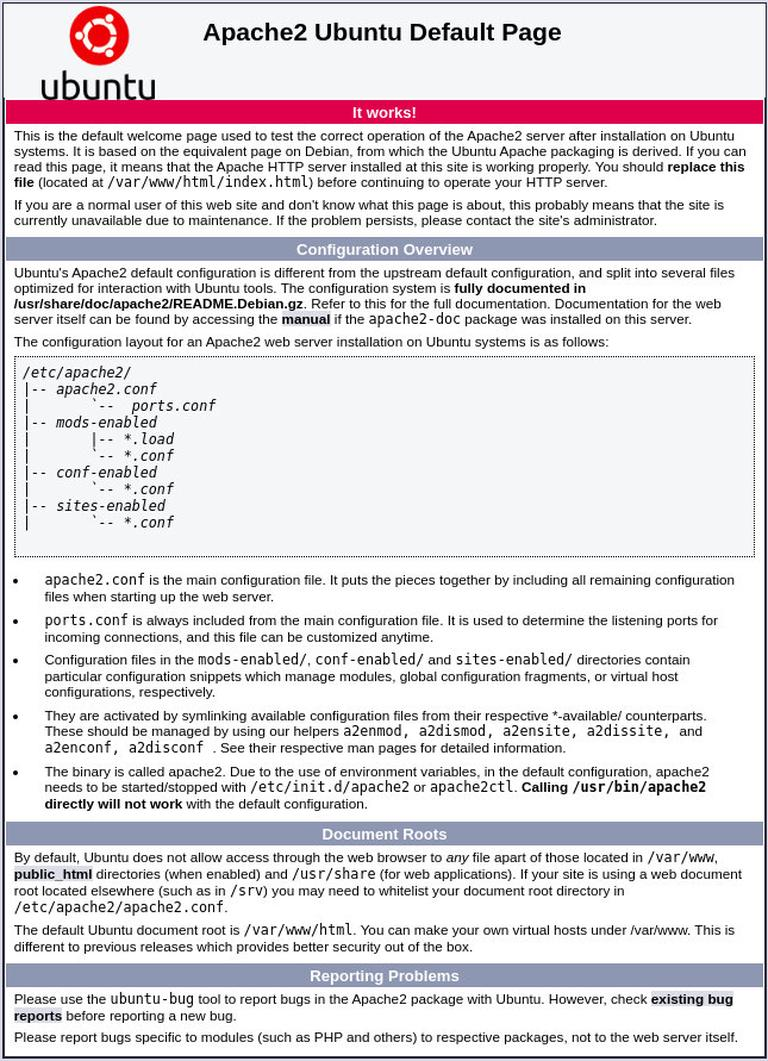
On this page, you can find some fundamental details regarding Apache configuration files, directory locations, and helper scripts.
Setting up a Virtual Host
An Apache configuration directive called a Virtual Host enables you to operate several websites on a single server. A virtual host often refers to one website.
Apache comes pre-configured with one virtual host enabled. The default virtual host will be the same for all domains that refer to the server's IP address. You can upload the content of a single website to /var/www/html and update the virtual host configuration in the /etc/apache2/sites-enabled/000-default.conf file if you are just hosting one website.
If you plan to host many websites, you will need to create a virtual host configuration for each one. We will create a website for the domain “example.com” in this section. The domain name you want to use should be substituted for “example.com”.
The website files for the domain name will be stored in and served from the document root directory, which must be created first. The directory can be created by using the following command:
sudo mkdir -p /var/www/example.com
Make an index.html file in the domain's document root directory for testing purposes:
sudo nano /var/www/example.com/index.html
<!DOCTYPE html>
<html lang="en" dir="ltr">
  <head>
    <meta charset="utf-8">
    <title>Welcome to example.com</title>
  </head>
  <body>
    <h1>Success! example.com home page!</h1>
  </body>
</html>
When completed, save and close the file.
Change the ownership of the domain document root directory to the Apache user (www-data) to prevent permission issues:
sudo chown -R www-data: /var/www/example.com
The following step is to set up a virtual host configuration for the domain “example.com”. It is better to keep each vhost configuration in its own file.
The /etc/apache2/sites-available directory is where Apache vhosts files are kept. The file should be named using the domain, which is the accepted naming convention.
Create the following file in your text editor:
sudo nano /etc/apache2/sites-available/example.com.conf
<VirtualHost *:80>
    ServerName example.com
    ServerAlias www.example.com
    ServerAdmin [email protected]
    DocumentRoot /var/www/example.com/

    <Directory /var/www/example.com/>
        Options -Indexes +FollowSymLinks
        AllowOverride All
    </Directory>

    ErrorLog ${APACHE_LOG_DIR}/example.com-error.log
    CustomLog ${APACHE_LOG_DIR}/example.com-access.log combined
</VirtualHost>
If the /etc/apache2/sites-available directory's configuration files are not connected to the /etc/apache2/sites-enabled directory, Apache will not read them.
Use the a2ensite program to create a symlink in order to activate the virtual host configuration:
sudo a2ensite example.com
And use a2dissite to disable the default page of Apache:
sudo a2dissite 000-default
Use the following command to check the configuration for syntax errors:
sudo apachectl configtest
You will get an output like below if there are no errors:
Output

Syntax OK
For the changes to take effect, restart the Apache service:
sudo systemctl restart apache2
Finally, access http://example.com in your browser to ensure that everything is functioning as planned. Then you should see something like this:

FAQs to Install Apache on Ubuntu 20.04
How can I start Apache on Ubuntu 20.04?
After installation, Apache starts automatically. To confirm its status, run sudo systemctl status apache2. You can also start, stop, or restart Apache using the sudo systemctl command.
How do I enable a specific module in Apache on Ubuntu 20.04?
Use the command sudo a2enmod <module_name> to enable a specific module. For example, to enable the rewrite module, run sudo a2enmod rewrite and then restart Apache.
Where should I place my website files on Ubuntu 20.04 with Apache?
By default, the root directory for your website is /var/www/html. Place your website files in this directory to make them accessible via Apache.
How can I configure virtual hosts on Apache in Ubuntu 20.04?
Create a new configuration file for your virtual host in the /etc/apache2/sites-available/ directory. Then, enable the virtual host with sudo a2ensite <config_file and restart Apache.
How do I secure my Apache server on Ubuntu 20.04?
Use SSL/TLS encryption to secure your Apache server. Generate an SSL certificate and configure Apache to use it. Additionally, regularly update and patch your server to maintain security.
Can I use Apache with PHP on Ubuntu 20.04?
Yes, you can use Apache with PHP on Ubuntu 20.04. Install PHP by running sudo apt install php and configure Apache to work with PHP by installing the necessary module, libapache2-mod-php.
How do I enable directory listing in Apache on Ubuntu 20.04?
Open your virtual host configuration file and add the Options +Indexes directive for the desired directory. Save the file and restart Apache for the changes to take effect.
How can I test if Apache is working on Ubuntu 20.04?
Open a web browser and enter http://localhost or http://your_server_ip in the address bar. If Apache is working correctly, you should see the default Apache2 Ubuntu Default Page.
Conclusion
You now know how to install Apache on Ubuntu 20.04. Now that you are prepared, you may utilize Apache as a web or proxy server to begin deploying your applications.
If you have any queries, please leave a comment below, and we’ll be happy to respond to them.