Choose a different version or distribution
Introduction
Before, we begin talking about how to install Asterisk on Ubuntu 24.04. Let's first understand – What is Asterisk?
Asterisk functions as an open-source PBX (Private Branch Exchange) platform, enabling various communication services like VoIP, conferencing, and IVR.
This software-based system delivers cost-effective and flexible solutions in managing telephony networks effectively. With Asterisk, businesses can optimize communication needs efficiently and adapt to evolving requirements seamlessly.
In this tutorial, you will install Asterisk on Ubuntu 24.04. We will also address few FAQs related to Asterisk installation.
Advantages of Asterisk
- Flexibility: Asterisk offers customizable telephony solutions to suit diverse business needs.
- Cost-effective: Its open-source nature reduces expenses associated with traditional phone systems.
- Scalability: Easily scales with business growth.
- Feature-rich: Provides a wide array of communication features.
- Integration: Seamlessly integrates with various applications and services.
Prerequisites
- Ensure you log in as a user with
sudoprivileges. - At least 1 GB of RAM or more CPU cores
- Your system should have Ubuntu 24.04 installed.
Step 1 – Download Asterisk (Method 1)
1) It's advisable to update your system packages prior to installing Asterisk.
sudo apt-get update
sudo apt-get upgrade
2) Next, use the following command to install the build essentials and dependencies:
sudo apt-get install build-essential

sudo apt-get install git-core subversion wget libjansson-dev sqlite autoconf automake libxml2-dev libncurses5-dev libtool
Download Asterisk (Method 2)
1) Download the Asterisk source into the /usr/src directory, which is typically used for storing source files. Next, navigate to this directory with the following command:
cd /usr/src/
2) Download the most recent version of Asterisk using wget command provided below:
sudo wget http://downloads.asterisk.org/pub/telephony/asterisk/asterisk-20-current.tar.gz
3) After the download finishes, use the following command to extract the tarball:
sudo tar zxf asterisk-20-current.tar.gz
4) Prior to proceeding with the next steps, ensure to switch to the Asterisk source directory by:
cd asterisk-*/
Step 2 – Install Asterisk Dependencies
1) This script will fetch the MP3 sources essential for constructing the MP3 module, crucial for handling MP3 files within Asterisk:
sudo contrib/scripts/get_mp3_source.sh
2) Next, utilize the install_prereq script to address all dependencies on your Ubuntu system.
sudo contrib/scripts/install_prereq install
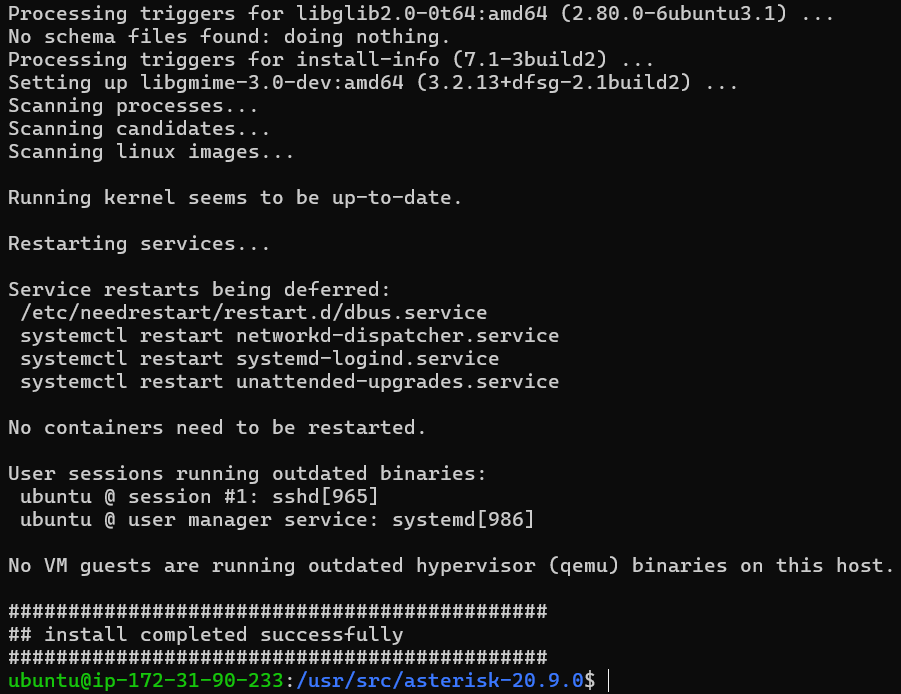
After successfully executing the script above, all required packages will be installed. Subsequently, it will display the following message:
Ouput

#############################################
## install completed successfully
#############################################
Step 3 – Install Asterisk
1) The ./configure script conducts multiple checks to verify the presence of system dependencies. Initiate the script by:
sudo ./configure
After successful completion, you will see the below output:
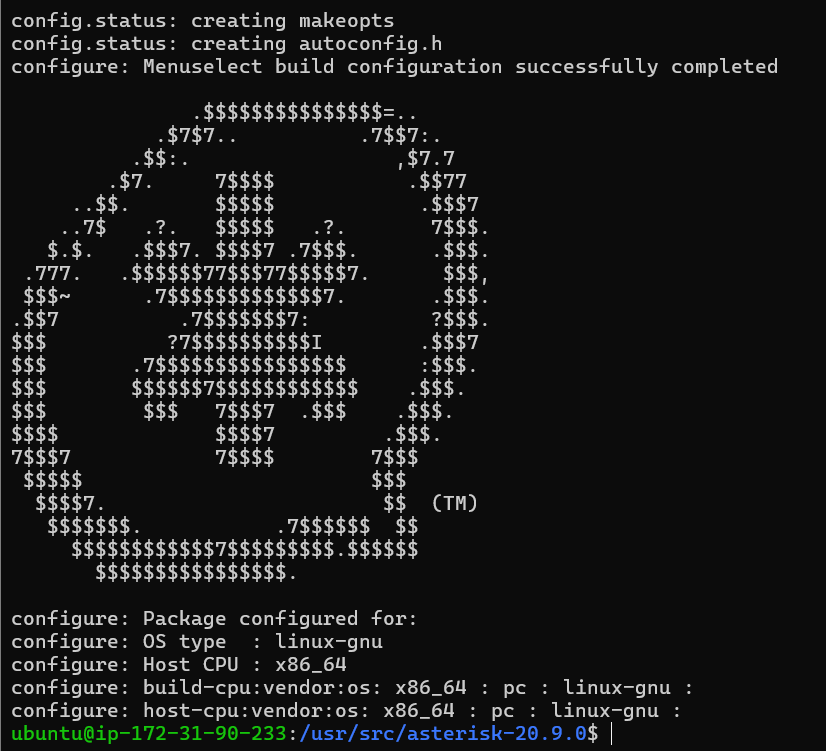
2) Then select the modules you want to compile and install. Next, access the Menu-select system by typing the following command:
sudo make menuselect
3) After, downloading MP3 source files, you will need to tell Asterisk to build the MP3 module. Do it by selecting format_mp3:
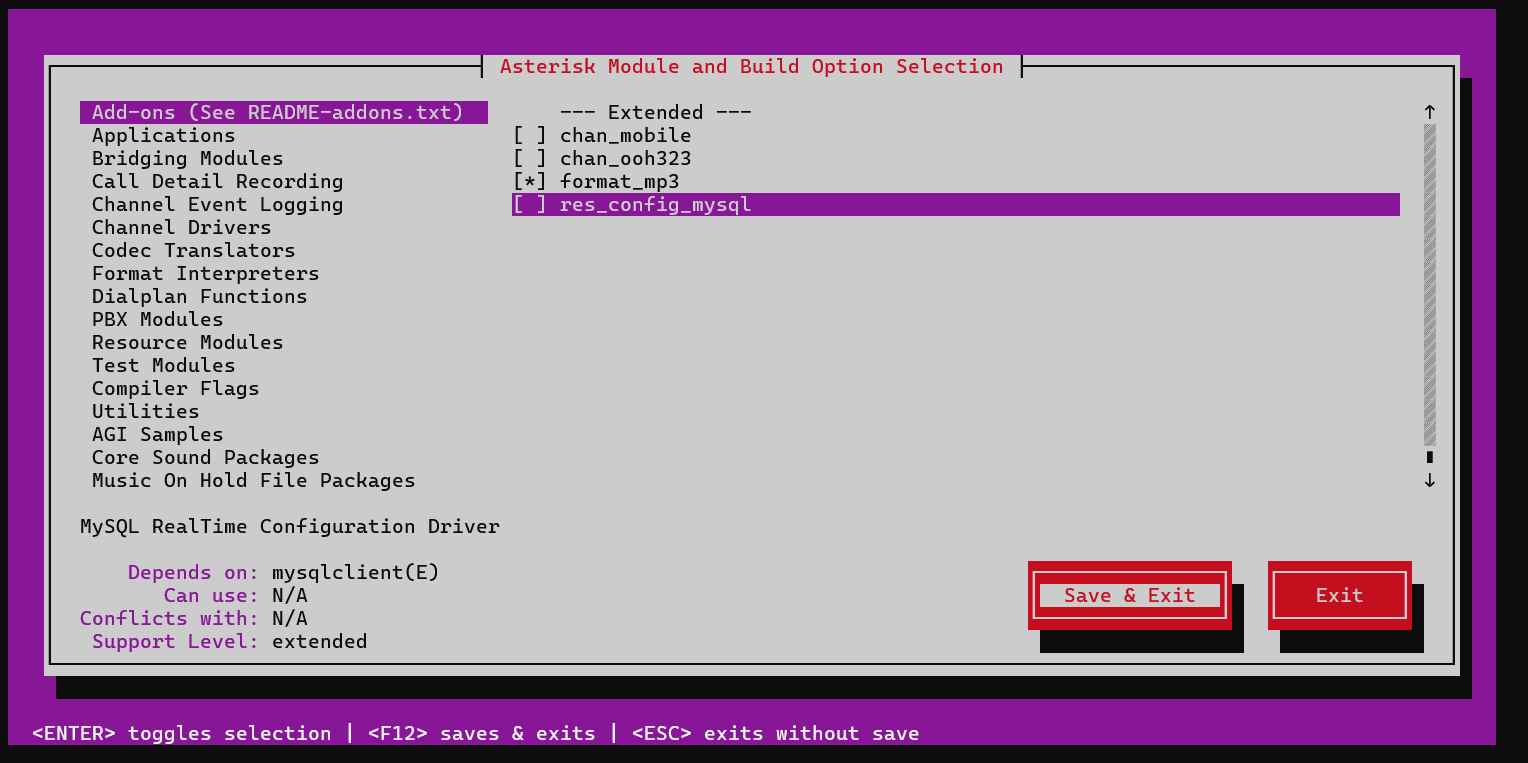
4) When you are done with this, then press F12 to save and exit or switch to the Save and Exit button. Next, press Enter. You will be able to start the compilation process. Do it using the make command, by:
sudo make -j2
-j flag as per the number of cores in your processor.You will see the following message:
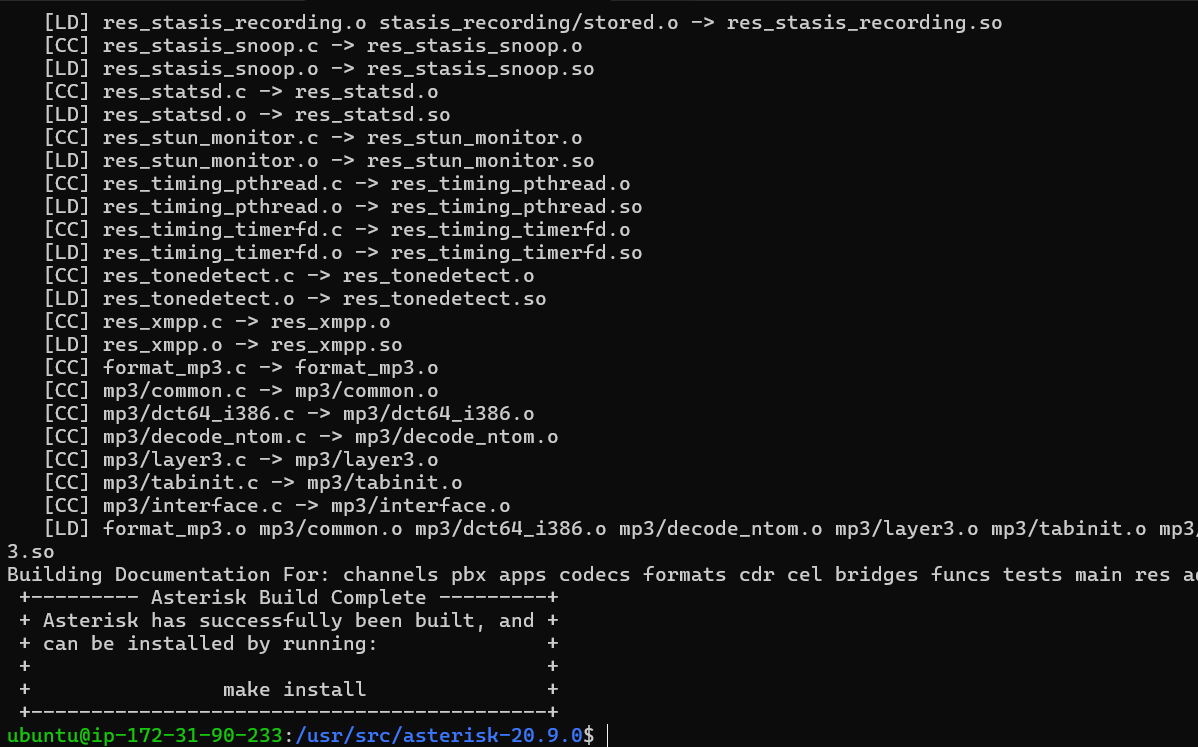
5) The next step is to install Asterisk and its modules by running the following command:
sudo make install
Once the installation is complete, then the script will display the below message:
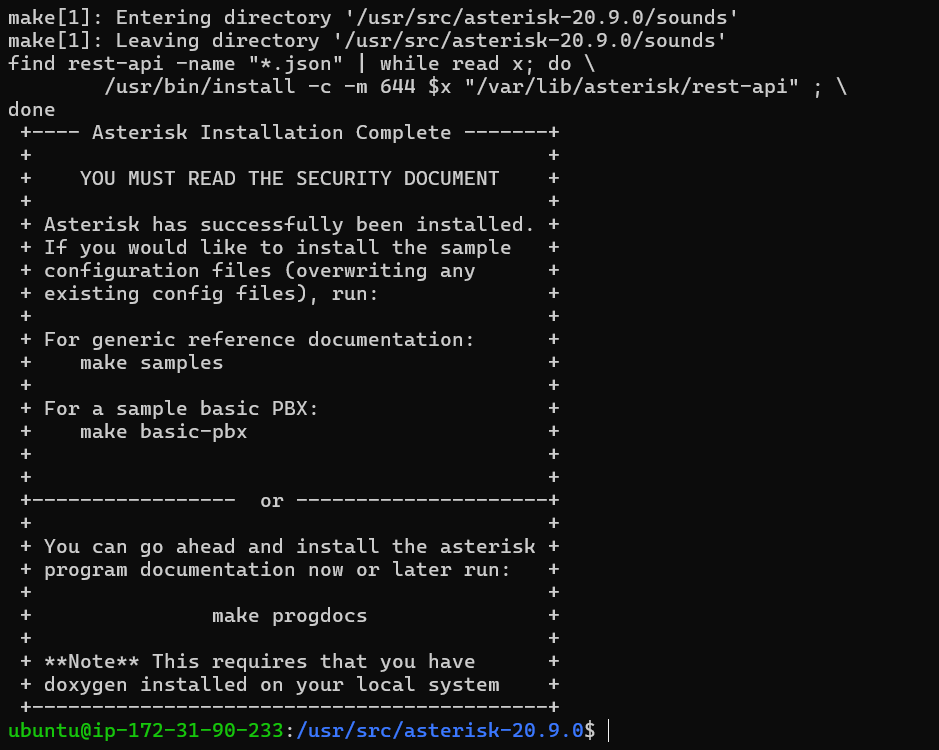
6) Now, after Asterisk installation, you will install sample configuration files.
Install either generic configuration files, with reference documentation by:
sudo make samples
Or install the basic PBX configuration files, by:
sudo make basic-pbx
8) Install the Asterisk init script using the following command:
sudo make config
9) It's good to run ldconfig to update the shared libraries cache:
sudo ldconfig
Step 4 – Create Asterisk User
1) By default, Asterisk runs as a root user. For security purposes, you will have to create a new system user as well as configure Asterisk to run as a new user. To create a new system user, run the below command:
sudo adduser --system --group --home /var/lib/asterisk --no-create-home --gecos "Asterisk PBX" asterisk
2) To configure Asterisk to run as asterisk user, open /etc/default/asterisk file. Further, uncomment the below 2 lines:
AST_USER="asterisk"
AST_GROUP="asterisk"
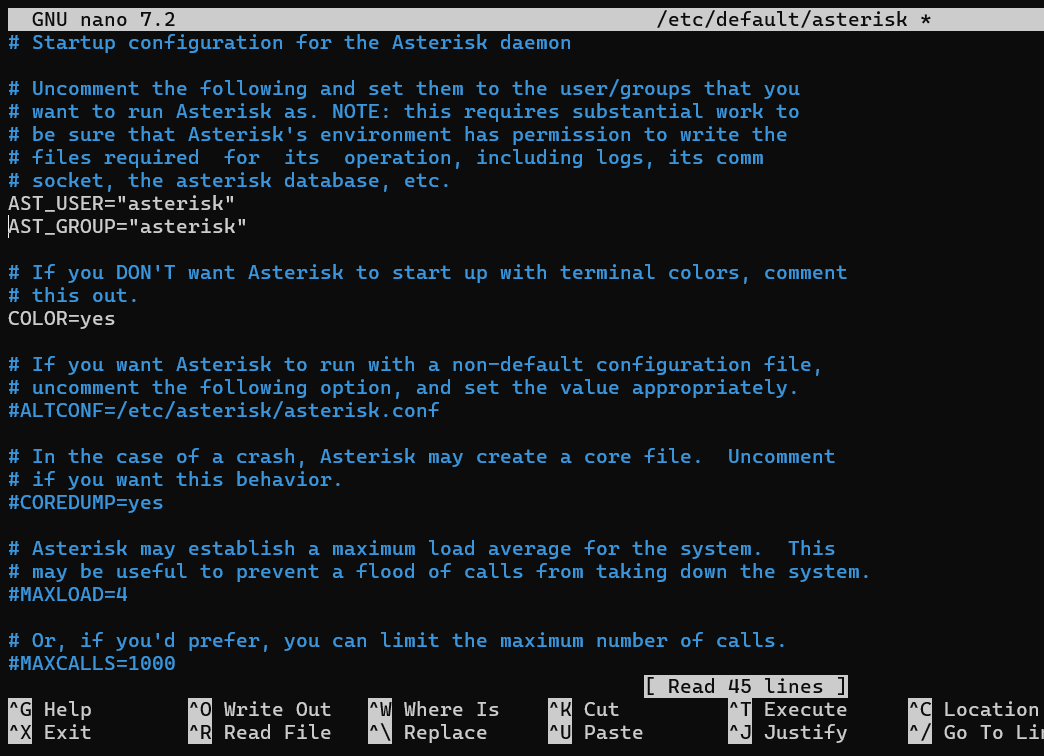
3) Next, add asterisk user to the dialout as well as to audio groups, using the following command:
sudo usermod -a -G dialout,audio asterisk
4) You will also need to change the ownership and permissions of all asterisk files and directories, after which asterisk can access those files:
sudo chown -R asterisk: /var/{lib,log,run,spool}/asterisk /usr/lib/asterisk /etc/asterisk
sudo chmod -R 750 /var/{lib,log,run,spool}/asterisk /usr/lib/asterisk /etc/asterisk
Step 5 – Start Asterisk
1) Now, you can start the Asterisk service. Do it with the following command:
sudo systemctl start asterisk
2) You will need to verify that Asterisk is running. So, connect to the Asterisk command-line interface (CLI) by:
sudo asterisk -vvvr
You will see the below default Asterisk CLI prompt:

3) The next is to enable the Asterisk service to start on boot using the following command:
sudo systemctl enable asterisk
Step 6 – Configure the Firewall
1) The firewall will secure your server from unwanted traffic. By default, SIP uses the UDP port 5060, to open the port run:
sudo ufw allow 5060/udp
2) If you will enable the real-time Protocol, then you also need to open the port range, by:
sudo ufw allow 10000:20000/udp
Now, you can easily adjust the firewall as per your need.
FAQs to Install Asterisk on Ubuntu 24.04
Is Asterisk free to use?
Yes, Asterisk is free and open-source, making it a cost-effective alternative to commercial communication solutions. It can be modified to fit specific needs, providing flexibility and customization options.
Can I run Asterisk without special hardware?
Yes, Asterisk can run without special hardware like Digium cards or ISDN adapters. However, some applications may require hardware for timer support, but this can be achieved in various ways.
Which programming languages can I use with Asterisk on Ubuntu 24.04?
Asterisk can integrate with many programming languages, including PHP, Python, and JavaScript.
Can I install Asterisk on a virtual machine?
Yes, you can install and run Asterisk on a virtual machine. This is a common deployment scenario, as it allows for easy scaling and portability of the Asterisk system.
Can I use a web-based GUI to manage Asterisk on Ubuntu 24.04?
Yes, you can use a web-based GUI to manage Asterisk on Ubuntu 24.04. One popular option is FreePBX, which provides a user-friendly web interface for configuring and managing Asterisk.
Can I use Asterisk with other VoIP protocols besides SIP?
Yes, Asterisk supports various VoIP protocols, including SIP, IAX, and H.323. You can configure Asterisk to work with different VoIP protocols based on your requirements.
Can I use Asterisk to implement advanced call features, such as IVR and call queues?
Yes, Asterisk provides a wide range of advanced call features, including Interactive Voice Response (IVR) systems and call queues. These features can be configured through the Asterisk dialplan and various configuration files.
Conclusion
We hope this detailed tutorial helped you to install Asterisk on Ubuntu 24.04.
If you have any queries, please leave a comment below, and we’ll be happy to respond to them for sure.

