
Introduction
Before we begin talking about how to install ClamAV on Ubuntu 22.04, let's briefly understand – What is ClamAV?
ClamAV is a popular open-source antivirus software designed to detect and remove malware threats, including viruses, trojans, and malicious software. As one of the most widely used antivirus solutions, ClamAV is trusted by individuals and organizations worldwide.
With its comprehensive scanning capabilities and frequent updates, ClamAV ensures protection against evolving cyber threats. Its user-friendly interface and robust detection engine make it an ideal choice for safeguarding your devices and networks. Embrace the power of ClamAV to secure your digital world.
In this tutorial, you will install ClamAV on Ubuntu 22.04. We will also address a few FAQs on how to install ClamAV on Ubuntu 22.04.
Advantages of ClamAV
- Open-source: ClamAV is freely available for everyone, making it accessible to individuals and organizations without any licensing costs.
- Malware Detection: With its robust scanning engine, ClamAV effectively identifies and removes various types of malware threats.
- Regular Updates: ClamAV database is frequently updated to stay ahead of new malware trends and ensure optimal protection.
- Cross-platform Compatibility: ClamAV works seamlessly across multiple operating systems, including Windows, macOS, and Linux.
- User-friendly Interface: ClamAV offers an intuitive interface, making it easy to use for both beginners and advanced users in maintaining a secure environment.
Step 1: Update Ubuntu before ClamAV Installation
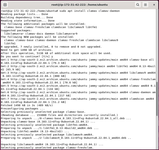
Make sure all the packages on your Ubuntu system are up to date in order to prevent any potential conflicts during the ClamAV installation. Use a terminal window to run the following command to perform a quick update before moving on with the ClamAV installation:
sudo apt update && sudo apt upgrade
Before installing ClamAV, this command will update your system's package lists and make sure all the packages are current.
Step 2: Install ClamAV via APT on Ubuntu
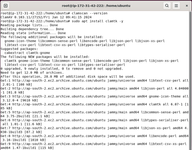
Installing ClamAV on Ubuntu using the default APT repository is the easiest method to do so. Use a terminal window to type the following command to install ClamAV:
sudo apt install clamav clamav-daemon
With this command, ClamAV and its daemon will be installed from the default Ubuntu repository, making installation and usage simple.
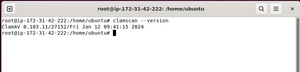
With the following command, you can check the installed version of ClamAV and make sure it's installed correctly:
clamscan --version
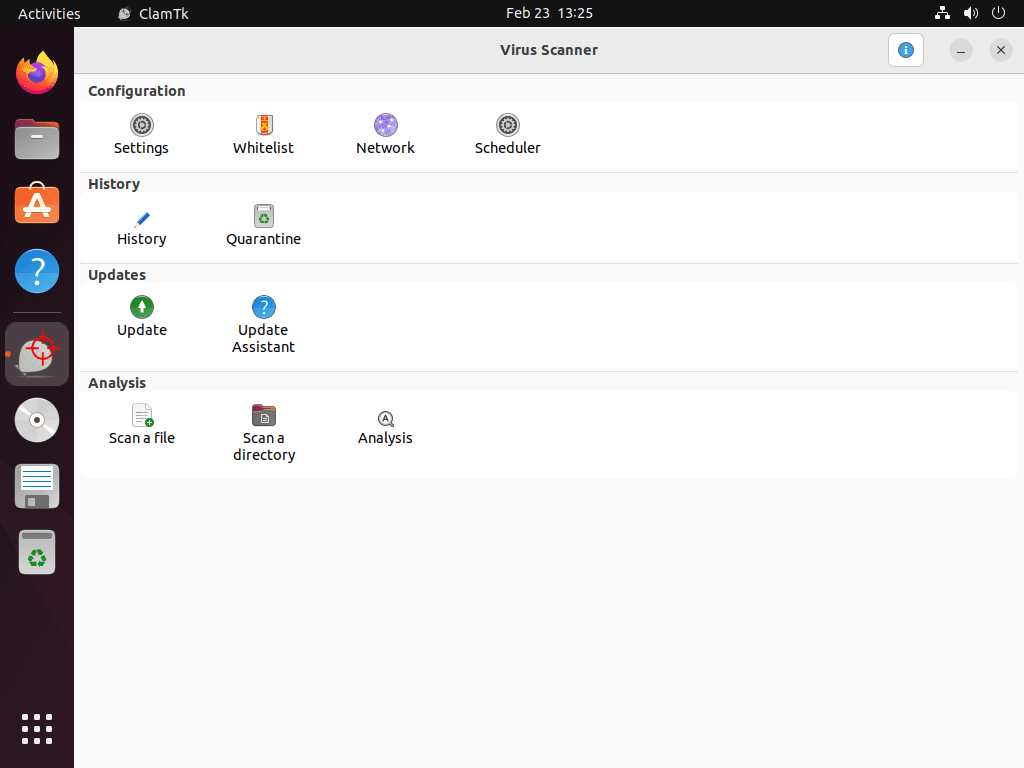
Optional: Install ClamAV TK
For Ubuntu users who would rather use a graphical interface to control the ClamAV virus scanner, installing the ClamAV GUI (clamtk) is optional. Use the following command to install the ClamAV GUI (clamtk) from the Ubuntu repository:
sudo apt install clamtk
ClamTK can be opened via the Applications menu or by typing the following command into the terminal after it has been installed:
clamtk
You can quickly set up the ClamAV virus scanner and run scans using a graphical user interface by using ClamTK. For inexperienced or intermediate Linux users who find using the command line uncomfortable, the ClamAV GUI may be helpful.
Step 3: Update the ClamAV Virus Database on Ubuntu
It is essential to update the virus database after installing ClamAV before utilizing the virus scanner (clamscan). By doing this, you can be sure that your system is secure and up to date against the most recent threats. The ClamAV virus database can be updated in the following ways:
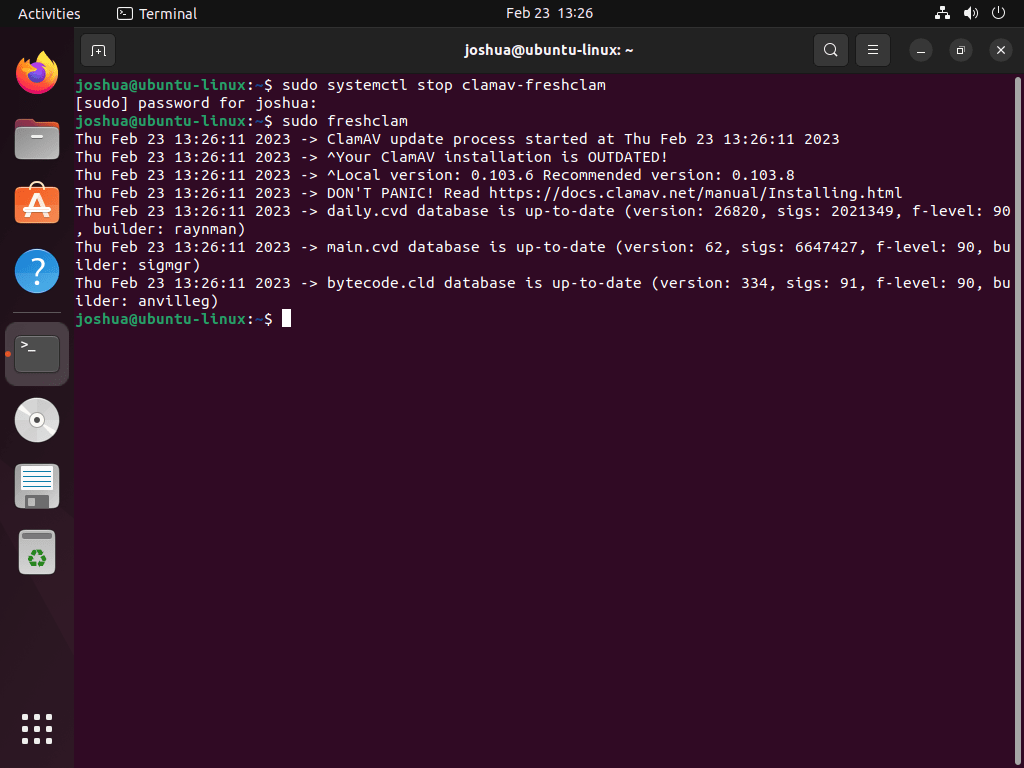
For the virus definition database to be updated, you must first terminate the "clamav-freshclam" service. Enter the following command in a terminal window to accomplish this:
sudo systemctl stop clamav-freshclam
Use a terminal window to run the following command to update your virus definition database:
sudo freshclam
The most recent ClamAV virus definitions and databases will be downloaded using this command and placed in the "/var/lib/clamav" directory.
The following command can be used to launch the "clamav-freshclam" service after the database has been updated:
sudo systemctl enable clamav-freshclam --now
It is strongly advised to use this command to activate the service and enable it automatically upon system boot.
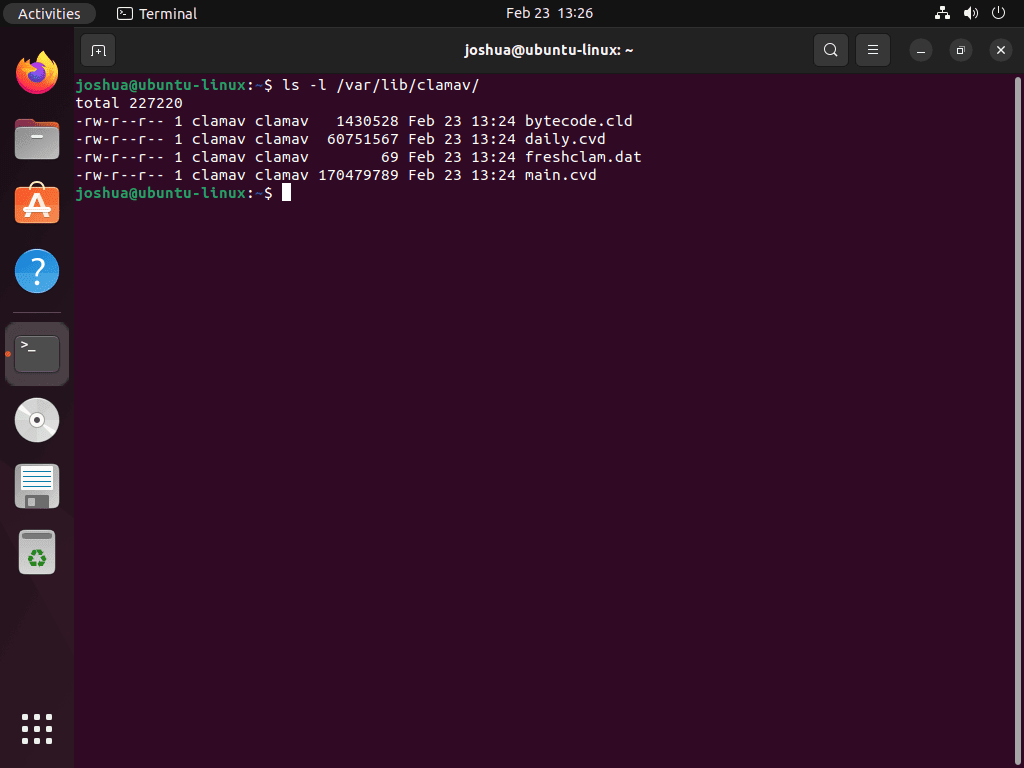
Use the “ls -l” command to see the ClamAV directory and the file dates. For instance, use the following command to list the contents of the "/var/lib/clamav/" directory:
ls -l /var/lib/clamav/
The contents of the "/var/lib/clamav/" directory, together with their owners, modification dates, and file permissions, will be shown by this command.
The following command can be used in the future if you need to disable "clamav-freshclam":
sudo systemctl disable clamav-freshclam --now
Step 4: ClamAV Terminal Commands (Basics)
ClamAV's main job is to check files and directories for malware and viruses. The following commands will assist you in running scans:
Scan a specific file
clamscan /path/to/file
This command checks a particular file for malware and viruses.
Scan a specific directory
clamscan -r /path/to/directory
This command checks for malware and viruses in a specified directory and all of its subdirectories.
Scan a specific file and write the results to a file
clamscan /path/to/file -l /path/to/logfile
This command checks a particular file for malware and viruses and saves the results to a file.
Scan a specific directory and write the results to a file
clamscan -r /path/to/directory -l /path/to/logfile
This command writes the results of its virus and malware scan to a file and examines a specified directory and all of its subdirectories.
Scan a specific file and remove infected files
clamscan /path/to/file --remove
This command removes any infected files after scanning a specified file for viruses and malware.
These are only a few commands; to obtain the full list of commands, type the following command to print help into your terminal.
clamscan --help
Additional Tips for ClamAV on Ubuntu Linux
Limit ClamAV CPU Usage
Because ClamAV scanning can be CPU-intensive, hardware that is older or less capable may not be able to keep up. You can limit ClamAV CPU usage with the "nice" command to help mitigate this problem. When executing resource-intensive apps or conducting system scans, this can be extremely useful.
By modifying a process's priority level, the "nice" command lets you devote more or less system resources to particular tasks. The "nice" command can be used to lower ClamAV's default priority level of zero, freeing up more system resources for other uses.
Here's an illustration of how to restrict ClamAV CPU usage during a scan using the "nice" command:
sudo nice -n 15 clamscan && sudo clamscan --bell -i -r /home
The "nice" command in this command sets the "clamscan" command's priority level to 15. During the scan, ClamAV will use less system resources, freeing up resources for other applications. After the initial scan is finished, the "&&" operator is used to launch a second "clamscan" command with the parameters "–bell -i -r /home."
Other options exist, but the "nice" command is the most effective way to limit ClamAV's CPU usage. For instance, you could change the configuration file for ClamAV to use fewer threads when scanning. But there's an easy and efficient way to distribute system resources between ClamAV and other processes: use the "nice" command.
Creating a Cron Job for ClamAV
Ubuntu comes with a built-in tool called Cron that lets users schedule tasks to be completed automatically. This can be especially useful when using ClamAV to perform routine virus scans. We'll walk through setting up a cron job for Ubuntu's ClamAV in this section.
Make a shell script that will launch the scan with ClamAV. Enter the following command in the terminal to accomplish this:
nano clamscan.sh
This will launch a new file in the nano text editor, allowing you to type in the desired ClamAV command to execute. For instance, you can type the following command to search the entire "/home" directory:
#!/bin/bash
clamscan -r /home
After entering the command, save the file by pressing "Y" and exit nano by pressing "Ctrl + X."
The shell script needs to be made executable before it can be executed. Enter the following command in the terminal to accomplish this:
chmod +x clamscan.sh
The shell script will now have execute permissions as a result.
Now that the shell script is prepared, you can set up a cron job to execute it on a regular basis. Enter the following command in the terminal to accomplish this:
crontab -e
This will cause the nano text editor to display the cron table. You can enter the ClamAV scan schedule in this file. For instance, you could type in the following line to have the scan run daily at three in the morning:
0 3 * * * /path/to/clamscan.sh
To access your shell script, substitute the real path with "/path/to/clamscan.sh". After entering the line, hit "Y" to save the modifications and "Ctrl + X" to exit Nano.
You can use the following command in the terminal to verify that the cron job is configured correctly:
crontab -l
This will show you the list of configured cron jobs on your system. This is where you should see the ClamAV cron job if it is configured correctly.
Remove ClamAV
To clear up space and lessen clutter, you might want to uninstall ClamAV from your system if it's no longer necessary. Thankfully, eliminating ClamAV is simple and only requires a few terminal commands to accomplish.
To make sure ClamAV isn't running while you uninstall it, you should first disable it. Enter the following command in the terminal to accomplish this:
sudo systemctl disable clamav --now
By using this command, you can stop the ClamAV service from running in the background and obstructing the uninstallation procedure.
The next thing you should do is clean your system of any evidence of ClamAV. This covers the ClamAV program and any related files or dependencies that might have been installed in addition to it. Enter the following command in the terminal to accomplish this:
sudo apt remove clamav clamav-daemon
Additionally, the graphical interface can be manually removed from ClamAV TK installations by using the following command:
sudo apt remove clamavtk
FAQs to Install ClamAV on Ubuntu 22.04
What is the purpose of installing ClamAV on Ubuntu 22.04?
Installing ClamAV on Ubuntu 22.04 helps protect your system by detecting and removing malware and other security threats.
Are there any additional packages required for ClamAV installation on Ubuntu 22.04?
No, the 'clamav' package includes all the necessary dependencies for the installation on Ubuntu 22.04.
How do I update ClamAV's virus database on Ubuntu 22.04?
Use the command 'sudo freshclam' to update the virus database of ClamAV on Ubuntu 22.04.
How do I schedule automatic scans with ClamAV on Ubuntu 22.04?
Utilize the 'crontab' utility to create a scheduled task that runs 'clamscan' command at specified intervals.
Can I configure ClamAV to scan specific directories or files?
Yes, edit the ClamAV configuration file located at '/etc/clamav/clamd.conf' to specify the directories or files to be scanned.
How do I scan a specific file or directory using ClamAV on Ubuntu 22.04?
Run the command 'clamscan /path/to/file_or_directory' in the terminal to perform a scan on the desired file or directory.
How can I set up real-time scanning with ClamAV on Ubuntu 22.04?
Install and configure 'clamav-daemon' package to enable real-time scanning, which continuously monitors files for any infections.
Conclusion
We hope this tutorial helped you understand how to install ClamAV on Ubuntu 22.04.
If you have any queries, please leave a comment below, and we’ll be happy to respond to them for sure.