
Choose a different version or distribution
Introduction
Before we begin talking about how to install CouchDB on Ubuntu 22.04, let's briefly understand – What is CouchDB?
CouchDB is a popular open-source NoSQL database that stores and manages data in a document-oriented way. It offers flexibility, scalability, and easy replication across servers, making it suitable for web and mobile applications.
With its JSON-based document model and built-in indexing, CouchDB simplifies data retrieval and supports efficient querying. It also includes features like conflict resolution and offline data synchronization. Whether you need a reliable and distributed database for your project or want to enhance data accessibility, CouchDB proves to be a versatile choice.
In this tutorial, you will learn how to install CouchDB on Ubuntu 22.04. We will also address a few FAQs on how to install CouchDB on Ubuntu 22.04.
Advantages of CouchDB
- Flexibility: CouchDB's document-oriented approach allows for dynamic and evolving data structures.
- Scalability: Its distributed architecture enables seamless scaling across multiple servers, accommodating growing data needs.
- Replication: Built-in replication supports data synchronization across devices and facilitates offline access.
- Easy querying: JSON-based documents and indexing enable efficient retrieval and querying of data.
- Conflict resolution: CouchDB's conflict resolution mechanism helps resolve conflicts that may arise during replication processes.
Step 1 – Update the System
You must first check for system updates, and if any package updates are available, you must upgrade by running the following command:
sudo apt update && sudo apt upgrade -y
Step 2 – Install the Dependency
Run the command below to install the dependency:
sudo apt install -y curl apt-transport-https gnupg
Step 3 – Enabling the CouchDB repository
Then, as root or a user with sudo privileges, we will enable the CouchDB repository and import the GPG key:
curl https://couchdb.apache.org/repo/keys.asc | gpg --dearmor | sudo tee /usr/share/keyrings/couchdb-archive-keyring.gpg >/dev/null 2>&1
echo "deb [signed-by=/usr/share/keyrings/couchdb-archive-keyring.gpg] https://apache.jfrog.io/artifactory/couchdb-deb/ jammy main" | sudo tee /etc/apt/sources.list.d/couchdb.list >/dev/null
Step 4 – Install CouchDB
After activating the repository, update the packages list and install CouchDB:
sudo apt update
sudo apt install -y couchdb
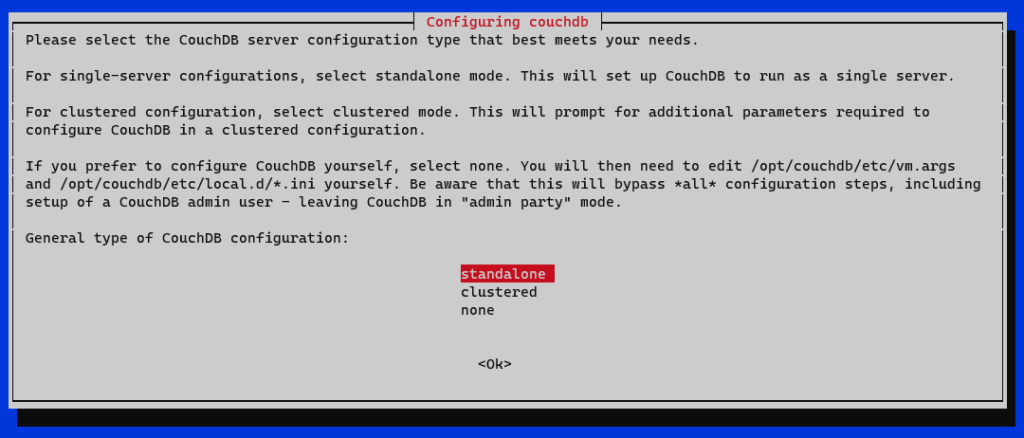
The installer will ask whether you want to install CouchDB in standalone or clustered mode. We will set up CouchDB in standalone mode on a single server.
Now, Set the Erlang Magic Cookie, This is a unique identifier to authenticate for your cluster and all nodes must have the same cookie. Here we have written monkey. You can write anything.
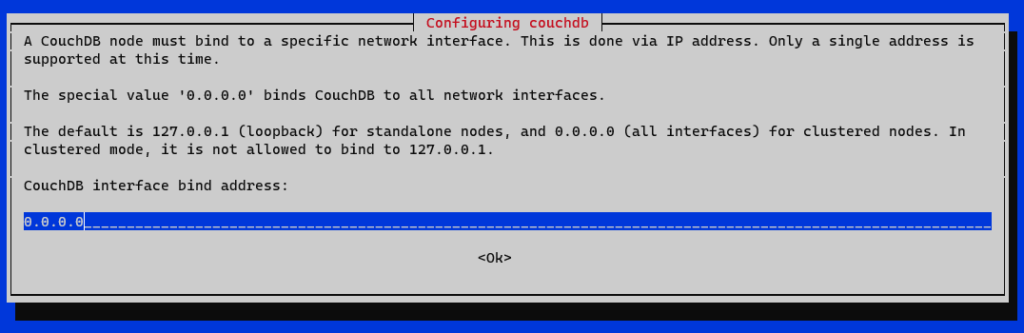
Next, you can provide the IP address that CouchDB will bind to. Maintain the default value of 127.0.0.1. Enter the interface IP address or type 0.0.0.0 to instruct CouchDB to bind to all network interfaces when configuring a cluster.
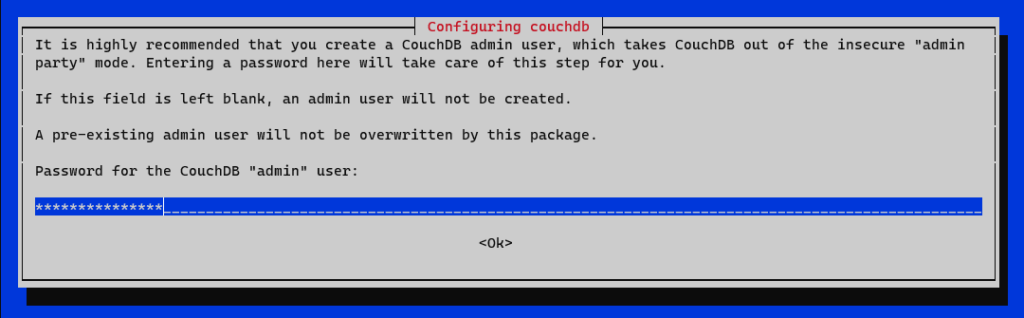
Set the admin password after that. This field will not create an admin user if you leave it empty. It is strongly advised to change the password and remove CouchDB from the insecure "admin party" mode.
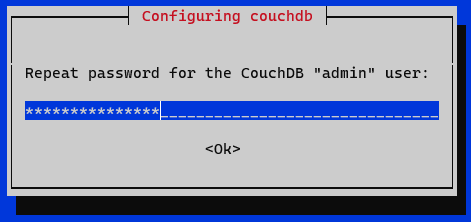
The installation will proceed when you enter the password once more to confirm.
The installation is completed at this moment.
Step 5 – Verify Installation
The CouchDB server will be available at localhost:5984. To view information about the CouchDB database in JSON format, use the curl command as follows:
curl http://127.0.0.1:5984/
If the output looks like the following, the installation was successful, and the service is up and running.
Output
{
  "couchdb":"Welcome",
  "version":"3.2.2",
  "git_sha":"ff0feea20",
  "uuid":"4589130c33b0dae4c166330463542ad4",
  "features":[
    "access-ready",
    "partitioned",
    "pluggable-storage-engines",
    "reshard",
    "scheduler"
  ],
  "vendor":{
    "name":"The Apache Software Foundation"
  }
}
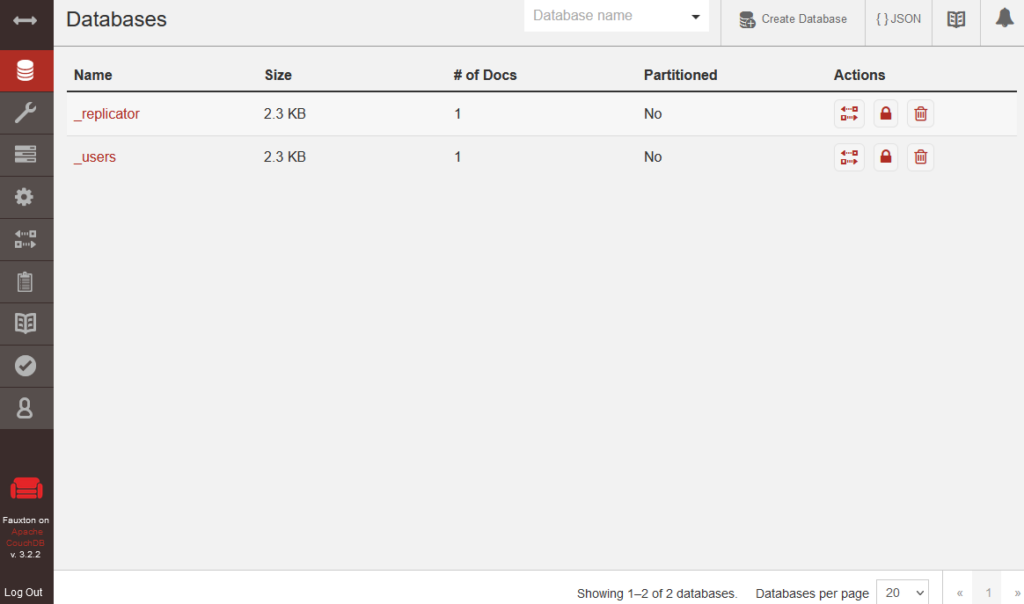
Type in the following http://127.0.0.1:5984/_utils/ to your web browser in order to access the web-based CouchDB interface. After logging in, the following page will appear:
FAQs to Install CouchDB on Ubuntu 22.04
What are the system requirements for installing CouchDB on Ubuntu 22.04?
CouchDB requires a minimum of 2 GB of RAM and at least 5 GB of free disk space on Ubuntu 22.04.
How can I access the CouchDB web interface after installation?
Once installed, you can access the CouchDB web interface by opening a web browser and visiting "http://localhost:5984/_utils".
How do I start or stop the CouchDB service on Ubuntu 22.04?
You can start or stop the CouchDB service by running the commands sudo service couchdb start and sudo service couchdb stop respectively.
How can I configure the CouchDB admin user and password?
You can configure the CouchDB admin user and password by editing the local.ini file located at /etc/couchdb/ and modifying the [admins] section.
How do I enable CORS (Cross-Origin Resource Sharing) in CouchDB?
To enable CORS in CouchDB, you need to edit the local.ini file and add the necessary configuration under the [httpd] section.
How do I create a new database in CouchDB on Ubuntu 22.04?
You can create a new database in CouchDB by using the web interface or by making a POST request to http://localhost:5984/{database_name}.
Can I upgrade my existing CouchDB installation on Ubuntu 22.04?
Yes, you can upgrade your CouchDB installation on Ubuntu 22.04 by following the official CouchDB upgrade instructions provided in the documentation.
Conclusion
Congratulations! You now know how to install CouchDB on an Ubuntu 22.04 machine. Check out the Apache CouchDB Documentation for more information.
If you have any suggestions or queries, kindly leave them in the comments section.
