
Introduction
Before we discuss how to install fonts on Ubuntu, let's first understand-What is Ubuntu ?
Ubuntu is a Linux distribution based on Debian and composed mostly of free and open-source software. Fonts are the major component that strengthens and improves the system's interface's interactiveness. Ubuntu offers a wide variety of font types to enhance the user experience.
However, there are only a few fonts offered by the system. To increase the variety of fonts and styles on the system, Ubuntu offers online support for fonts, specifically Google Fonts.
Many websites offer free fonts; some of the most well-known ones are listed below:
Users can download any font style from the sources listed above and then follow the instructions below.
In this tutorial, you will install fonts on Ubuntu. We will also address a few FAQs on how to install fonts on Ubuntu.
Advantages of Fonts
- Aesthetic appeal: Fonts play a crucial role in enhancing the visual appeal of text, allowing you to choose from a wide variety of styles to match the tone and mood of your content.
- Improved readability: Different fonts are designed with legibility in mind, making it easier for readers to comprehend and engage with the text.
- Brand identity: Unique font choices can help establish and reinforce a brand's identity, creating a distinctive visual representation that sets it apart from competitors.
- Enhanced communication: Fonts with specific characteristics, such as boldness or elegance, can help convey emotions, emphasis, or hierarchy, aiding effective communication.
- Creative expression: Fonts offer an avenue for creative expression, allowing designers to experiment with typography and create visually appealing and memorable designs.
Method 1: Using Font Manager
The "Font Manager" application, which controls the desktop fonts for the operating system, is the first method used to install fonts on Ubuntu. Users can use the application to import new fonts.
Step 1: Install Font Manager
Install "Font Manger" so that we can import the specific downloaded font. The subsequent command will be installed in order to accomplish this:
sudo apt install font-manager
Step 2: Download Fonts
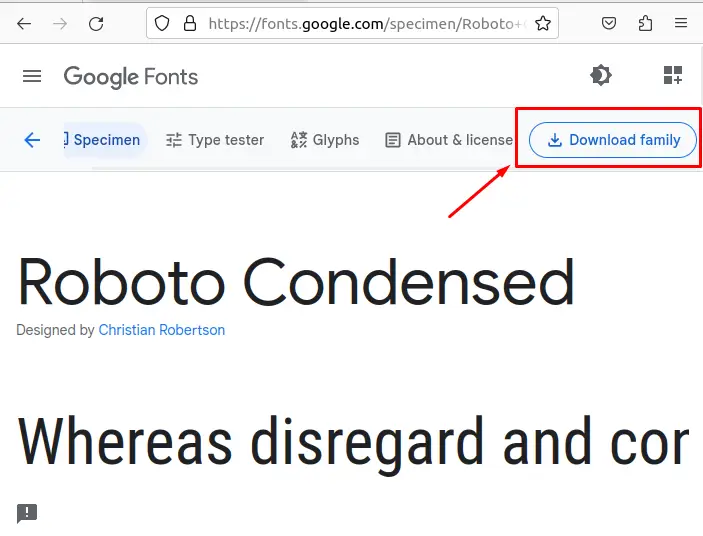
As we download the "Robot" Google fonts website, feel free to download any font of your choice from the website:
Step 3: Extract the “.zip” File
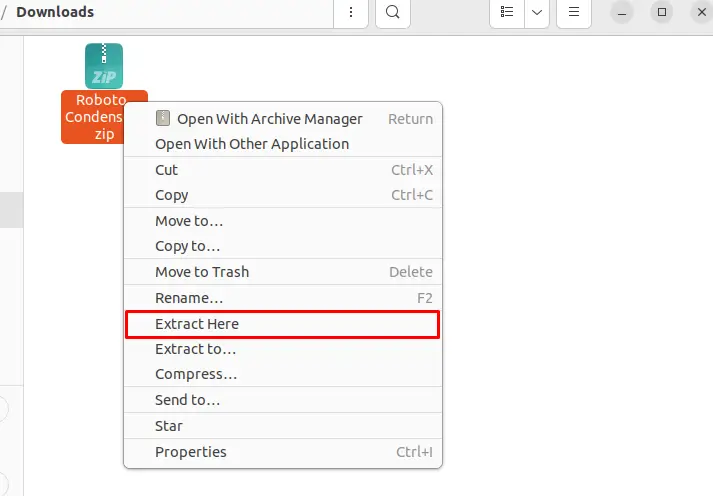
After downloading the specific font, extract the file by selecting it with the right click:
The font styles are included in the extracted files:
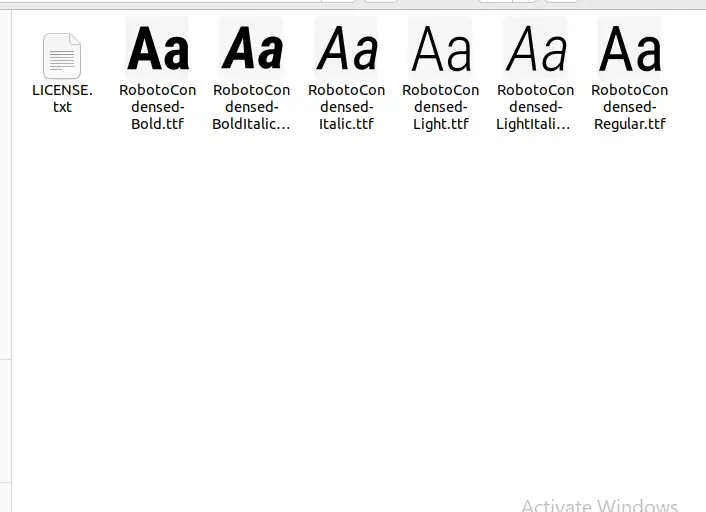
Note: To install a certain font style, double-click on it and choose "Install" to add that specific font to your system.
Step 4: Launch Font Manager
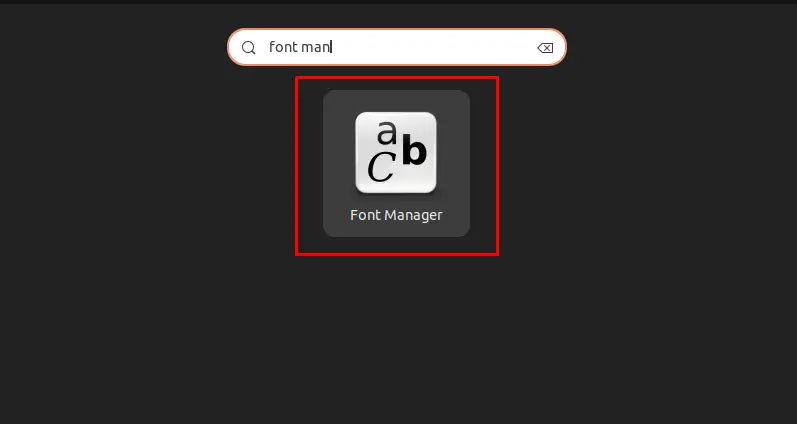
Launch "Font Manager" from the application once it has been installed:
Step 5: Add the Font to the Font Manager
Click the "+" button in the top left corner of the application's interface, then select "Import" and the location of the font file:
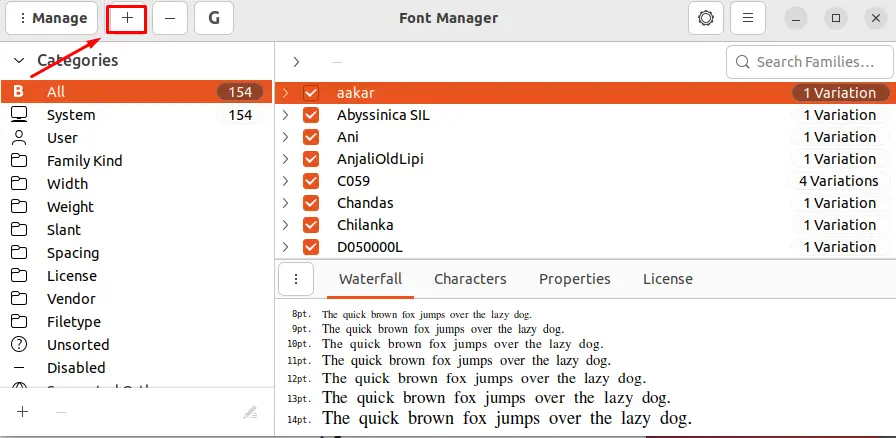
The font file will be accessible after being imported, as shown in the image below:
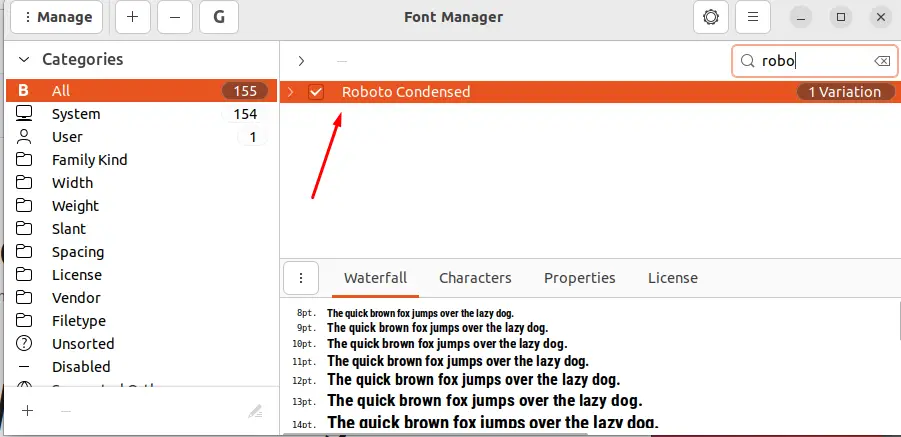
Verify the Change
Let's check whether LibreOffice, which is part of Ubuntu, has access to fonts. Click on the fonts list in the application to open it, then scroll down and look for the imported font. Given that "Robot Condensed" fonts have been imported and are present in the font list:
It has been imported to use that specific font.
Method 2: Using Default Font Directory
The second method of importing the font is to copy the font file to the "/usr/local/share/fonts/" fonts directory. All the operating system's fonts are available in this directory. Let's put this method into practice:
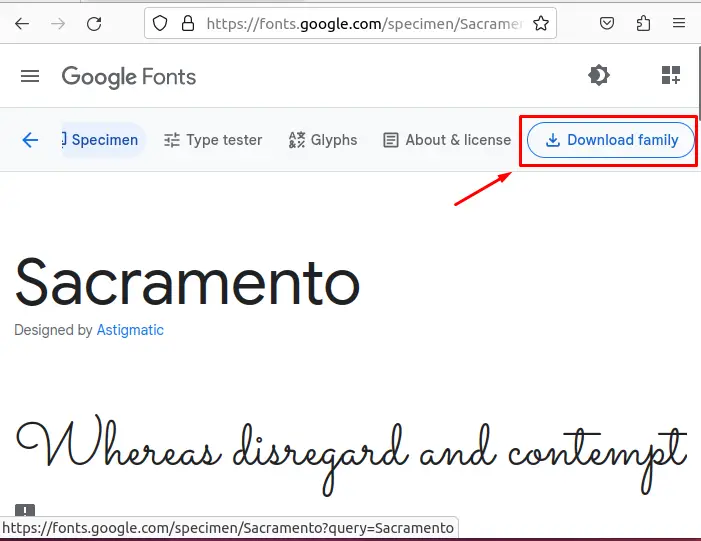
Step 1: Download Font
As we download the "Sacramento" font, download the font of your choosing from the Google font website.
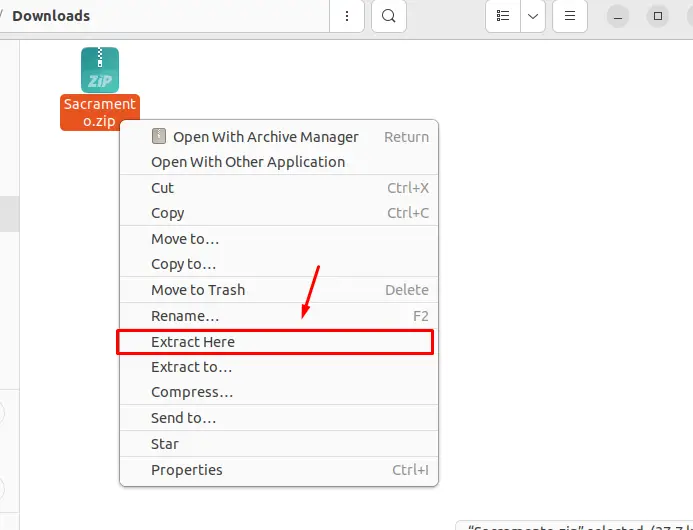
Step 2: Extract the “.zip” File
Right-clicking the font file after downloading it will allow you to extract it.
Step 3: Jump Into the Extracted Folder
Jump into the font's extracted folder using the cd command:
cd Downloads/Sacramento
Step 4: Copy the Font File
Use the command shown below to copy the font file into the /usr/local/share/fonts/ directory:
sudo cp *.ttf /usr/local/share/fonts/
There will be a copy of the font accessible for use.
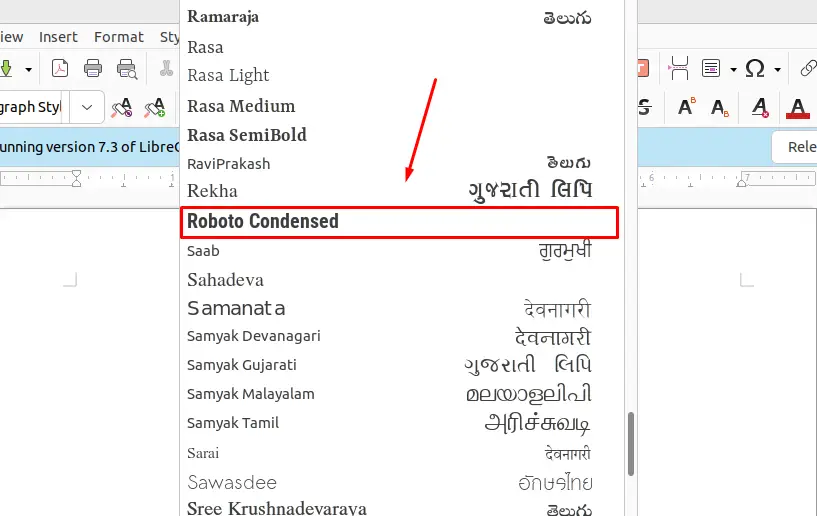
Verify the Change
Open the library office and look for the relevant font from the font list to make sure it is installed in the operating system:
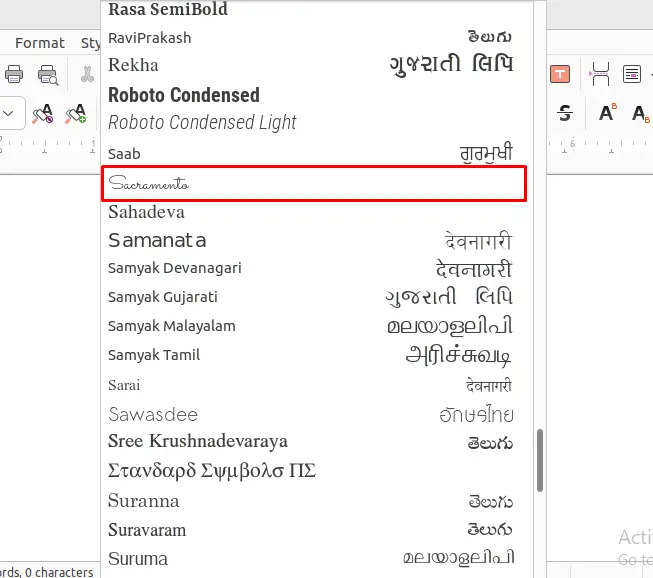
There is a choice for "Sacramento" on the list.
Method 3: Manually Adding Fonts Directory
By manually establishing the font directory in the operating system and pasting the font files in it, you can also install the font. Follow the instructions below to put this strategy into action.
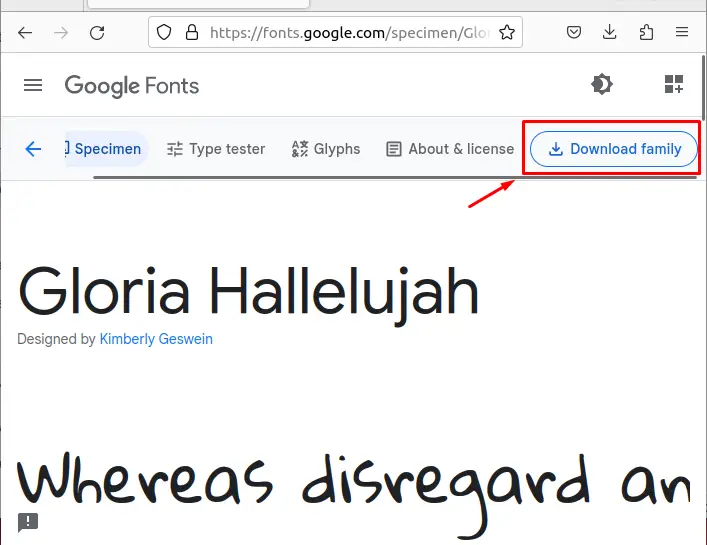
Step 1: Download Fonts
Visit the Google Font page and save the font of your choice, such as "Gloria Hallelujah" in our case:
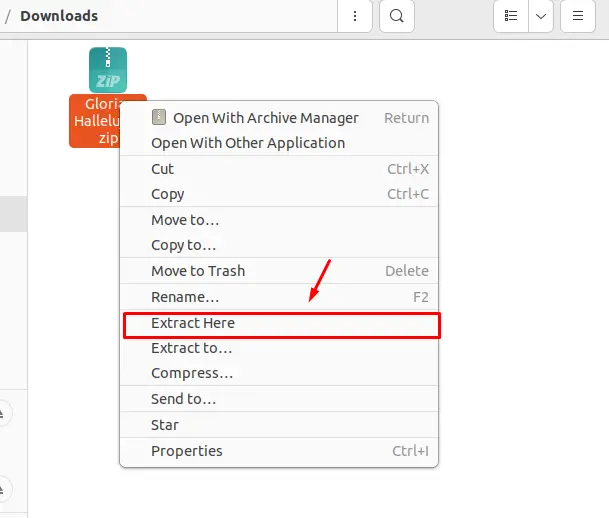
Step 2: Extract the “.zip” File
By right-clicking, you can extract the downloaded file:
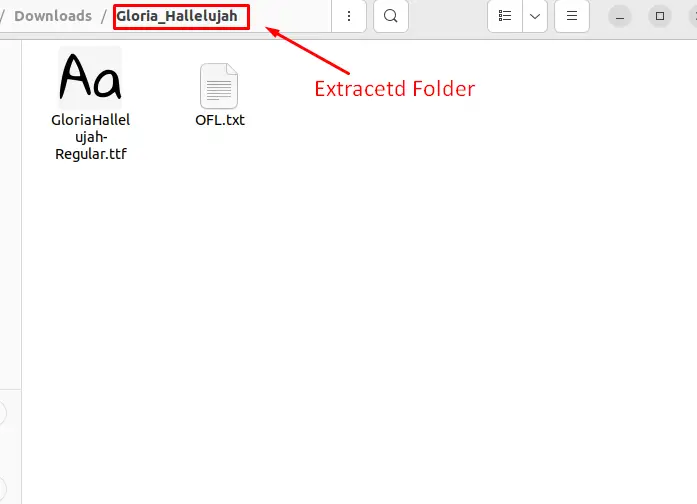
Step 3: Open the Extracted Folder
Open the extracted folder after the file has been extracted:
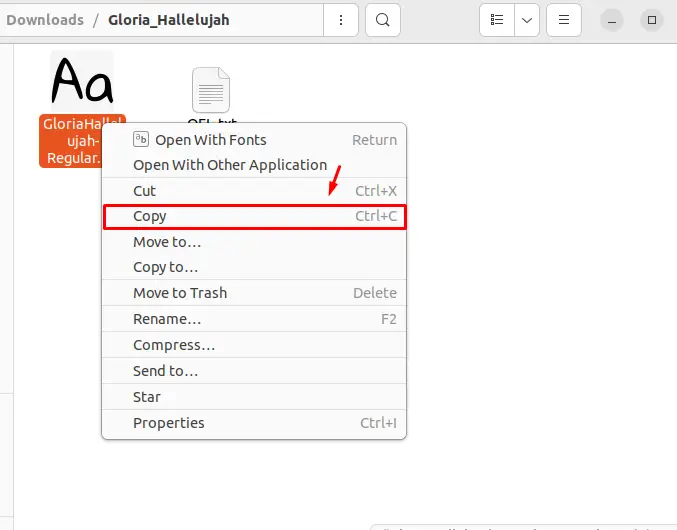
Step 4: Copy the Font File
Copy the font file by using the right-click menu:
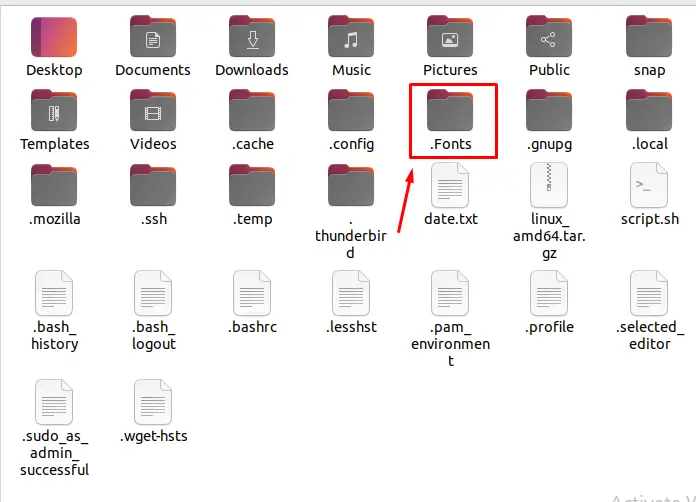
Step 5: Create Font Directory
Make a hidden "Font" Folder in the home directory using the "mkdir" command by adding a "." before its name:
mkdir .Fonts
Step 6: Paste the Copied Font File
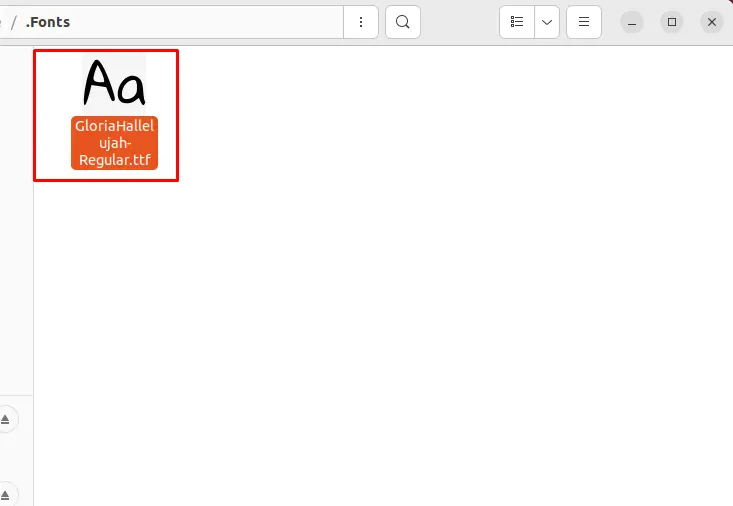
In order to see the hidden folders and enter the "Font" folder, press "Ctrl+H" from the keyboard:
Copy the font file, then paste it into the folder.
Verify the Change
Let's check to see if the font is present in "LibreOffice":
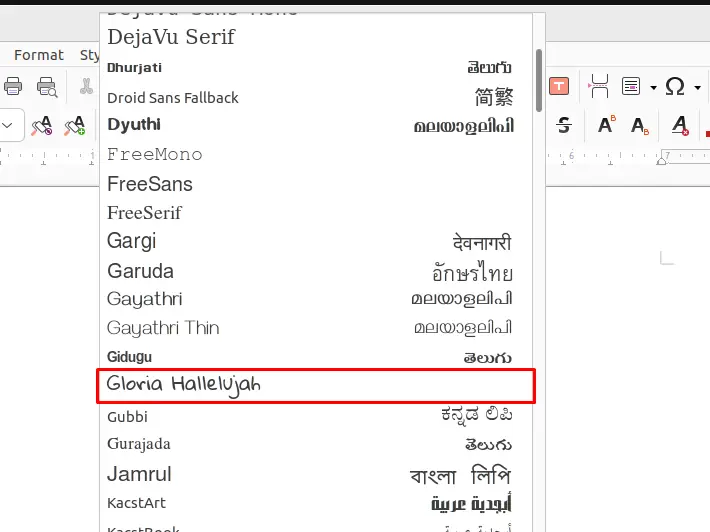
The font list contains the specific font.
FAQs on Installing fonts on Ubuntu
Where can I find fonts to install on Ubuntu?
Fonts can be obtained from various sources, including online font repositories, official font websites, and font collections shared by others. Be sure to only download fonts from reputable sources to ensure their validity and compatibility.
What file formats are used for fonts?
Fonts can be packaged in different file formats, such as TrueType (.ttf), OpenType (.otf), and Type 1 (.pfb, .pfm). The most common formats for modern fonts are TrueType and OpenType.
Can I install fonts system-wide for all users on Ubuntu?
Yes, you can install fonts system-wide on Ubuntu. Fonts installed in system directories are accessible to all users on the system.
Can I install fonts for a specific user on Ubuntu?
Yes, you can install fonts for a specific user on Ubuntu. User-specific font installations are stored in the user's ~/.fonts directory.
Can I install fonts using the Ubuntu Software Center or GNOME Software?
Yes, you can install fonts using graphical package managers like Ubuntu Software Center or GNOME Software. Search for font packages and install them through the interfaces provided.
How can I verify if a font is installed on Ubuntu?
To verify if a font is installed, you can use the fc-list command in the terminal. Running fc-list | grep "fontname" will search for the specified font and display its details if installed.
Do I need to restart applications after installing fonts on Ubuntu?
In most cases, restarting applications is not necessary after installing fonts. However, some applications may need to be closed and reopened for the newly installed fonts to appear in their font selection menus.
Conclusion
Fonts are installed in Ubuntu either by manually creating the font directory or by adding the fonts to the default directory using the "Font-Manager" tool. To import and use a specific font, users must first obtain it from Google Fonts or another source, then use one of the methods listed above. This tutorial has shown the most effective ways to install fonts on Ubuntu.