

Introduction
Before we begin talking about how to install Geeqie on Ubuntu 22.04, let's briefly understand – What is Geeqie?
Geeqie is a user-friendly image viewer and organizer that allows you to effortlessly view and manage your image collection. It provides a simple and intuitive interface for browsing through your photos, making it easy to find and organize your pictures. With Geeqie, you can easily view, zoom, crop, and rotate images, as well as create slideshows for sharing your favorite memories.
This powerful image viewer supports various file formats and offers advanced features like batch processing and image formats conversion. Whether you are a professional photographer or simply an avid photo enthusiast, Geeqie is a versatile tool that will enhance your photo management experience.
In this tutorial, you will install Geeqie on Ubuntu 22.04. We will also address a few FAQs on how to install Geeqie on Ubuntu 22.04.
Advantages of Geeqie
- Intuitive Interface: Geeqie offers a user-friendly interface, making it easy to navigate and manage your image collection.
- Powerful Features: It supports various image formats, batch processing, and image conversion, enhancing your photo management capabilities.
- Efficient Organization: Geeqie allows you to easily find and organize your pictures, saving you time and effort.
- Image Editing: With Geeqie, you can crop, rotate, and perform basic editing tasks on your images.
- Slideshow Creation: Create stunning slideshows to share your favorite memories with friends and family.
Install Geeqie on Ubuntu via APT
Update Ubuntu Before Installing Geeqie
Installing Geeqie should start with an update for your Ubuntu system. By updating all installed packages and refreshing the package list, this procedure removes any possible conflicts. Enter the following command into the terminal window:
sudo apt update && sudo apt upgrade
This command must be run before installing any new software because it is crucial for preserving system security and stability.
Installation of Geeqie Using APT
Using the default APT repository is the most efficient way to install Geeqie on Ubuntu. Ubuntu officially maintains this repository, which offers a reliable and safe software source. Open your terminal and type the following command to install Geeqie:
sudo apt install geeqie
With this command, Geeqie is started to download and install from the Ubuntu repository. APT manages the procedure, taking care of any dependencies and making sure Geeqie is configured properly on your system.
Install Geeqie on Ubuntu via Flatpak with Flathub
Integrating Flathub for Geeqie Installation
The installation of apps in a sandboxed environment is made possible by Flatpak, a contemporary package management system, which improves security and isolation. It is necessary to add the Flathub repository, which houses the Geeqie package, in order to install Geeqie via Flatpak.
Step 1: Enable Flathub to Install Geeqie on Ubuntu
Launch your terminal and integrate the Flathub repository to get started. Geeqie is one of the many Flatpak applications that depend on this repository. The command to add Flathub to your system is as follows:
sudo flatpak remote-add --if-not-exists flathub https://flathub.org/repo/flathub.flatpakrepo
In order to avoid duplicate entries, this command makes sure Flathub is added only if it isn't already there.
Step 2: Install Geeqie on Ubuntu via Flatpak
Now that Flathub has been integrated, you can install Geeqie. Enter the following command into your terminal:
flatpak install flathub org.geeqie.Geeqie
This command starts the installation of Geeqie by looking for it in the Flathub repository. Flatpak streamlines the setup process by taking care of the installation details and dependencies.
Launch Geeqie on Ubuntu
Now that Geeqie is successfully installed on your Ubuntu system, launching it is a breeze. Depending on your preferences, we'll walk you through launching Geeqie in two different ways in this section.
CLI Commands to Launch Geeqie
If you would rather start programs through the terminal, you can run Geeqie by entering the following command in your terminal:
geeqie
Other installations of Flatpak can execute the following command:
flatpak run org.geeqie.Geeqie
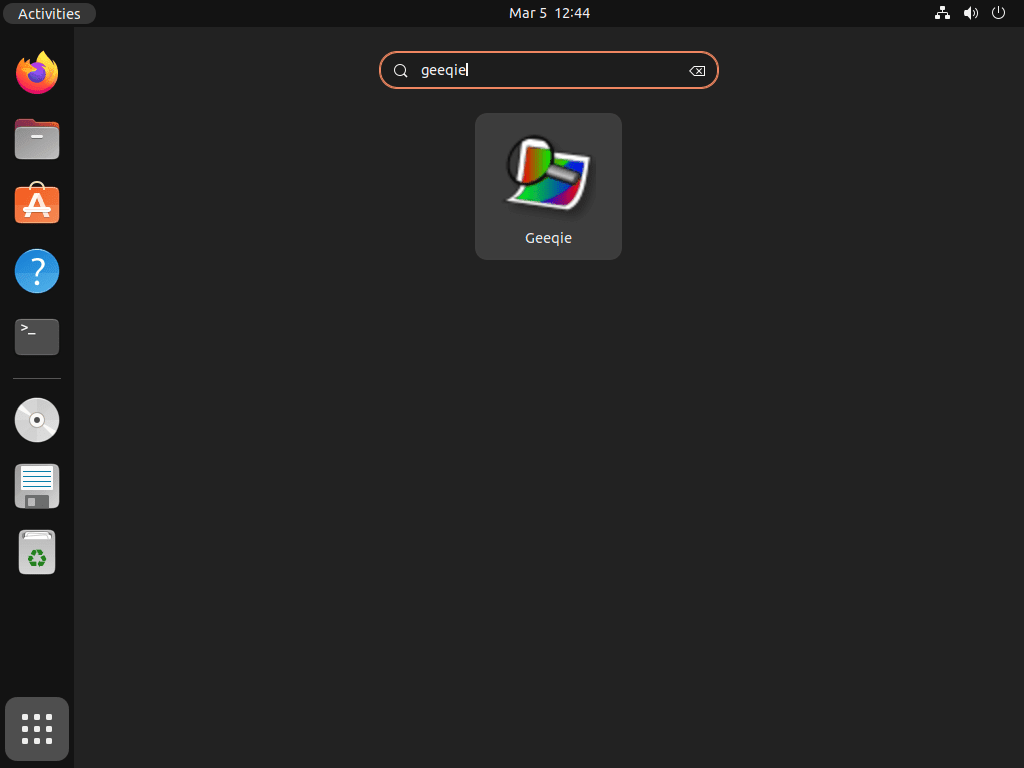
If you are using a desktop environment, the most convenient way to launch Geeqie is probably from the applications menu. Take these actions to achieve that:
- On your desktop, click the "Activities" button located in the top-left corner.
- Use the search bar to look up "Show Applications", then click on it.
- Find "Geeqie" in the list of applications that displays, then click on it.
First-Time Tips with Geeqie with Ubuntu
Following your successful installation of Geeqie on Ubuntu, follow these first-time user recommendations to make the most of the program:
General Usage Tips
- Explore the Interface: Learn how to use the Geeqie interface. Although the layout is clear, you'll be more productive if you take the time to learn how to use the toolbar and menus.
- Utilize the Thumbnail View: Your picture collections can be easily viewed and arranged thanks to this feature. With thumbnails, it's easy to find and retrieve your photos fast.
- Learn Keyboard Shortcuts: Using keyboard shortcuts can greatly accelerate your workflow. For instance,
Ctrl + Qends an application, andF1brings up the help menu.
Customization Tips
- Adjust the Layout: Geeqie provides layout customization. Change the preview settings, sidebar, and view modes to customize the interface to your needs.
- Configure Preferences: To modify Geeqie's preferences, go to
Edit>Preferences. From there, you can adjust things like slideshow intervals, thumbnail size, and file sorting. - Create Custom Actions: You can make unique file actions with Geeqie. When used to automate monotonous tasks, this can be a very effective tool.
Other Useful Tips
- Metadata Management: Strong tools are available in Geeqie for viewing and modifying image metadata. Digital artists and photographers will find this especially helpful.
- Image Comparison: To view images side by side, use the image comparison tool. This is a useful feature for photographers.
- External Editors: Use Geeqie to set up external image editors so you can quickly access more sophisticated editing tools.

Additional Commands for Geeqie on Ubuntu
Update Geeqie on Ubuntu
You can use the following command in your terminal to update Geeqie:
sudo apt upgrade && sudo apt upgrade
Geeqie and any other system packages that need to be updated will be updated by running this command. Running this command on a regular basis will help to guarantee that your system is up-to-date.
Run the following command to execute, the same one that uses Flatpak to check all applications for updates:
flatpak update
Remove Geeqie From Ubuntu
You can quickly uninstall Geeqie from your system if you no longer need it by running the following command:
sudo apt remove geeqie
After installing Flatpak, use the following alternative removal command:
flatpak uninstall org.geeqie.Geeqie
FAQs to Install Geeqie on Ubuntu 22.04
Are there any alternative methods to install Geeqie on Ubuntu 22.04?
Yes, you can also install Geeqie through the Ubuntu Software Center or by downloading the installation package from the official Geeqie website.
Does Geeqie support RAW image formats?
Yes, Geeqie supports various RAW image formats including NEF, CR2, ARW, and more.
Can I customize the interface of Geeqie to suit my preferences?
Yes, Geeqie offers customizable interface options, allowing you to configure the layout, colors, and toolbar to your liking.
How can I associate image files with Geeqie as the default viewer?
Right-click on an image file, select "Properties," navigate to the "Open With" tab, choose Geeqie, and click "Set as default".
Does Geeqie have a search feature to find specific images?
Yes, Geeqie provides a search function where you can search for images based on file names, metadata, or tags.
Can I import my existing image collections into Geeqie?
Yes, Geeqie allows you to import existing image collections by selecting the "Import" option and specifying the folder or location.
Does Geeqie support image batch processing?
Yes, Geeqie offers batch processing capabilities, allowing you to perform actions like resizing, renaming, and applying filters to multiple images at once.
Conclusion
We hope this tutorial helped you understand how to install Geeqie on Ubuntu 22.04.
If you have any queries, please leave a comment below, and we’ll be happy to respond to them for sure.