
Choose a different version or distribution
Introduction
Before we begin talking about how to install Git on Ubuntu 18.04, let’s briefly understand – What is Git?
Git is a popular open-source distributed version control system that can handle a number of things right from small to very large projects with great speed and efficiency. The fact that it is user-friendly and easy to learn makes it stand out.
In this tutorial, you will install Git on Ubuntu 18.04. The instructions for installing Git on any Ubuntu-based system remain the same.
Prerequisites
In order to complete this tutorial successfully, you need to be logged in as a root user or a user with sudo privileges. Learn how to create a sudo user on Ubuntu.
Step 1 – Install Git with Apt
Installing Git is best suited if done with the help of apt packages from Ubuntu's default repositories.
1) Begin with updating the package index using the following command:
sudo apt update
2) After that, run the following command to install Git:
sudo apt install git
3) The following command will print the Git version and hence verify the installation:
git --version
The following Output should be visible, the Git version in Ubuntu 18.04 repositories has been taken as 2.17.1 in this tutorial.
Output

git version 2.17.1
Alternatively: Install Git from the source
The other alternative is installing Git from the source, you can download the latest version of Git. The only difference is that you will not be able to maintain the Git installation with apt package manager.
1) You need to begin with installing all the dependencies necessary to build Git on your Ubuntu system:
sudo apt update
sudo apt install make libssl-dev libghc-zlib-dev libcurl4-gnutls-dev libexpat1-dev gettext unzip
2) After that, visit this Github link, copy the latest URL that ends in .tar.gz:
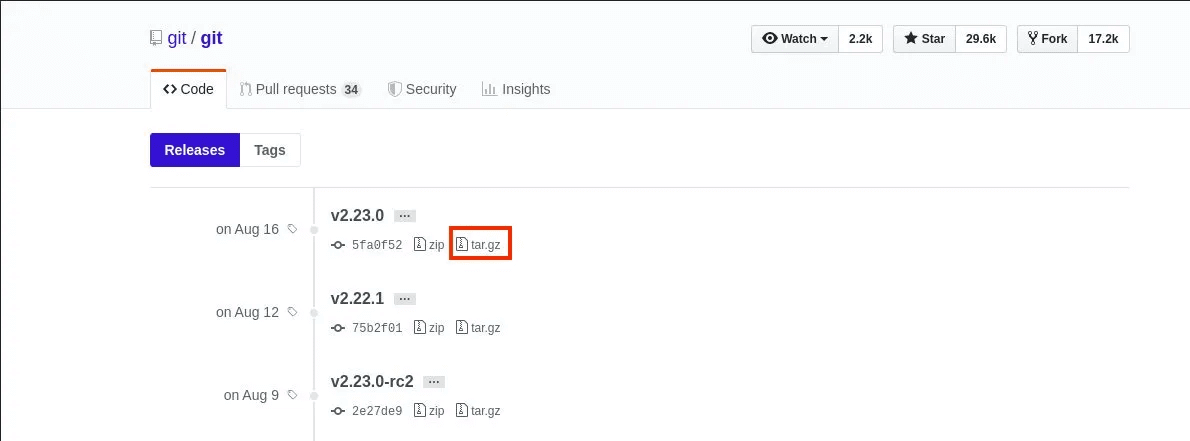
Here, the latest version is taken as 2.23.0.
3) You can then download the Git source in the /usr/src directory which happens to be the most common source for these files. You can change the directory with the following command:
cd /usr/src/
4) Download the file as git.tar.gz:
sudo wget https://github.com/git/git/archive/v2.23.0.tar.gz -O git.tar.gz
5) After that, extract the tar.gz file and switch to the Git source directory using:
sudo tar -xf git.tar.gz
cd git-*
6) With the following commands, you can compile and install Git on your Ubuntu system:
sudo make prefix=/usr/local all
sudo make prefix=/usr/local install
7) You can verify the installation using the following command:
git --version
Output

git version 2.23.0
To upgrade to a newer version, you'll have to repeat the whole process.
Step 3 – Configuring Git
1) Now, set your Git commit username and email address with the following command:
git config --global user.name "Your Name"
git config --global user.email "[email protected]"
2) To verify the configuration changes, use the following command:
git config --list
Output

user.name=Your Name
[email protected]
3) You can find the configuration settings in the ~/.gitconfig file:
[user]
    name = Your Name
    email = [email protected]
4) To make further changes, use git config command or edit the ~/.gitconfig file manually.
FAQs to Install Git on Ubuntu 18.04
How do I create a new Git repository?
You can use the following command for the same:
git initgit add .git commit -m initial commitgit remote add origin <destination>git push -u origin master
How do I commit a file?
You can commit a file using the following command:
git add file.js # stage the filegit commit # commit the file
How to determine whether Git Has Been Installed?
The git -version command, which displays the current version of Git, can be used to quickly determine whether Git is installed.
You can also use a Git command like git build as another alternative. It indicates that Git is not installed on the system if an error message such as “git: command not found” is displayed.
Where Does Ubuntu Install Git by Default?
Git can be installed locally or globally by users. If you choose the global method, Git will be installed under the /usr/bin/git directory. The whereis git tool, which displays the precise Git installation directory, can always be used to confirm this.
Nevertheless, Git will only operate on that specific location if users choose the local installation method. If a person installs Git in the /home/username directory, for instance, they will have to go there to access Git.
Conclusion
We hope this detailed tutorial helped you understand how to install Git on Ubuntu 18.04. To learn more about Git installation on Ubuntu 18.04, check out the official Git technical document.
If you have any queries, please leave a comment below and we’ll be happy to respond to them.