

Choose a different version or distribution
Introduction
Before we begin talking about how to install GitLab on Debian 12, let's briefly understand – What is GitLab?
GitLab is a powerful collaborative platform that enables developers to efficiently manage and track changes in their codebase. It allows teams to work on projects simultaneously, proficiently merging their code and resolving conflicts.
GitLab provides a centralized repository, issue tracking, continuous integration, and deployment capabilities, making it a comprehensive platform for software development collaboration. With its intuitive interface and robust features, GitLab empowers programmers to streamline their workflows and enhance productivity.
In this tutorial, you will install GitLab on Debian 12. We will also address a few FAQs on how to install GitLab on Debian 12.
Advantages of GitLab
- Collaboration: GitLab fosters teamwork by providing a centralized platform for developers to work together on projects efficiently.
- Version Control: GitLab facilitates easy management and tracking of code changes, ensuring a seamless development process.
- Continuous Integration/Deployment: GitLab automates testing and deployment tasks, enabling faster delivery of high-quality software.
- Issue Tracking: GitLab's built-in issue tracking system allows teams to efficiently manage and prioritize tasks, enhancing project organization.
- Robust Features: GitLab offers a wide range of features, including code reviewing, code snippets, and built-in CI/CD pipelines, enhancing development efficiency.
Install Gitlab on Debian 12 via Gitlab CE APT
Step 1: Update Debian Before Gitlab Installation
To keep your Debian operating system stable and secure, you must keep it updated. It is advised to update your Debian system to obtain the most recent security updates and bug fixes, guaranteeing the stability and dependability of your system, and to make sure that all installed packages are current. Use the following command to quickly update your Debian operating system:
sudo apt update && sudo apt upgrade
Step 2: Install Required Packages for GitLab on Debian
Installing all of GitLab's dependencies is a crucial step in the installation procedure. GitLab depends on these dependencies in order for it to operate properly. Thankfully, setting up these dependencies is an easy task. Installing them is as simple as opening a terminal and typing the following command:
sudo apt install curl ca-certificates apt-transport-https tzdata perl -y
Step 3: Import GitLab CE APT Repository on Debian
GitLab is not by default available in the default repositories of Debian. This implies that installing GitLab requires you to manually create a repository. To assist with this procedure, GitLab offers an APT script, which simplifies the platform installation process for users. This script allows you to install GitLab using the default APT package manager and creates a GitLab repository.
Use the following command in your terminal to download the script:
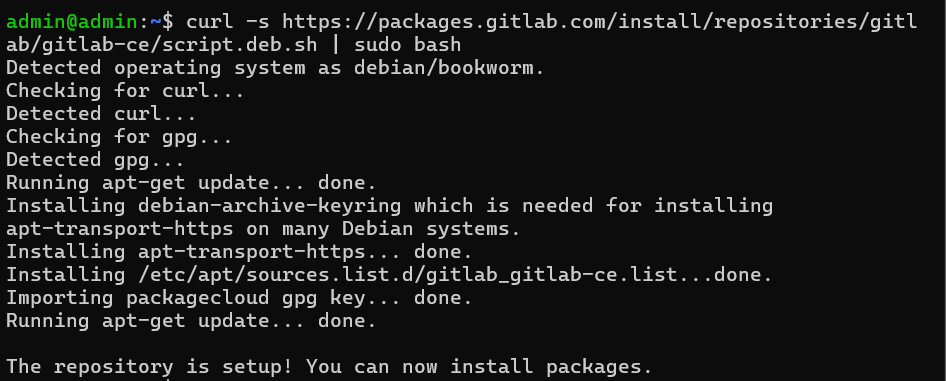
curl -s https://packages.gitlab.com/install/repositories/gitlab/gitlab-ce/script.deb.sh | sudo bash
Upon running this command, the script will download the GitLab repository to your Debian system and add it. Additionally, it will update the package list, making it possible for you to install GitLab with the default APT package manager.
Step 4: Install GitLab on Debian via APT Command
Installing GitLab is the following stage. Recall that the newly created and modified repository have already been synchronized by the script using the "apt update" command. After completing that, you can run the following command to start the installation:
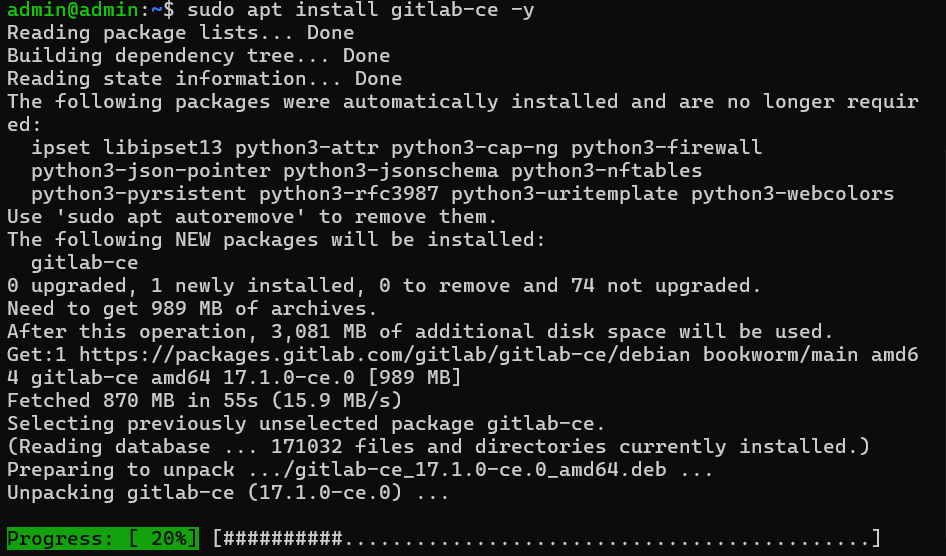
sudo apt install gitlab-ce -y
The free and open-source GitLab Community Edition (CE) can be installed with this command. The length of the installation process varies based on your system specs and internet speed.
Example output in the event that the Debian installation of GitLab is successful:
Configure GitLab on Debian 12
GitLab configuration on Debian requires careful attention to several steps. This section will walk you through each step of the process, from configuring email settings to setting up the firewall and configuring the hostname.
Configure the Hostname
Configuring the hostname for your GitLab server is essential to accessing your GitLab instance, so pick a name that's simple to remember and type in. To configure the hostname, take the following actions:
Using a text editor, open the GitLab configuration file:
sudo nano /etc/gitlab/gitlab.rb
Find the external_url setting and enter your desired hostname in place of the example URL:
external_url 'https://gitlab.example.com'
After saving the file, close the text editor.
Reconfigure GitLab now to implement the modifications:
sudo gitlab-ctl reconfigure
Setup UFW Firewall for Gitlab
By default, GitLab uses port 80 for HTTP and port 443 for HTTPS. To make sure that traffic on these ports can reach your GitLab instance, you must set up your firewall to permit it.
To configure the firewall, adhere to these steps:
Install the UFW firewall first using the following command, since it is not installed by default on Debian:
sudo apt install ufw
Next, use the following command to enable the UFW firewall after the installation is finished:
sudo ufw enable
Using a text editor, open the firewall configuration file:
sudo nano /etc/ufw/applications.d/gitlab
The lines below should be copied and pasted into the file:
[GitLab]
title=GitLab
description=GitLab application
ports=22,80,443/tcp
After saving the file, close the text editor.
Activate the firewall's GitLab application:
sudo ufw app update GitLab
sudo ufw allow GitLab
Configure Email Settings
GitLab notifies users via email when there are changes to a project, including comments, merge requests, and new issues.
In order to configure email settings, follow these steps:
Using a text editor, open the GitLab configuration file:
sudo nano /etc/gitlab/gitlab.rb
Find and set to true the gitlab_rails['smtp_enable'] setting:
gitlab_rails['smtp_enable'] = true
To configure your email provider's SMTP server settings, like Gmail, add the following lines to the file:
gitlab_rails['smtp_address'] = "smtp.gmail.com"
gitlab_rails['smtp_port'] = 587
gitlab_rails['smtp_user_name'] = "[email protected]"
gitlab_rails['smtp_password'] = "your_password"
gitlab_rails['smtp_domain'] = "smtp.gmail.com"
gitlab_rails['smtp_authentication'] = "login"
gitlab_rails['smtp_enable_starttls_auto'] = true
After saving the file, close the text editor.
To implement the modifications, reconfigure GitLab:
sudo gitlab-ctl reconfigure
It is noteworthy that upon executing the command "gitlab-ctl reconfigure," the terminal output will conclude with the following message.
Output

Notes:
Default admin account has been configured with following details:
Username: root
Password: You didn't opt-in to print initial root password to STDOUT.
Password stored to /etc/gitlab/initial_root_password. This file will be cleaned up in first reconfigure run after 24 hours.
In your terminal, type the following command to view the root (GitLab) password:
sudo cat /etc/gitlab/initial_root_password
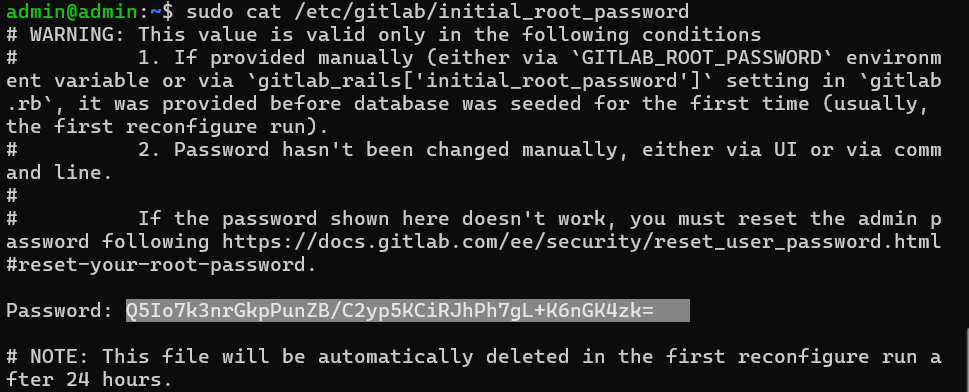
The root password will appear in the terminal upon execution of this command. It is imperative that you do not disclose this password to any unauthorized individuals.
The following command can be used to reset the root password if necessary:
sudo gitlab-rake "gitlab:password:reset[root]"
This command will reset the root password to a random string that appears in the terminal output. It's important to keep in mind that changing the root password will render all personal access tokens invalid. As a result, users will need to generate new ones.
As soon as possible after the initial setup, you should change the root password to a strong and unique one and refrain from using the default password for security reasons. By logging in to the GitLab web interface, going to "User Settings"> "Account," and choosing the "Change Password" option, you can modify the root password.
Access GitLab User Interface on Debian 12
Now that the backend configuration is finished, go ahead and log into GitLab. Open the domain path that GitLab has been assigned in the configuration file to accomplish this.
https://gitlab.example.com
Next, sign into GitLab with the username "root" and the password you were given during installation. The guide's password, as indicated in the password printout from the previous section, was "Q5Io7k3nrGkpPunZB/C2yp5KCiRJhPh7gL+K6nGK4zk=" in the image.
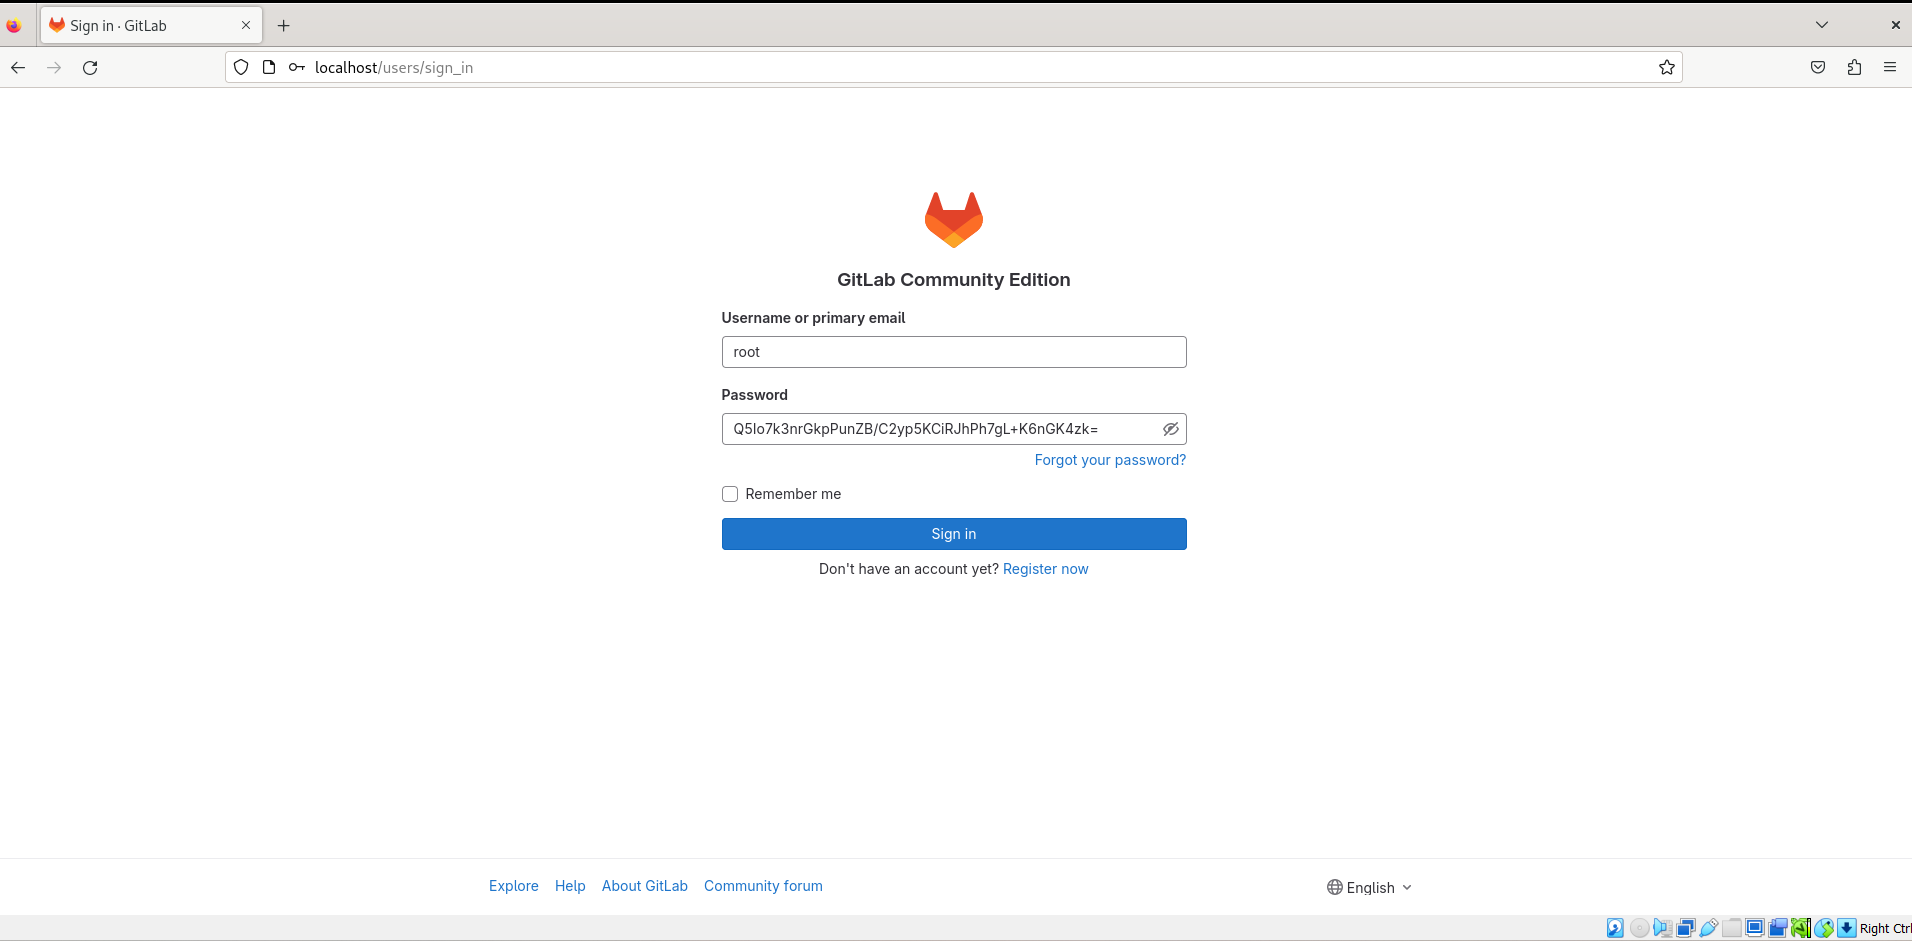
You will see the default landing page after successfully logging in as the root account.

Additional Tips
The following advice can help you secure, customize, or just get started when you first log into the GitLab user interface:
- Change the default password: It's essential to modify the root user's default password in order to improve the security of your GitLab instance. Enter your new password by navigating to "User Settings"> "Password" after logging in to GitLab with the default username and password.
- Set up two-factor authentication (2FA): An extra security layer offered by 2FA is the addition of an authentication factor, such as a code sent to your phone or generated by an app, to the login process. Go to "User Settings"> "Account"> "Two-Factor Authentication" in GitLab and follow the prompts to enable 2FA.
- Create a project: Go to the "Projects" page in GitLab and select the "New Project" button to start a new project. Either start from scratch with a new project or import an already-existing one from a Git repository.
- Customize the user interface: GitLab offers a number of customization options, including the ability to alter the theme, add a unique logo, and customize the navigation bar. To alter the UI, navigate to "Admin Area"> "Settings" and make the necessary selections.
- Configure access control: You have complete control over who can access your projects and what they can do thanks to GitLab's robust access control features. To configure access control, navigate to "Project Settings" > "Members" and add or remove members with varying levels of access.
- Use GitLab CI/CD: GitLab's robust CI/CD features let you automate code deployment and testing. Create a ".gitlab-ci.yml" file in the root directory of your project and specify the jobs and stages that make up your pipeline to configure CI/CD pipelines.
- Set up GitLab Runner: A lightweight agent called GitLab Runner performs CI/CD jobs and returns the results to GitLab. To install and set up GitLab Runner on your Debian system, adhere to the guidelines provided in the GitLab documentation.
- Back up your GitLab instance: Make regular backups of your GitLab instance to guard against losing data in the event of calamities or hardware failure. To create a backup of your GitLab instance, type the command "gitlab-rake gitlab:backup:create" into your terminal.
Create Cronjob for GitLab Auto Backup on Debian 12
It's essential to set up a cronjob for GitLab auto-backup on Debian in order to protect your data. A cronjob is a scheduled task that backs up your GitLab instance automatically at predetermined intervals. To set up a cronjob for GitLab auto-backup on Debian, follow these steps.
Create a Gitlab Backup Script
Making a backup script to perform the backup of your GitLab instance is the first step. Take these actions:
Make a new file for your backup script in a text editor. As an example, consider this:
sudo nano /usr/local/bin/gitlab-backup.sh
In the file, paste the following code:
#!/bin/bash

BACKUP_DIR=/var/opt/gitlab/backups
TIMESTAMP=$(date +%s)

sudo gitlab-rake gitlab:backup:create

sudo cp ${BACKUP_DIR}/$(ls -t ${BACKUP_DIR} | head -1) ${BACKUP_DIR}/gitlab_backup_${TIMESTAMP}.tar
- After saving the file, close the text editor.
By using the gitlab-rake gitlab:backup:create command, this script will create a backup of your GitLab instance. It will create a backup and then copy the most recent backup to a new file with a timestamp in the file name.
Setting Permissions and Ownership
Setting up the backup script's ownership and permissions is the next step in making sure the cronjob can run it. Take these actions:
Assign the following user to be the backup script's owner:
sudo chown git:git /usr/local/bin/gitlab-backup.sh
To allow for execution, change the backup script's permissions:
sudo chmod +x /usr/local/bin/gitlab-backup.sh
Creating a Cronjob
The next step is to set up a cronjob to run the backup script on a regular basis. Take these actions:
To view the GitLab user's crontab configuration file, take the following actions:
sudo crontab -u git -e
In the crontab configuration file for the GitLab user, add the following line to set the backup script to run daily at 1:00 AM:
0 1 * * * /path/to/backup/script.sh
After saving the file, close the text editor.
Every day at 1:00 AM, this cronjob will automatically run the backup script, creating a new backup file with a timestamp in the file name.
Testing the Cronjob
By manually running the backup script and making sure the backup file is generated without any errors, you can confirm that the cronjob is operating as intended. Enter the following command in your terminal to carry out this test:
sudo /usr/local/bin/gitlab-backup.sh
A new backup file will be created by this command and stored in the /var/opt/gitlab/backups directory. A timestamp will be included in the filename to show the backup's creation date.
GitLab Terminal Commands on Debian Linux
GitLab on Debian can be managed with the help of the command-line tool GitLab-ctl. Among other things, it offers a collection of terminal commands that you can use to start, stop, restart, and manage GitLab services. GitLab-ctl terminal commands are covered in detail in this section, along with sample commands and outputs that are explained.
Starting and stopping GitLab services
To start and stop terminate GitLab services, utilize the subsequent commands:
Start all GitLab services:
sudo gitlab-ctl start
Stop all GitLab services:
sudo gitlab-ctl stop
Restart all GitLab services:
sudo gitlab-ctl restart
Reload GitLab services:
sudo gitlab-ctl reload
All GitLab services can be started, stopped, restarted, or reloaded with these commands. Which services are being started or stopped, as well as whether the operation was successful, will be shown in the output.
Checking the status of GitLab services
Use the command below to see the current state of the GitLab services:
sudo gitlab-ctl status
All GitLab services can be started, stopped, restarted, or reloaded with these commands. The output will indicate which services are impacted and whether the operation was successful after the command has been executed.
Backing up and restoring GitLab data
You can use the following command to make a backup of your GitLab data:
Make a GitLab data backup:
sudo gitlab-rake gitlab:backup:create
The given command will generate a backup file containing all of the user data, configuration files, repositories, and other GitLab data. The backup file will be kept in the /var/opt/gitlab/backups directory.
Restore a GitLab data backup:
sudo gitlab-rake gitlab:backup:restore BACKUP=<backup_file>
You can use this command to restore a GitLab data backup from a particular backup file. You can specify the full path to the backup file, or it must be located in the var/opt/gitlab/backups directory.
Checking the GitLab configuration
To verify GitLab's configuration, run the following command:
sudo gitlab-rake gitlab:check
This command can check the GitLab configuration for mistakes or warnings, such as out-of-date versions, missing dependencies, and incorrectly configured settings. The output will include a detailed description of any issues found as well as a summary of the scan results.
Checking GitLab logs
The following commands can be used to examine GitLab logs:
See the logs from GitLab:
sudo gitlab-ctl tail gitlab-rails/production.log
The last ten lines of the GitLab production log, which include user actions, warnings, and errors, can be seen by running the following command.
See the NGINX logs for GitLab:
sudo gitlab-ctl tail nginx/gitlab_access.log
The last ten lines of the GitLab NGINX access log, which includes information about HTTP requests and responses, will be displayed by this command.
See the PostgreSQL logs for GitLab:
sudo gitlab-ctl tail postgresql/current
The last ten lines of the GitLab PostgreSQL log, which includes details on database queries and transactions, will be shown by this command.
FAQs to Install GitLab on Debian 12
What are the system requirements for installing GitLab on Debian 12?
The system requirements may vary, but commonly you will need a machine with at least 4GB of RAM and sufficient disk space to accommodate the GitLab data.
Can I install GitLab on a remote server running Debian 12?
Yes, you can install GitLab on a remote server running Debian 12. Just make sure you have the necessary access and permissions to execute the installation steps.
Does GitLab require any dependencies to be installed on Debian 12?
Yes, GitLab has a list of dependencies that need to be satisfied before installation. The official installation guide for Debian 12 includes the necessary steps to install these dependencies.
Can I use my existing PostgreSQL or MySQL database with GitLab on Debian 12?
Yes, GitLab supports both PostgreSQL and MySQL databases. You can choose the one that best fits your requirements during the installation process.
Is it possible to configure HTTPS for GitLab on Debian 12?
Yes, you can configure HTTPS for your GitLab instance. The official GitLab installation guide provides detailed instructions on how to enable HTTPS using a self-signed certificate or a valid SSL certificate.
Can I integrate GitLab with other tools or services on Debian 12?
Yes, GitLab offers integrations with various tools, including issue trackers, monitoring applications, and CI/CD systems. The GitLab interface provides easy configuration options for integrating with these services.
How can I update GitLab on Debian 12 to the latest version?
GitLab provides upgrade guides for each version. Refer to the official GitLab documentation for Debian 12 to find the relevant upgrade steps and ensure a smooth update process.
Conclusion
We hope this tutorial helped you understand how to install GitLab on Debian 12.
If you have any queries, please leave a comment below, and we’ll be happy to respond to them for sure.