

Introduction
Before we discuss how to install Google Web Designer on Ubuntu 22.04, let's first understand-What is Google Web Designer?
Google Web Designer is a powerful tool for creating interactive HTML5-based designs and advertisements. It provides a visual interface and a range of features to design engaging web content.
This tutorial will walk you through the steps to install Google Web Designer on Ubuntu 22.04. We will also address a few FAQs on how to install Google Web Designeron Ubuntu 22.04.
Advantages
- Visual Interface: Google Web Designer offers a visual interface that allows designers to create interactive web content without having to write extensive code.
- HTML5 Support: It fully supports HTML5, providing a platform to create modern and mobile-friendly web designs and advertisements.
- Animation and Interactivity: Google Web Designer includes powerful animation tools and interactivity features, enabling designers to bring their designs to life with engaging animations and interactive elements.
- Cross-Platform Compatibility: Designs created with Google Web Designer are compatible with various devices and modern browsers, ensuring a consistent experience for users across different platforms.
- Integration with Google Services: It seamlessly integrates with other Google services, such as Google Drive and DoubleClick Studio, facilitating collaboration and streamlining the workflow for Google advertising platforms.
Import Google Web Designer APT Repository on Ubuntu 22.04
The first part of our journey involves configuring the Google Web Designer repository on your Ubuntu system. This preliminary step aims to synchronize your system with the latest package updates and fulfill all required dependencies.
Step 1: Update Ubuntu Before Google Web Designer Installation
Start by aligning your Ubuntu system with recent updates. Keeping the system updated reduces the chance of installation conflicts often triggered by obsolete software.
To sync your system with the latest package updates from all configured repositories, run the following command:
sudo apt update
With the latest package list at hand, let’s proceed to upgrade all outdated packages on your system:
sudo apt upgrade
The execution of this command upgrades all the packages in your system to their latest versions as available in the repositories.
Step 2: Install Initial Packages on Ubuntu
Despite Google Web Designer’s generally straightforward installation process, some packages are vital to guaranteeing a smooth setup. These packages are ordinarily present in most Linux distributions, but it’s always wise to verify their existence.
To install the necessary packages, type the following command:
sudo apt install curl software-properties-common apt-transport-https ca-certificates -y
This command will install curl (used for transferring data with URLs), software-properties-common (facilitating the management of software repositories), apt-transport-https (which allows secure package downloads), and ca-certificates (containing standard SSL/TLS certificates).
Step 3: Import Google Web Designer GPG & APT Repository on Ubuntu
Installing Google Web Designer requires importing its GPG key, a crucial cryptographic identifier. The key verifies the software’s legitimacy and integrity, confirming it comes from a valid source and remains untampered.
Import the GPG key using the command below:
curl -fSsL https://dl.google.com/linux/linux_signing_key.pub | gpg --dearmor | sudo tee /usr/share/keyrings/google-web-designer.gpg > /dev/null
With the GPG key successfully imported, we are ready to add the Google Web Designer repository. This repository is the official source from where we’ll download the software. Run the following command to add it to your system:
echo "deb [arch=amd64 signed-by=/usr/share/keyrings/google-web-designer.gpg] http://dl.google.com/linux/webdesigner/deb/ stable main" | sudo tee /etc/apt/sources.list.d/google-web-designer.list
Install Google Web Designer on Ubuntu 22.04
With the Google Web Designer repository correctly set up and all prerequisite packages installed, we can now proceed to the main event: installing Google Web Designer.
Step 1: Refreshing the APT Repository List After Google Web Designer PPA Import
Before installing Google Web Designer, we must refresh our APT source lists to incorporate the newly added repository. This update ensures that the package manager knows the latest metadata related to the packages in the repository.
To update the APT source list, execute the command below:
sudo apt update
Step 2: Install Google Web Designer on Ubuntu 22.04 via APT Command
At this point, our system is ready to install Google Web Designer. We’ve updated our system, installed the necessary dependencies, configured the Google Web Designer repository, and refreshed our APT source list.
Installation is as straightforward as executing the following command:
sudo apt install google-webdesigner
This command instructs the package manager to fetch and install the Google Web Designer package from the configured repository.
Initiating Google Web Designer on Ubuntu 22.04
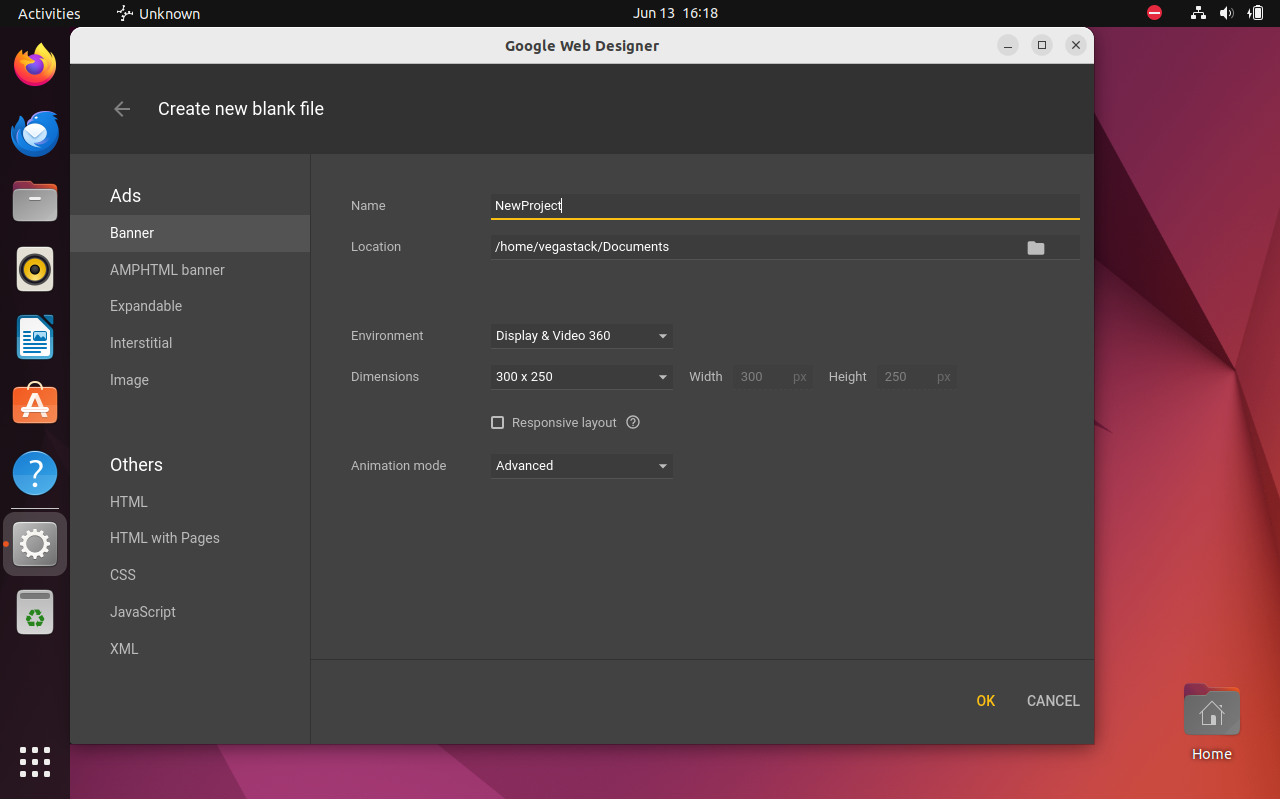
After installing Google Web Designer on your Ubuntu system, unleash your creativity to design incredible web content. Initiate Google Web Designer through the command line or Ubuntu’s graphical user interface (GUI).
Launching Google Web Designer from the Terminal on Ubuntu
For users comfortable with terminal operations in Ubuntu, triggering Google Web Designer from the command line is an efficient and straightforward process.
To launch Google Web Designer from the terminal, utilize the following command:
google-webdesigner
Initiating Google Web Designer from the Graphical User Interface on Ubuntu
While the terminal is a highly versatile tool for handling your Ubuntu system, not all users are comfortable with command-line operations. Catering to this, Ubuntu includes a user-friendly and intuitive GUI for executing various system tasks, including launching applications like Google Web Designer.
To initiate Google Web Designer using the GUI, perform the following actions:
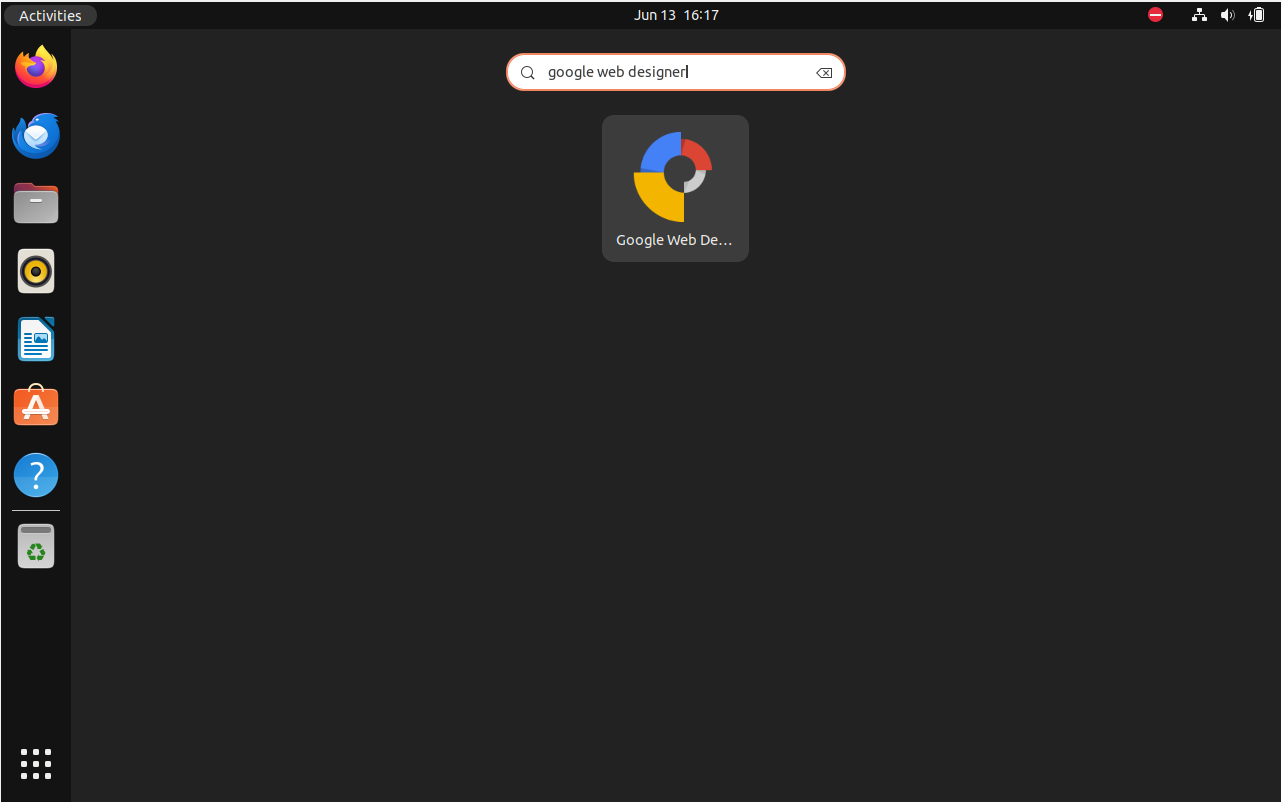
- Click on Activities, positioned at the top-left corner of your screen.
- Next, click on Show Applications. This button is typically represented by a grid of dots at the screen’s bottom-left corner.
- In the list of applications, search for Google Web Designer and click on it to launch it.
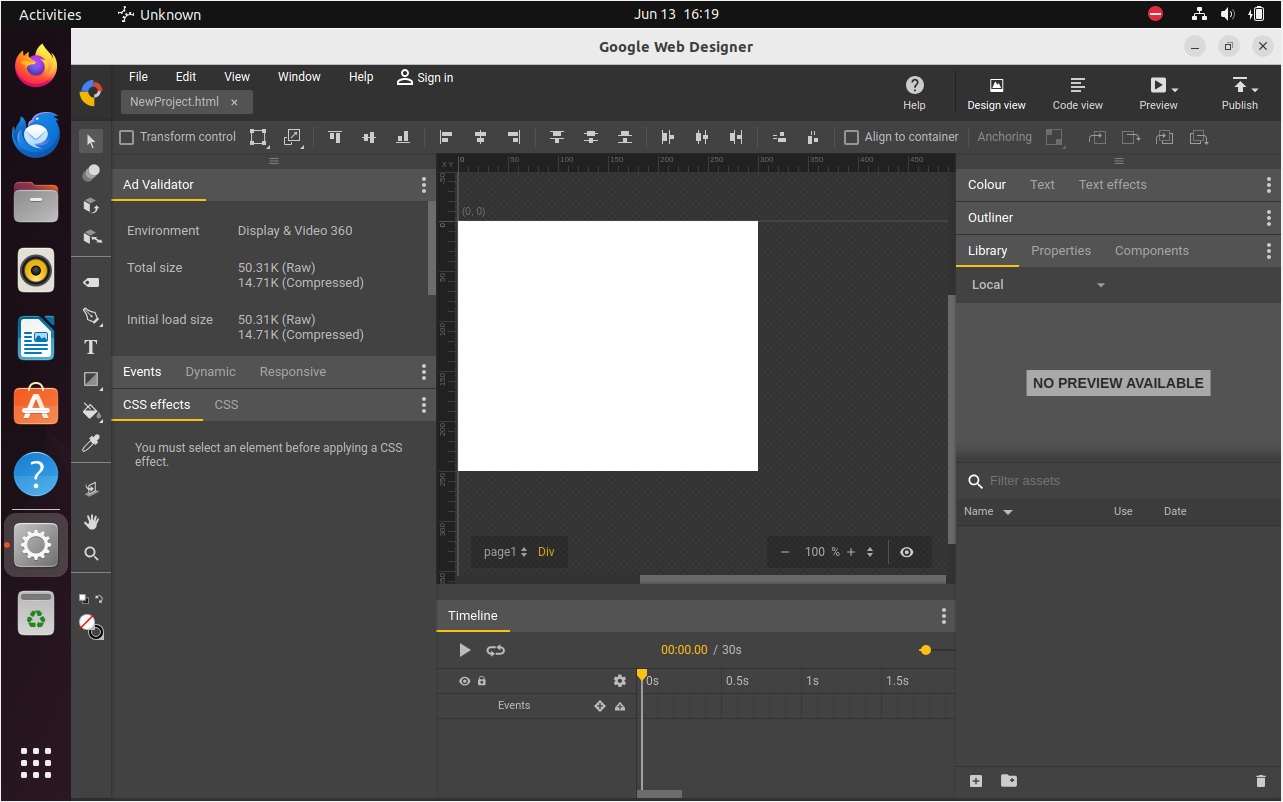
Getting Started with Google Web Designer on Ubuntu 22.04
Google Web Designer offers a plethora of features that may overwhelm new users. Fear not. Below, find essential tips and tricks crafted explicitly for Linux users to ease your initiation into the platform:
Customization and Personalization on Google Web Designer with Ubuntu
Google Web Designer boasts flexibility and a range of customization options. Use these tips to personalize your workspace:
- Set your Preferences: Navigate to
Edit > Preferencesto customize the general settings, units, rulers, autosave, and recovery options. - Organize Panels: You can arrange the panels in your workspace to suit your workflow. Just click and drag a panel to a new location or stack it with existing panels.
- Zoom and Scroll: You can zoom in and out of your work with
Ctrl + Scroll Wheeland pan across your work area usingSpace + Drag.
General Tips on Google Web Designer with Ubuntu
Here are some general tips to enhance your Google Web Designer experience:
- Keyboard Shortcuts: Google Web Designer supports a variety of keyboard shortcuts that can drastically improve your efficiency. You can access the complete list by navigating to
Help > Keyboard Shortcuts. - Snap to Grid: If you want your elements to align perfectly, you can use the Snap to Grid feature. This can be toggled on or off via
View > Snap to Grid. - Asset Library: Manage your assets efficiently with the built-in Asset Library. This can be accessed via
Window > Library.
Troubleshooting Tips on Google Web Designer with Ubuntu
In case you encounter any issues, here are a few troubleshooting tips:
- Accessing Log Files: If Google Web Designer behaves unexpectedly, the log files can provide valuable information. They can be found at
~/.config/google-webdesigner/logs/. - Resetting Preferences: If Google Web Designer behaves erratically, resetting your preferences to their defaults might help. Be aware this will remove any custom settings. To reset preferences, navigate to
Edit > Preferences > Reset Preferences.
These tips should serve as a solid starting point as you familiarize yourself with Google Web Designer. Remember, the key to mastering any new software is practice and patience.
Additional Google Web Designer Commands with Ubuntu 22.04
With time, as you expand your capabilities using Google Web Designer on Ubuntu Linux, you might find yourself in situations requiring more complex actions like updating or uninstalling the software. This section will serve as a comprehensive guide for conducting these advanced procedures, enabling you to effectively manage Google Web Designer on your system.
Update Google Web Designer on Ubuntu 22.04
Google Web Designer continuously evolves, with regular updates introducing enhanced features, resolving bugs, and applying security patches. Regularly updating your application is crucial for maintaining a smooth, secure, and feature-rich user experience.
Ubuntu’s inbuilt utility, the Advanced Package Tool (APT), is a capable resource for managing updates for Google Web Designer. Let’s go through the process step-by-step:
Refreshing the Package List
The first task in the update process is refreshing the package list on your Ubuntu system. Accomplish this by running the following command in your terminal:
sudo apt update
This command retrieves the latest package information from all configured sources, including the Google Web Designer repository added during installation.
Upgrading System Packages
Refresh your package list, then upgrade your system’s packages using the following command:
sudo apt upgrade
Running this command upgrades all out-of-date packages present on your system. However, if your goal is explicitly updating Google Web Designer, use the command:
sudo apt install --only-upgrade google-webdesigner
This instruction directs APT to focus solely on upgrading Google Web Designer, leaving the rest of your system’s packages unchanged.
Remove Google Web Designer on Ubuntu 22.04
Certain circumstances might demand the uninstallation of Google Web Designer from your Ubuntu system. You might need to troubleshoot an issue, or you could be contemplating switching to a different application. Whatever your reasons, it’s simple to remove Google Web Designer from your system.
The command to uninstall Google Web Designer is as follows:
sudo apt remove google-webdesigner
After uninstallation, cleaning up the residual files and repositories is essential. Remove the Google Web Designer repository with the following command:
sudo rm /etc/apt/sources.list.d/google-webdesigner.list
That concludes our detailed exploration of advanced Google Web Designer operations on Ubuntu Linux.
Troubleshooting Google Web Designer Multiple sources.list Conflicts
While working with Google Web Designer on Ubuntu, you may face obstacles, including conflicts from having multiple versions installed on your system. Multiple sources.listfiles associated with these installations can instigate conflicts. This section outlines a method to resolve these conflicts for smoother system operation.
Understanding the Source of Conflict
Installing multiple versions of Google Web Designer generates a unique sources.list file in the /etc/apt/sources.list.d/ directory for each installation. This scenario can lead to conflicts during the execution of the apt update command. The system encounters multiple sources.list files for Google Web Designer may disregard some, complicating your system’s operations.
Identifying the Conflict
For example, if you’ve followed this guide to install Google Web Designer and subsequently installed other software versions, you might run into issues. These additional installations introduce extra sources into your system, causing a potential for conflicts.
Addressing the Conflict
The initial step in addressing this conflict involves the removal of these conflicting sources from your system. You can achieve this using the following terminal command, which will retain the original list google-web-designer.list that you imported following this guide:
sudo rm /etc/apt/sources.list.d/google-webdesigner.list
google-web-designer.list as this is the correct version. If you inadvertently do so, re-run the import gpg command that’s in Section 1 of this guide to rectify it.Following removing the conflicting source, it’s necessary to update the package list to accommodate this change. Run an apt update after re-adding the repository:
sudo apt update
By adhering to these steps, you can proficiently alleviate the conflict arising from multiple duplicate Google Web Designer repositories source list entries.
FAQs to Install Google Web Designer on Ubuntu 22.04
Are there any system requirements for Google Web Designer?
Yes, Google Web Designer requires a 64-bit Linux operating system and the availability of certain libraries.
Can I use Google Web Designer offline?
Yes, Google Web Designer can be used offline for design and development. However, certain features and services, such as live previews and Google Drive integration, may require an internet connection.
Can I export my designs created with Google Web Designer?
Yes, Google Web Designer allows you to export your designs as HTML, CSS, and JavaScript files. You can then use these files to host your designs on a web server or integrate them into other projects.
Is Google Web Designer a free tool?
Yes, Google Web Designer is free to download and use. It does not require any payment or subscription.
Does Google Web Designer have a WYSIWYG (What You See Is What You Get) editor?
Yes, Google Web Designer provides a WYSIWYG editor, allowing you to visually design your web content and see the results in real-time.
Can I use Google Web Designer for creating responsive designs?
Yes, Google Web Designer supports creating responsive designs, allowing you to design content that adapts to different screen sizes and orientations.
Are there any tutorials or documentation available for learning Google Web Designer?
Yes, Google provides official documentation and tutorials on the Google Web Designer website to help you get started and learn how to use the tool effectively.
Conclusion
By following the steps mentioned in the tutorial you can now be able to install Google Web Designer on Ubuntu 22.04.
If you have any queries, feel free to ask them in comments section, and we would be happy to respond to them.........