

Choose a different version or distribution
Introduction
Before we begin talking about how to install Gradle on Ubuntu 24.04, let's briefly understand – What is Gradle?
Gradle serves as a robust build automation tool, streamlining the process of building and managing software projects efficiently. Boasting flexibility and extensibility, Gradle supports diverse project configurations, making it a top choice for developers looking to enhance productivity in software development workflows.
With its user-friendly build scripts and advanced features, Gradle empowers developers to simplify complex tasks and optimize project management effectively.
In this tutorial, you will install Gradle on Ubuntu 24.04. We will also address a few FAQs on how to install Gradle on Ubuntu 24.04.
Advantages of Gradle
- Efficiency: Gradle streamlines project builds, saving time and effort.
- Flexibility: Supports various project structures and configurations seamlessly.
- Extensibility: Enables easy integration of plugins and custom scripts.
- Performance: High performance build system for swift processing.
- User-friendly: Intuitive syntax and easy-to-understand build scripts.
How to Install Gradle on Ubuntu 24.04
You can install Gradle on Ubuntu 24.04 through one of the following methods:
- Official Zip File
- Apt Package Manager
- Snap Store
Method1: Install Gradle on Ubuntu 24.04 from the Official Zip File
To install Gradle on Ubuntu 24.04, follow the official method by downloading the zip file and configuring it for installation. This ensures you can install the latest version of Gradle on your system.
Below are the steps to install Gradle on Ubuntu 24.04 using the zip file:
Step 1: Install Java on Ubuntu
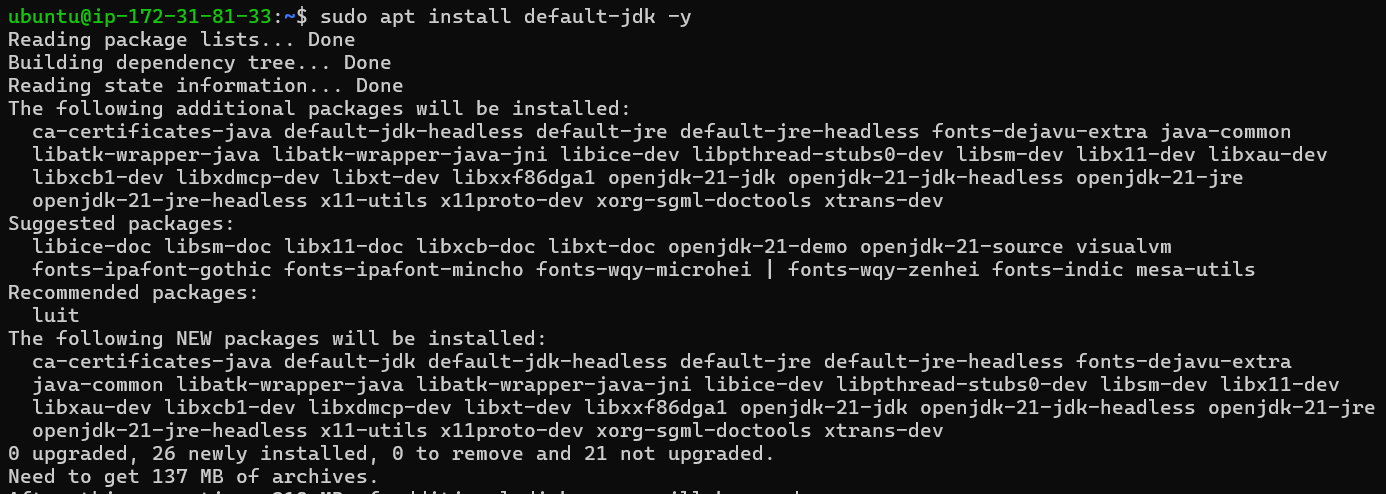
Prior to installing Gradle on Ubuntu, it's essential to have Java installed on your system. Java can be installed on Ubuntu 24.04 using the apt package manager, SDKMAN, or deb package. The simplest method to install Java on Ubuntu is through the apt package manager with the following command:
sudo apt install default-jdk -y
You can verify the Java installation on Ubuntu using the command provided below:
java --version

Step 2: Download the Gradle Zip File
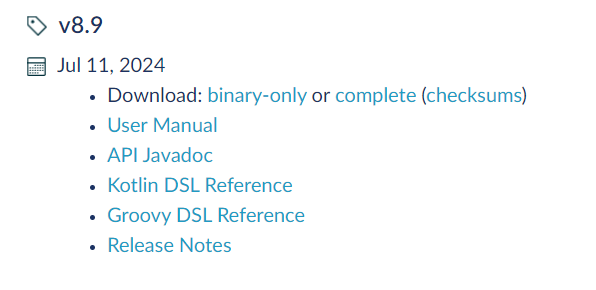
Next, launch the Firefox browser on Ubuntu, go to the official Gradle release page, and download the latest binary-only (zip) file. As of the time of writing this article, the latest Gradle version is 8.9, released on July 11, 2024. Choose your preferred Gradle version and download it directly to your system from the browser.
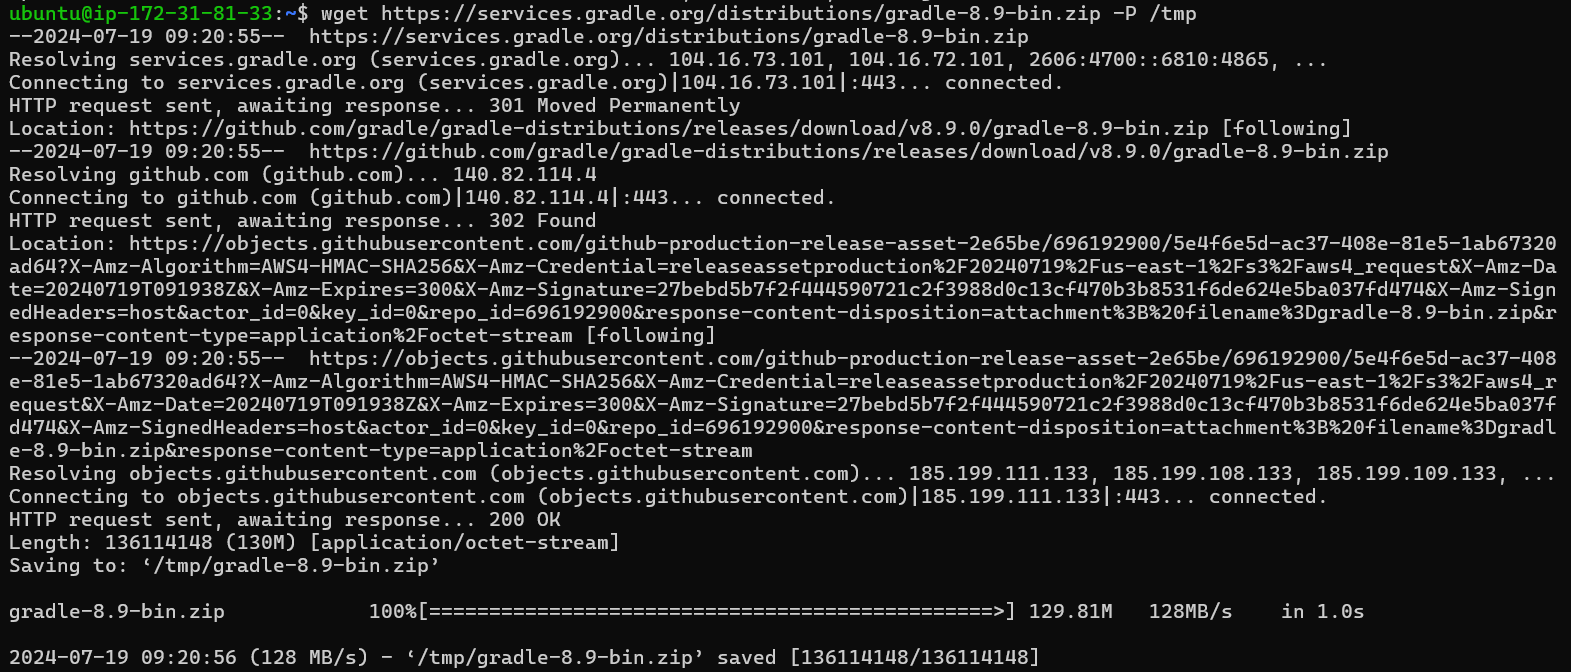
Alternatively, you can use the wget command to download the latest version of Gradle (8.9) directly to the /tmp directory:
wget https://services.gradle.org/distributions/gradle-8.9-bin.zip -P /tmp
Step 3: Unzip the Gradle Zip File
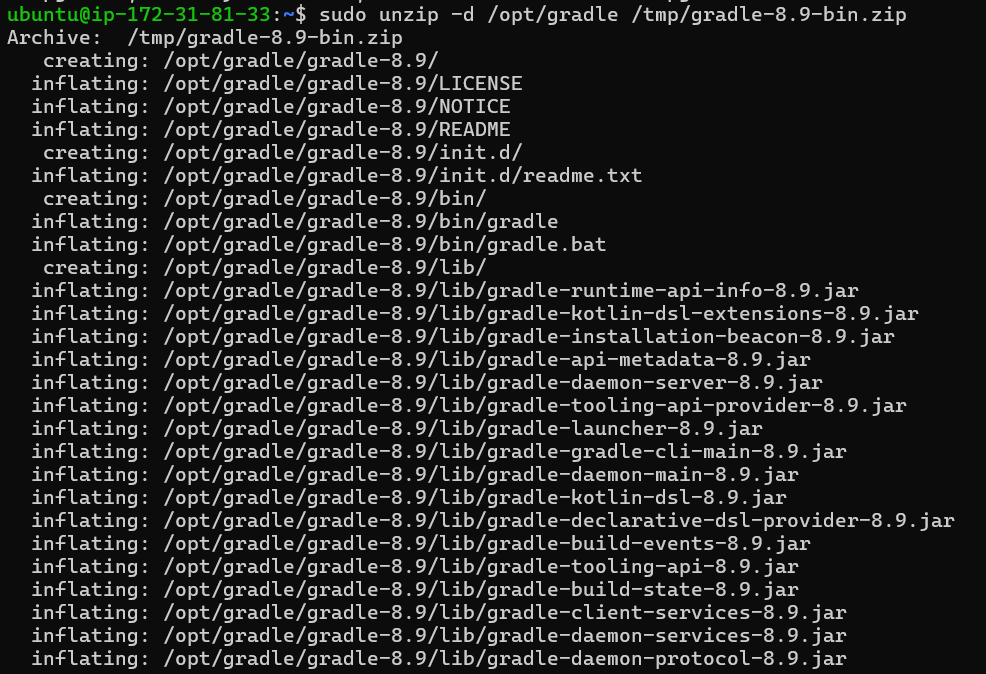
Then, extract the Gradle zip file from the /tmp directory to /opt/gradle to gain better control over versions and updates. Use the following command to accomplish this:
sudo unzip -d /opt/gradle /tmp/gradle-8.9-bin.zip
Step 4: Setup Environment Variable
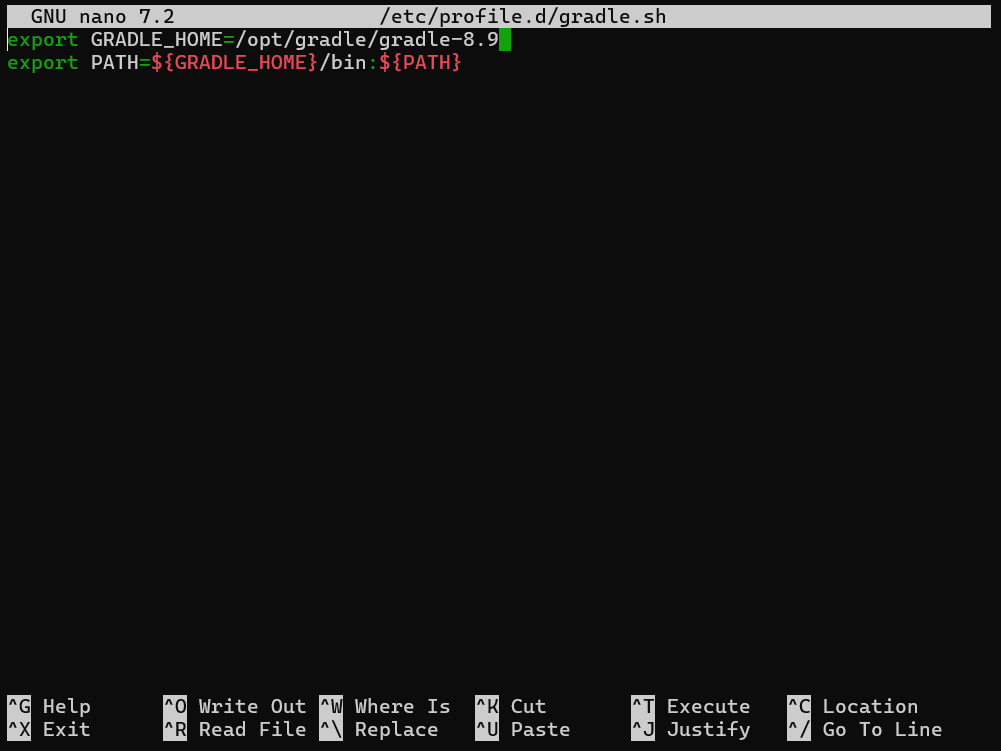
To ensure Ubuntu recognizes the Gradle installation directory, it's necessary to configure an environment variable. This can be achieved by creating a script file in the /etc/profile.d directory using a text editor like nano. Use the command below to proceed:
sudo nano /etc/profile.d/gradle.sh
Next, include the following two lines within the gradle.sh file:
export GRADLE_HOME=/opt/gradle/gradle-8.9
export PATH=${GRADLE_HOME}/bin:${PATH}
Step 4: Make the Gradle Script File Executable
Next, execute the following chmod command on Ubuntu to make the Gradle script file executable:
sudo chmod +x /etc/profile.d/gradle.sh

Step 5: Load the Changes
After granting the necessary executable permissions to the gradle.sh script file, you need to apply the changes on Ubuntu by reloading using the following command:
source /etc/profile.d/gradle.sh

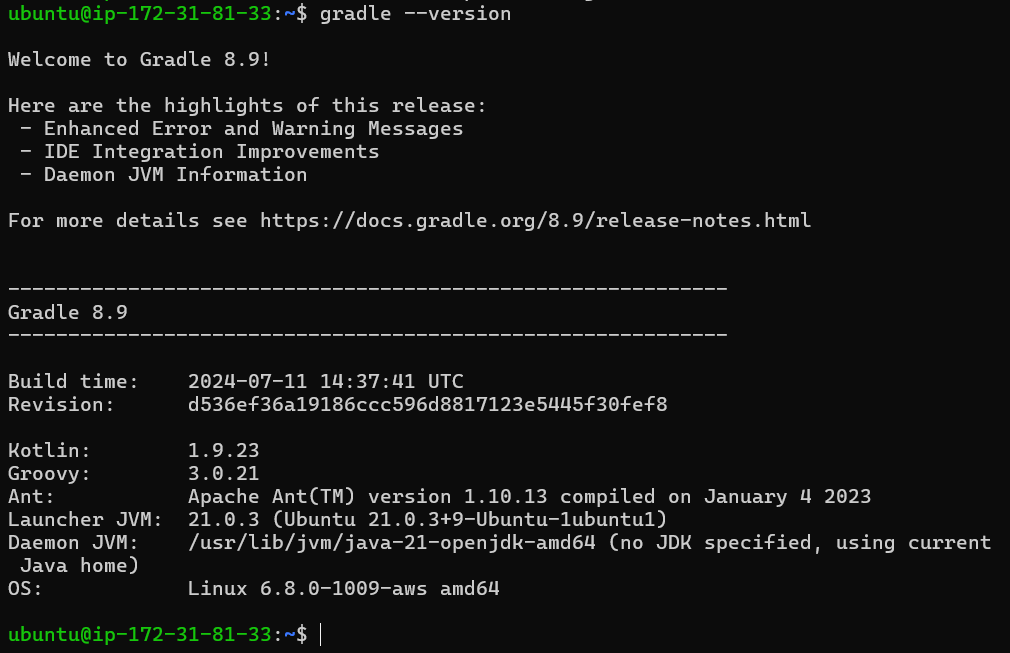
Step 6: Confirm the Gradle Installation
After completing all the steps, you can verify the Gradle installation on Ubuntu using the following command:
gradle --version
sudo rm -rf /opt/gradle/gradle-8.9/bin/gradle

Next, delete the script file from Ubuntu to finish uninstalling Gradle:
sudo rm /etc/profile.d/gradle.sh

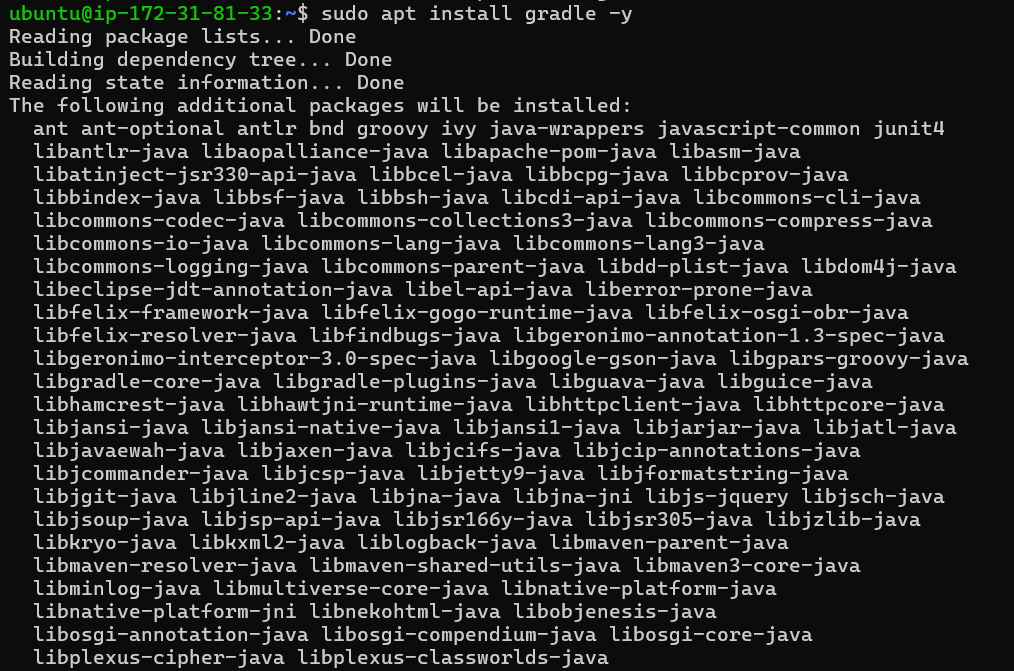
Method 2: Install Gradle on Ubuntu 24.04 from Apt Package Manager
Ubuntu's standard repository also offers older versions of Gradle that can be installed using the following apt command:
sudo apt install gradle -y
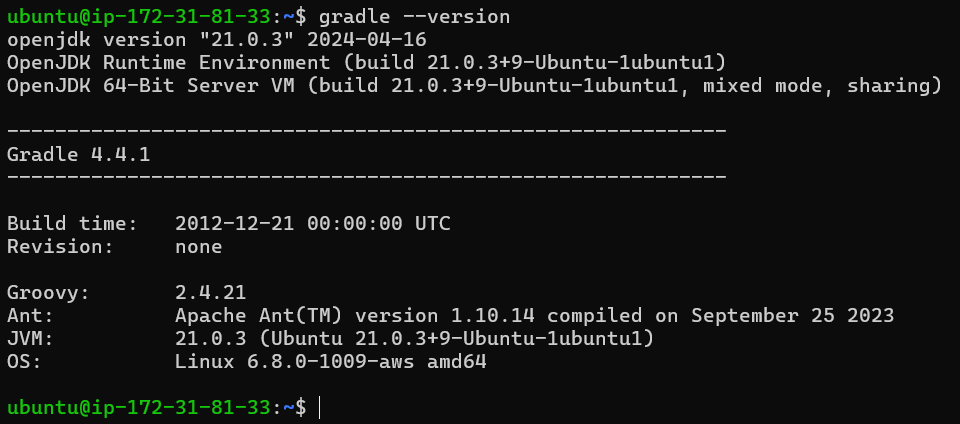
Afterward, you can verify the Gradle installation on Ubuntu using the following command:
gradle --version
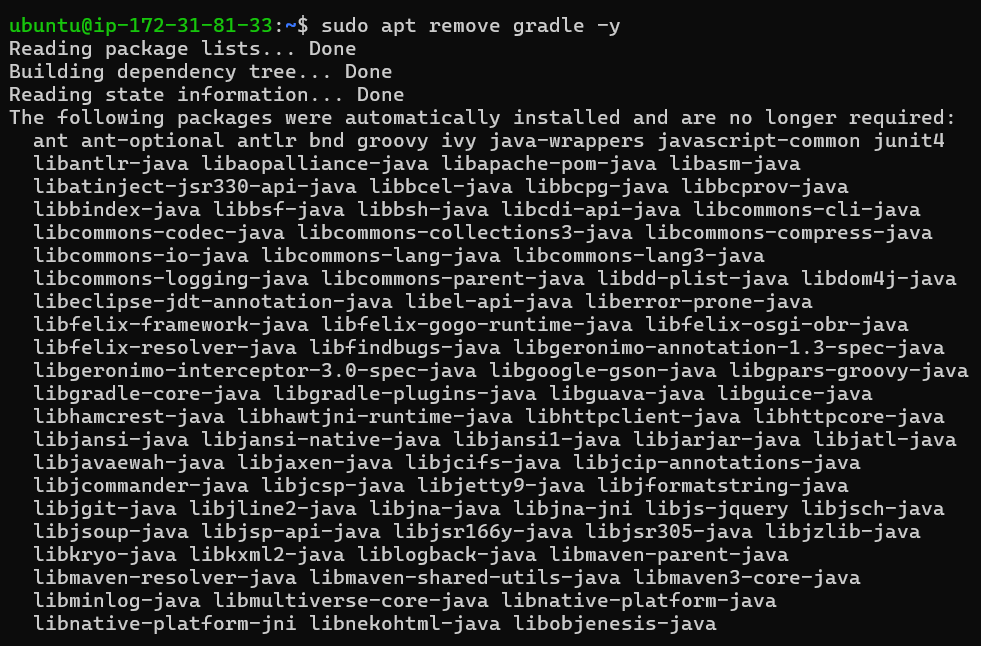
sudo apt remove gradle -y
Method 3: Install Gradle on Ubuntu 24.04 from Snap Store
You can utilize the Snap package manager, which comes pre-installed on Ubuntu, to install Gradle. To install Gradle via the Snap Store on Ubuntu, execute the following command:
sudo snap install gradle --classic

sudo apt install snapd -y
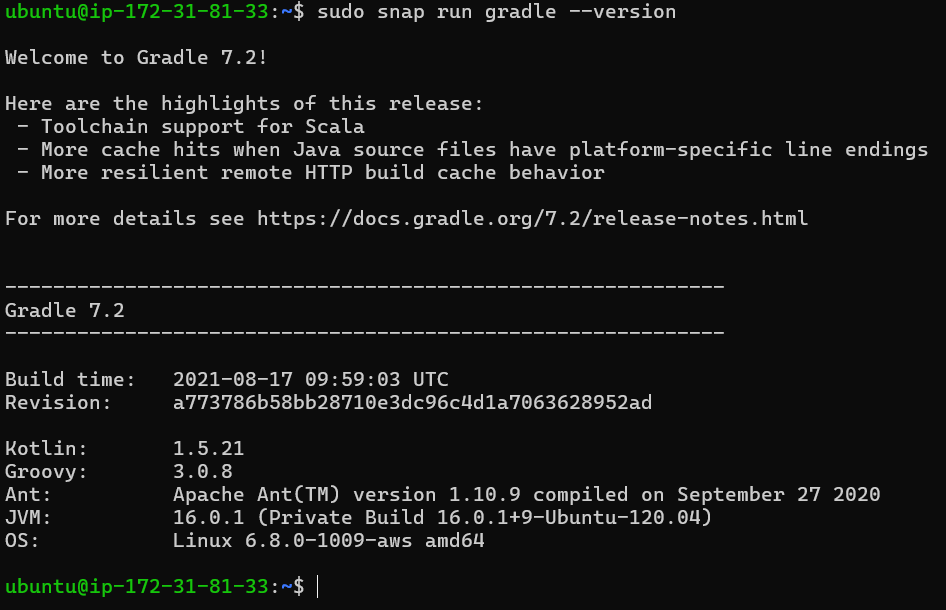
To verify the installation of Gradle on Ubuntu via Snap Store, use the following command to check the version:
sudo snap run gradle --version
Note: To uninstall Gradle installed via Snap Store on Ubuntu 24.04, use the following command:
sudo snap remove gradle

FAQs to Install Gradle on Ubuntu 24.04
What are the system requirements for installing Gradle on Ubuntu 24.04?
The system requirements for installing Gradle on Ubuntu 24.04 are a 64-bit Ubuntu system with at least 1 GB of RAM.
How do I troubleshoot Gradle installation issues?
To troubleshoot Gradle installation issues, you can check the installation logs and verify that the PATH environment variable is correctly set.
What are common errors during Gradle installation?
Common errors during Gradle installation include missing dependencies, incorrect PATH settings, and outdated Java versions.
How do I manage multiple Gradle versions on the same system?
To manage multiple Gradle versions on the same system, you need to set the GRADLE_HOME environment variable to the specific Gradle version you want to use.
Where can I download the Gradle binary?
You can download the Gradle binary from the official Gradle website.
Can I download the Gradle binary and install it manually?
Yes, you can download the Gradle binary and install it manually. This method allows you to install the latest version of Gradle.
How do I add the Gradle binary to the system PATH?
To add the Gradle binary to the system PATH, you need to update the PATH environment variable.
Conclusion
We hope this tutorial helped you understand how to install Gradle on Ubuntu 24.04.
If you have any queries, please leave a comment below, and we’ll be happy to respond to them for sure.