
Introduction
Before we begin talking about how to install ImageMagick on Debian 12, let's briefly understand – What is ImageMagick?
ImageMagick is a powerful open-source software used to manipulate and convert digital images. It offers a wide range of features to resize, crop, rotate, and apply filters to images. ImageMagick supports various image file formats, making it versatile for users.
With its user-friendly interface and extensive functionality, ImageMagick is a popular tool among photographers, designers, and developers. It simplifies image editing tasks while producing high-quality results. Boost your image processing capabilities now with ImageMagick.
In this tutorial, you will install ImageMagick on Debian 12. We will also address a few FAQs on how to install ImageMagick on Debian 12.
Advantages of ImageMagick
- Versatility: ImageMagick supports a wide range of image formats, making it compatible with various file types.
- Powerful editing tools: Resize, crop, rotate, apply filters, and more, with ease and precision.
- Open-source and free: ImageMagick is both cost-effective and constantly improved by a community of developers.
- Automation: It allows batch processing and scripting, saving time and effort in repetitive tasks.
- High-quality results: ImageMagick delivers professional-grade output, ensuring visually stunning images for any purpose.
Install ImageMagick on Debian 12 via APT
Step 1: Update Debian Before ImageMagick Installation
It is imperative that you make sure your system is up-to-date before installing ImageMagick on Debian. Installing the most recent security updates and ensuring that your system is compatible with ImageMagick are two benefits of updating your system. Launch the terminal and type the following command to update your system.
sudo apt update && sudo apt upgrade
Step 2: Install the ImageMagick Requirements Libraries on Debian
Certain libraries need to be installed in order for ImageMagick to function properly. To install them, run the following command:
sudo apt install libpng-dev libjpeg-dev libtiff-dev
Step 3: Install ImageMagick using APT Command on Debian
Use the following command to install ImageMagick using the APT method.
sudo apt install imagemagick
If you would prefer a different installation method, we will cover compiling ImageMagick in the next section.
Install ImageMagick on Debian 12 via source
If you would rather use a different installation method, you can build the application by cloning the ImageMagick GIT repository. This approach is more sophisticated, though, so it might not be appropriate for the typical user. Use the instructions below to access the most recent release or a particular previous one using the source version.
Step 1: Install Git on Debian
Make sure Git is installed on your system before attempting the alternate installation method. Use the following command to check the terminal:
git --version
To view the GIT version that is installed on your computer, run this command. Use the following command to install GIT if you don't already have it:
sudo apt install git
Step 2: Clone ImageMagick Git Repository on Debian
Navigate to the location in the terminal where you want to keep the cloned repository, and then execute the following command to clone the repository.
git clone https://github.com/ImageMagick/ImageMagick.git
The following command can be used to set the cloned repository's location to "/usr/local/src/ImageMagick" if desired.
git clone https://github.com/ImageMagick/ImageMagick.git /usr/local/src/ImageMagick
It is significant to note that you might need to use the sudo command while cloning the repository, depending on your GIT or user privilege configuration. For example, if the user you are currently using does not have the necessary permissions to access the location where you want to clone the repository, you might run into permission errors. In these situations, you can get around these problems by using the sudo command:
sudo git clone https://github.com/ImageMagick/ImageMagick.git /usr/local/src/ImageMagick
Step 3: Navigate to Cloned ImageMagick Directory
Use the cd command to navigate to the ImageMagick repository's directory after cloning it:
cd ImageMagick
Alternatively, you can use the following command to navigate to the directory if you cloned the repository to "/usr/local/src/ImageMagick":
cd /usr/local/src/ImageMagick
Step 4: Install Initial ImageMagick Installation Packages
The dependencies required for ImageMagick's compilation must be installed before proceeding with the installation. Various libraries and tools needed for the compilation process are included in these dependencies. Using the following command in the terminal, you can install them:
sudo apt install build-essential libltdl-dev libjpeg-dev libpng-dev libtiff-dev libgif-dev libfreetype6-dev liblcms2-dev libxml2-dev
Step 5: Set Up the ImageMagick Build Script in Debian
To prepare ImageMagick for compilation, execute the ./configure command after installing the dependencies:
./configure
This command finds any configurations or dependencies that aren't present in the imagemagick compilation. An error message will appear if a component is missing. Before continuing, install any missing components or address any configuration issues if you encounter an error.
ImageMagick can be improved by advanced users by including the –with-modules option. Using this option, ImageMagick gains additional features:
./configure --with-modules

Step 6: Compile ImageMagick on Debian
After configuring the environment, use the make command to compile ImageMagick:
make
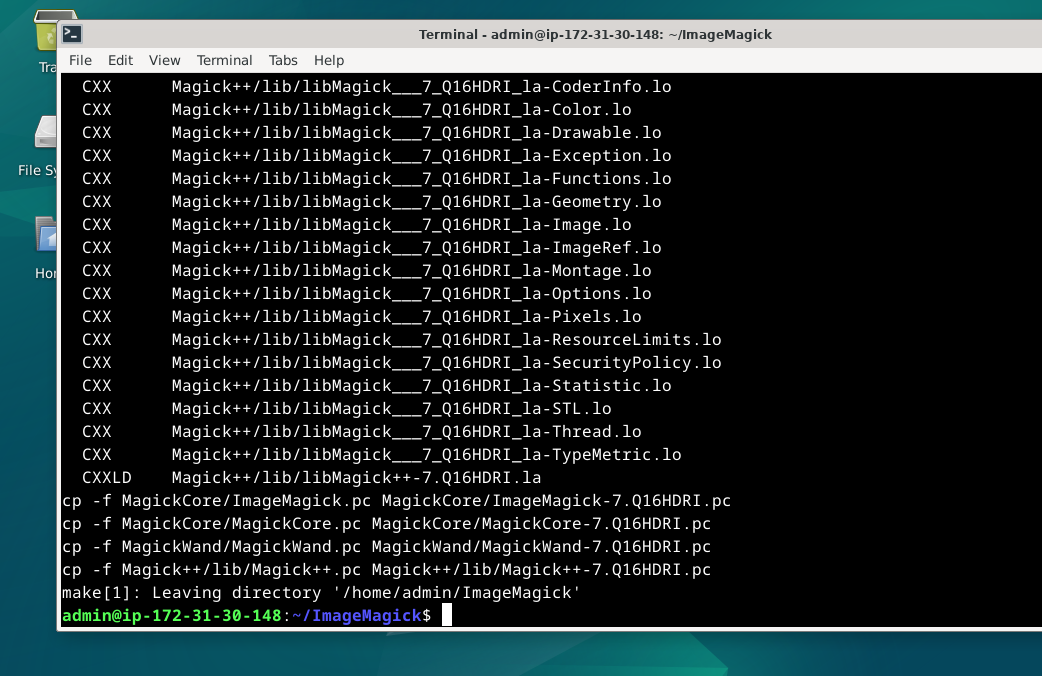
By compiling the ImageMagick source code, the make command will result in a functional application. The compilation process could take a few minutes, depending on your system specs. You can move on to the next step once the compilation is finished.
Step 7: Install Compiled ImageMagick Binary on Debian
Using the following command, install ImageMagick on your Debian system after compiling the source code:
sudo make install
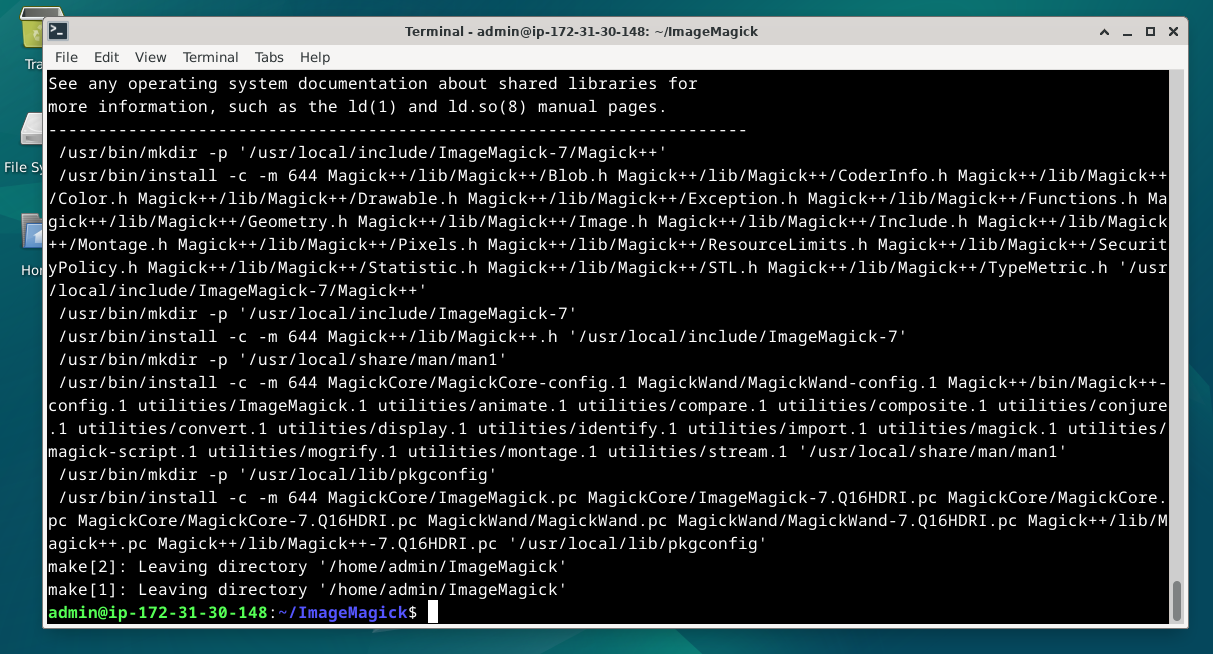
Your system will install ImageMagick after you run the installation command. Once installation is finished, you can use ImageMagick.
Step 8: Use ImageMagick's Run-Time Dynamic Linker Command
Setting up the dynamic linker run-time bindings comes last after installing ImageMagick. Because it guarantees that your system can find and use the ImageMagick libraries at run-time, this step is very important.
sudo ldconfig /usr/local/lib
By configuring the dynamic linker run-time bindings with the ldconfig command, you can use ImageMagick on your system. After executing this command, ImageMagick will function as expected. If you skip this step, your terminal might display the following error:
magick: error while loading shared libraries: libMagickCore-7.Q16HDRI.so.10: cannot open shared object file: No such file or directory
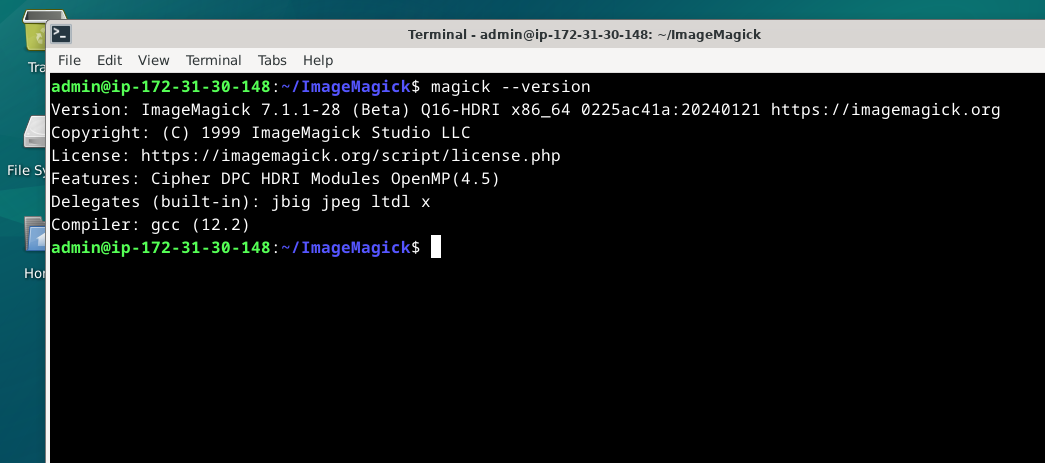
Step 9: Verify ImageMagick Installation via source
Once ImageMagick has been installed successfully, you can use the following command to confirm that it was installed:
magick --version
Output

Version: ImageMagick 7.1.0-62 (Beta) Q16-HDRI x86_64
Examples of ImageMagick Commands on Debian 12
Converting an Image Format with ImageMagick on Debian
Images can be converted between different formats using ImageMagick. For example, use the following command to convert a JPG image to a PNG format:
convert input.jpg output.png
Creating a Thumbnail with ImageMagick on Debian
Use this command to turn an image into a thumbnail:
convert input.png -thumbnail 200x200 output.png
Using the image "input.png", this command generates a 200×200 thumbnail, which is then saved as "output.png".
Resizing an Image with ImageMagick on Debian
Use this command to resize an image to a particular size:
convert input.png -resize 200x200 output.png
This command saves the result as "output.png" and resizes the "input.png" image to 200 by 200.
Using Debian's ImageMagick to Add Text to an Image
Using ImageMagick, enter the following command to add text to an image:
convert input.png -font Arial -pointsize 36 -fill black -draw "text 20,50 'Hello World'" output.png
This command adds the text "Hello World" in the Arial font with a 36-point font size to the "input.png" image. The text is at coordinates (20, 50) and is black in color. The outcome is kept as "output.png".
Applying Special Effects with ImageMagick on Debian
Images can be given special effects using ImageMagick. For example, the following command can be used to apply a sepia tone effect:
convert input.png -sepia-tone 80% output.png
With this command, the "input.png" image is subjected to an 80% sepia tone effect, and the resulting file is saved as "output.png".
Blurring an Image with ImageMagick on Debian
Using ImageMagick, apply the following command to blur an image:
convert input.png -blur 0x8 output.png
This command applies a Gaussian blur effect to the "input.png" image with a radius of 0 and a sigma of 8. Saved as "output.png" is the outcome.
Cropping an Image with ImageMagick on Debian
The following command can be used to crop an image:
convert input.png -crop 200x200+50+50 output.png
Using the coordinates (50, 50), this command crops the "input.png" image to a size of 200 by 200, saving the outcome as "output.png".
FAQs to Install ImageMagick on Debian 12
Is ImageMagick available in the default Debian repositories?
Yes, ImageMagick is available in the default Debian repositories, allowing for easy installation.
What are the system requirements for ImageMagick on Debian 12?
ImageMagick has modest system requirements, and it can run on most Debian 12 systems without any issues.
Can I use ImageMagick with both GUI and command-line interfaces?
Yes, ImageMagick supports both GUI and command-line interfaces, providing flexibility for different user preferences.
Are there any additional packages or dependencies needed for ImageMagick?
No, ImageMagick's installation package includes all the necessary dependencies, so no additional packages are required.
How can I verify if ImageMagick is installed correctly on my Debian 12 system?
You can run the command convert --version in the terminal to check if ImageMagick is successfully installed and displays its version information.
Are there any known issues or troubleshooting tips for ImageMagick on Debian 12?
Most common issues are related to missing dependencies. Ensure that you have the necessary libraries installed, such as libpng and libjpeg, to avoid any problems.
Can I use ImageMagick for commercial purposes on Debian 12?
Yes, ImageMagick's open-source license permits its usage for both personal and commercial purposes, making it suitable for various projects on Debian 12.
Conclusion
We hope this tutorial helped you understand how to install ImageMagick on Debian 12.
If you have any queries, please leave a comment below, and we’ll be happy to respond to them for sure.