
Choose a different version or distribution
Introduction
Before we begin talking about how to install Java on Ubuntu 22.04, let's briefly understand – What is Java?
Java is a popular programming language used to create various software applications and run them on different devices. It offers a platform-independent approach, meaning programs written in Java can run on multiple operating systems. Java's key features include object-oriented programming, automatic memory management, and robust security.
It is widely used for web and mobile development, enterprise applications, and embedded systems. Java's versatility and vast library of tools and frameworks make it a preferred choice for developers worldwide.
In this tutorial, you will install Java on Ubuntu 22.04. We will also address a few FAQs on how to install Java on Ubuntu 22.04.
Advantages of Java
- Platform Independence: Java programs can run on different operating systems without the need for modification.
- Object-Oriented Programming: Java supports modular and reusable code, promoting better software design.
- Automatic Memory Management: Java's garbage collection feature frees developers from manual memory allocation and deallocation.
- Robust Security: Java incorporates built-in security features to protect against vulnerabilities and ensure safe execution of programs.
- Vast Ecosystem: Java has a vast library of tools, frameworks, and community support, enabling faster and efficient application development.
Prerequisites to Install Java on Ubuntu 22.04
The following prerequisites are needed to complete the tutorial:
- One Ubuntu 22.04 server.
- A sudo non-root user and a firewall.
Step 1 - Installing Java
Java installation consists of two primary parts. The JDK offers necessary software tools for Java development, including a compiler and debugger. Java programmes are actually run via the JRE. Additionally, there are two primary Java installation options to choose from. The open-source Java implementation, known as OpenJDK, is included with Ubuntu. Oracle JDK is the original version of Java and is fully supported by Oracle, the developers of Java.
Oracle has officially recognized both of these versions. Both are created by Oracle, however, OpenJDK includes community contributions because it is an open-source project. However, as explained by Oracle, the two alternatives are now functionally the same as Java 11. It all boils down to selecting the right licensing for your situation when deciding which to install. The JRE can also be installed separately from OpenJDK, but OracleJDK already includes its JRE.
Option 1 - Installing the Default JRE/JDK
Using the version of Java included with Ubuntu is one option for installing Java. The open-source JRE and JDK version, Open JDK 11, is preinstalled in Ubuntu 22.04.
Before installing the OpenJDK Java version, update your apt package index:
sudo apt update
After that, see if Java has already been installed:
java -version
You'll see the following output if Java is not already installed:
Output
Command 'java' not found, but can be installed with:

sudo apt install default-jre              # version 2:1.11-72build1, or
sudo apt install openjdk-11-jre-headless  # version 11.0.14+9-0ubuntu2
sudo apt install openjdk-17-jre-headless  # version 17.0.2+8-1
sudo apt install openjdk-18-jre-headless  # version 18~36ea-1
sudo apt install openjdk-8-jre-headless   # version 8u312-b07-0ubuntu1
Use the command shown below to install the JRE from OpenJDK 11:
sudo apt install default-jre
You can run practically any Java application with the JRE.
Check the installation by using:
java -version
You will see an output that resembles the following:
Output
openjdk version "11.0.13" 2022-01-18
OpenJDK Runtime Environment (build 11.0.14+9-Ubuntu-0ubuntu2)
OpenJDK 64-Bit Server VM (build 11.0.14+9-Ubuntu-0ubuntu2, mixed mode, sharing)
Some specific Java-based applications may require the JDK in addition to the JRE in order to compile and run. Use the following command to install the JDK, which also installs the JRE:
sudo apt install default-jdk
By verifying the Java compiler's version, javac, you may confirm that the JDK is installed:
javac -version
The following output will appear:
Output
javac 11.0.13
Now you'll learn how to install Oracle's official JDK and JRE.
Option 2 - Installing Oracle JDK 11
The Java licence from Oracle forbids automatic installation via package managers. You need to sign up for an Oracle account and manually download the JDK to add a new package repository for the version you want to use in order to install the Oracle JDK, which is the certified version issued by Oracle. Then, with the use of a third party installation script, you may use apt to install it. The JRE is already bundled with Oracle JDK, therefore you don't need to install it individually.
You must get the exact same version of Oracle's JDK as the installer script. Visit the oracle-java11-installer page to determine the version you require.
Find Jammy's package as indicated in the accompanying illustration:
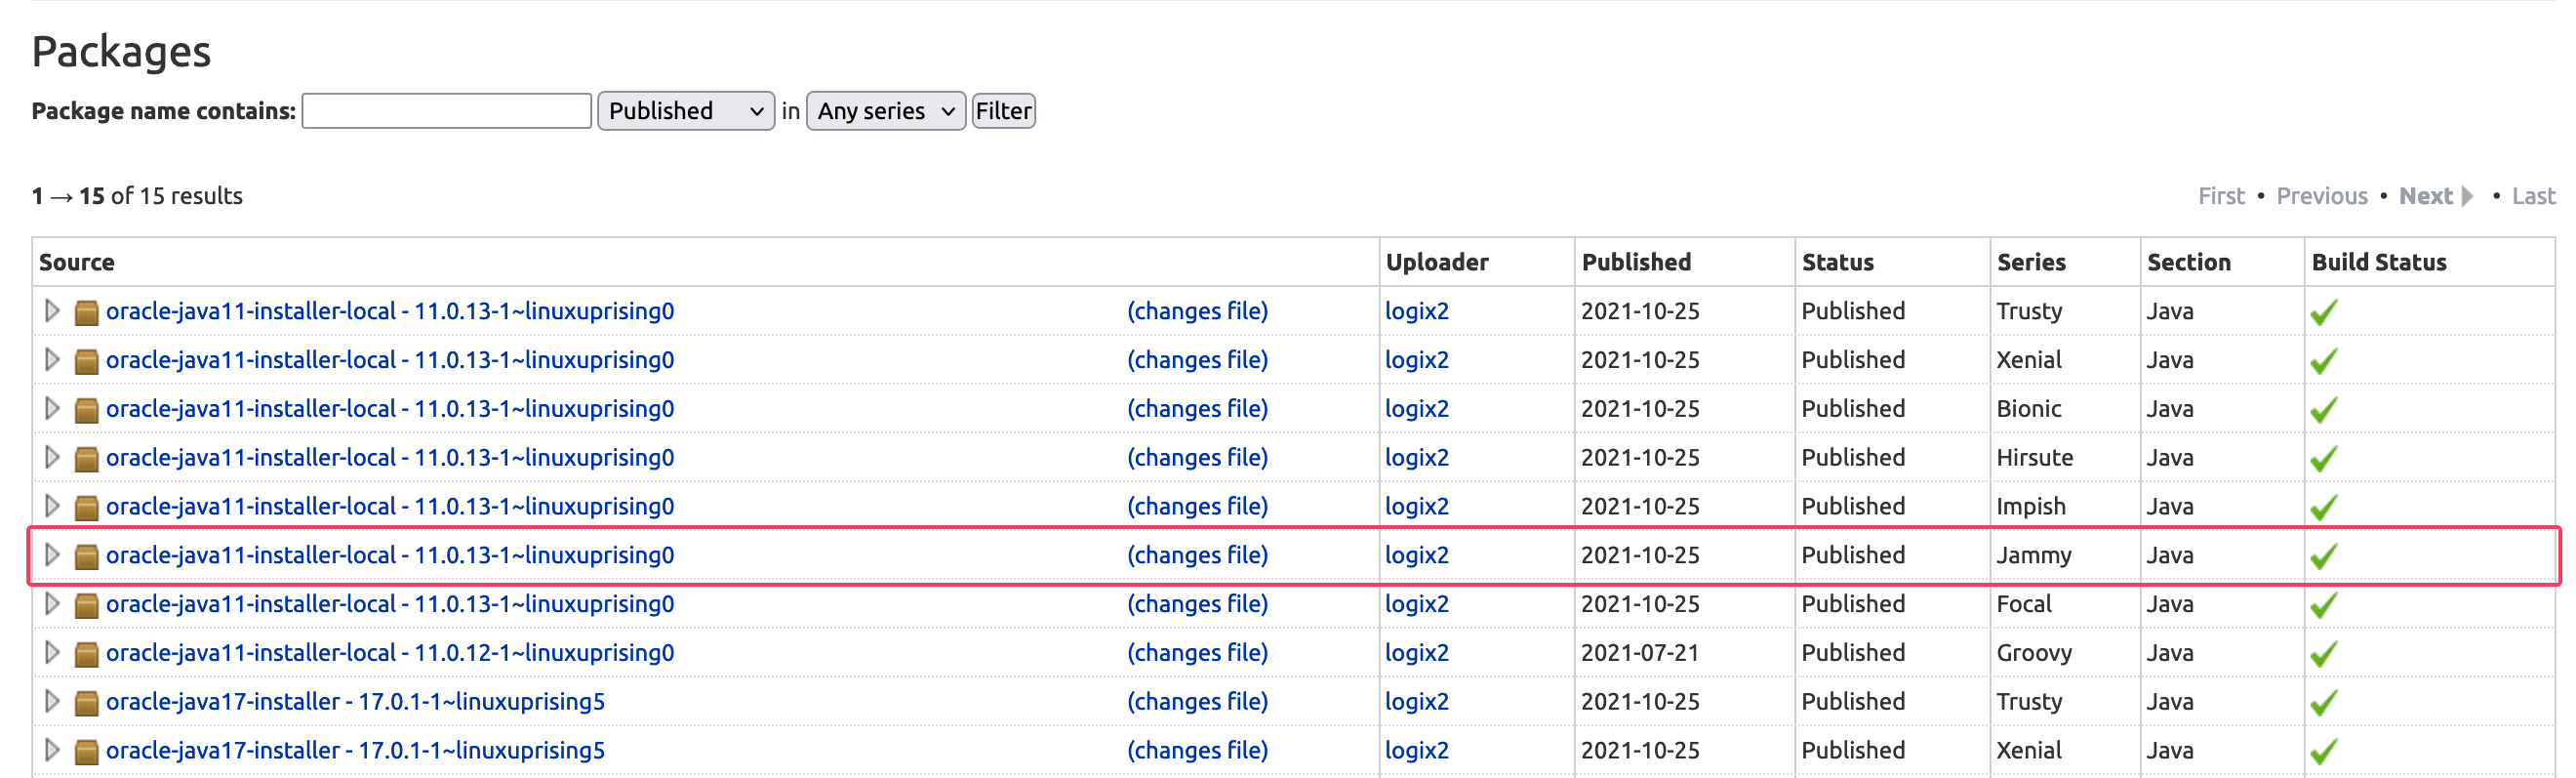
The script's version in this image is 11.0.13. You would want Oracle JDK 11.0.13 in this situation. The software's version number may change depending on when you install it.
Nothing has to be downloaded from this page; apt will soon download the installation script for you.
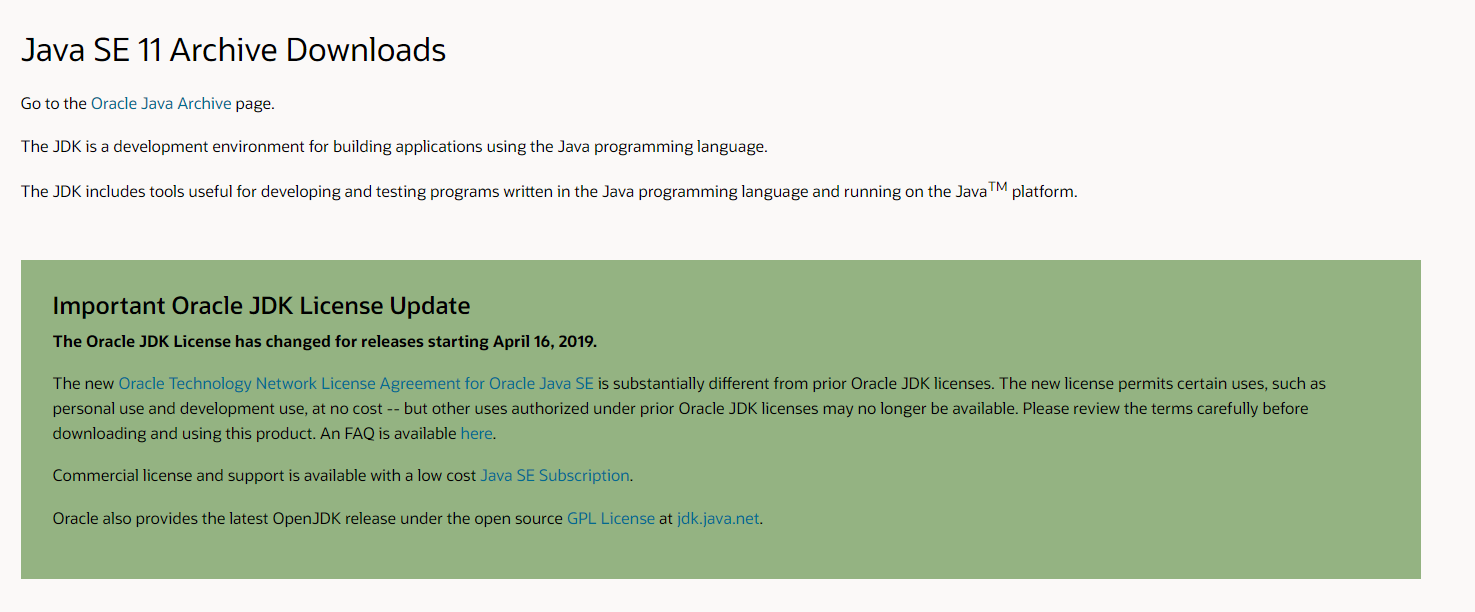
Next, go to the Archive Downloads or Java Downloads and find the necessary version there. Make sure that your oracle Jdk version must match the java version of your system.
Choose the Linux x64 compressed archive .tar.gz package from this list:
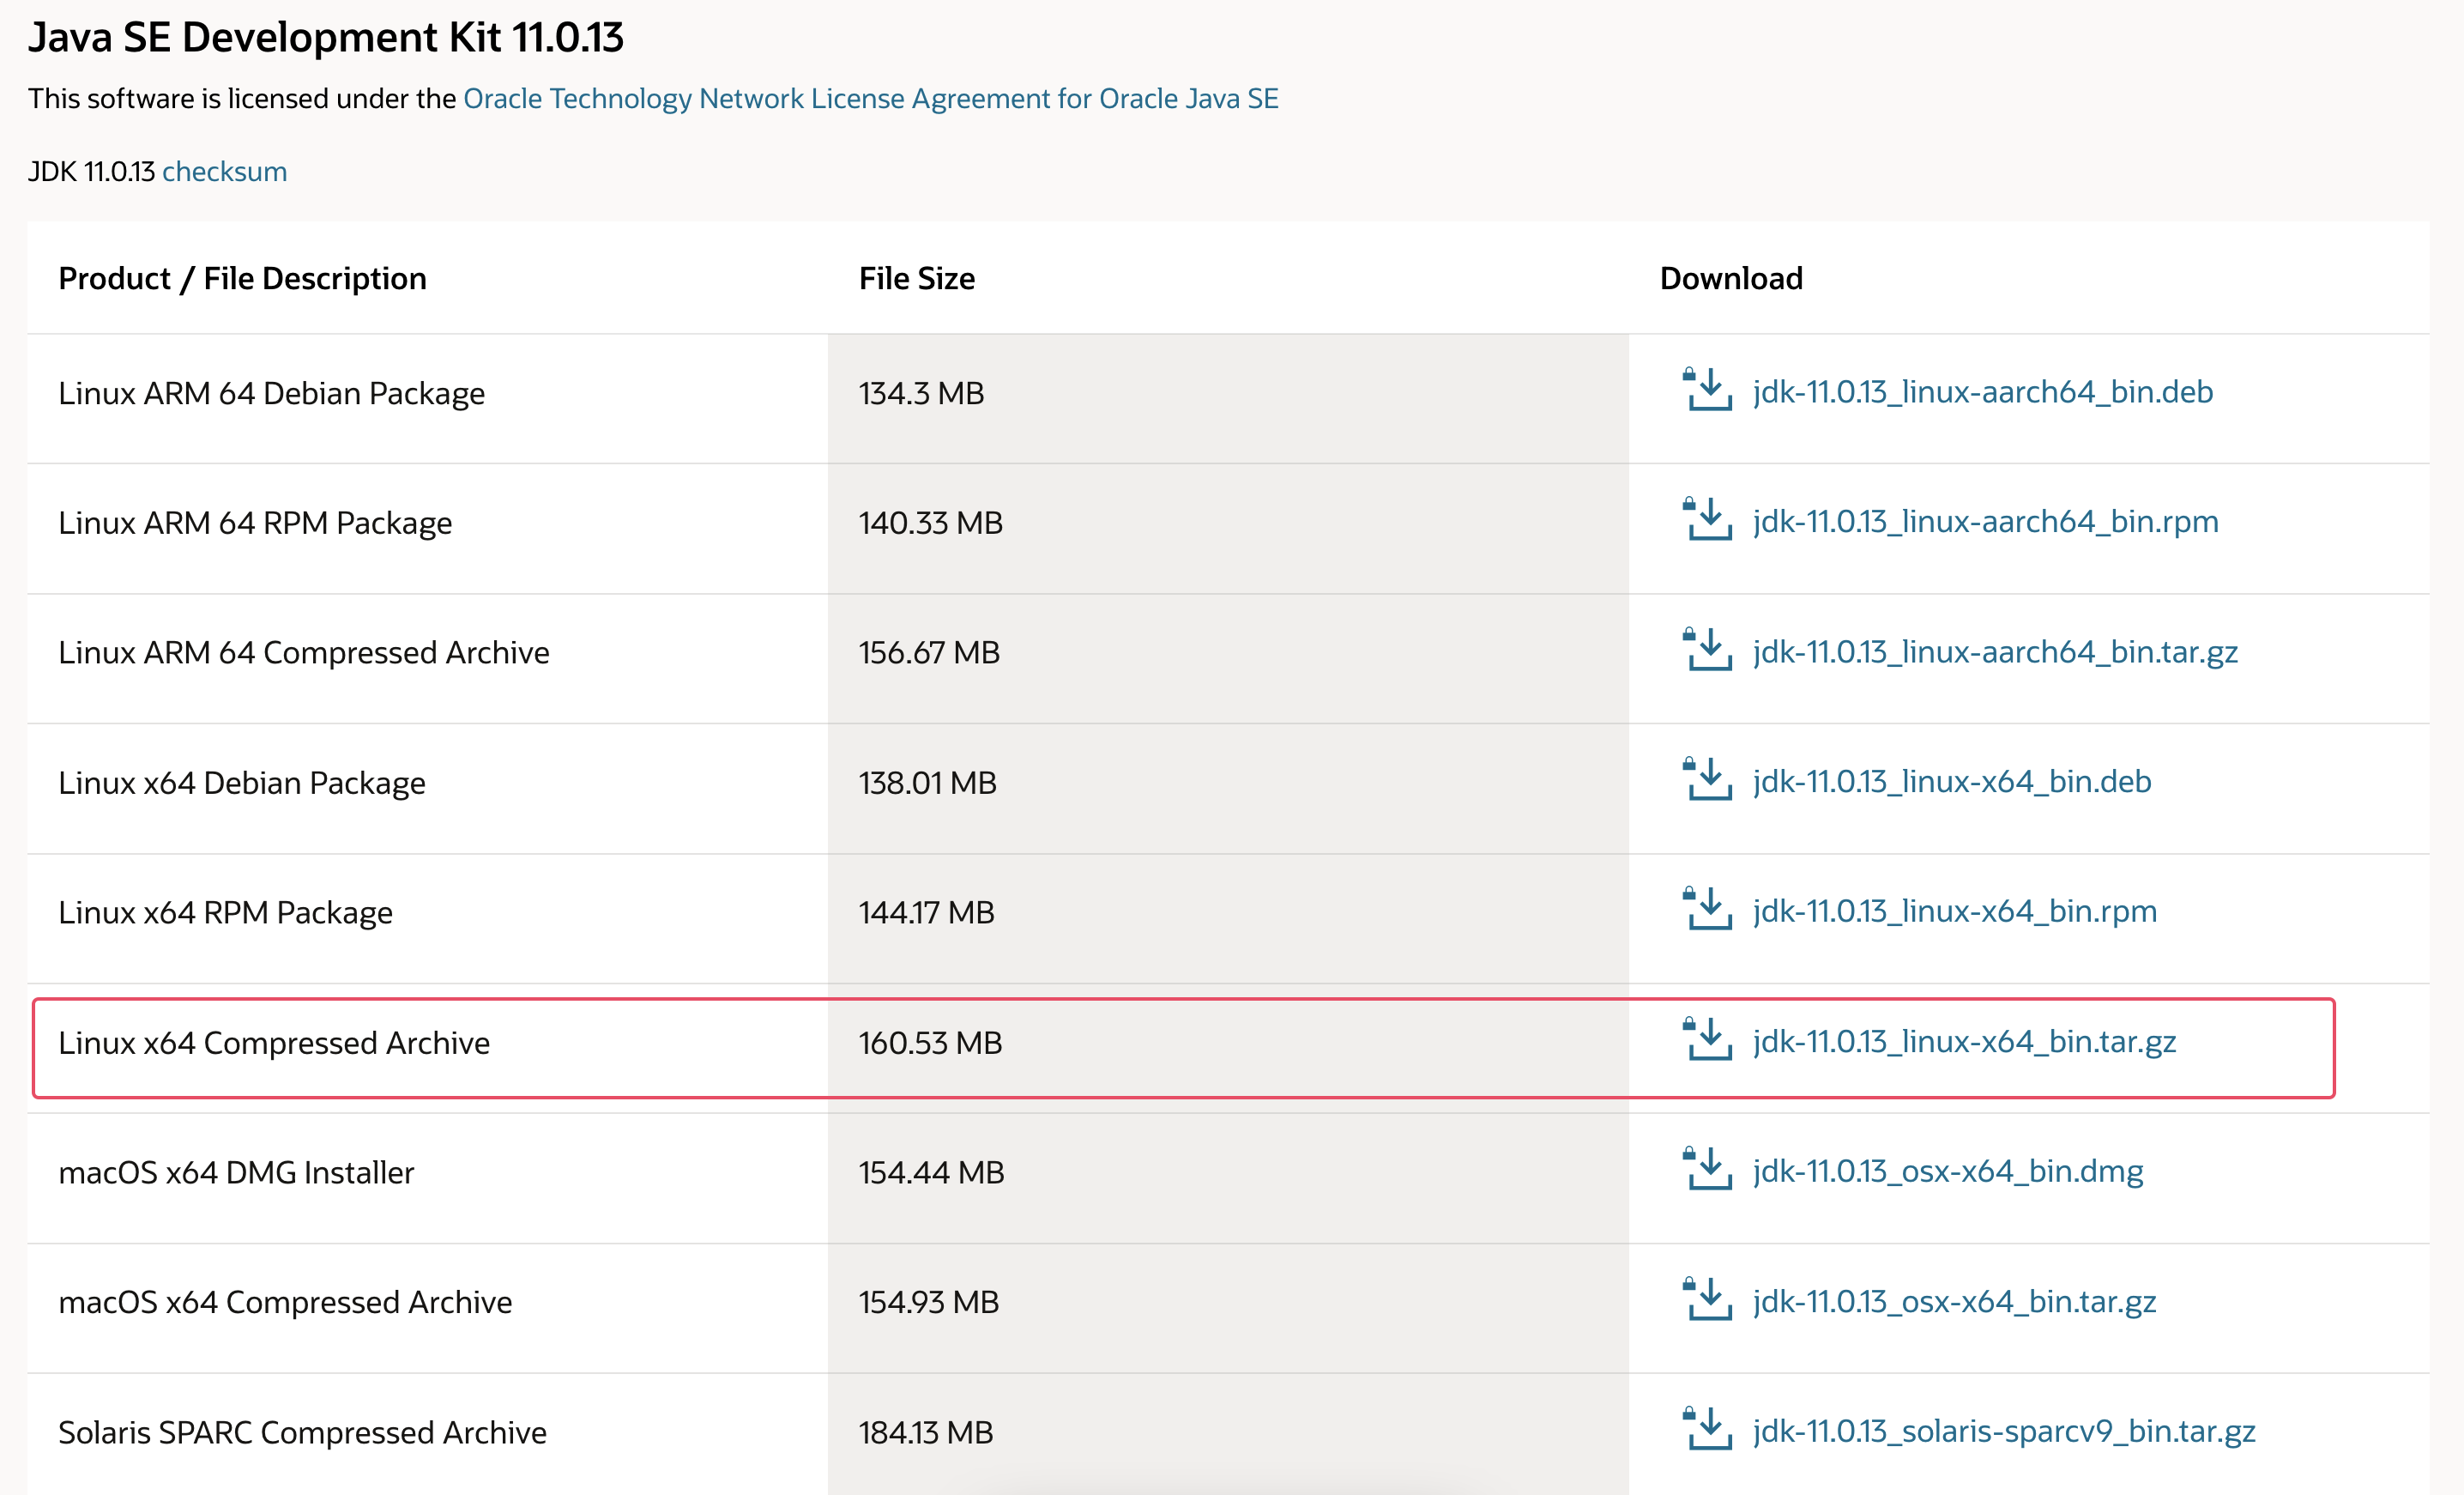
A screen will appear asking you to confirm your acceptance of the Oracle licence agreement. Press the Download button after checking the licence agreement box. The download will start. Before the download begins, you might need to connect into your Oracle account one again.
You must send the downloaded file to your server after it has finished. Upload the file from your local computer to your server. Use the scp command on macOS, Linux, or Windows running the Windows Subsystem for Linux to move the file to your sammy user's home directory. If you downloaded the Oracle JDK file to your local machine's Downloads folder, run the following command:
scp Downloads/jdk-11.0.13_linux-x64_bin.tar.gz sammy@your_server_ip:~
Or you can use curl to download the file directly on the server:
curl https://download.oracle.com/otn/java/jdk/11.0.18+9/e9f4529b2fa84718a553a389cb2a6629/jdk-11.0.18_linux-x64_bin.tar.gz?AuthParam=1679397805_fb0419490cac46da71f2af2ef6f755ee -o jdk-11.0.18_linux-x64_bin.tar.gz
Return to your server after the file upload is complete and add the external repository to make it easier to install Oracle's Java.
Import the signing key used to confirm the installation of the software first:
sudo gpg --homedir /tmp --no-default-keyring --keyring /usr/share/keyrings/oracle-jdk11-installer.gpg --keyserver keyserver.ubuntu.com --recv-keys EA8CACC073C3DB2A
This output will be displayed:
Output
gpg: keybox '/usr/share/keyrings/oracle-jdk11-installer.gpg' created
gpg: /tmp/trustdb.gpg: trustdb created
gpg: key EA8CACC073C3DB2A: public key "Launchpad PPA for Linux Uprising" imported
gpg: Total number processed: 1
gpg:               imported: 1
The repository should now be included in your list of package sources:
echo "deb [arch=amd64 signed-by=/usr/share/keyrings/oracle-jdk11-installer.gpg] https://ppa.launchpadcontent.net/linuxuprising/java/ubuntu jammy main" | sudo tee /etc/apt/sources.list.d/oracle-jdk11-installer.list > /dev/null
To enable installation of the new programme, update your package list:
sudo apt update
The Oracle JDK you downloaded will be found by the installer in/var/cache/oracle-jdk11-installer-local. Move the Oracle JDK archive thereafter creating this directory:
sudo mkdir -p /var/cache/oracle-jdk11-installer-local/
sudo cp jdk-11.0.13_linux-x64_bin.tar.gz /var/cache/oracle-jdk11-installer-local/
Lastly, install the package:
sudo apt install oracle-java11-installer-local
You will be prompted by the installer to approve the Oracle licensing agreement first. If you agree, the installer will extract and install the Java package.
Next, you will learn how to select the version of Java you want to use.
Step 2 - Managing Java
On a single server, you can have several Java installations. With the update-alternatives command, you can specify which version is the default for use on the command line.
sudo update-alternatives --config java
If you followed the tutorial's instructions and installed both versions of Java, the output would seem as follows:
Output
There are 2 choices for the alternative java (providing /usr/bin/java).

  Selection    Path                                         Priority   Status
------------------------------------------------------------
  0            /usr/lib/jvm/java-11-openjdk-amd64/bin/java   1111      auto mode
  1            /usr/lib/jvm/java-11-openjdk-amd64/bin/java   1111      manual mode
* 2            /usr/lib/jvm/java-11-oracle/bin/java          1091      manual mode

Press <enter> to keep the current choice[*], or type selection number:
Press ENTER to keep the current settings in place, or select the number next to the Java version to establish it as the default.
Other Java commands, such as the compiler (javac), can be used in the same way:
sudo update-alternatives --config javac
This command can also be used with the following others, but is not limited to them: keytool, javadoc, and jarsigner.
Step 3 - Setting the JAVA_HOME Environment Variable
The JAVA_HOME environment variable is frequently used in Java-based programs to find the Java installation directory.
Find out where Java is installed first before setting this environment variable. Run the update-alternatives command:
sudo update-alternatives --config java
This command displays each Java installation along with the path of that installation:
Output
There are 2 choices for the alternative java (providing /usr/bin/java).

  Selection    Path                                         Priority   Status
------------------------------------------------------------
  0            /usr/lib/jvm/java-11-openjdk-amd64/bin/java   1111      auto mode
  1            /usr/lib/jvm/java-11-openjdk-amd64/bin/java   1111      manual mode
* 2            /usr/lib/jvm/java-11-oracle/bin/java          1091      manual mode

Press <enter> to keep the current choice[*], or type selection number:
The installation paths in this situation are as follows:
- At
/usr/lib/jvm/java-11-openjdk-amd64/bin/java, you can find OpenJDK 11. - At
/usr/lib/jvm/java-11-oracle/jre/bin/java, you can find Oracle Java.
Copy the installation path from your selected location. Next, open /etc/environment in nano or another text editor of your choice:
sudo nano /etc/environment
Add the following line at the end of this file, being careful to not include the bin/ section of the path and replace the highlighted path with your own copied path:
JAVA_HOME="/usr/lib/jvm/java-11-openjdk-amd64"
All users on your system will have their JAVA_HOME paths changed by changing this file.
Save the document, then close the editor.
To apply the modifications to your current session, reload this file right away:
source /etc/environment
Make sure the environment variable is set by checking:
echo $JAVA_HOME
You will notice the path you just chose:
Output
/usr/lib/jvm/java-11-openjdk-amd64
Other users will need to execute the command source /etc/environment or log out and log back in to implement this setting.
FAQs to Install Java on Ubuntu 22.04
What is the default JDK version installed on Ubuntu 22.04?
The default JDK version installed on Ubuntu 22.04 varies depending on the updates. It is recommended to check the version using the command java -version after installation.
Can I install a specific JDK version on Ubuntu 22.04?
Yes, you can install a specific JDK version on Ubuntu 22.04 by specifying the version during installation. For example, sudo apt install openjdk-11-jdk to install JDK 11.
How can I switch between multiple JDK versions on Ubuntu 22.04?
You can switch between multiple JDK versions on Ubuntu 22.04 using the update-alternatives command. Run sudo update-alternatives --config java to choose the desired JDK version.
How do I set the JAVA_HOME environment variable on Ubuntu 22.04?
To set the JAVA_HOME environment variable on Ubuntu 22.04, open the terminal and run export JAVA_HOME=/path/to/java command, replacing /path/to/java with the actual path to your Java installation directory.
Can I install Oracle JDK on Ubuntu 22.04?
Yes, you can install Oracle JDK on Ubuntu 22.04 by downloading the JDK package from the Oracle website and following the installation instructions provided.
Is it recommended installing Java from third-party repositories on Ubuntu 22.04?
It is generally recommended to use the default package repositories for installing Java on Ubuntu 22.04. Third-party repositories may provide alternative Java distributions, but they may not be officially supported or regularly updated.
How can I uninstall Java from Ubuntu 22.04?
To uninstall Java from Ubuntu 22.04, use the following command: sudo apt remove default-jdk. This will remove the default JDK installation.
Conclusion
We hope this detailed tutorial helped you understand how to install Java on Ubuntu 22.04.
If you have any suggestions or queries, kindly leave them in the comments section.
