
Choose a different version or distribution
Introduction
Before we begin talking on how to install Jenkins on CentOS 7. Let’s briefly understand - What is Jenkins?
Jenkins is an open-source automation server that helps automate the software development process.
It provides a platform for building, testing, and deploying software projects, including continuous integration (CI) and continuous delivery (CD). With Jenkins, developers can automate repetitive tasks, trigger builds, run tests, and monitor the overall build and deployment process.
In this tutorial, you will understand how to install Jenkins on CentOS 7. We will also address a few FAQs on how to install Jenkins on CentOS 7.
Advantages of Installing Jenkins on CentOS 7
- Automation: Jenkins on CentOS 7 enables automated build, test, and deployment processes, saving time and effort.
- Extensibility: With a vast selection of plugins, Jenkins offers limitless possibilities to customize and extend its functionality.
- Scalability: Jenkins allows distributed builds across multiple machines, accommodating increased workloads and scaling as needed.
- Integration: Jenkins seamlessly integrates with popular development tools, enabling a streamlined and efficient development workflow.
- Community Support: As an open-source tool, Jenkins benefits from an active community that provides support, resources, and continuous development updates.
Prerequisites
Please ensure that you are logged in as a user with sudo privileges before proceeding with this tutorial.
Installing Jenkins
Follow these steps to install Jenkins on your CentOS system:
1) Installing Java is the first step because Jenkins is a Java program. Install the OpenJDK 11 package by running the following command:
sudo yum install java-11-openjdk-devel
2) The Jenkins repository has to be enabled next. Use the following curl command to import the GPG key, in order to do that:
curl --silent --location http://pkg.jenkins-ci.org/redhat-stable/jenkins.repo | sudo tee /etc/yum.repos.d/jenkins.repo
And then add the repository to your system using:
sudo rpm --import https://jenkins-ci.org/redhat/jenkins-ci.org.key
3) Install Jenkins' most recent stable version after the repository has been enabled by typing:
sudo yum install jenkins
Start the Jenkins service with the following after the installation is finished:
sudo systemctl start jenkins
Run the following command to verify that it launched successfully:
systemctl status jenkins
You should see something like this:
Output

● jenkins.service - LSB: Jenkins Automation Server
Loaded: loaded (/etc/rc.d/init.d/jenkins; bad; vendor preset: disabled)
Active: active (running) since Thu 2018-09-20 14:58:21 UTC; 15s ago
    Docs: man:systemd-sysv-generator(8)
Process: 2367 ExecStart=/etc/rc.d/init.d/jenkins start (code=exited, status=0/SUCCESS)
CGroup: /system.slice/jenkins.service
Lastly, enable the Jenkins service to start on system boot.
sudo systemctl enable jenkins
Output

jenkins.service is not a native service, redirecting to /sbin/chkconfig.
Executing /sbin/chkconfig jenkins on
Adjust the Firewall
If you are installing Jenkins on a remote CentOS server that is protected by a firewall, you must open port 8080.
To open the required port, use the commands listed below:
sudo firewall-cmd --permanent --zone=public --add-port=8080/tcp
sudo firewall-cmd --reload
Setting Up Jenkins
To configure your new Jenkins installation, open a browser window and enter your domain or IP address followed by port 8080:
http://your_ip_or_domain:8080
You will see a screen like the one below, asking you to enter the Administrator password that was created during the installation:
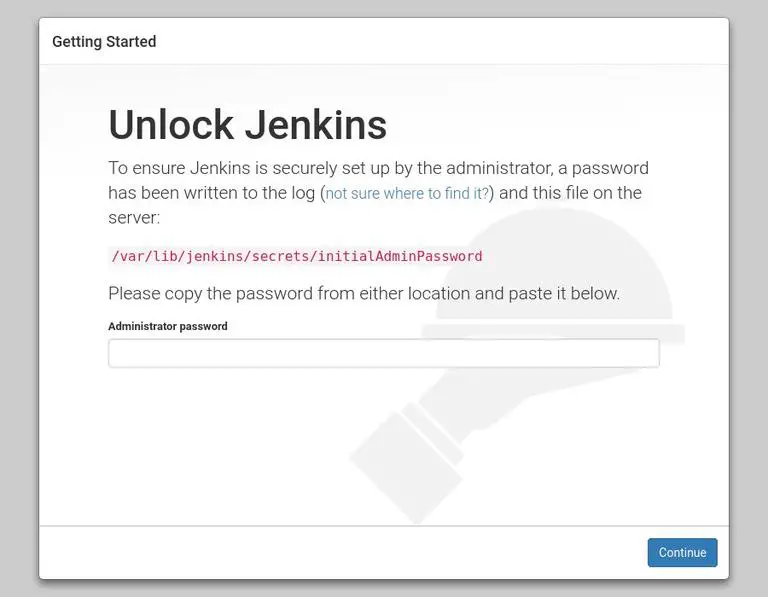
To print the password on your terminal, use the following command:
sudo cat /var/lib/jenkins/secrets/initialAdminPassword
The following 32-character alphanumeric password should appear:
Output

2115173b548f4e99a203ee99a8732a32
Copy your terminal's password, paste it into the Administrator password field, and then click Continue.
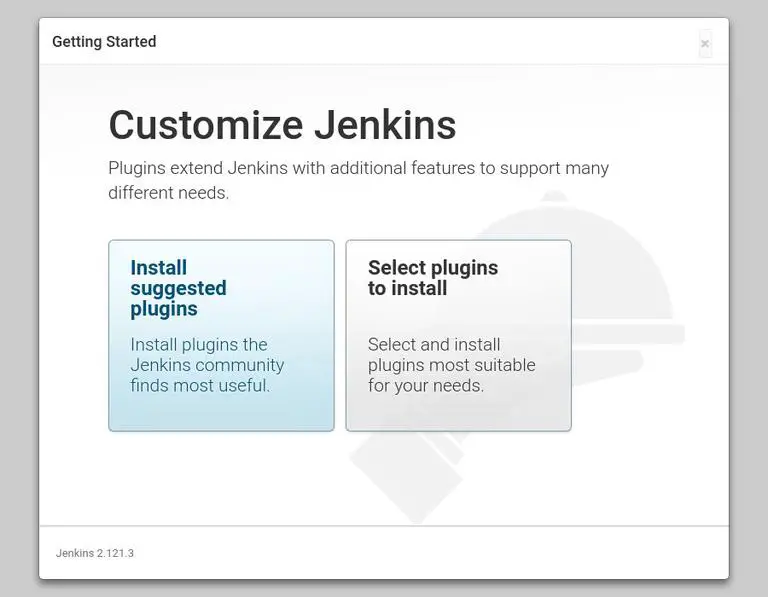
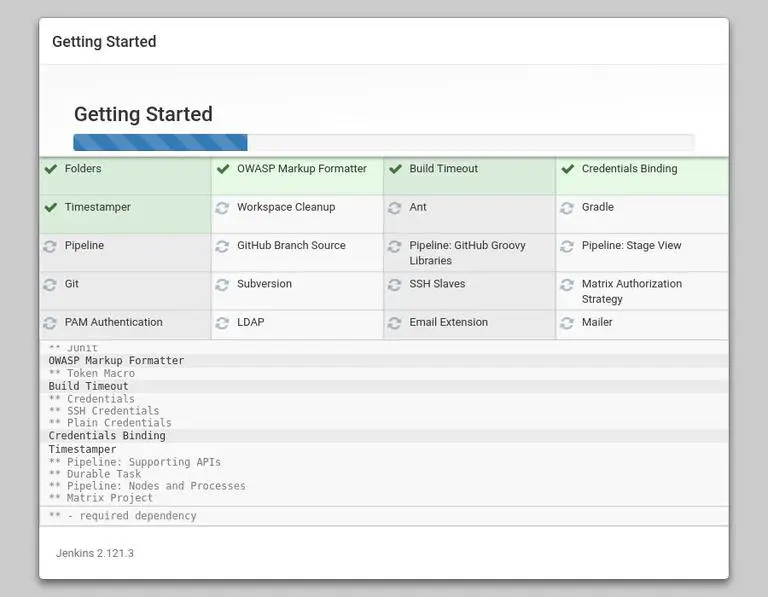
You can choose to install the suggested plugins or install a specific plugin on the following screen. As soon as you click the Install suggested plugins box, the installation procedure will begin.
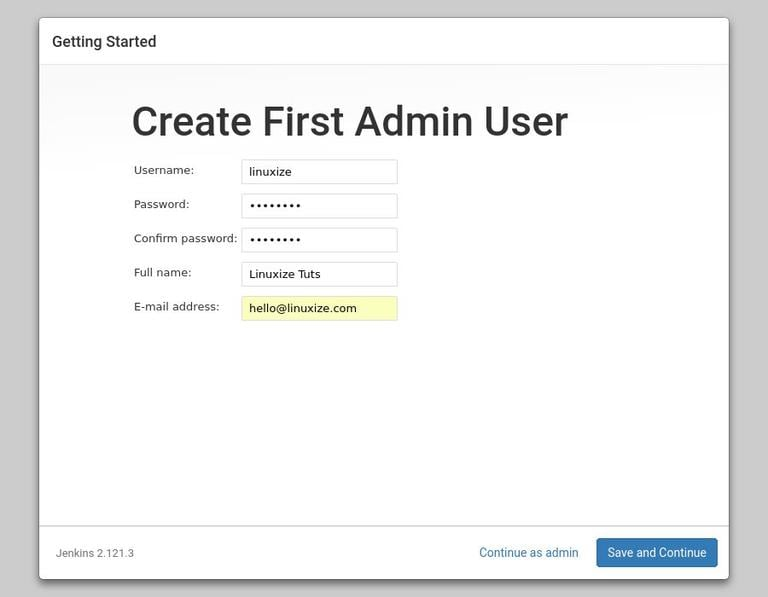
You will be prompted to set up the first administrative user after the installation is finished. Fill all fields with the necessary data, then click Save and Continue.
You will be prompted to provide the URL for the Jenkins instance on the following screen. An automatically generated URL will be entered into the URL field.
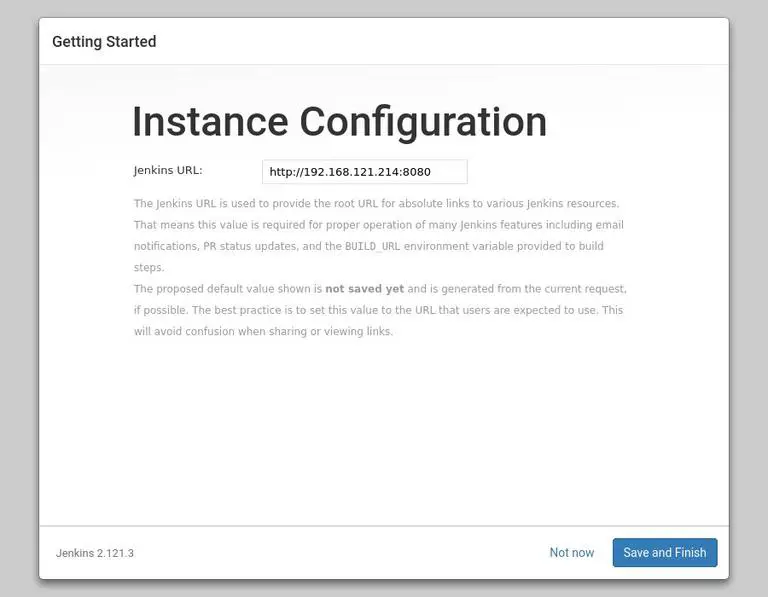
By clicking the Save and Finish button, you can complete the configuration by confirming the URL.
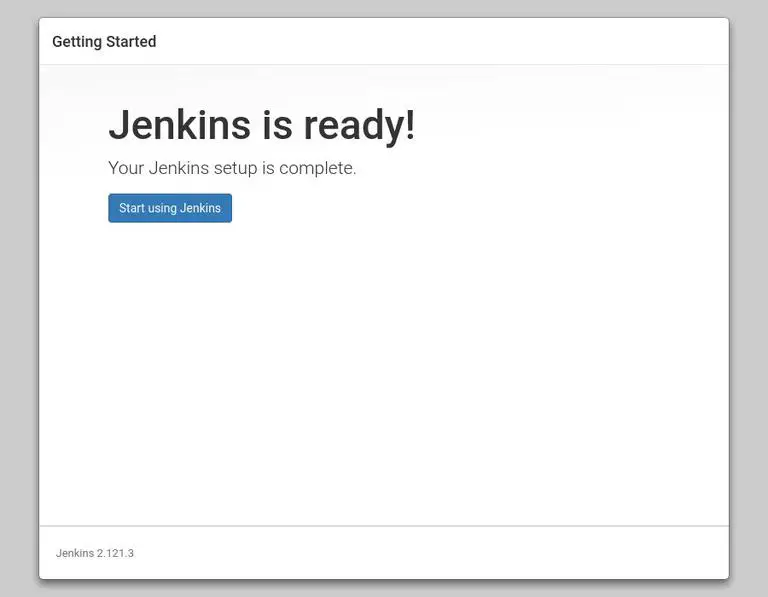
After you click the Start using Jenkins button at the end, you will be taken to the Jenkins dashboard, where you may log in using the admin user you generated in a previous step.
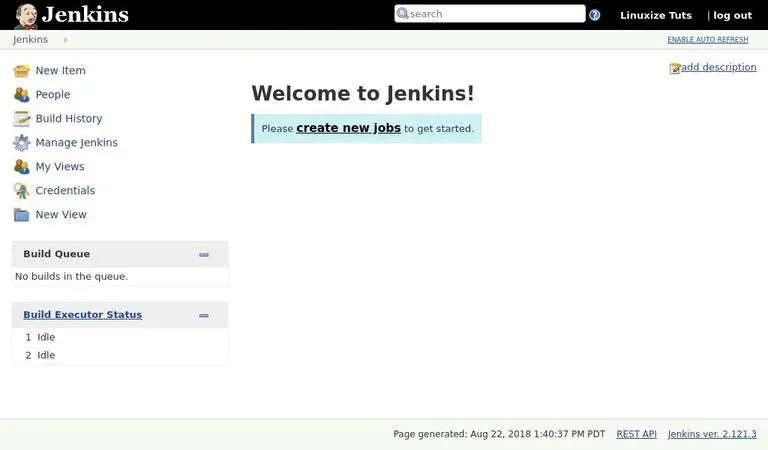
If you have made it this far, Jenkins has been successfully installed on your CentOS machine.
FAQs to Install Jenkins on CentOS 7
What is the recommended way to install Jenkins on CentOS 7?
It is recommended to install Jenkins on CentOS 7 using the official Jenkins repository.
How can I update my CentOS 7 system before installing Jenkins?
You can update your CentOS 7 system by running the command sudo yum update.
How do I add the Jenkins repository to CentOS 7?
Create the repository file by running the command sudo nano /etc/yum.repos.d/jenkins.repo and add the repository configuration.
How do I install Jenkins on CentOS 7 using yum?
Run the command sudo yum install jenkins to install Jenkins on CentOS 7.
How do I enable Jenkins to start on system boot?
Enable Jenkins to start on system boot with the command sudo systemctl enable jenkins.
What is the default port for accessing Jenkins on CentOS 7?
The default port for accessing Jenkins on CentOS 7 is 8080.
How can I configure Jenkins for the first time after installation?
Retrieve the Jenkins initial admin password from the following file: /var/lib/jenkins/secrets/initialAdminPassword and follow the setup wizard.
Conclusion
By following the tutorial, you can successfully install Jenkins on your CentOS 7 system. This allows you to set up a powerful and customizable continuous integration and deployment environment for your software development projects, improving collaboration and automation.
You can now explore Jenkins' workflow and plug-in model by going to the official Jenkins documentation page.
If you have any suggestions or queries, kindly leave them in the comments section.

