
Choose a different version or distribution
Introduction
Before we begin talking about how to install Jenkins on Ubuntu 18.04 OS, let’s briefly understand – What is Jenkins?
Jenkins is an open-source robust software that automates tasks involved in continuous integration and delivery of software.
In this tutorial, you will install the Jenkins. Also, we will answer some FAQs regarding the Jenkins installation.
Prerequisites
- Ubuntu 18.04 64-bit operating system
- A user account with sudo privileges
- Command-line/terminal
- Installed Java 8
Step 1 - Install Jenkins
1) Firstly, repository keys must be added to the system.
wget -q -O - http://pkg.jenkins-ci.org/debian/jenkins-ci.org.key | sudo apt-key add -
2) If the key is added successfully, the system will return OK. Secondly, the server’s sources.list must be appended with the Debian package repository address.
sudo sh -c 'echo deb http://pkg.jenkins-ci.org/debian-stable binary/ > /etc/apt/sources.list.d/jenkins.list'
3) Now, apt will use the new repository when you run the update.
sudo apt update
4) Lastly, You must install Jenkins and it's dependencies:
sudo apt install jenkins
Step 2 - Start Jenkins
1) Firstly, you need to start Jenkins using systemctl.
sudo systemctl start jenkins
2) Secondly, to verify if Jenkins started successfully, you can use its status command.
sudo systemctl status jenkins
If everything is fine, then you will see the service as active. You must see the following output:
Output

● jenkins.service - LSB: Start Jenkins at boot time
   Loaded: loaded (/etc/init.d/jenkins; generated)
   Active: active (exited) since Mon 2018-07-09 17:22:08 UTC; 6min ago
     Docs: man:systemd-sysv-generator(8)
    Tasks: 0 (limit: 1153)
   CGroup: /system.slice/jenkins.service
Now, the Jenkins is successfully running. You have to set some firewall rules to be able to use it from the browser.
Step 3 - Open the Firewall
1) Firstly, as Jenkins runs on port 8080, open that port using ufw.
sudo ufw allow 8080
2) Secondly, confirm the new rules by checking ufw 's status:
sudo ufw status
The following output says that traffic is allowed on port 8080:
Output

Status: active

To                         Action      From
--                         ------      ----
OpenSSH                    ALLOW       Anywhere
8080                       ALLOW       Anywhere
OpenSSH (v6)               ALLOW       Anywhere (v6)
8080 (v6)                  ALLOW       Anywhere (v6)
sudo ufw allow OpenSSH sudo ufw enableStep 4 - Set Up Jenkins
1) Firstly, set up your installation, by visiting Jenkins on its port, 8080 and use your server domain name or IP address: http://your_server_ip_or_domain:8080.
You should see an Unlock Jenkins screen.
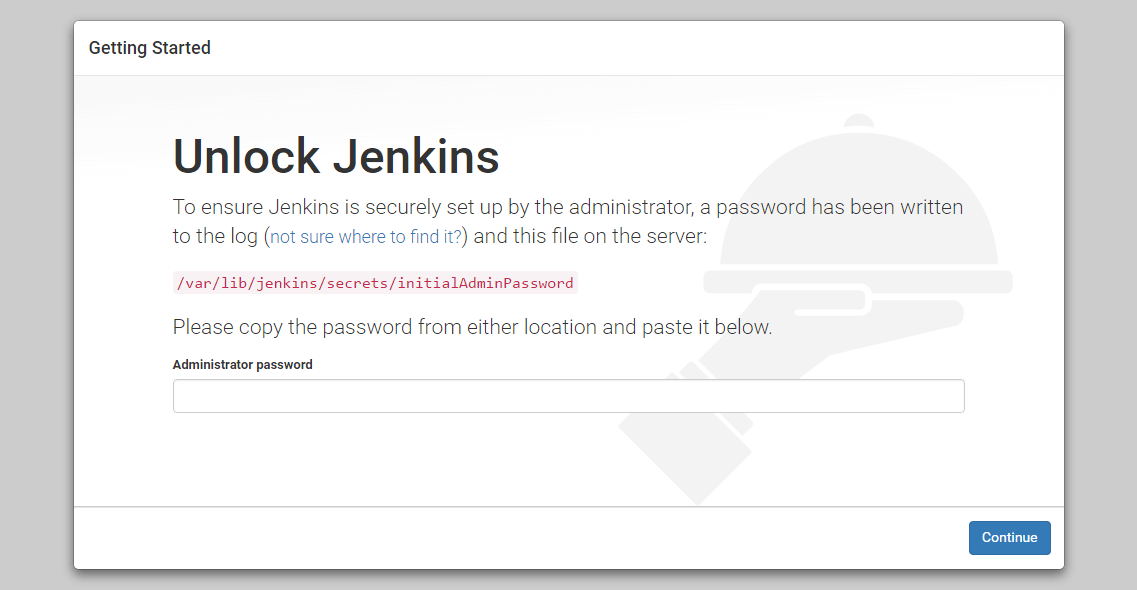
Use the cat command in the terminal window to display the password.
sudo cat /var/lib/jenkins/secrets/initialAdminPassword
2) After that, paste your 32-character alphanumeric password from the terminal in the Administrator password field and click on Continue.
You will see the following screen:
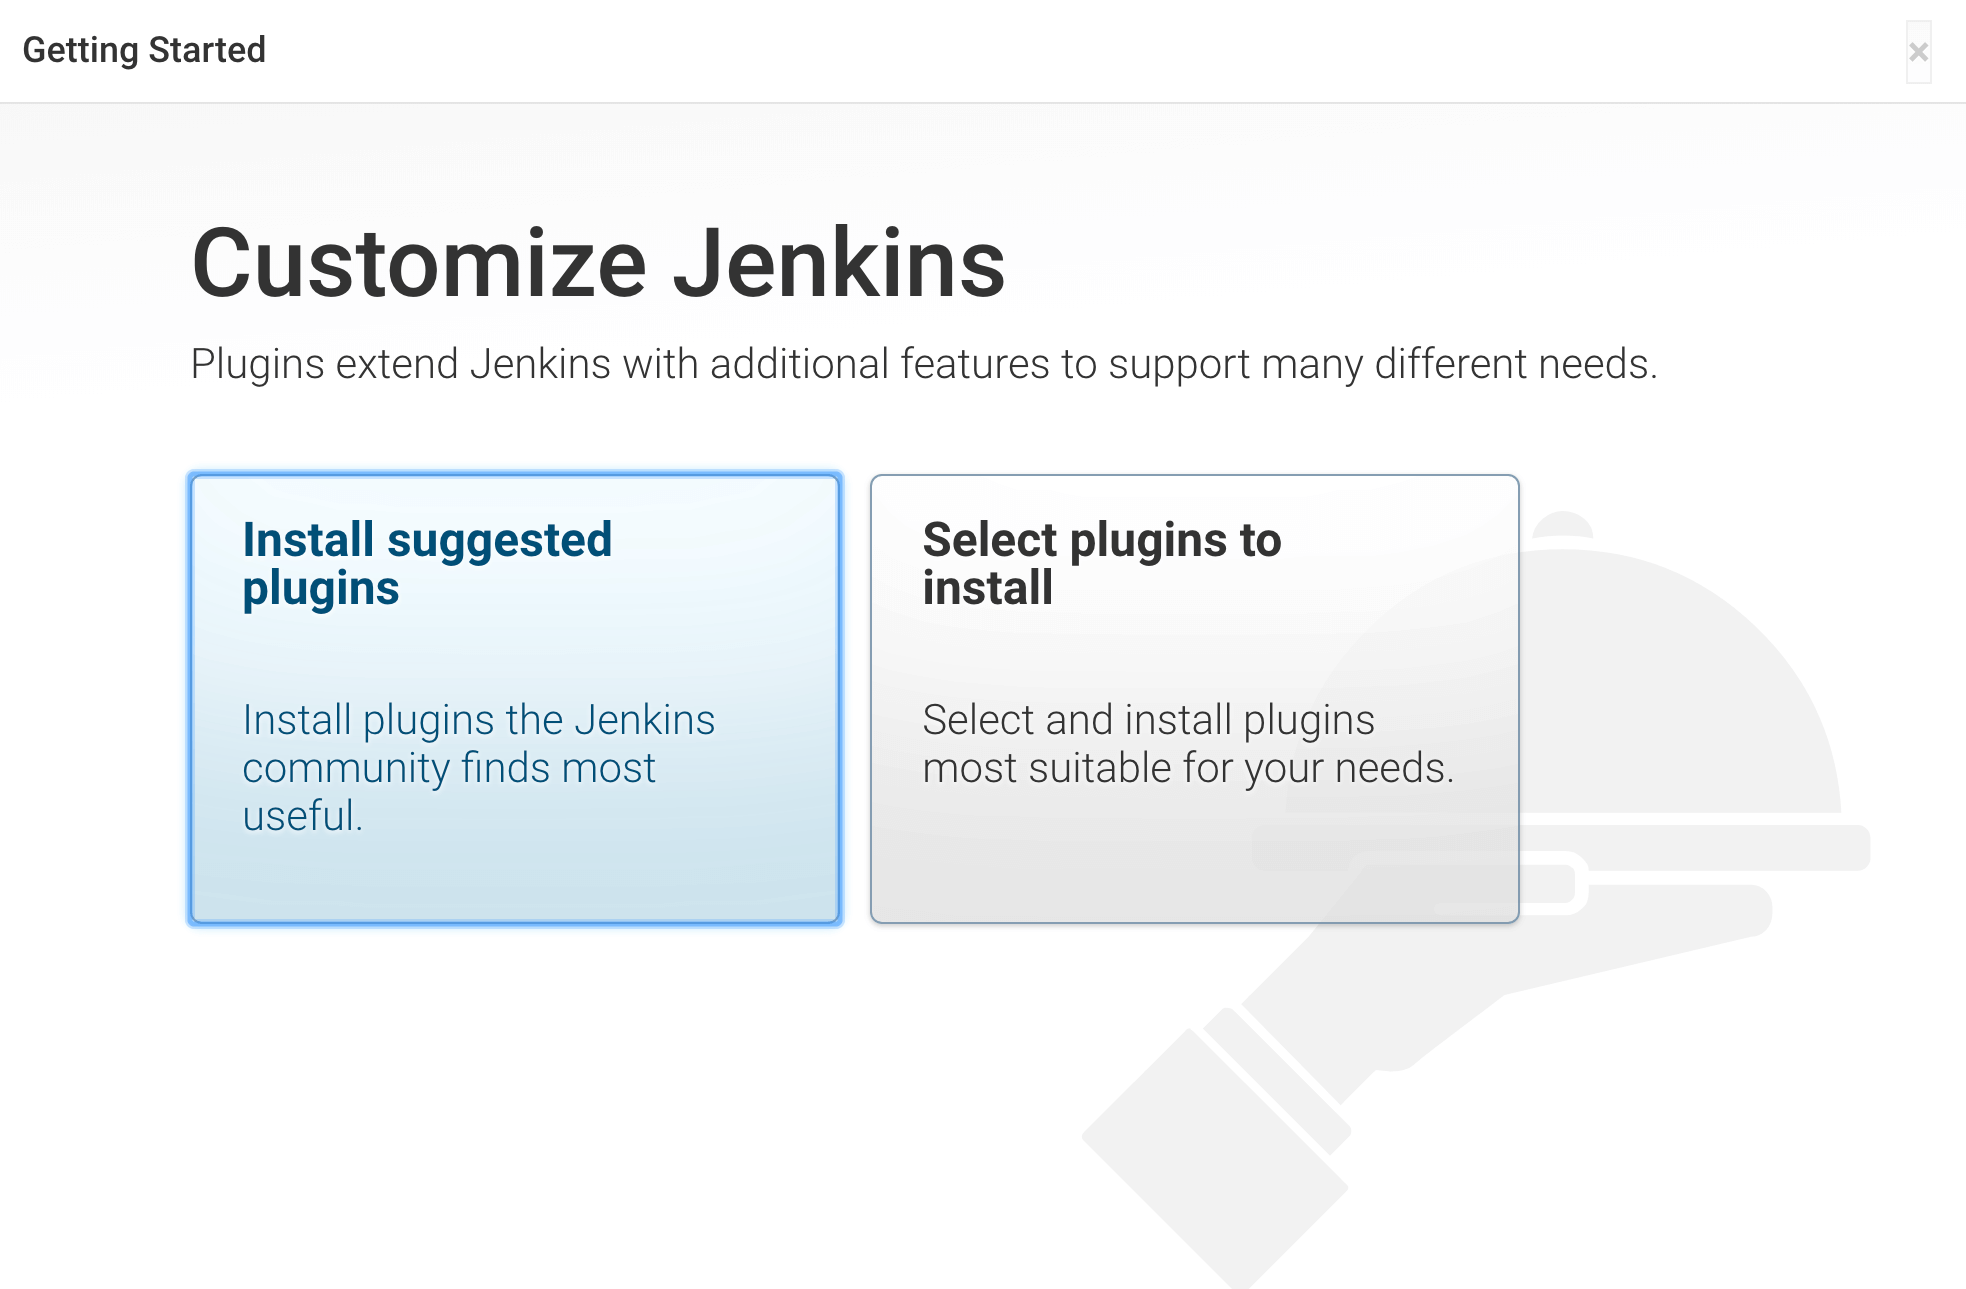
3) After that, begin installation by selecting the Install suggested plugins option.
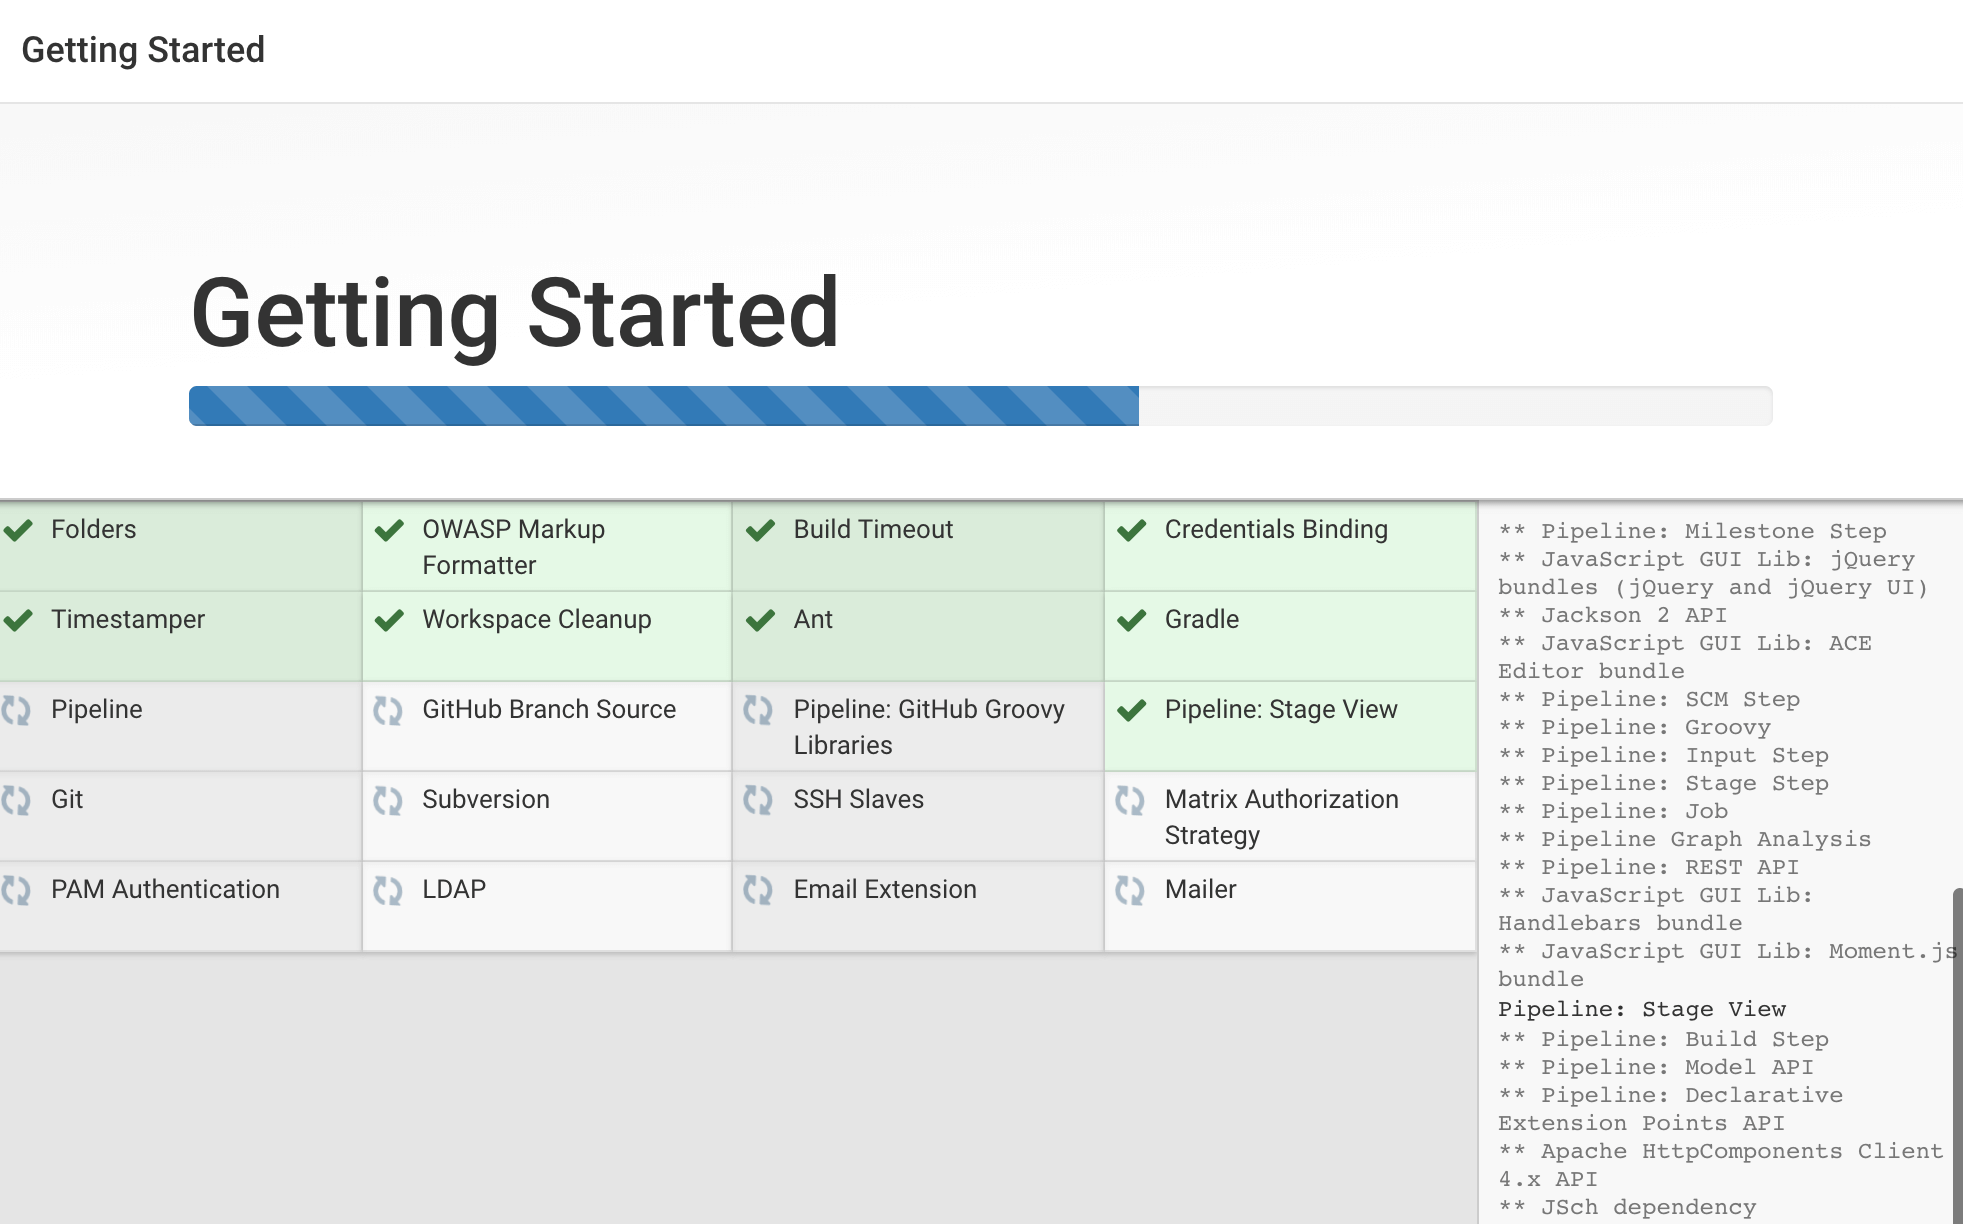
4) After the installation is complete successfully, you will get a prompt to create a new admin user, you can skip this step and use the same password used earlier. But we are going to create a user in this tutorial.
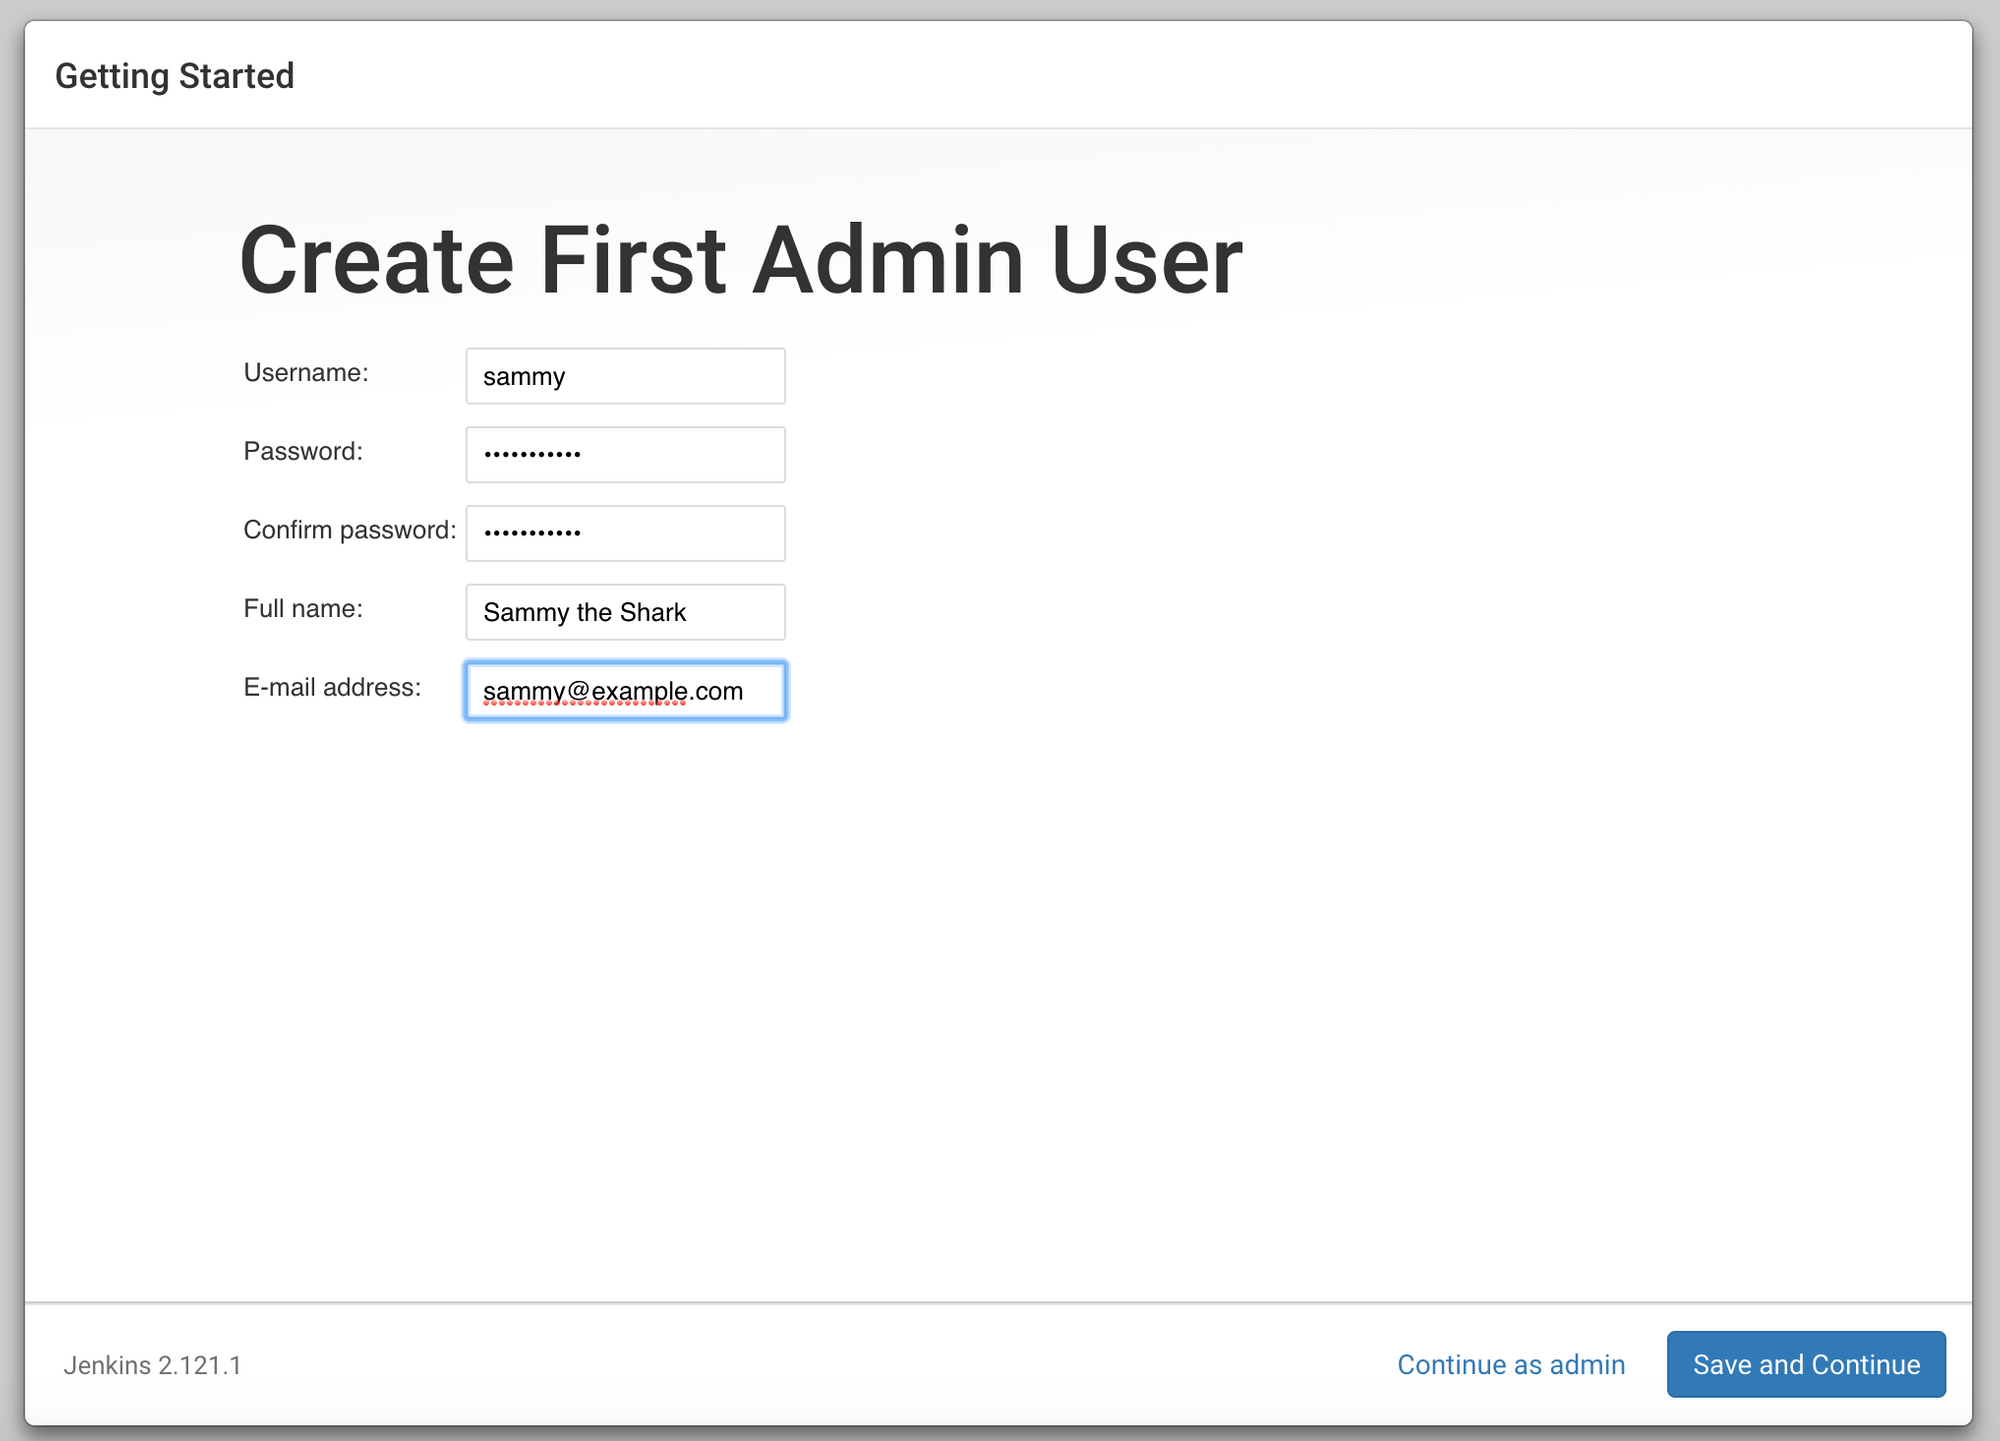
Now, create the first administrative user.
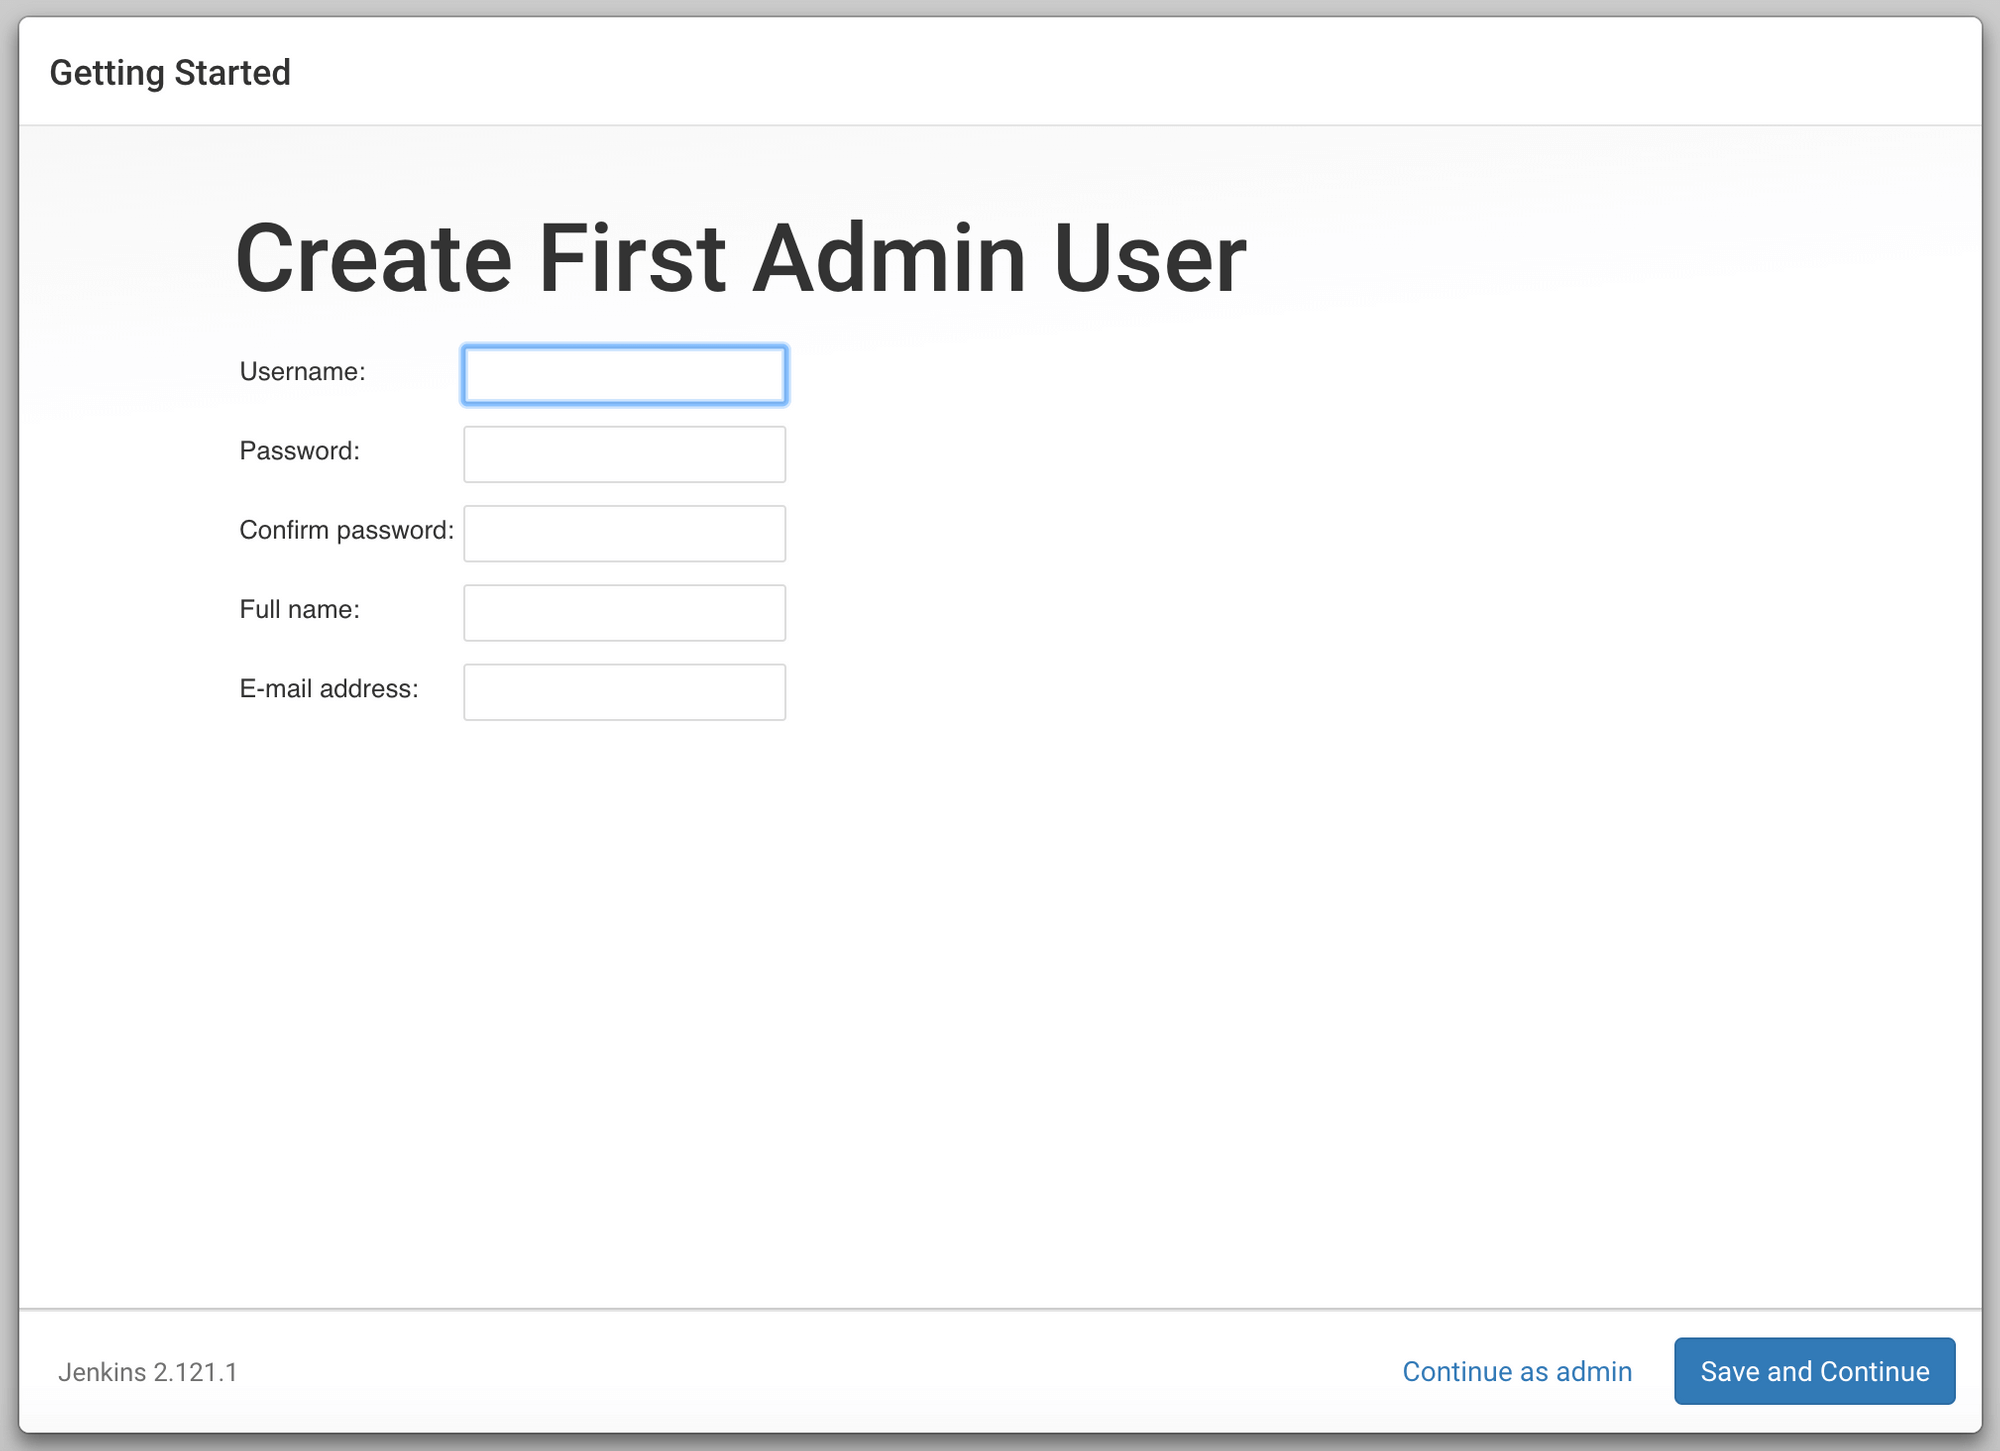
5) Now, you must enter the name and password for your user.
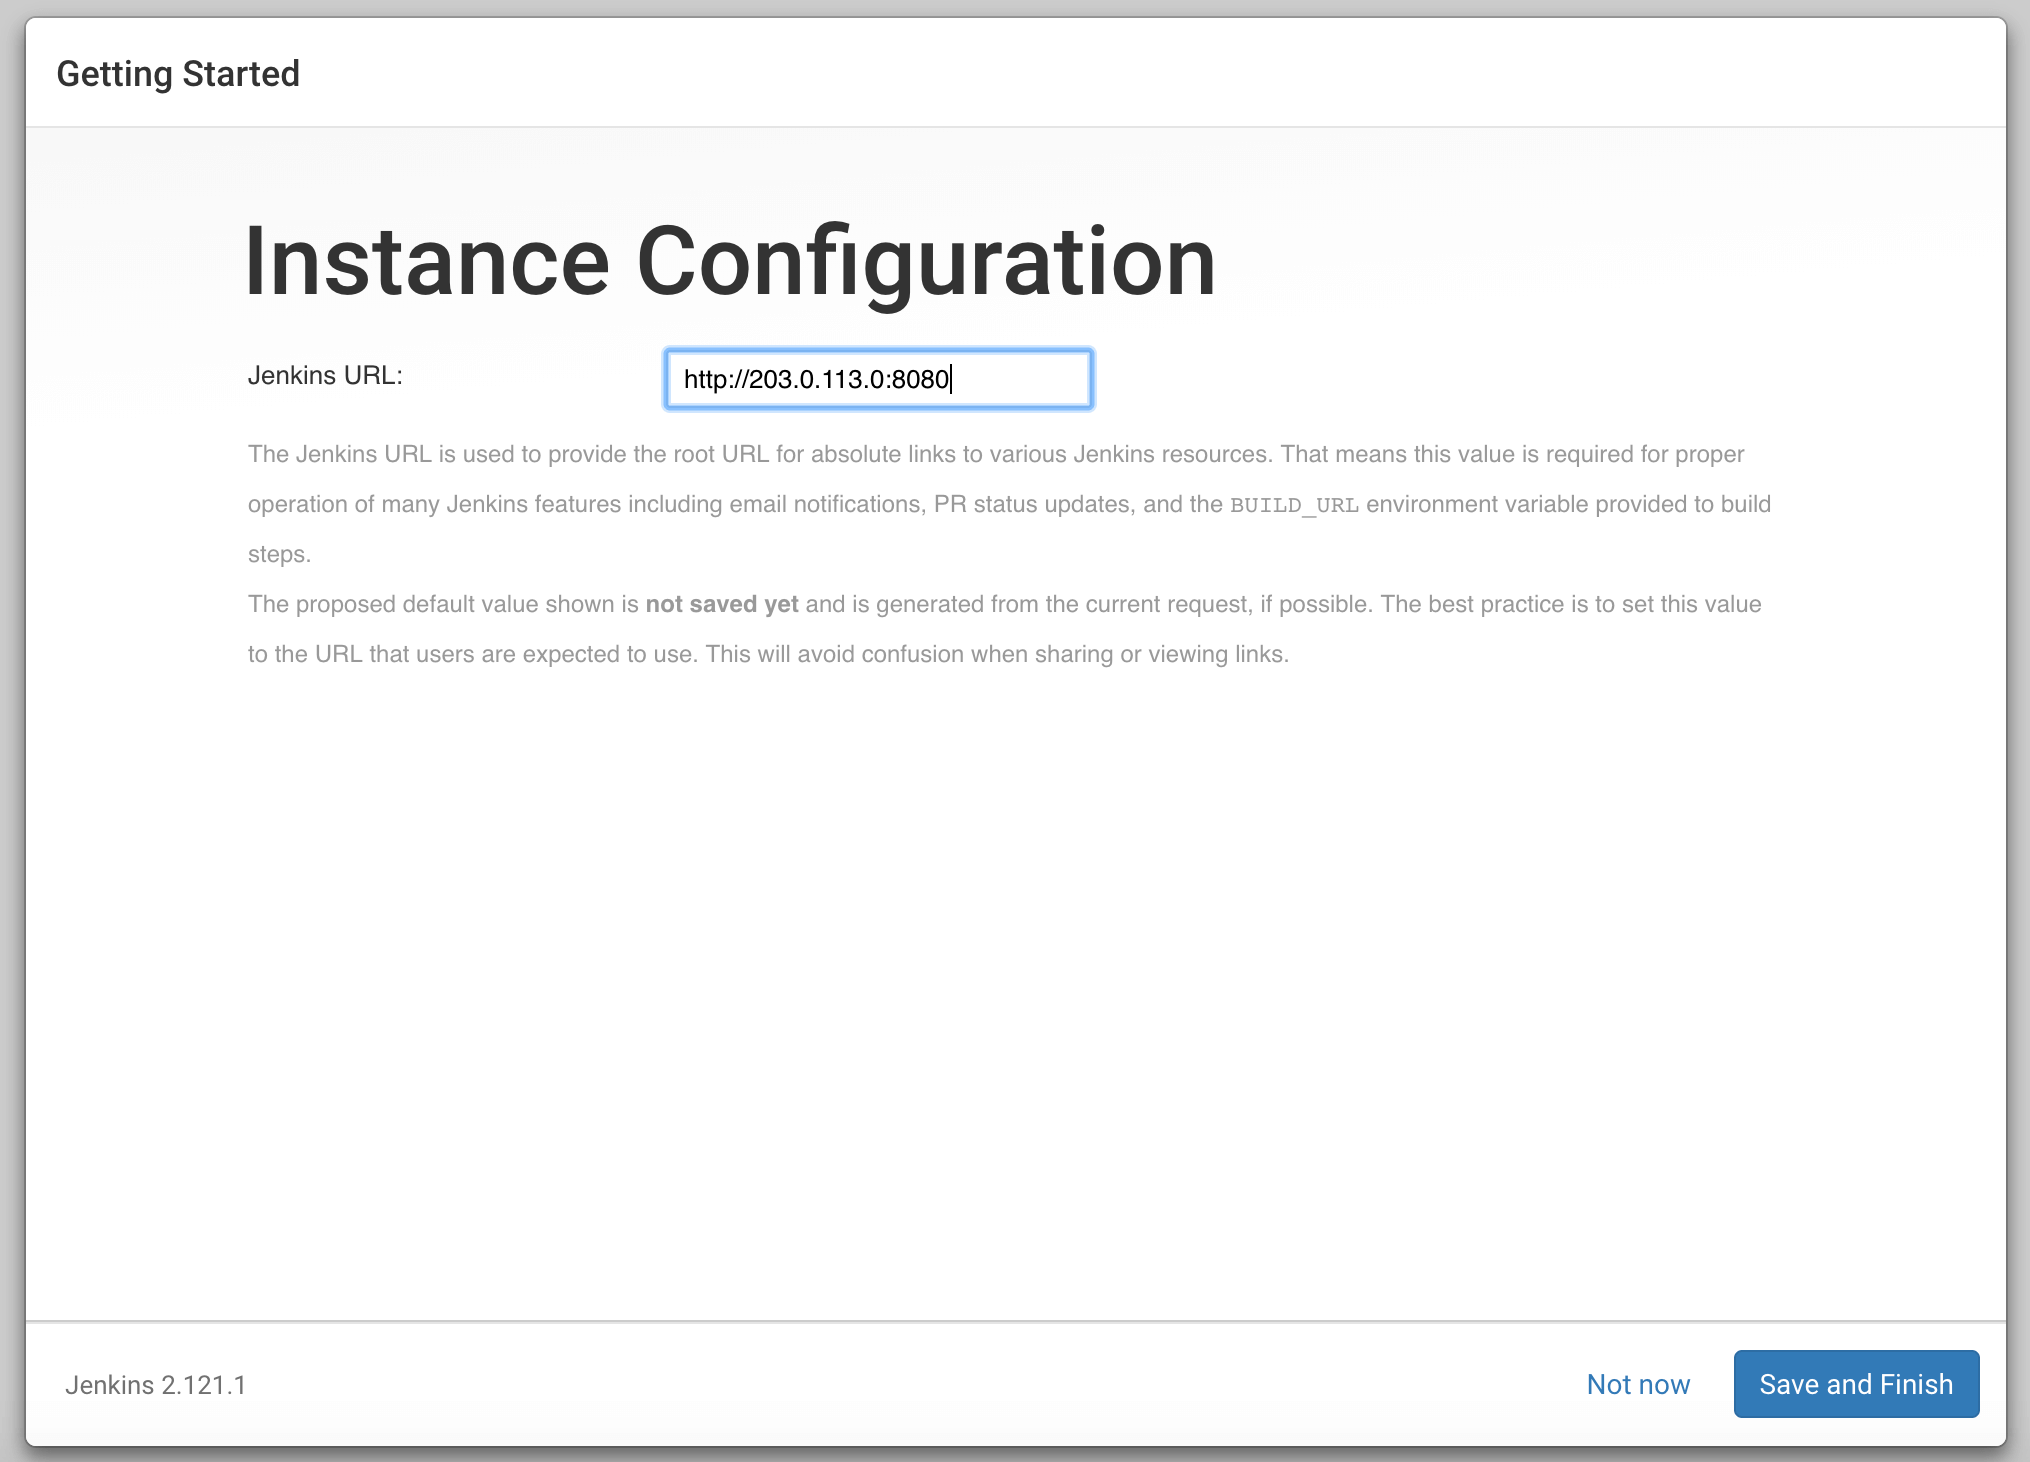
6) After that, confirm the preferred URL at the Instance Configuration page for your Jenkins instance.
7) Lastly, Save and Finish to see a page saying “Jenkins is Ready!”:
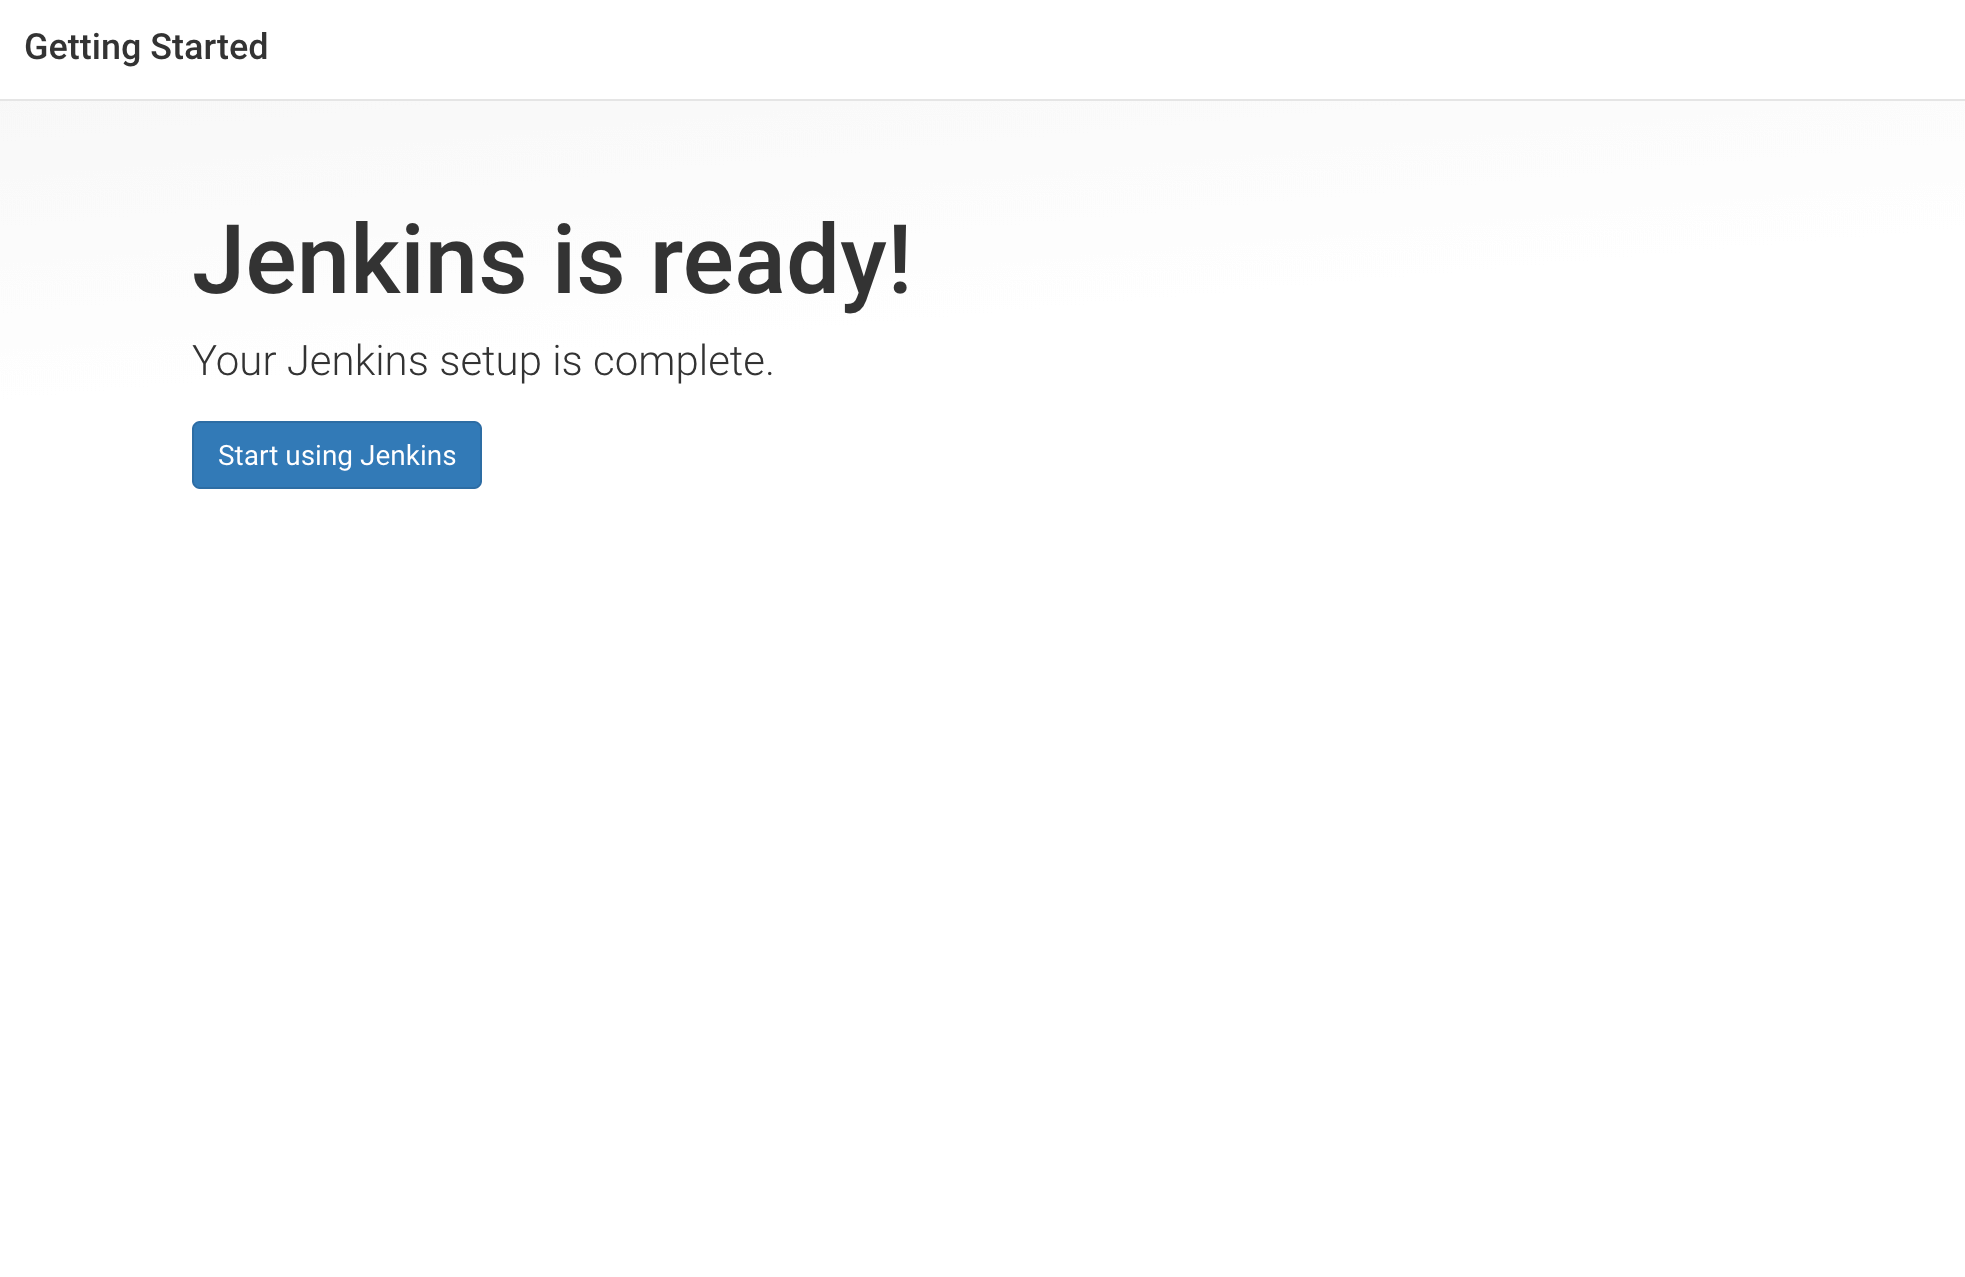
8) Finally, you can start using Jenkins by clicking on Start using Jenkins:
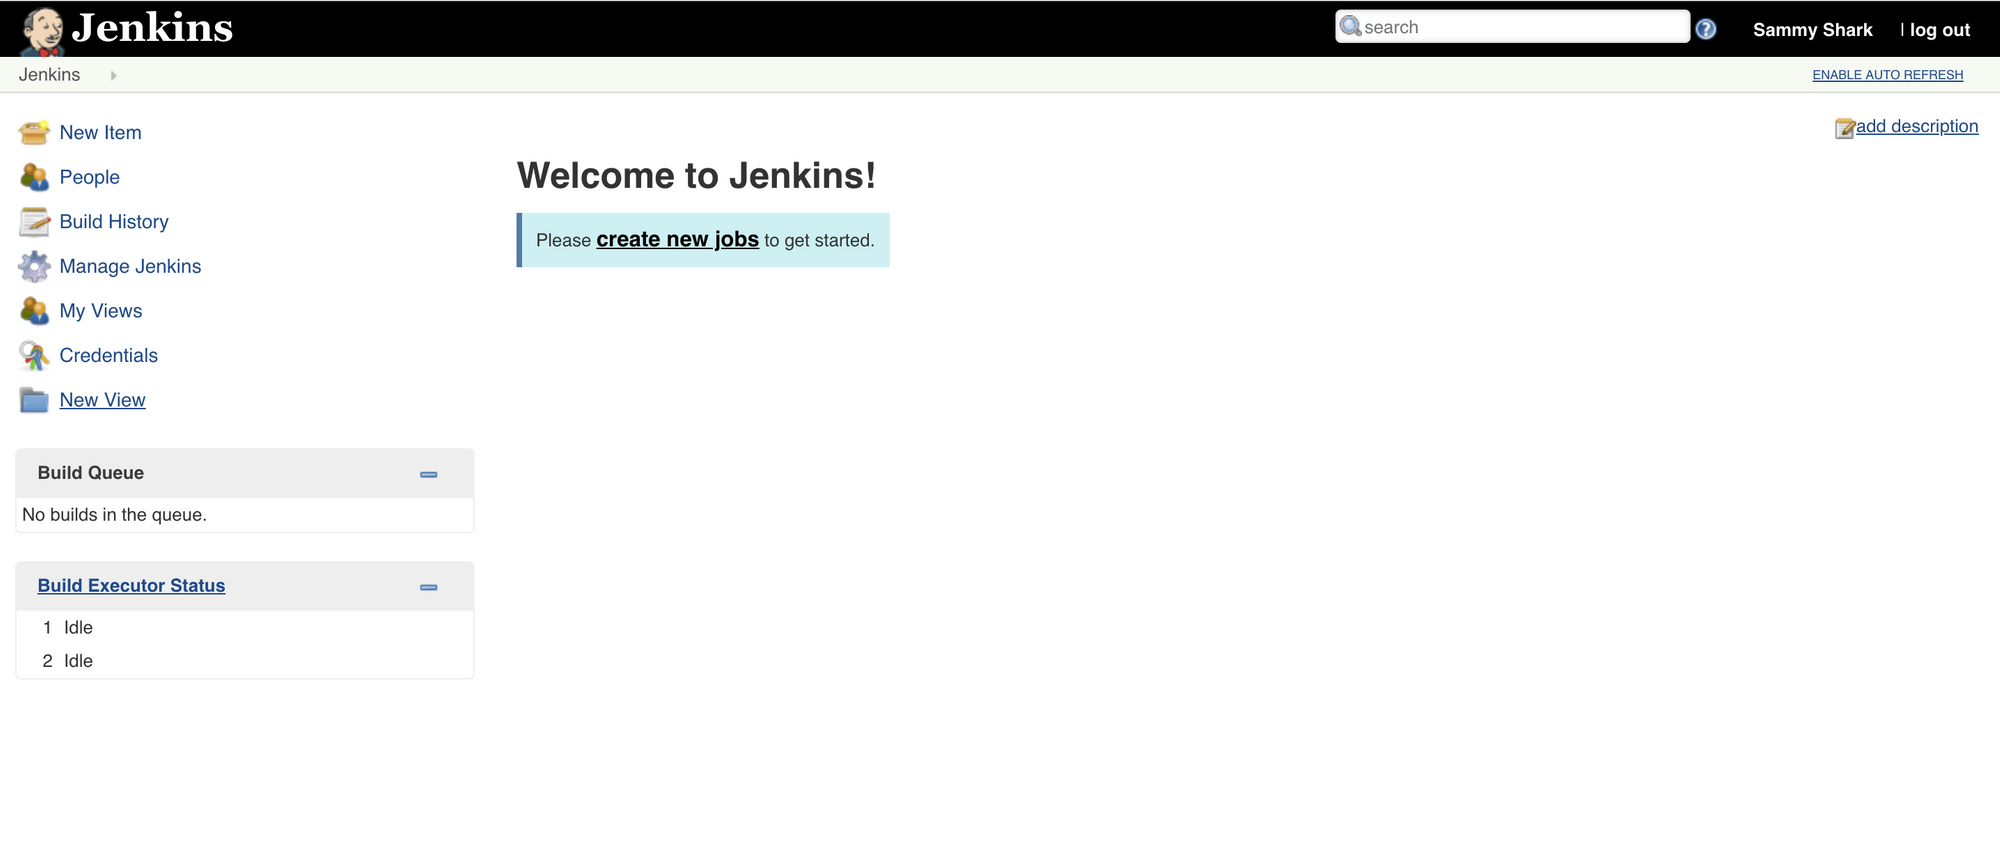
Congratulations, now you have successfully installed Jenkins.
FAQs to Install Jenkins on Ubuntu 18.04
1) How to take a backup of data in Jenkins?
For continuous backup of Jenkins files, you need to take the backup of Jenkins_Home directory regularly. It includes the configuration of all build jobs, slave nodes, and build history as well.
2) What to do if admin users are locked out of the admin console?
In Jenkins, there is a folder that contains a file called config.xml. You have to change the settings to false, and it will disable the Jenkins security when it will be started next time.
Conclusion
We hope this simple guide helped you understand how to install Jenkins on Ubuntu 18.04 machine. Click here to read more about Jenkins.
If you have any queries, please leave a comment below and we’ll be happy to respond to them for sure.