Choose a different version or distribution
Introduction
Before we begin talking about how to install Kodi on Debian 12, let's briefly understand – What is Kodi?
Kodi is a popular open-source media player that allows you to stream and play various types of content on your TV or computer. With its user-friendly interface, Kodi lets you organize and access your favorite movies, TV shows, music, and photos.
It supports a wide range of file formats and features add-ons that expand its functionality. Kodi is compatible with different operating systems, making it a versatile choice for entertainment enthusiasts. Discover the wonders of Kodi and enhance your multimedia experience effortlessly.
In this tutorial, you will install Kodi on Debian 12. We will also address a few FAQs on how to install Kodi on Debian 12.
Advantages of Kodi
- Versatile Media Player: Kodi supports a wide range of file formats, making it easy to play your favorite movies, TV shows, and music.
- Customizable Interface: Kodi allows you to personalize its appearance, making it more visually appealing and tailored to your preferences.
- Add-Ons for Extra Functionality: With numerous add-ons available, Kodi can be expanded to include features like live TV, sports streaming, and more.
- Cross-Platform Compatibility: Kodi works on various operating systems, including Windows, macOS, Linux, Android, and iOS, offering flexibility across devices.
- User-Friendly Organization: Kodi provides an intuitive interface to help you organize your media library, making it simple to access and manage your content.
Install Kodi on Debian 12 via APT
Method 1: Install Kodi via the Debian APT Repository
Step 1: Update the Debian System
As usual, make sure your Debian system is up-to-date before installing any software. A stable installation environment is created when all current packages are updated to the most recent versions:
sudo apt update && sudo apt upgrade
Step 2: Install Kodi via Command
A version of Kodi that has been tested and approved by the Debian team is among the many software packages available in the official Debian APT repository that are specifically designed for Debian systems. While stability and compatibility are provided by this version, the most recent Kodi updates might not be included.
Use the following command to install this version of Kodi from the official Debian APT repository:
sudo apt install kodi
You can check its version after installation to make sure everything went smoothly:
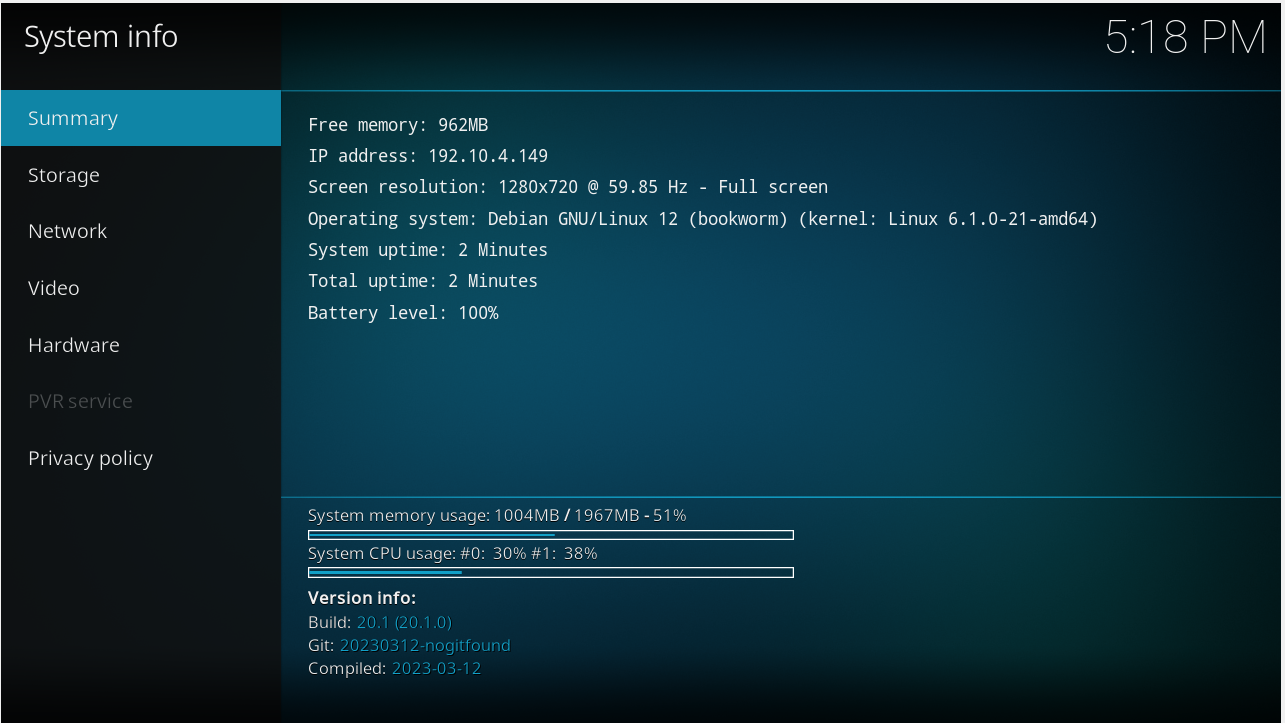
kodi --version
Method 2: Install Kodi on Debian via DEB-Multimedia
Step 1: Import GPG Key for DEB-Multimedia on Debian
Import the GPG key linked to the DEB-Multimedia repository to confirm the legitimacy and security of the packages you plan to install before using the Deb-Multimedia PPA to install Kodi. Data and communications are encrypted using a technology called GPG, or GNU Privacy Guard, to protect them. It is essential for verifying the authenticity and integrity of digital content.
Use the command below to import the required GPG key:
sudo gpg --no-default-keyring --keyring /usr/share/keyrings/deb-multimedia.gpg --keyserver keyserver.ubuntu.com --recv-keys 5C808C2B65558117
When it runs successfully, you should see something like this in the output:
Output

gpg: keybox '/usr/share/keyrings/deb-multimedia.gpg' created
gpg: key 5C808C2B65558117: public key "Christian Marillat <[email protected]>" imported
gpg: Total number processed: 1
gpg:               imported: 1
Should you encounter difficulties while importing a GPG key from the Ubuntu keyserver, particularly if this is your first time doing so, you can use the following command to configure the required directories:
sudo gpg --list-keys
Step 2: Import DEB-Multimedia APT Repository on Debian
The next step is to add the DEB-Multimedia repository to your system after you have safely stored your GPG key. Make sure that the repository version you choose—Trixie, Bookworm—matches your Debian distribution:
echo "deb [signed-by=/usr/share/keyrings/deb-multimedia.gpg] \
https://www.deb-multimedia.org $(lsb_release -sc) main non-free" \
    | sudo tee /etc/apt/sources.list.d/deb-multimedia.list
sudo apt install dirmngr software-properties-common apt-transport-https curl lsb-release ca-certificates -y
Try executing the import command again after it has been installed.
Step 3: Setup PPA-Pinning for Kodi Only
It is necessary to configure APT pinning in order to guarantee that your Debian system gives the Kodi packages from the www.deb-multimedia.org repository priority.
Create a Pinning Configuration File:
Launch the terminal and enter the subsequent command to generate a fresh pinning configuration file:
sudo nano /etc/apt/preferences.d/deb-multimedia-pin
Add the Pinning Rules:
Add the following text to the file that has been opened:
Package: kodi* libcec6 libcdio19 libcrossguid0 libiso9660-11 libp8-platform2
Pin: origin www.deb-multimedia.org
Pin-Priority: 900

Package: *
Pin: origin www.deb-multimedia.org
Pin-Priority: 1
This setup accomplishes the following:
- All Kodi-related packages, including
libcec4, from thewww.deb-multimedia.orgrepository, are given a high priority (900) in the first block. - All other packages from the
www.deb-multimedia.orgrepository are given a low priority (1) in the second block.
Use CTRL+O and CTRL+X to save the file and close the text editor.
Step 4: Refresh APT Cache After PPA Import
After adding the repository, go back and edit your APT packages list:
sudo apt update
Additionally, update any required dependencies:
sudo apt upgrade
Step 5: Install Kodi on Debian 12 via APT Command
Now, Install Kodi:
sudo apt install kodi
Method 3: Install Kodi via Flatpak and Flathub on Debian Linux
For Debian Linux systems, Flatpak provides an alternate way to install software, including Kodi. It is important to note that Flatpak is not pre-installed on Debian distributions. For those who would like to use it, Flatpak is easily accessible in the Debian repositories.
Step 1: Enabling Flathub on Your Debian System For Kodi
The main repository for hosting apps made available via Flatpak is called Flathub. Use the following command to integrate Flathub with your Flatpak configuration:
sudo flatpak remote-add --if-not-exists flathub https://flathub.org/repo/flathub.flatpakrepo
With this command, you can add Flathub as a remote repository for Flatpak on your system. In order to avoid potential redundancy, the --if-not-exists flag makes sure that Flathub is added only if it hasn't already been set up.
Step 2: Install Kodi on Debian 12 via Flatpak Command
You can now install Kodi because Flathub is integrated. To start the installation process, use the following command:
flatpak install flathub tv.kodi.Kodi -y
Kodi is installed on your Debian system by using this command, which retrieves it from the Flathub repository. The unique code tv.kodi.Kodi, represents Kodi inside the Flathub repository.
Initiating Kodi on Debian 12
You might want to use Kodi after installing it on your Debian Linux system. To launch Kodi, you have two main choices: one for command-line aficionados and another for graphical user interface fans.
CLI Commands Method to Launch Kodi on Debian
The terminal offers a quick and easy way to launch programs, such as Kodi.
The command to launch Kodi is simple if you installed it using the Debian APT or DEB-Multimedia repositories. Input the subsequent data into your terminal:
kodi
On the other hand, if you used Flatpak for your installation, the command is slightly different. Enter the following for this method:
flatpak run tv.kodi.Kodi
GUI Command Method to Launch Kodi on Debian
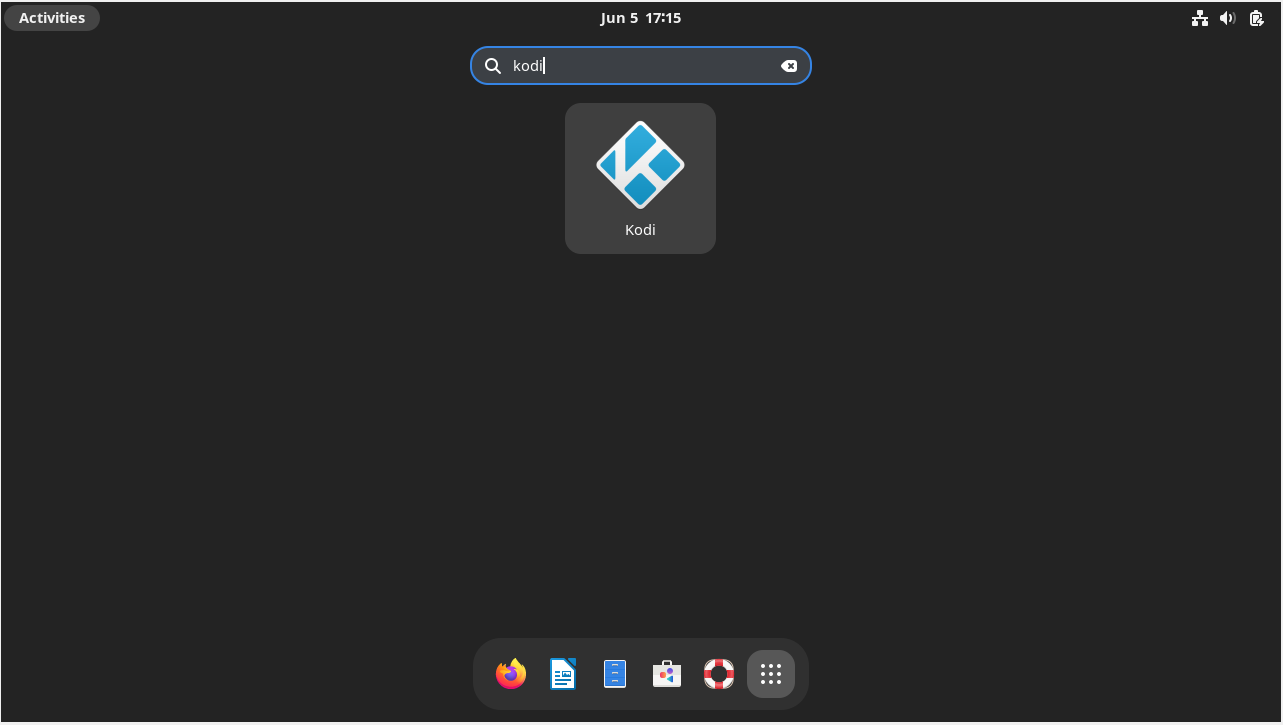
For those who would rather work with their Debian system more visually, Kodi can be launched via the desktop environment. Adhere to this easy route:
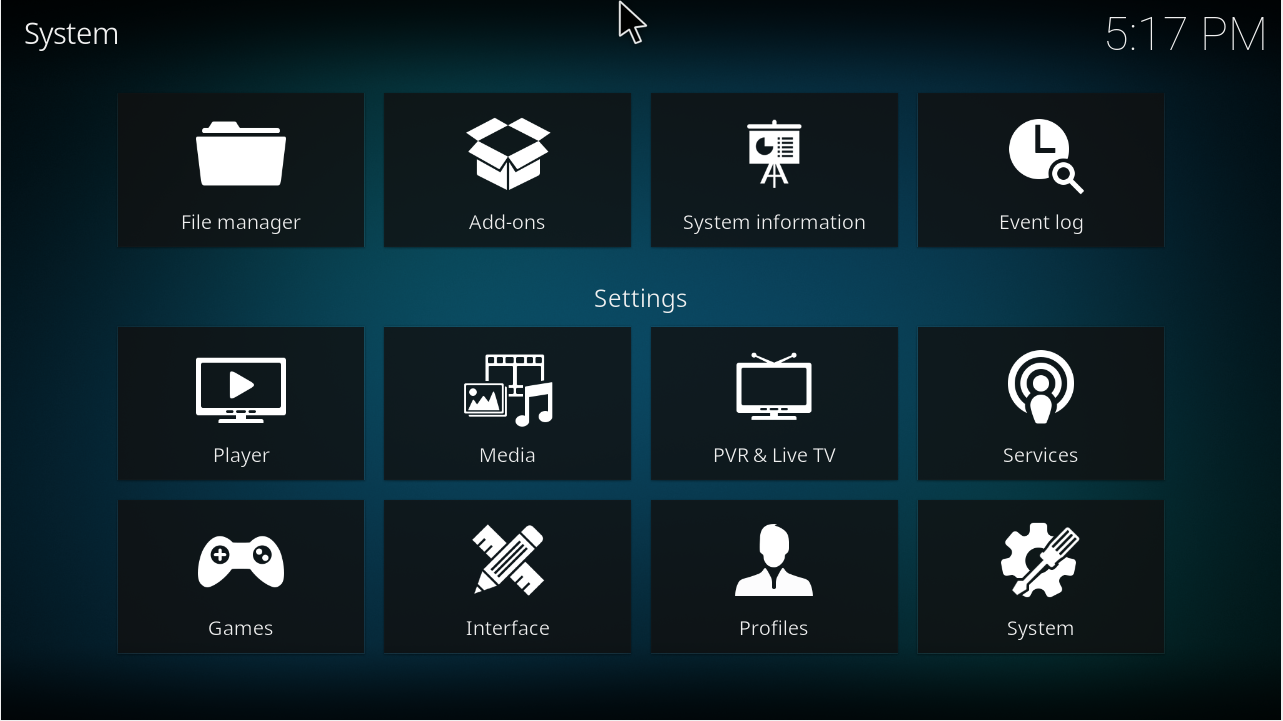
Go to Activities, then Show Applications, and finally pick Kodi.

Tips for First-Time Users of Kodi on Debian 12
Making the switch to Kodi on Debian Linux pays off, especially if you have the right information. To get the most out of Kodi on Debian Linux, pay attention to these professional tips.

General Kodi Tips with Debian
- Stay Updated: Keep an eye out for Kodi updates. You can be sure you have the newest features, security updates, and performance enhancements by updating your software.
- Backup Regularly: It's a good idea to back up your Kodi configuration before making any big updates or changes. This way, in case it's necessary, you can always go back to a known working state.
- Explore Add-ons: Kodi's enormous add-on selection is where its real power lies. Explore the official Kodi repository to find a variety of extensions that will improve your viewing experience.
Kodi Customization Tips with Debian
- Skins and Themes: Examine various skins and themes to customize the Kodi interface. Your media center's appearance and atmosphere can be significantly altered by them.
- Custom Libraries: Create bespoke libraries to help you arrange your media material. This promotes faster access in addition to improved organization.
- Adjust Playback Settings: You may want to adjust playback settings to maximize performance, depending on your hardware. This involves choosing hardware-accelerated decoding or modifying the cache settings.
Other Kodi Tips with Debian
- Secure Your Kodi: Make sure you've installed the necessary security measures if you intend to access your Kodi setup from a distance. This involves creating secure passwords and thinking about using VPNs to establish encrypted connections.
- Keyboard Shortcuts: Learn how to use the keyboard shortcuts in Kodi. They can greatly accelerate navigation and offer instant access to frequently used features.
- Logs for Troubleshooting: Always keep in mind that Kodi keeps logs in case you run into problems. When troubleshooting, these can be quite helpful. You can get to them by going to
Settings>System>Logging. - Community Support: There is a large and vibrant Kodi community. Participate in forums, user groups, and discussion boards to ask for assistance, exchange knowledge, or talk about best practices.

Additional Kodi Commands with Debian 12
You can enjoy a rich media experience on your Debian Linux system by installing Kodi. At some point, though, you might need to manage or uninstall this software. A thorough tutorial on successfully uninstalling Kodi and removing any leftover files can be found in this section.
Remove Kodi From Debian 12
Use these procedures to make sure Kodi and its related files are removed completely:
APT Remove Method For Kodi Installations on Debian
Take out the primary Kodi packages first. Many dependencies may have been added during the Kodi installation. You can use the autoremove command to remove these as well. To use this command, input it into your terminal:
sudo apt remove kodi
sudo apt autoremove
This process removes any leftover dependencies that were installed alongside Kodi in addition to uninstalling it.
Flatpak Remove Method For Kodi Installations on Debian
The uninstallation procedure differs slightly if you installed Kodi using the Flatpak method. To undo the Kodi installation made possible by Flatpak, run the following command:
flatpak uninstall tv.kodi.Kodi
The Kodi Flatpak installation is fully removed from your Debian system with this command.
FAQs to Install Kodi on Debian 12
Are there any specific system requirements for Kodi on Debian 12?
Kodi has modest system requirements. Generally, any modern computer or device running Debian 12 should be capable of running Kodi smoothly.
Are there any alternative methods to install Kodi on Debian 12?
Yes, you can also download Kodi from its official website and install it manually on Debian 12. However, using the package manager is more convenient and recommended.
Does Kodi require any additional dependencies to be installed?
When you install Kodi through the package manager, it automatically installs all necessary dependencies. You don't need to install any additional packages.
How can I launch Kodi after installing it on Debian 12?
You can find Kodi in the applications menu or use the "kodi" command in the terminal. Additionally, you can create a desktop shortcut for easier access.
Are there any post-installation steps required for Kodi on Debian 12?
Generally, no additional steps are required. However, you might want to configure settings, add media sources, or install add-ons to enhance your Kodi experience.
Can I update Kodi easily on Debian 12?
Yes, you can update Kodi by running sudo apt update followed by sudo apt upgrade in the terminal. This command will update Kodi to the latest version available in the Debian repositories.
Can I install both the stable and development versions of Kodi on Debian 12?
Yes, you can install multiple versions of Kodi on Debian 12. However, it's recommended to install the stable version for regular usage.
Conclusion
We hope this tutorial helped you understand how to install Kodi on Debian 12.
If you have any queries, please leave a comment below, and we’ll be happy to respond to them for sure.

