

Choose a different version or distribution
Introduction
Before we begin talking about how to install KVM on Ubuntu 24.04, let's briefly understand – What is KVM?
KVM is a type of virtualization technology that allows you to run multiple operating systems on one physical server. It creates virtual machines (VMs) to separate software from hardware, enabling efficient resource utilization. KVM offers flexibility, cost-effectiveness, and strong security.
Many businesses use KVM to streamline operations and enhance scalability. By leveraging KVM, organizations can optimize their IT infrastructure and stay ahead in today's competitive landscape.
In this tutorial, you will install KVM on Ubuntu 24.04. We will also address a few FAQs on how to install KVM on Ubuntu 24.04.
Advantages of KVM on Ubuntu 24.04
- Cost-Effective: KVM is budget-friendly due to its open-source nature, saving on licensing costs.
- High Performance: By efficiently utilizing resources, KVM ensures top-notch performance for multiple VMs.
- Scalability: Easily expand your IT setup by adding more virtual machines with the scalable nature of KVM.
- Security: Robust isolation mechanisms within KVM guarantee enhanced security, protecting your systems effectively.
- Flexibility: Supporting a range of operating systems, KVM offers versatility in managing various workloads effortlessly.
Installing KVM on Ubuntu 24.04
Step 1: Check for Virtualization Support
Before starting the installation, it's essential to verify that your system supports virtualization. Open your terminal and run the following command:
lscpu | grep Virtualization

You should see either VT-x (for Intel processors) or AMD-V (for AMD processors) in the output. If neither appears, your system may not support hardware virtualization, which is essential for optimal performance with QEMU/KVM.
Step 2: Enable Virtualization in BIOS
While most modern computers have virtualization enabled by default, it's still a good idea to verify your BIOS settings. Restart your computer, enter the BIOS, and make sure that virtualization is enabled.
Step 3: Install Necessary Packages
With virtualization set up on your system, the next step is to install QEMU/KVM and its dependencies. Execute the following commands in your terminal:
sudo apt update
sudo apt install qemu-kvm libvirt-daemon-system libvirt-clients virt-manager
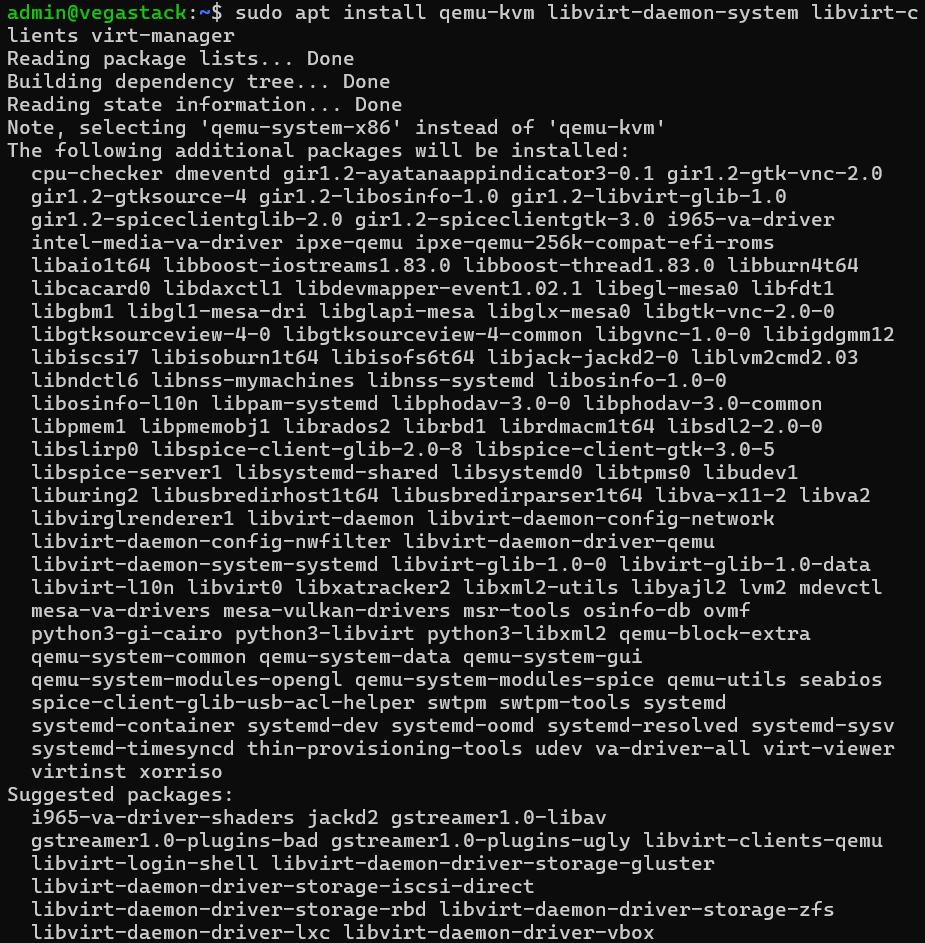
This will install QEMU and KVM, as well as libvirt-daemon-system for managing virtual machines, libvirt-clients for added functionality, and virt-manager, a graphical interface that makes managing your virtual machines easier
Step 4: Add Your User to the KVM Group
To manage virtual machines without requiring superuser privileges, add your user to the kvm group by running:
sudo adduser $USER kvm

This command modifies permissions to allow your user account to interact with virtual machines more smoothly.
Step 5: Reboot Your System
After updating group memberships, it's a good idea to reboot your system to ensure all changes take effect:
reboot
Step 6: Launch Virtual Machine Manager
After your system restarts, you can open Virtual Machine Manager (virt-manager) from your application menu. This tool offers a user-friendly graphical interface for creating and managing virtual machines.
Step 7: Create a New Virtual Machine
To create a virtual machine, you'll need an ISO file of the operating system you want to install. Download the ISO of the desired OS, then open virt-manager, create a new virtual machine, and follow the guided steps using your downloaded ISO file.
By completing these steps, you'll have established a flexible virtualization environment with QEMU/KVM on Ubuntu 24.04. This setup offers an efficient and scalable solution, making it a great choice for developers, system administrators, and tech enthusiasts looking to explore different operating systems and configurations.
FAQs to Install KVM on Ubuntu 24.04
What are the hardware requirements for running KVM on Ubuntu 24.04?
To run KVM on Ubuntu 24.04, your CPU must support hardware virtualization extensions (Intel VT-x or AMD-V). You can check this by running egrep -c '(vmx|svm)' /proc/cpuinfo. If the output is 0, your CPU does not support hardware virtualization.
How do I check if my Ubuntu 24.04 system supports KVM?
You can use the kvm-ok command to check if your system supports KVM. If your CPU supports hardware virtualization and it is enabled in the BIOS, kvm-ok will output "KVM acceleration can be used".
Do I need to enable any BIOS settings for KVM?
Yes, in some cases you may need to enable hardware virtualization support in your system's BIOS. Look for options like "Intel VT-x" or "AMD-V" and ensure they are enabled.
Can I use cloud-init with KVM VMs?
Yes, cloud-init can be used to automate the initialization of VMs during the first boot.
Can I install KVM on a desktop version of Ubuntu?
Yes, KVM can be installed on both server and desktop versions of Ubuntu.
Can I run multiple VMs on a single host?
Yes, you can run multiple VMs on a single host, depending on your system's resources.
Can I run Linux and Windows VMs on the same host?
Yes, you can run both Linux and Windows VMs on the same KVM host.
Conclusion
We hope this tutorial helped you understand how to install KVM on Ubuntu 24.04.
If you have any queries, please leave a comment below, and we’ll be happy to respond to them for sure.