

Introduction
Before we begin talking about how to install LightZone on Ubuntu 22.04, let's briefly understand – What is LightZone?
LightZone is a free photo editing software that offers powerful tools for enhancing and manipulating images. With an intuitive interface, it allows users to adjust brightness, colors, and add effects to their photos easily.
LightZone supports various file formats and is suitable for both beginners and advanced users. This editing software enables photographers to bring out the best in their images with professional results, making it a popular choice for photo editing.
In this tutorial, you will install LightZone on Ubuntu 22.04. We will also address a few FAQs on how to install LightZone on Ubuntu 22.04.
Advantages of LightZone
- Powerful Editing Tools: LightZone features a wide range of tools for enhancing and manipulating images.
- Intuitive Interface: Its user-friendly interface makes editing effortless for all skill levels.
- Versatile File Support: Compatible with various file formats, offering flexibility.
- Professional Results: Helps create stunning photos with ease.
- Free to Use: Enjoy advanced editing features without any cost.
Install LightZone on Ubuntu 22.04 via APT PPA
Step 1: Update Ubuntu
Make sure that all the installed packages on your Ubuntu system are up-to-date before installing LightZone. By doing this, disputes and other possible problems during the installation process will be reduced. Use the terminal to enter the following command to update your Ubuntu system packages:
sudo apt update && sudo apt upgrade
Using sudo apt update to update the package list and sudo apt upgrade to update the packages to the most recent versions, this command will first update the packages.
Step 2: Import LightZone PPA on Ubuntu
LightZone can be accessed via its exclusive Personal Package Archive (PPA). Use these commands to add the PPA to your system:
sudo add-apt-repository ppa:lightzone-team/lightzone -y
By adding the LightZone PPA to your system's package sources, you can use the terminal to access and install LightZone directly.
Step 3: Update the Package List After LightZone PPA Import on Ubuntu
To make sure your system detects the newly added repository, you must update the package list once more after adding the LightZone PPA. Use the following command to accomplish this:
sudo apt update
Step 4: Install LightZone on Ubuntu 22.04 via APT Command
Now that you have updated the package list and added the LightZone PPA to your system, you can install the newest LightZone version on your Ubuntu desktop. To continue with the installation, run the subsequent command:
sudo apt install lightzone
After running this command, LightZone will be installed on your computer and accessible through the desktop application menu.
Launch LightZone on Ubuntu 22.04
After LightZone has been successfully installed on your Ubuntu system, you can open and use the application. LightZone can be launched using one of two easy ways, depending on your preference.
CLI Method to Launch LightZone on Ubuntu
You can use the following command to launch LightZone straight from the terminal:
lightzone
LightZone will launch with this command, allowing you to start using the program right away.
GUI Method to Launch LightZone on Ubuntu
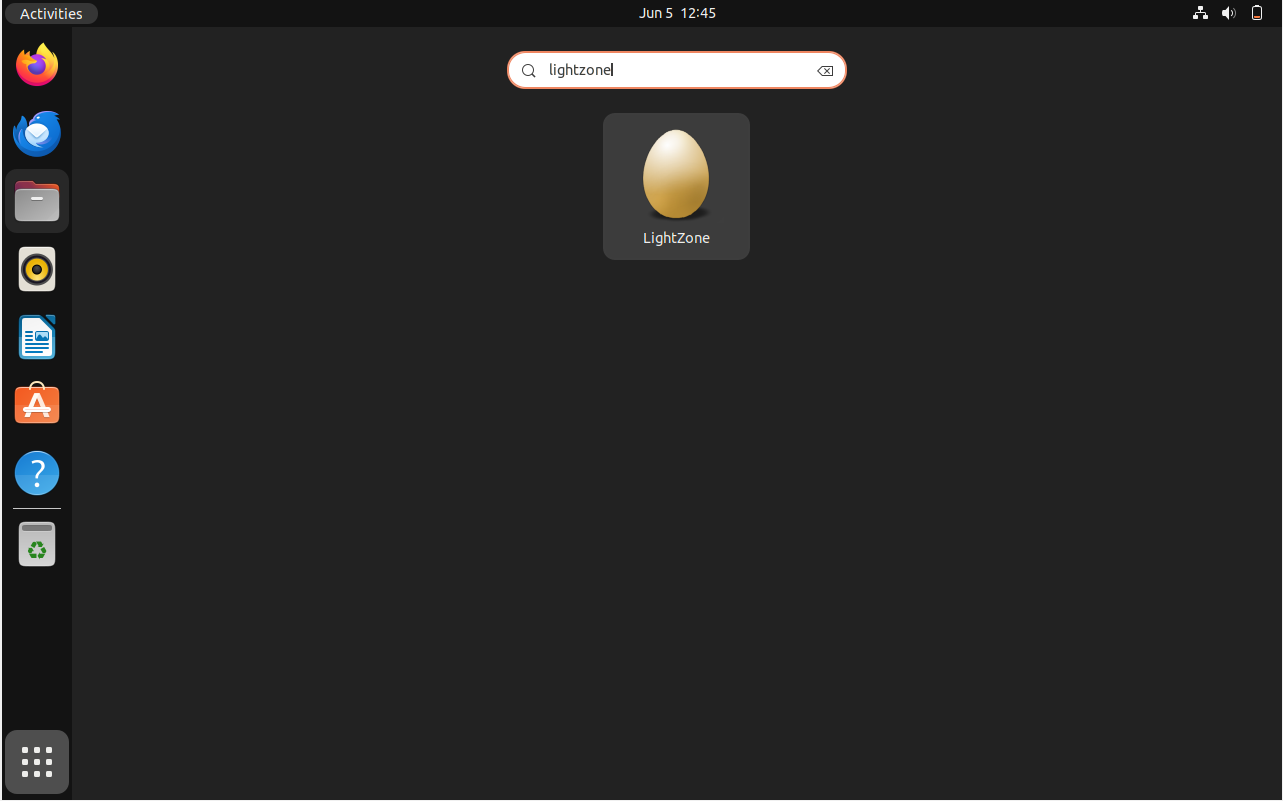
LightZone can be accessed by users who would rather use a graphical user interface through the desktop application menu. To launch LightZone from your desktop, follow these steps:
Activities > Show Applications > LightZone
Tips on Getting Started with LightZone on Ubuntu
Learning how to use LightZone on Ubuntu is the next step after installing it successfully. Here are some priceless first-time user tips to help you get the most out of LightZone photo editing.
General Tips with LightZone on Ubuntu
Raw Editing
- When it comes to raw photo editing, LightZone excels. Make sure your camera model is supported before you start. Visit the LightZone website to view the list of compatible cameras.
Shortcuts
- Getting the hang of shortcuts is often the key to effective photo editing. Learn the key combinations that are available in LightZone:
Ctrl + Z: Undo recent changes.Ctrl + Shift + Z: Redo actions.Spacebar: Quickly preview the original image.
Styles
- A variety of preset styles are available in LightZone. Applying these styles will allow you to quickly edit photos rather than having to go over each one by hand. To explore, navigate to the Styles panel on the right.
Customizations with LightZone on Ubuntu
Tool Stacking
- The ability to stack LightZone tools, such as layers in other software, is one of its distinctive features. Recognize the effects of each tool on those above and below it. Try arranging the tools differently and seeing how that affects things.
Custom Styles
- Make your own custom style if you frequently use certain adjustments. This allows you to quickly and easily apply your preferred edits to any picture. Select Create New Style from the Styles menu.
Other Tips with LightZone on Ubuntu
Regions & Masks
- LightZone allows for masks and regions to be used for selective editing. This enables you to make edits to particular areas of an image only. Explore the Region tool to fully utilize this potent feature.
Histogram
- Always pay attention to the histogram, particularly when adjusting exposure. It's an excellent visual aid to avoid losing details in the shadows or overexposing highlights.
Batch Processing
- Editing more than one picture from the same session? Utilize the batch processing function in LightZone. Applying the same adjustments to multiple images saves time. Select all the images you wish to edit in the browser view, then use the right-click menu to select the desired style or edits.
Saving & Exporting
- Your original images are not overwritten by LightZone. Rather, an LZ metadata file containing all the modifications is saved. You must export the image if you want to share it or print it. The File menu is where you can do this.
Additional LightZone Commands with Ubuntu 22.04
Update LightZone on Ubuntu 22.04
LightZone ought to update automatically with your system packages if you use the APT package manager on a desktop. Those who would rather check for updates manually can, however, use a straightforward command in the terminal.
sudo apt update && sudo apt upgrade
Remove LightZone From Ubuntu 22.04
A single command can be used to quickly and easily uninstall LightZone.
sudo apt remove lightzone
Next, if you don't want to reinstall the program, delete the imported PPA.
sudo add-apt-repository --remove ppa:lightzone-team/lightzone -y
FAQs to Install LightZone on Ubuntu 22.04
What are the system requirements for installing LightZone on Ubuntu 22.04?
The recommended system requirements are a 64-bit OS with at least 4GB RAM.
Does LightZone support RAW image formats?
Yes, LightZone supports various RAW image formats.
Is LightZone free to use on Ubuntu 22.04?
Yes, LightZone is free software you can use on Ubuntu 22.04.
How often does LightZone receive updates for Ubuntu 22.04?
Updates for LightZone on Ubuntu are released periodically with improvements and bug fixes.
Does LightZone have any offline editing capabilities on Ubuntu 22.04?
LightZone is primarily an offline editing tool, enabling users to edit images without requiring an internet connection.
Are there any language localization options available for non-English users on LightZone for Ubuntu 22.04?
LightZone supports language localization, allowing users to change the interface language to their preferred language.
Does LightZone provide any cloud storage integration for Ubuntu 22.04 users?
LightZone doesn't offer built-in cloud storage integration. Users can manually save files to cloud services.
Conclusion
We hope this tutorial helped you understand how to install LightZone on Ubuntu 22.04.
If you have any queries, please leave a comment below, and we’ll be happy to respond to them for sure.