
Choose a different version or distribution
Introduction
Before we begin talking about how to install LEMP on Ubuntu 18.04, let’s briefly understand – What is LEMP?
LEMP: Linux, Nginx, MySQL, PHP - Powerful web development stack. Linux is an open-source operating system, providing a stable and secure foundation. Nginx is a high-performance web server that efficiently handles concurrent requests. MySQL is a reliable database management system used to store and manage data. PHP is a widely used programming language for dynamic web content.
Together, these components create a powerful platform for building and deploying websites and web applications. Embracing LEMP can enhance website performance, scalability, and security, making it a preferred choice for web developers.
In this tutorial, you will install the LEMP on Ubuntu 18.04. We will also address a few FAQs on how to install LEMP on Ubuntu 18.04.
Advantages of LEMP
- Performance: LEMP delivers faster response times and better handling of high traffic loads.
- Scalability: It allows easy scaling of resources to accommodate growing user demands.
- Security: LEMP provides robust security features to protect websites against vulnerabilities and attacks.
- Flexibility: Developers have the freedom to customize and configure each component based on specific requirements.
- Cost-effective: Being open-source, LEMP eliminates licensing costs, making it an economical choice for web development.
Prerequisites
- Ubuntu 18.04 64-bit operating system
- A user account with sudo privileges
- Command-line / terminal
Step 1 – Install the Nginx Web Server
1) Firstly, use the apt package-management suite to complete the necessary installations.
2) Update your server's package index and install the server.
$ sudo apt update
$ sudo apt install nginx
3) Nginx will start running upon installation.
4) After that, allow connections to Nginx. It registers itself with ufw after installation, so the procedure is rather straightforward.
5) Since, there is no SSL certificate configured to allow traffic only on port 80. Do this by typing the command below:
$ sudo ufw allow 'Nginx HTTP'
6) Now, change must be verified by running:
$ sudo ufw status
You will see the following output saying HTTP traffic is allowed.
Output

Status: active

To                         Action      From
--                         ------      ----
OpenSSH                    ALLOW       Anywhere
Nginx HTTP                 ALLOW       Anywhere
OpenSSH (v6)               ALLOW       Anywhere (v6)
Nginx HTTP (v6)            ALLOW       Anywhere (v6)
7) Run the following command to know your server’s public IP address:
$ ip addr show eth0 | grep inet | awk '{ print $2; }' | sed 's/\/.*$//'
8) Now check which IP address is accessible, as viewed from other locations on the internet:
curl -4 icanhazip.com
9) You will be taken to Nginx's default landing page after typing the address you received in your web browser.
http://server_domain_or_IP
You must see the below image after the installation of Nginx.
Once this screen is visible, you can be sure that the Nginx is installed.
Step 2 - Install MySQL
1) By typing the below command install MySQL:
$ sudo apt install mysql-server
2) Secondly, by typing Y, and then ENTER confirm the installation.
3) After that, run a security script that comes pre-installed with MySQL. As a result, insecure default settings and lockdown to access your database will be removed. Run the below command to start the interactive script:
$ sudo mysql_secure_installation
Now, you will be asked if you want to configure the VALIDATE PASSWORD PLUGIN.
4) Now, answer Y for yes, or anything else to continue without enabling.
VALIDATE PASSWORD PLUGIN can be used to test passwords
and improve security. It checks the strength of password
and allows the users to set only those passwords which are
secure enough. Would you like to setup VALIDATE PASSWORD plugin?

Press y|Y for Yes, any other key for No:
5) If your answer is "yes", select a level of password validation.
There are three levels of password validation policy:

LOW    Length >= 8
MEDIUM Length >= 8, numeric, mixed case, and special characters
STRONG Length >= 8, numeric, mixed case, special characters and dictionary              file

Please enter 0 = LOW, 1 = MEDIUM and 2 = STRONG: 1
6) If you have selected 2 - the strongest level of validation then you will get errors if you haven't added numbers, upper and lower case letters and special characters.
7) Now, submit and confirm a root password:
Please set the password for root here.

New password:

Re-enter new password:
Similarly, press Y and hit the ENTER key at each prompt for the rest of the questions.
8) If you are using auth-socket plugin to access MySQL then you can skip the further steps and jump straight to Step 3. Switch authentication method from auth_socket to mysql_native_password to use a password when connecting MySQL as root. Open MySQL prompt from your terminal:
$ sudo mysql
9) Check different authentication methods by running the following command:
mysql> SELECT user,authentication_string,plugin,host FROM mysql.user;
You must see the following output:
Output
+------------------+-------------------------------------------+-----------------------+-----------+
| user             | authentication_string                     | plugin                | host      |
+------------------+-------------------------------------------+-----------------------+-----------+
| root             |                                           | auth_socket           | localhost |
| mysql.session    | *THISISNOTAVALIDPASSWORDTHATCANBEUSEDHERE | mysql_native_password | localhost |
| mysql.sys        | *THISISNOTAVALIDPASSWORDTHATCANBEUSEDHERE | mysql_native_password | localhost |
| debian-sys-maint | *CC744277A401A7D25BE1CA89AFF17BF607F876FF | mysql_native_password | localhost |
+------------------+-------------------------------------------+-----------------------+-----------+
4 rows in set (0.00 sec)
10) Then, run the following ALTER USER command to configure the root account to authenticate with a password.
Make sure to change password to a strong password of your choosing:
mysql> ALTER USER 'root'@'localhost' IDENTIFIED WITH mysql_native_password BY 'password';
11)After that, put new changes into effect by running FLUSH PRIVILEGES:
mysql> FLUSH PRIVILEGES;
12) Now, using the auth_socket plugin check authentication methods employed by each of your users to confirm that root no longer authenticates:
mysql> SELECT user,authentication_string,plugin,host FROM mysql.user;
You must see the following output:
Output
+------------------+-------------------------------------------+-----------------------+-----------+
| user             | authentication_string                     | plugin                | host      |
+------------------+-------------------------------------------+-----------------------+-----------+
| root             | *3636DACC8616D997782ADD0839F92C1571D6D78F | mysql_native_password | localhost |
| mysql.session    | *THISISNOTAVALIDPASSWORDTHATCANBEUSEDHERE | mysql_native_password | localhost |
| mysql.sys        | *THISISNOTAVALIDPASSWORDTHATCANBEUSEDHERE | mysql_native_password | localhost |
| debian-sys-maint | *CC744277A401A7D25BE1CA89AFF17BF607F876FF | mysql_native_password | localhost |
+------------------+-------------------------------------------+-----------------------+-----------+
4 rows in set (0.00 sec)
13) Finally, exit the MySQL shell:
mysql> exit
mysql -u root -p
After entering the password, you will see the MySQL prompt.
Step 3 – Install PHP and Configure Nginx to Use the PHP Processor
Now, you have Nginx that will serve the pages and MySQL that will store as well as manage your data. Now we need something that can generate the dynamic data.
1) Firstly, install php-fpm, which stands for “fastCGI process manager” as PHP requests to this software for processing
sudo add-apt-repository universe
2) Secondly, allow PHP to communicate with your database backend by installing the php-fpm module along with an additional helper package, php-mysql using the following command:
$ sudo apt install php-fpm php-mysql
3) Now, to tell Nginx to use the PHP processor for dynamic content you must make few configuration changes.
Do this by opening a new server block configuration file within the /etc/nginx/sites-available/ directory:
$ sudo nano /etc/nginx/sites-available/example.com
4) After that, include the following content which is slightly modified from the default server block configuration file to your new server block configuration file:
server {
        listen 80;
        root /var/www/html;
        index index.php index.html index.htm index.nginx-debian.html;
        server_name example.com;

        location / {
                try_files $uri $uri/ =404;
        }

        location ~ \.php$ {
                include snippets/fastcgi-php.conf;
                fastcgi_pass unix:/var/run/php/php7.2-fpm.sock;
        }

        location ~ /\.ht {
                deny all;
        }
}
Now, save and close the file.
5) Meanwhile, activate your new server block by creating a symbolic link from your new server block configuration file (in the /etc/nginx/sites-available/ directory) to the /etc/nginx/sites-enabled/ directory:
$ sudo ln -s /etc/nginx/sites-available/example.com /etc/nginx/sites-enabled/
6) Now, un-link the default configuration file from the /sites-enabled/ directory:
$ sudo unlink /etc/nginx/sites-enabled/default
$ sudo ln -s /etc/nginx/sites-available/default /etc/nginx/sites-enabled/
7) Now, it's time to test your configuration file for syntax errors:
$ sudo nginx -t
Continue further after zero errors.
8) Finally, reload Nginx to make the required changes:
$ sudo systemctl reload nginx
Step 4 – Create a PHP File to Test Configuration
1) Firstly, test your LEMP stack to validate that Nginx can correctly give .php files to the PHP processor.
- Begin by creating a test PHP file called
info.phpin your document root:
$ sudo nano /var/www/html/info.php
2) Secondly, add the following text (which is valid PHP code) inside the blank file which is opened:
<?php
phpinfo();
Save and close the file after you complete this process.
3) Test this script by accessing your server’s domain name or IP address, followed by the script name, which in this case is info.php in a web browser:
$ http://server_domain_or_IP/info.php
You must see a page similar to this:
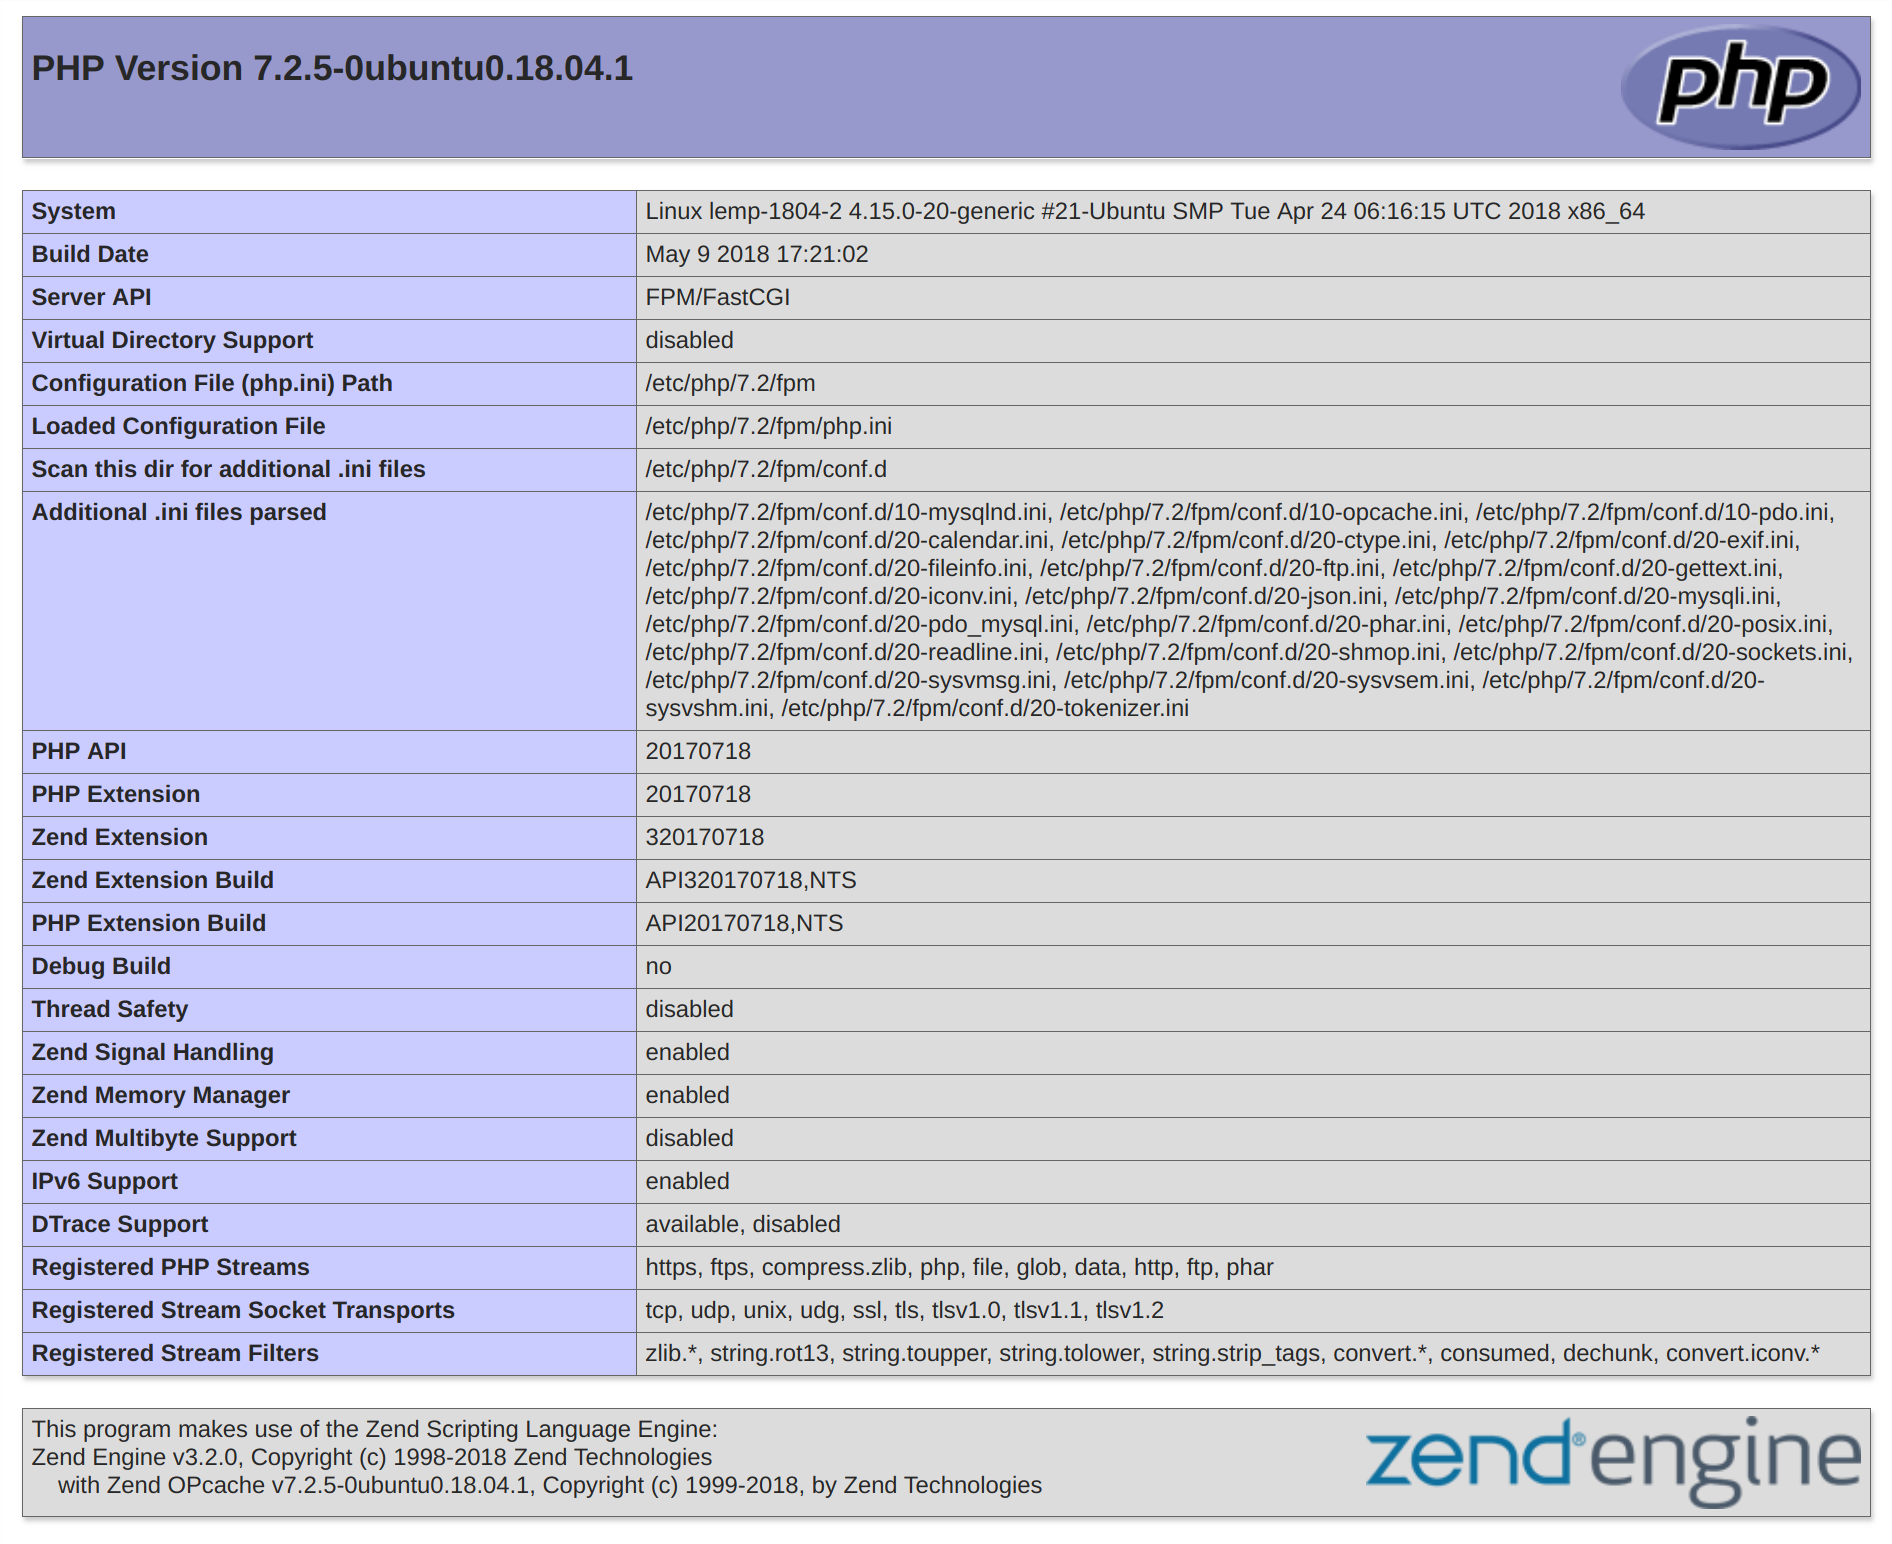
Use the information displayed on this page for debugging and to ensure that your settings are being applied correctly.
4) Finally, remove the file you created as it contains sensitive information about your PHP environment and your Ubuntu server. You can use rm to do so:
$ sudo rm /var/www/your_domain/info.php
Now, you have a fully configured and functioning LEMP stack on your Ubuntu 18.04 server.
FAQs to install LEMP on Ubuntu 18.04
Is it necessary to have Linux prior to installing LEMP?
Yes, LEMP requires the Linux operating system as a foundation. Ubuntu 18.04 is a popular choice for LEMP installations.
What is Nginx and why is it used?
Nginx is a high-performance web server that efficiently handles concurrent connections, providing excellent scalability and speed compared to other servers.
How do I configure MySQL during LEMP installation?
MySQL can be configured by running the MySQL secure installation script and answering the prompts to set a root password, remove anonymous users, etc.
Why is PHP important in LEMP?
PHP is a server-side scripting language used for dynamic web content generation. It allows interaction with databases and enhances the functionality of web applications.
How can I test if the LEMP installation is successful?
You can check if Nginx is running by accessing your server's IP address in a web browser. Create a PHP info file to verify the installation of PHP.
Are there any recommended security measures after LEMP installation?
Yes, it is highly recommended to: configure a firewall, secure Nginx by enabling HTTPS, set strong passwords for MySQL, regularly update all components, and implement best practices for web application security.
How can I enable SSL/TLS (HTTPS) for Nginx?
Generate an SSL certificate, configure Nginx to use it, and redirect HTTP traffic to HTTPS. Detailed guides are available online.
Conclusion
We hope this detailed guide helped you understand how to install LEMP on your Ubuntu 18.04 machine.
If you have any queries, please leave a comment below and we’ll be happy to respond to them for sure.