

Choose a different version or distribution
Introduction
Before we begin talking about how to install Nextcloud on Ubuntu 24-04 with Apache LAMP Stack, let's briefly understand – What is Nextcloud?
Nextcloud is a powerful open-source platform designed for secure file storage, sharing, collaboration, and communication. It allows users to store files, work on documents with others in real-time, and streamline workflows efficiently.
With strong emphasis on data privacy and security, Nextcloud enables individuals and businesses to host their own cloud services, giving full control over their data. Experience seamless file management and communication through Nextcloud's comprehensive suite of features.
In this tutorial, you will install Nextcloud on Ubuntu 24-04 with Apache LAMP Stack. We will also address a few FAQs on how to install Nextcloud on Ubuntu 24-04 with Apache LAMP Stack.
Advantages of Nextcloud
- Secure File Storage: Provides encrypted cloud storage for your files.
- Real-time Collaboration: Work jointly on documents with seamless real-time editing.
- Data Privacy: Ensures full control over data privacy and security.
- Cross-Platform Access: Access files from any device or location.
- Extensive Features: Offers a comprehensive suite of tools for efficient file management and communication.
Prerequisites
- A server with Ubuntu 24.04 or any Linux distribution
- A user with root or
sudoaccess.
Step 1. Update the System
Assuming you're starting with a fresh Ubuntu 24.04 installation, you'll need to update your system packages to their latest versions. Use the following commands to accomplish this:
sudo apt update -y && sudo apt upgrade -y
Step 2. Install LAMP stack
Begin by installing the Apache web server as part of the LAMP stack. To do this, run the following command:
sudo apt install apache2 -y
Once installed, initiate and enable the service:
sudo systemctl start apache2 && sudo systemctl enable apache2
To ensure everything is functioning properly, check the service status:
sudo systemctl status apache2
Output

apache2.service - The Apache HTTP Server
     Loaded: loaded (/usr/lib/systemd/system/apache2.service; enabled; preset: enabled)
     Active: active (running) since Fri 2024-03-15 06:24:38 CDT; 6s ago
       Docs: https://httpd.apache.org/docs/2.4/
   Main PID: 99023 (apache2)
      Tasks: 6 (limit: 4624)
     Memory: 13.7M (peak: 14.1M)
        CPU: 161ms
     CGroup: /system.slice/apache2.service
             ├─99023 /usr/sbin/apache2 -k start
             ├─99032 /usr/sbin/apache2 -k start
             ├─99033 /usr/sbin/apache2 -k start
             ├─99034 /usr/sbin/apache2 -k start
             ├─99035 /usr/sbin/apache2 -k start
             └─99037 /usr/sbin/apache2 -k start
Next, we’ll set up the MariaDB database server. Run the command provided below:
sudo apt install mariadb-server -y
After installing the MariaDB server, you'll need to start and activate the service:
sudo systemctl start mariadb && sudo systemctl enable mariadb
To verify the service status, run the command below:
sudo systemctl status mariadb
Output

mariadb.service - MariaDB 10.11.6 database server
     Loaded: loaded (/usr/lib/systemd/system/mariadb.service; enabled; preset: enabled)
     Active: active (running) since Fri 2024-03-15 06:40:06 CDT; 49s ago
       Docs: man:mariadbd(8)
             https://mariadb.com/kb/en/library/systemd/
   Main PID: 100980 (mariadbd)
     Status: "Taking your SQL requests now..."
      Tasks: 10 (limit: 4624)
     Memory: 78.4M (peak: 81.6M)
        CPU: 1.024s
     CGroup: /system.slice/mariadb.service
             └─100980 /usr/sbin/mariadbd
The final component of the LAMP stack is PHP8.3 and its extensions. To install PHP8.3, run the command provided below:
sudo apt install php8.3 libapache2-mod-php php8.3-common php8.3-cli php8.3-mbstring php8.3-bcmath php8.3-fpm php8.3-mysql php8.3-zip php8.3-gd php8.3-curl php8.3-xml -y
After installation, you can verify the PHP version using the command below:
php -v
Output

PHP 8.3.0-1ubuntu1 (cli) (built: Jan 19 2024 14:00:34) (NTS)
Copyright (c) The PHP Group
Zend Engine v4.3.0, Copyright (c) Zend Technologies
    with Zend OPcache v8.3.0-1ubuntu1, Copyright (c), by Zend Technologies
Step 3. Nextcloud database and user
Next, we’ll create the Nextcloud database and user, and assign privileges to them. Both the database and the user will be named nextcloud.
MariaDB [(none)]> CREATE DATABASE nextcloud;
MariaDB [(none)]> GRANT ALL PRIVILEGES ON nextcloud.* TO 'nextcloud'@'localhost' IDENTIFIED BY 'YourStrongPasswordHere';
MariaDB [(none)]> FLUSH PRIVILEGES;
MariaDB [(none)]> EXIT;
Step 4. Download Nextcloud
With the LAMP stack prepared, and the database set up, the next step is to download the latest version of Nextcloud and move it to the Apache document root.
wget https://download.nextcloud.com/server/releases/nextcloud-28.0.3.zip
After downloading, extract it into the Apache document root.
unzip nextcloud-28.0.3.zip -d /var/www/html/
Assign the appropriate file and folder ownership:
chown -R www-data:www-data /var/www/html/nextcloud
Step 5. Create Apache Virtual Host File
The next step is to create an Apache virtual host file to serve the Nextcloud files, allowing access via a domain name.
touch /etc/apache2/sites-available/nextcloud.conf
Open the newly created file with your preferred editor and insert the following lines of code:
<VirtualHost *:80>
        DocumentRoot "/var/www/html/nextcloud"
        ServerName YourDomainNameHere
        ErrorLog ${APACHE_LOG_DIR}/nextcloud.error
        CustomLog ${APACHE_LOG_DIR}/nextcloud.access combined
                <Directory /var/www/html/nextcloud/>
                        Require all granted
                        Options FollowSymlinks MultiViews
                        AllowOverride All
                </Directory>
</VirtualHost>
Save the file, exit the editor, and enable the site.
a2ensite nextcloud.conf
Now, activate the necessary Apache modules using the command below:
a2enmod rewrite headers env dir mime setenvif ssl
Check the Apache Syntax:
apachectl -t
If everything is set up correctly, you should see the following output:
Output

apachectl -t Syntax OK
Restart the Apache web server:
sudo systemctl restart apache2
Step 6. Finish Nextcloud Installation
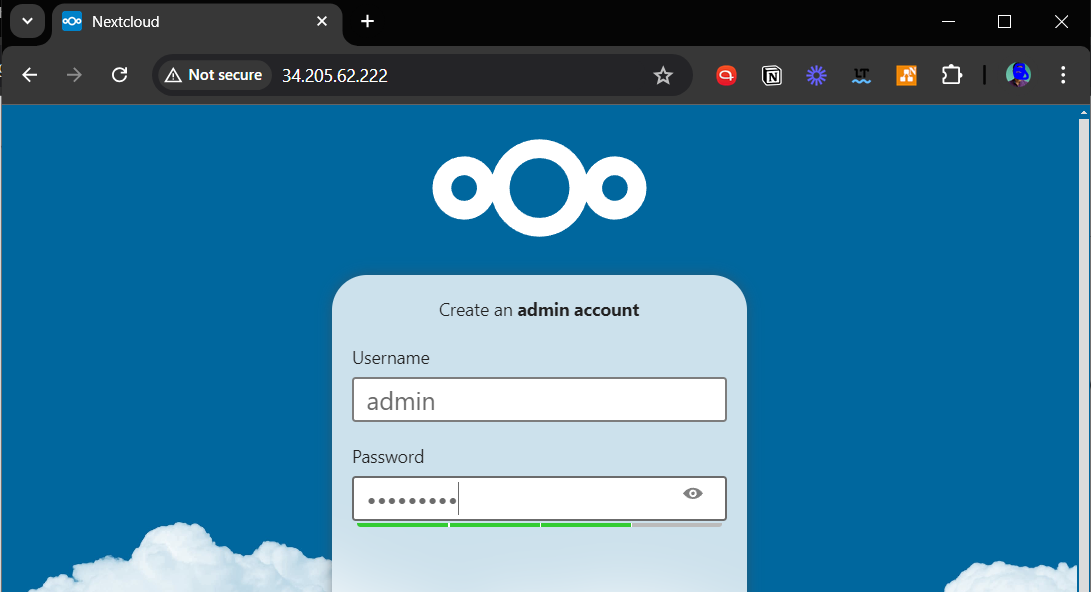
We’re now at the final step of this tutorial: completing the installation. To do this, first visit your Nextcloud installation at the following URL: http://YourDomainNameHere.
Begin by configuring a Nextcloud administrator username and a strong password.
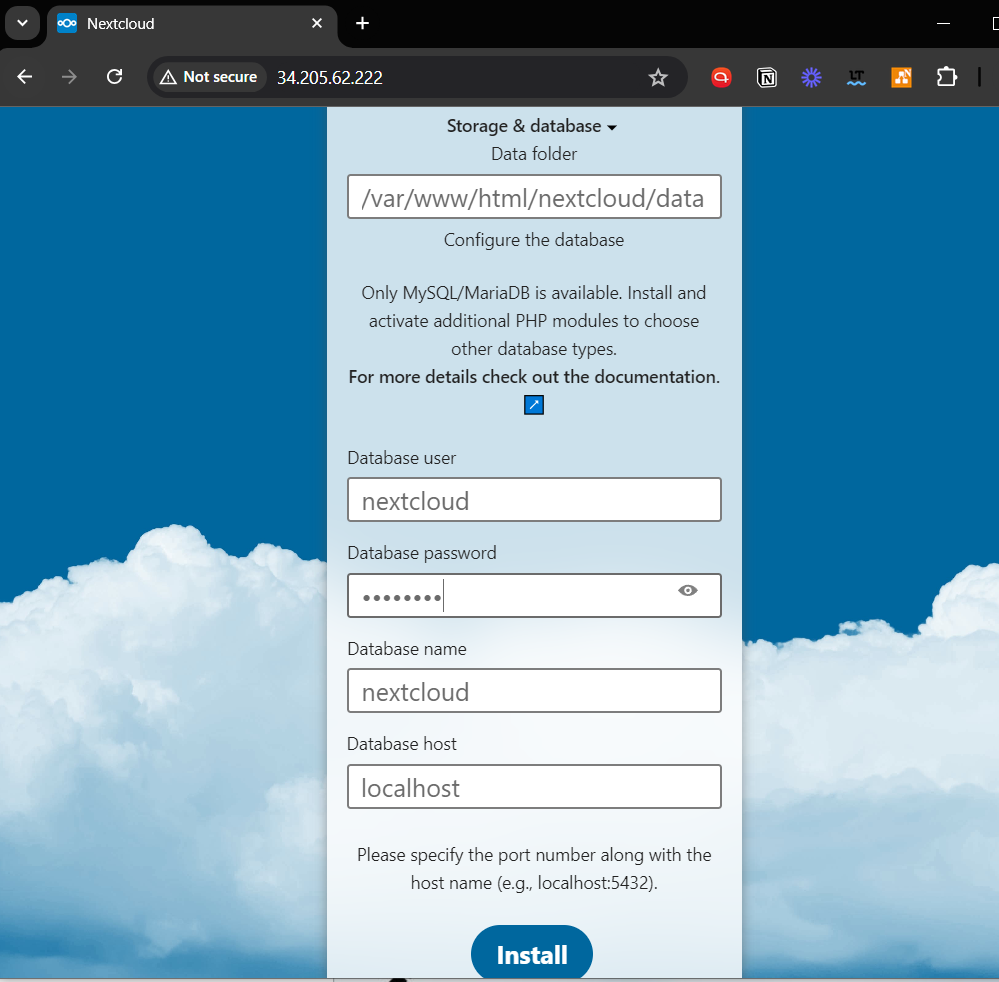
Scroll down and enter the database credentials you set up in Step 3. Then, click the blue Install button.
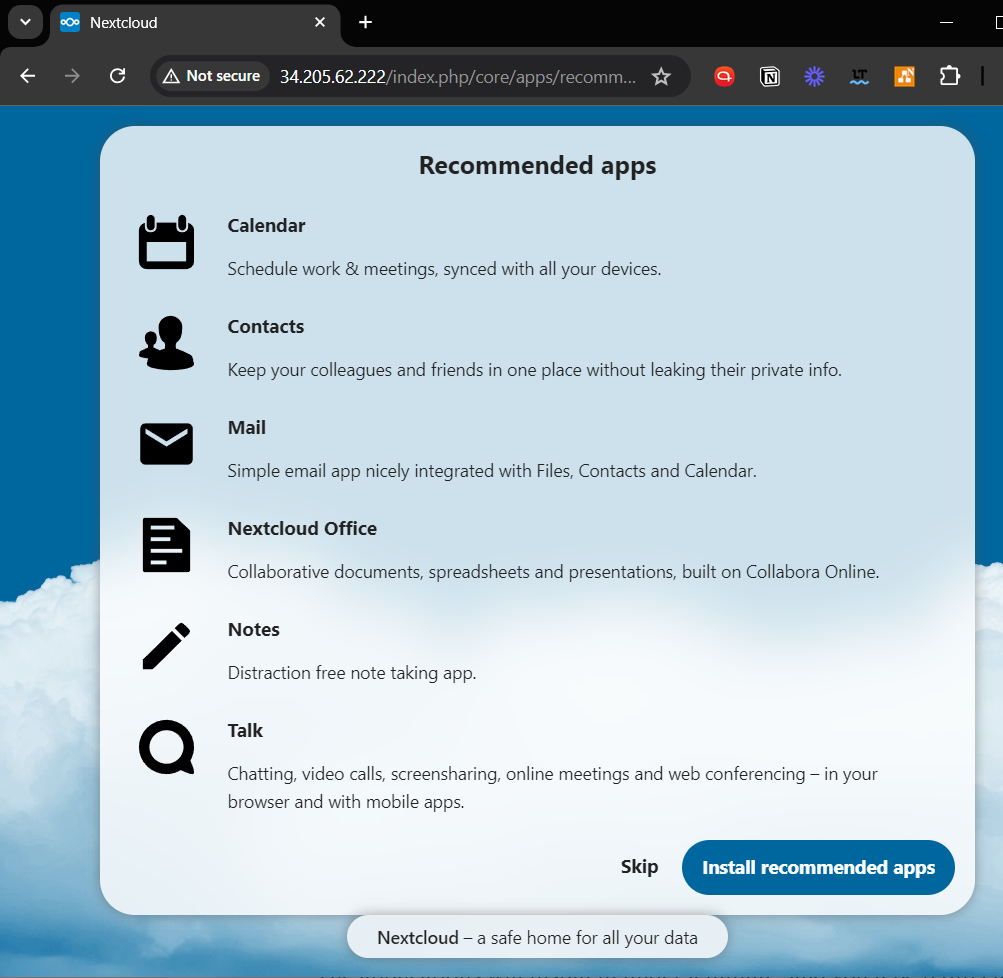
Eventually, the installation process will lead you to the application recommendations page. Click on the Install recommended apps button.
The applications will install in under a minute, and you’ll be redirected to the admin dashboard.
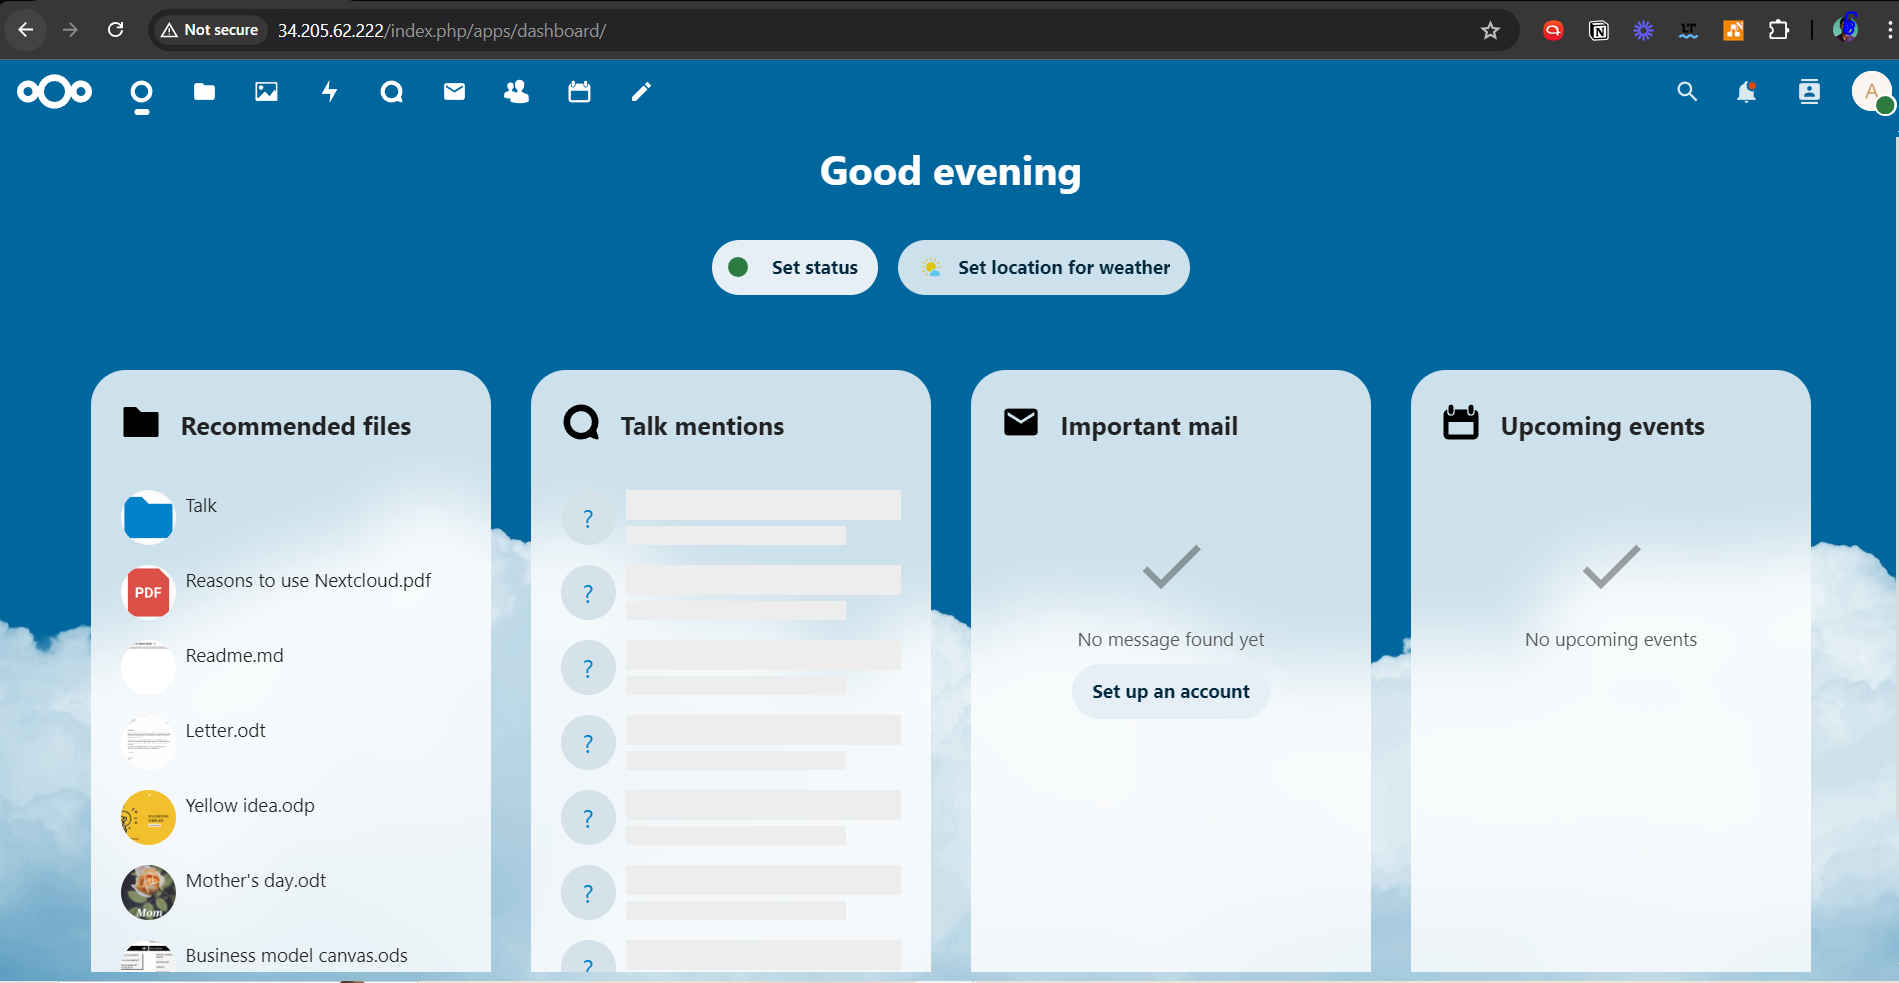
That concludes the process. You’ve now completed the installation of Nextcloud on Ubuntu 24.04.
FAQs to Install Nextcloud on Ubuntu 24.04 with Apache LAMP Stack
What is LAMP?
LAMP stands for Linux, Apache, MySQL/MariaDB, and PHP, which are the components needed to run Nextcloud.
Can I customize the look and functionality of Nextcloud?
Yes, Nextcloud is highly customizable, allowing you to change the theme, add or remove features, and extend its functionality using available apps and plugins.
How can I change the Nextcloud admin password?
Log in and go to "Settings" > "Security" to change the password.
How do I add users to Nextcloud?
In the admin settings, go to "Users" and add new users with their details.
How do I set up email notifications?
Configure your email settings in the "Settings" > "Basic settings" section.
How do I set user storage quotas?
In the admin settings, go to "Quota" and set the default user quota.
Conclusion
We hope this tutorial helped you understand how to install Nextcloud on Ubuntu 24.04 with Apache LAMP Stack.
If you have any queries, please leave a comment below, and we’ll be happy to respond to them for sure.