

Introduction
Before we begin talking about how to install Nmap on AlmaLinux 9, let's briefly understand – What is Nmap?
Nmap, or Network Mapper, stands as a versatile open-source tool for probing and analyzing networks. This potent utility empowers users to uncover vital information about devices, services, and hosts within a network through packet transmission and response analysis.
With its rich scanning capabilities, Nmap aids in system monitoring, network inventory management, and heightened security assessments. Embrace Nmap to deepen network understanding and bolster safeguards through effective network exploration and protection solutions.
In this tutorial, you will install Nmap on AlmaLinux 9. We will also address a few FAQs on how to install Nmap on AlmaLinux 9.
Advantages of Nmap
- Comprehensive Network Discovery: Nmap excels in mapping out network topology, identifying hosts, services, and open ports efficiently.
- Vulnerability Detection: It helps pinpoint vulnerabilities and security loopholes, enabling proactive fortification of networks to thwart potential breaches.
- Customizable Scans: Nmap offers a range of scan types and options to tailor scans based on specific requirements, enhancing flexibility.
- Scripting Capabilities: With powerful scripting support, Nmap allows automation of tasks, making it ideal for complex network auditing and monitoring.
- Cross-Platform Compatibility: It works seamlessly across various operating systems, ensuring flexibility and ease of use for diverse network.
Install Nmap on AlmaLinux via DNF Appstream
Update AlmaLinux Before Installing Nmap
Update your AlmaLinux system first. This step makes sure that every package you currently have is up-to-date. Execute the subsequent command:
sudo dnf upgrade --refresh
Install Nmap on AlmaLinux via DNF Command
The official AlmaLinux repository contains Nmap. The version of Nmap that AlmaLinux usually uses is the most recent stable release, which makes installation easier and eliminates the need for third-party repositories.
To continue with the installation, run:
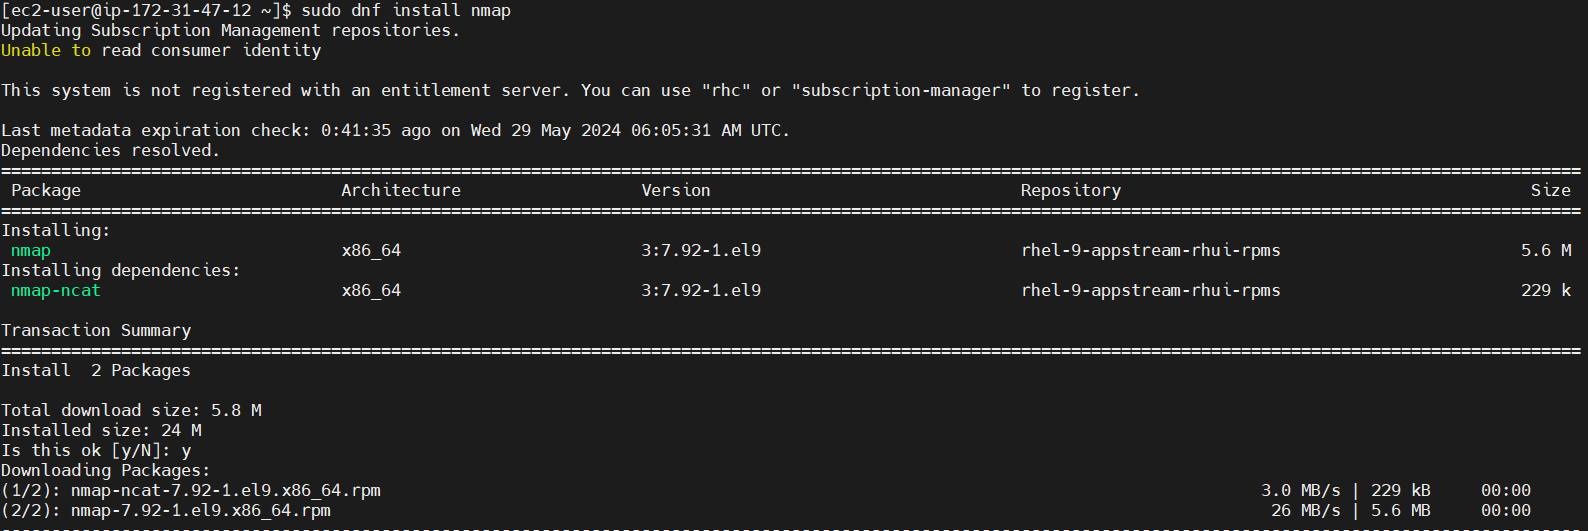
sudo dnf install nmap
Verify the installation after it has finished by looking up the build details and version of Nmap:
nmap --version

This step guarantees that Nmap is operational and has been installed correctly. The following section will show how to compile and install the Nmap binary on AlmaLinux for those who need the most recent version.
Install Nmap on AlmaLinux from Source
Install Required Packages for Nmap Compilation
Start by setting up the necessary tools for source code compilation on your AlmaLinux system. This includes the "make" tool and the GCC compiler, which are essential for constructing packages.
To install these tools, enter the following command in your terminal:
sudo dnf install make automake gcc gcc-c++
Installing development tools and additional packages required for Nmap building comes next:
sudo dnf groupinstall "Development Tools"
sudo dnf install libssh2-devel openssl-devel python3-devel
Download Nmap Source Archive
After setting up the necessary tools, download the Nmap source code. For the most recent stable release, visit the official Nmap download page. To retrieve the source, use wget:
wget https://nmap.org/dist/nmap-7.94.tar.bz2
Always check the Nmap website for the most recent version number.
Extract the Nmap Source Code
After downloading, extract the source code for Nmap.
bzip2 -cd nmap-7.94.tar.bz2 | tar xvf -
cd nmap-7.94
Because this varies from time to time, don't forget to substitute your Nmap version with 7.94.
Configure Nmap Build
Start configuring the Nmap source so that your system is ready for compilation. Compatibility and optimal performance are guaranteed by this step.
Setup the build using:
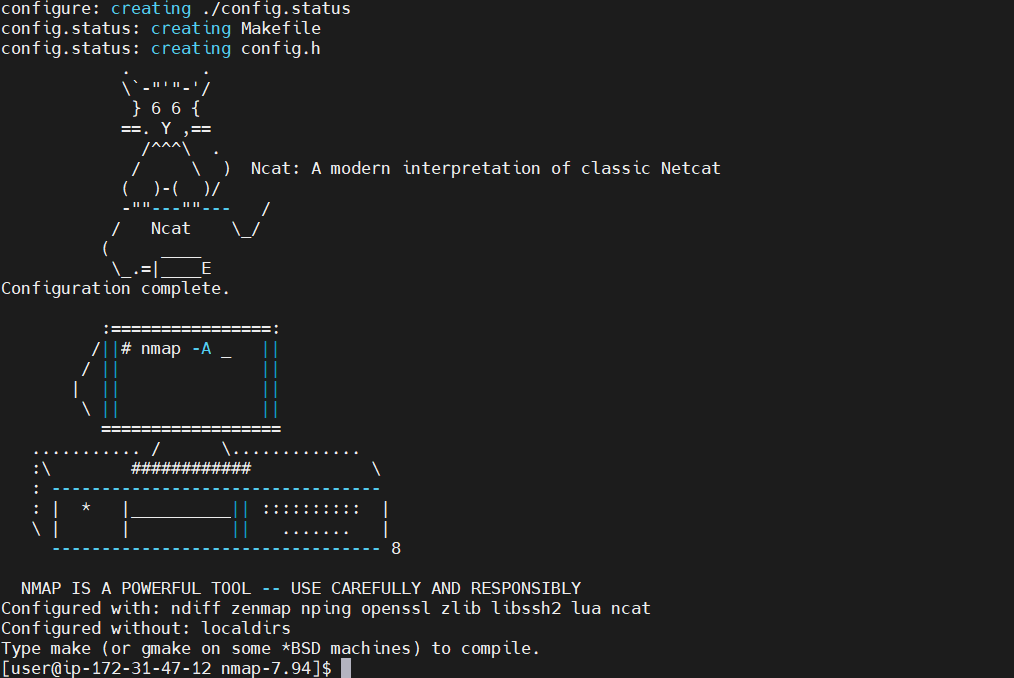
./configure
Use the following to install a custom directory:
./configure --with-localdirs
Compile Nmap with the make command
Use make to compile the source code now. This compiles the code after reading the Makefile located in the Nmap directory:
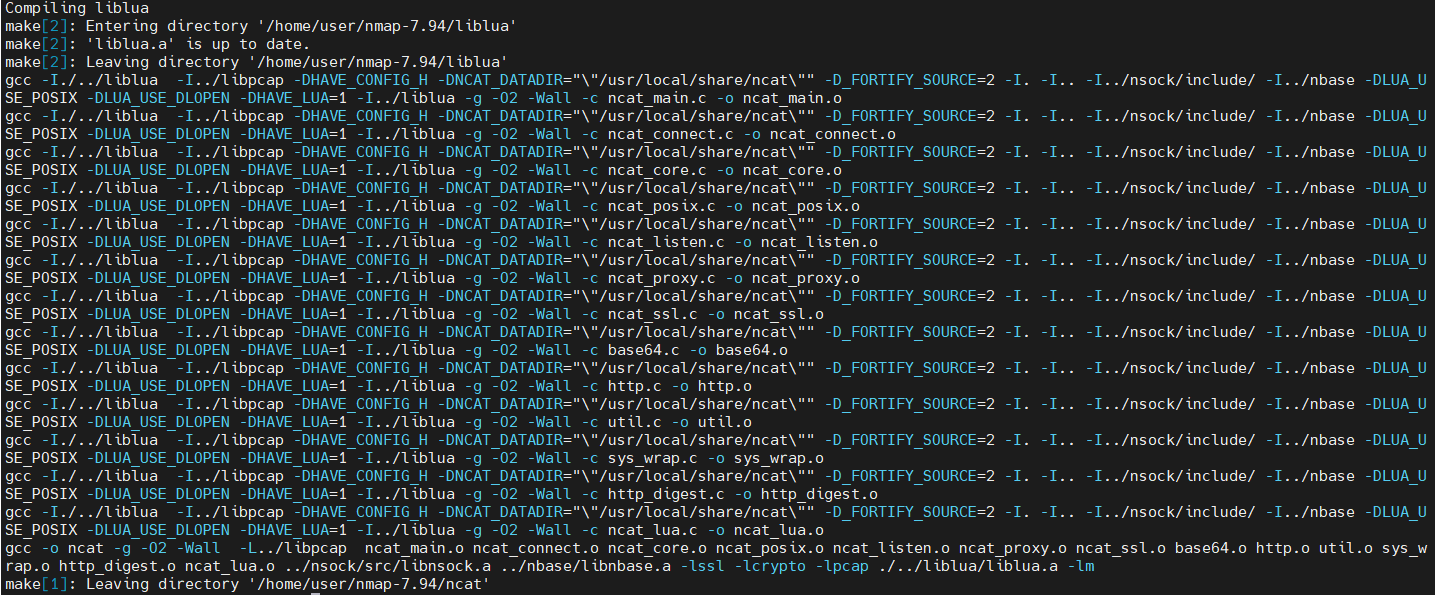
make
Install Nmap Binary with the make install command
Install Nmap by putting the program in the relevant system directories after compilation:
sudo make install
Verify Nmap Installation
Lastly, use the following to confirm the Nmap installation and version:
nmap --version
This indicates that the most recent version of Nmap was successfully installed on your AlmaLinux system straight from the source.

Basic Nmap Scanner Commands on AlmaLinux
Understanding Nmap Port States
Be familiar with the port states that Nmap identifies before using it.
- Closed: The port's failure to accept connections suggests that either no service is listening on it or it isn't set up to receive incoming connections.
- Open: A service is running on the port and waiting for incoming connections; the port is actively accepting connections.
- Filtered: Filtering, probably from a firewall or other network device, prevents Nmap from determining whether the port is open or closed.
- Unfiltered: Although the port can be reached, it is unclear if it is open or closed.
- Closed | Filtered: When Nmap arrives at the target, it is unable to determine the port's status.
- Open | Filtered: Whether the port is filtered or closed is unknown.
Initiate a Host or IP Address Scan with Nmap
Scanning a Single Host
To scan a single host:
nmap <hostname or IP address>
Example: Scan IP address 192.168.1.1:
nmap 192.168.1.1
Scanning a Range of IP Addresses
To scan a range of IP addresses:
nmap <start IP address>-<end IP address>
Example: Scan IP range 192.168.1.1 to 192.168.1.254:
nmap 192.168.1.1-192.168.1.254
Conduct an Operating System Scan with Nmap
Scanning a Single Host for OS Detection
To detect an operating system on a single host:
nmap -O <hostname or IP address>
Example: OS detection for IP address 192.168.1.1:
nmap -O 192.168.1.1
Scanning a Range of IP Addresses for OS Detection
For OS detection on a range of IP addresses:
nmap -O <start IP address>-<end IP address>
Example: Detect OS for IP range 192.168.1.1 to 192.168.1.254:
nmap -O 192.168.1.1-192.168.1.254
Specifying Ports and Scan Order with Nmap
Scanning Specific Ports on a Single Host
To scan specified ports on a host:
nmap -p <port1,port2,port3,...> <hostname or IP address>
Example: Scan ports 80, 443, 8080 on IP address 192.168.1.1:
nmap -p 80,443,8080 192.168.1.1
Scanning Ports in Order on a Range of IP Addresses
To scan ports in a specific order across a range:
nmap -p <port1,port2,port3,...> --top-ports <number> <start IP address>-<end IP address>
Example: Scan top 10 ports on IP range 192.168.1.1 to 192.168.1.254:
nmap -p- --top-ports 10 192.168.1.1-192.168.1.254
Conducting a Services Scan with Nmap
Scanning Services on a Single Host
To perform a service scan on a single host:
nmap -sV <hostname or IP address>
Example: Service scan for IP address 192.168.1.1:
nmap -sV 192.168.1.1
Scanning Services on a Range of IP Addresses
For a service scan across a range of IP addresses:
nmap -sV <start IP address>-<end IP address>
Example: Service scan for IP range 192.168.1.1 to 192.168.1.254:
nmap -sV 192.168.1.1-192.168.1.254
Initiating a TCP SYN Scan with Nmap
TCP SYN Scan on a Single Host
To perform a TCP SYN scan on a single host:
nmap -sS <hostname or IP address>
Example: TCP SYN scan for IP address 192.168.1.1:
nmap -sS 192.168.1.1
TCP SYN Scan on a Range of IP Addresses
For a TCP SYN scan on a range of IP addresses:
nmap -sS <start IP address>-<end IP address>
Example: TCP SYN scan for IP range 192.168.1.1 to 192.168.1.254:
nmap -sS 192.168.1.1-192.168.1.254
FAQs to Install Nmap on AlmaLinux 9
Does Nmap require any additional dependencies on AlmaLinux 9?
Nmap may have dependencies which will be automatically installed.
Can I use Nmap on AlmaLinux 9 for network security assessments?
Yes, Nmap is commonly used for security assessments on networks.
Is Nmap user-friendly for beginners on AlmaLinux 9?
While Nmap has a learning curve, there are resources available for beginners.
Does Nmap have a graphical user interface on AlmaLinux 9?
Nmap primarily operates through the command line, but there are GUI versions available.
Is Nmap a free tool for network scanning on AlmaLinux 9?
Yes, Nmap is open-source and free to use for network scanning.
Does Nmap support both IPv4 and IPv6 on AlmaLinux 9?
Yes, Nmap supports both IPv4 and IPv6 protocols.
Can Nmap be used for monitoring network performance on AlmaLinux 9?
Nmap primarily focuses on network discovery and security scanning.
Conclusion
We hope this tutorial helped you understand how to install Nmap on AlmaLinux 9.
If you have any queries, please leave a comment below, and we’ll be happy to respond to them for sure.