
Introduction
Before we discuss how to install pluma on ubuntu 22.04,let's first understand-What is Pluma?
Pluma is a lightweight text editor designed for the MATE desktop environment. It is a well-liked option for many customers because of its feature-rich but relatively simple layout. Pluma has gained popularity among developers, writers, and users who require an easy-to-use but effective text editor for everyday activities because of its lightweight design and apparent UI.
This tutorial will walk you through the installation process of Pluma on Ubuntu 22.04.
Advantages
- Lightweight: Pluma is lightweight and consumes fewer system resources compared to more feature-heavy text editors, resulting in faster performance on lower-end or resource-constrained systems.
- User-Friendly Interface: Pluma offers a clean and intuitive user interface, making it easy to navigate and use, even for beginners or those with minimal text editing needs.
- Syntax Highlighting: Pluma supports syntax highlighting for various programming and markup languages, improving code readability and making it easier to identify different code elements.
- Customizable: Pluma provides basic customization options, allowing users to adjust the theme, font, and other preferences to suit their personal preferences or coding requirements.
- Plugin Support: Pluma offers plugin support, allowing users to extend its functionality by installing additional plugins for added features or integration with version control systems.
Section 1: Install Pluma
Step 1: Update Ubuntu System Packages
Use the following command in the terminal to update your Ubuntu system packages:
sudo apt update && sudo apt upgradeUsing this command, the installed packages will be updated to the most recent versions (sudo apt upgrade) after the package list has been updated (sudo apt update).
Step 2: Install Pluma Text Editor
Use the following command in your terminal to install Pluma on your system:
sudo apt install plumaPluma and its necessary dependencies will be downloaded and installed by using this command.
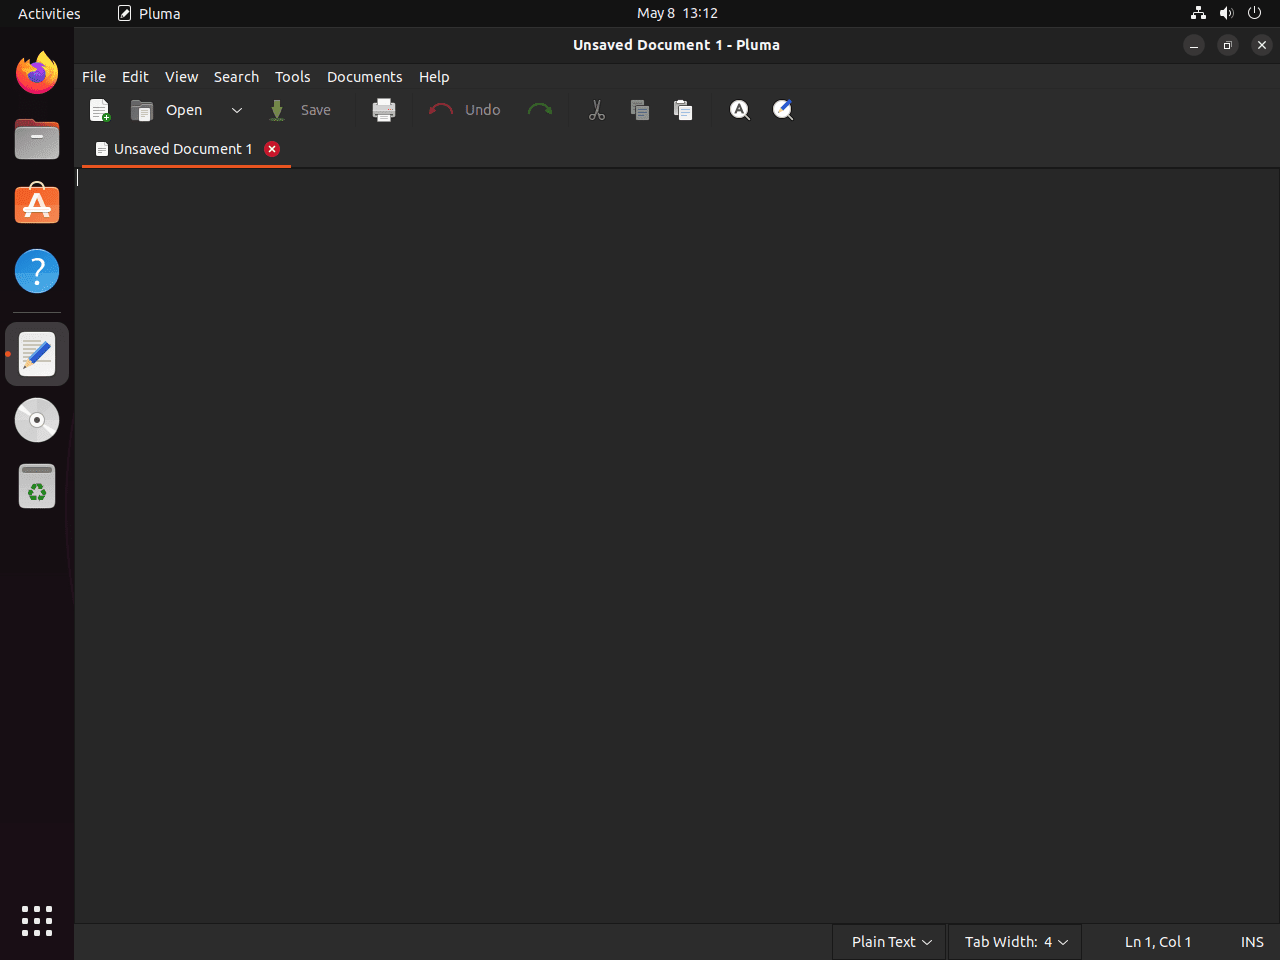
Section 2: Launching Pluma
If you would rather work with a terminal, you can use the following command to launch Pluma:
plumaTo locate the Pluma application icon on a desktop computer with a graphical user interface, navigate to the following location:
Activities > Show Applications > Pluma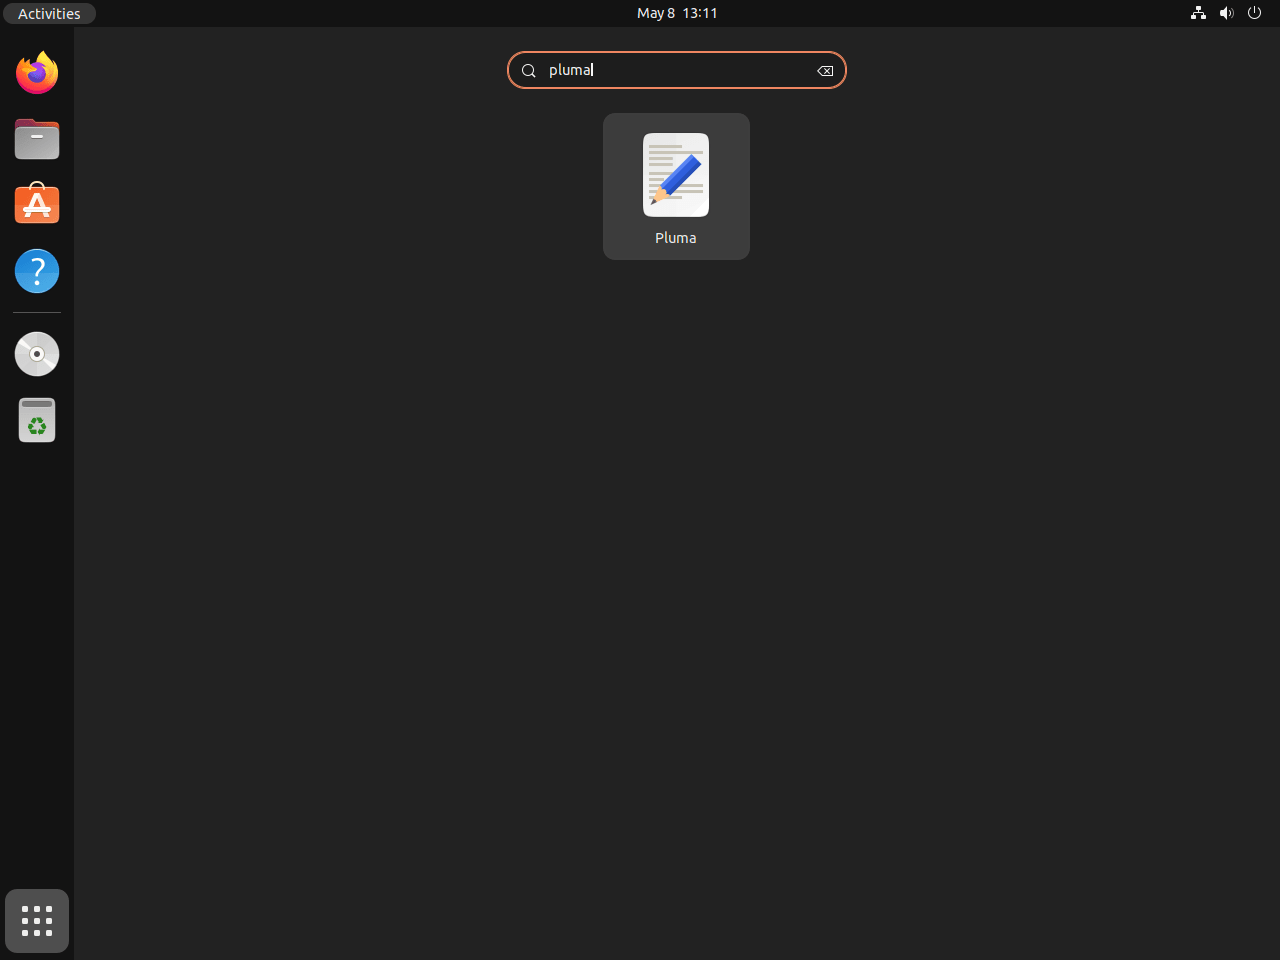
Section 3: Getting Started on Ubuntu Linux with Pluma
Tip 1: Customize Pluma Appearance
Pluma lets you customize its look to fit your style choices. Go to Preferences in the Pluma menu to see the changed options:
Edit > Preferences
You can investigate the following customization options:
- Fonts & Colors: The text editor's font and color scheme are customizable to suit your tastes. You can design your own unique theme or choose from a number of already installed themes.
- Editor: To make the most out of your editing experience, adjust settings like text wrapping, line numbers, tab width, and automatic indentation.
- Plugins: Pluma's features can be expanded by using a variety of plugins. Go to the Plugins tab in the Preferences window to enable or disable plugins.
Tip 2: Use Keyboard Shortcuts for Efficiency
You must become expert at using keyboard shortcuts if you want to use Pluma with greater efficiency. Here are a few regularly used shortcuts:
- Ctrl + N: Create a new document
- Ctrl + O: Open an existing document
- Ctrl + S: Save the current document
- Ctrl + F: Find text within the document
- Ctrl + H: Find and replace text
- Ctrl + Z: Undo the last action
- Ctrl + Y: Redo the last undone action
- Ctrl + C: Copy selected text
- Ctrl + X: Cut selected text
- Ctrl + V: Paste copied or cut text
Tip 3: Enable Syntax Highlighting
It is simpler to read and comprehend code when you use Pluma's syntax highlighting, which is available for many programming languages. Use these steps to activate syntax highlighting.:
- Open a file that has the appropriate file extension (for example, .py for Python) associated with the programming language.
- Depending on the file extension, Pluma will automatically enable syntax highlighting. If not, you can manually activate it by visiting:
View > Highlight Mode > [Programming Language]
Tip 4: Split View for Side-by-Side Editing
You can work on two papers side by side, or compare various sections of the documents with Pluma by splitting the editor view horizontally or vertically. Take these actions to divide the view:
- Open separate tabs with the papers you wish to view side by side.
- To switch a tab of a document to split view, right-click on it.
- From the context menu, select Move to Other View.
Drag the document's tab back to its starting location to eliminate the split view.
Section 4: Additional Ubuntu Linux Commands for Pluma
How to Remove (Uninstall) Pluma Text Editor
There are situations in which you may be able to remove the Pluma text editor from your Ubuntu system. Pluma removal is a simple procedure that only requires one command to be typed into the terminal.
To uninstall Pluma, follow these steps:
- On your Ubuntu system, open the terminal application.
- Type this command to get rid of Pluma and all of its dependencies.:
sudo apt remove plumaYou will be asked to confirm the removal of Pluma and its associated files by this command. To continue with the uninstallation, type y and hit Enter.
FAQs to Install Pluma on Ubuntu 22.04
Is Pluma specific to the MATE desktop environment?
Pluma is primarily designed for the MATE desktop environment but can also be used on other desktop environments. However, some features may be optimized for MATE.
Can I use Pluma as the default text editor for all file types?
Yes, you can configure Pluma as the default text editor for specific file types or as the default editor for all plain text files.
Does Pluma support split-view for editing multiple files simultaneously?
No, Pluma does not include a built-in split-view feature for editing multiple files side by side. However, you can use multiple instances of Pluma to achieve a similar effect.
Can I open remote files using Pluma?
Yes, Pluma supports opening and editing remote files through various protocols such as FTP, SFTP, or SSH.
Does Pluma support auto-indentation or code folding?
Yes, Pluma supports basic auto-indentation for selected languages and allows code folding to hide or reveal sections of code.
Can I search and replace text in multiple files with Pluma?
Yes, Pluma provides a search and replace feature that allows you to search for and replace text within multiple files.
Can I use Pluma for programming or scripting purposes?
Yes, Pluma supports programming and scripting languages, offering syntax highlighting, auto-indentation, and other features to aid coding tasks.
Is Pluma actively maintained and updated?
Pluma is part of the MATE desktop environment project and is actively maintained with periodic updates to ensure compatibility, stability, and bug fixes.
Conclusion
In this tutorial, we've gone through the steps of installing pluma on Ubuntu 22.04.
If you have any queries, you can ask them in the comments section, and we would be happy to answer them.