
Choose a different version or distribution
Introduction
Before we begin talking about how to install Python 3.7 on Ubuntu 24.04, let's briefly understand – What is Python?
Python is a popular programming language known for its simplicity and versatility. It is used for web development, data analysis, artificial intelligence, and more. Python emphasizes readability, making it beginner-friendly.
With its large community and extensive libraries, Python is a top choice for developers of all levels. Its straightforward syntax and dynamic typing make it efficient for various tasks.
In this tutorial, you will install Python 3.7 on Ubuntu 24.04. We will also address a few FAQs on how to install Python 3.7 on Ubuntu 24.04.
Advantages of Python
- Beginner-Friendly: Python's simple syntax makes it ideal for beginners learning to code.
- Versatile: Python can handle various tasks like web development, data analysis, and automation.
- Rich Libraries: Extensive libraries simplify complex tasks, enabling quick development.
- Scalability: Python is built to scale applications effectively, handling both small and large projects seamlessly.
- High Productivity: Python's straightforward syntax enhances productivity by reducing coding time and complexity.
Prerequisites to Install Python 3.7 on Ubuntu 24.04
To install packages on your Ubuntu system, you must be logged in as root or a user with sudo access.
Installing Python 3.7 on Ubuntu with Apt
Installing Python 3.7 on Ubuntu with apt is a simple process that will only take a few minutes:
1) Start by installing the prerequisites and updating the package list:
sudo apt update
sudo apt install build-essential zlib1g-dev libncurses5-dev libgdbm-dev libnss3-dev libssl-dev libsqlite3-dev libreadline-dev libffi-dev wget libbz2-dev

2) After that, add the deadsnakes PPA to your sources list:
sudo add-apt-repository ppa:deadsnakes/ppa
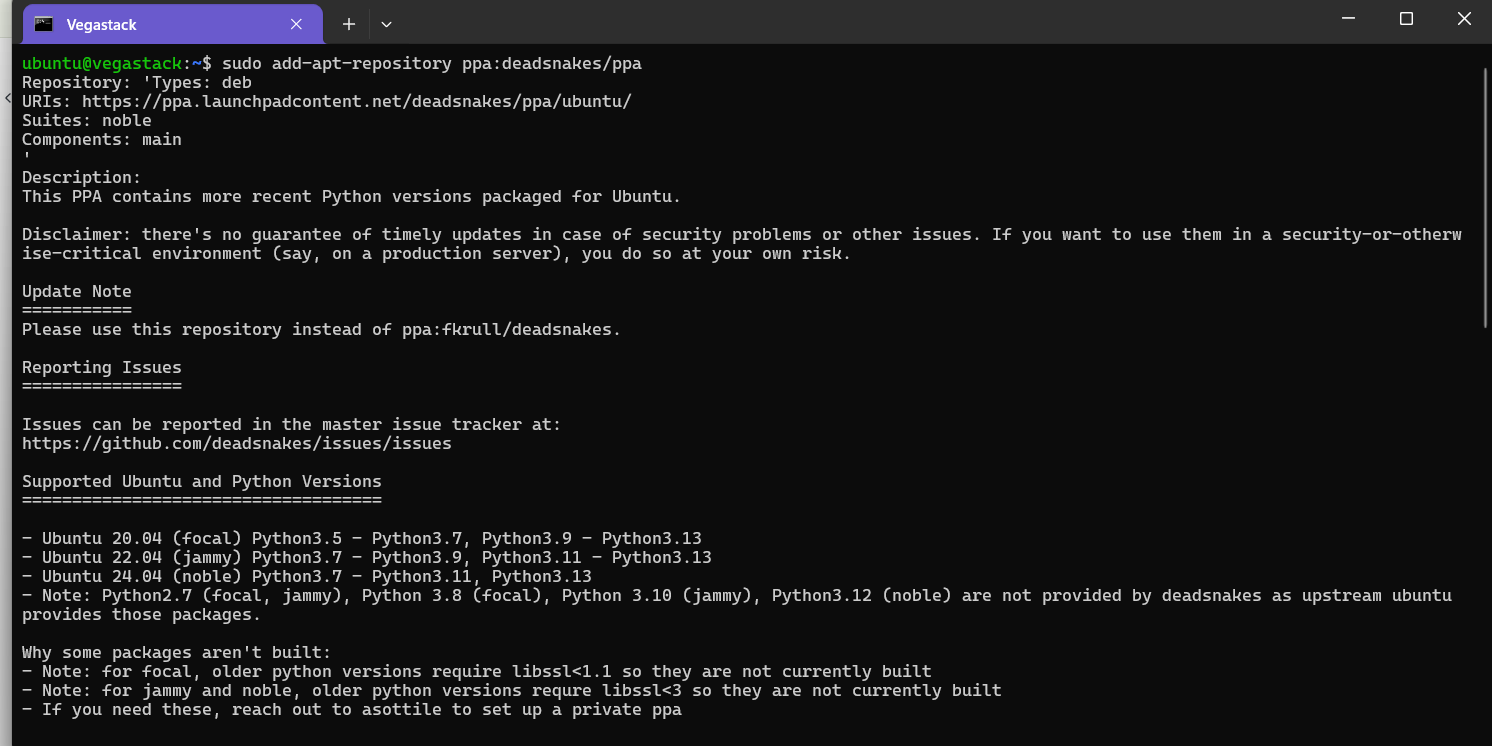
When prompted, click Enter to proceed:
Output

Press [ENTER] to continue or Ctrl-c to cancel adding it.
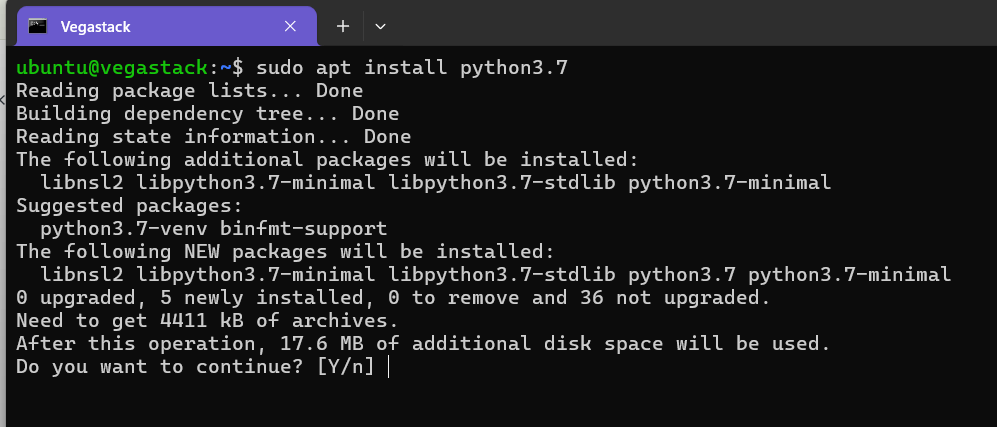
3) After the repository has been enabled, install Python 3.7 using:
sudo apt install python3.7
4) Python 3.7 is now installed and ready to use on your Ubuntu system. You can check it by typing:
python3.7 --version
Output

Python 3.7.3
Installing Python 3.7 on Ubuntu from Source
We will demonstrate how to download and compile Python 3.7 in this section.
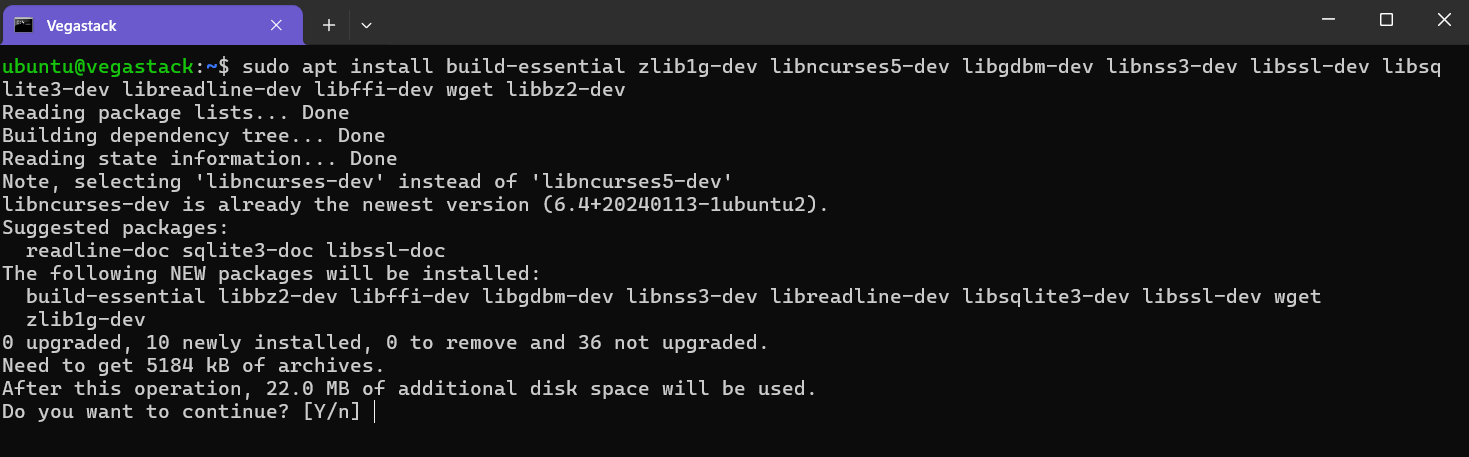
1) First, install the packages required to compile the Python source and update the packages list:
sudo apt update
sudo apt install build-essential zlib1g-dev libncurses5-dev libgdbm-dev libnss3-dev libssl-dev libsqlite3-dev libreadline-dev libffi-dev wget libbz2-dev
Use the wget command listed below to download the source code of the latest release from the Python download page:
wget https://www.python.org/ftp/python/3.7.4/Python-3.7.4.tgz
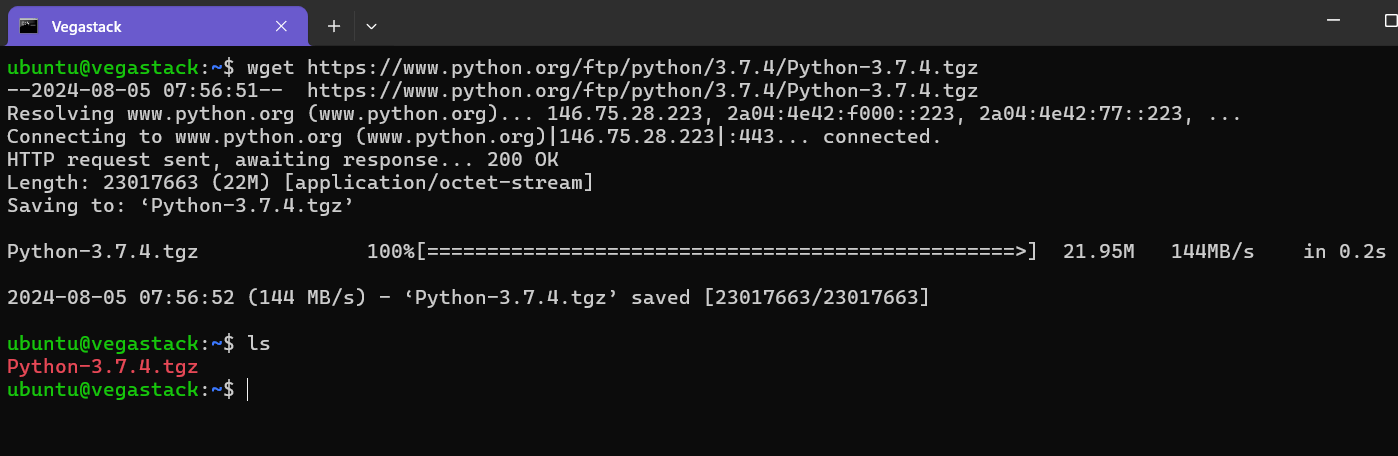
At the time of writing this tutorial, the most recent release is 3.7.4.
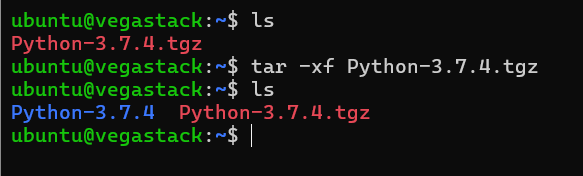
3) Unzip the gzipped tarball after the download is finished:
tar -xf Python-3.7.4.tgz
4) Next, head over to the Python source directory and launch the configure script, which will conduct a series of checks to make sure all of your system's dependencies are available:
cd Python-3.7.4
./configure --enable-optimizations
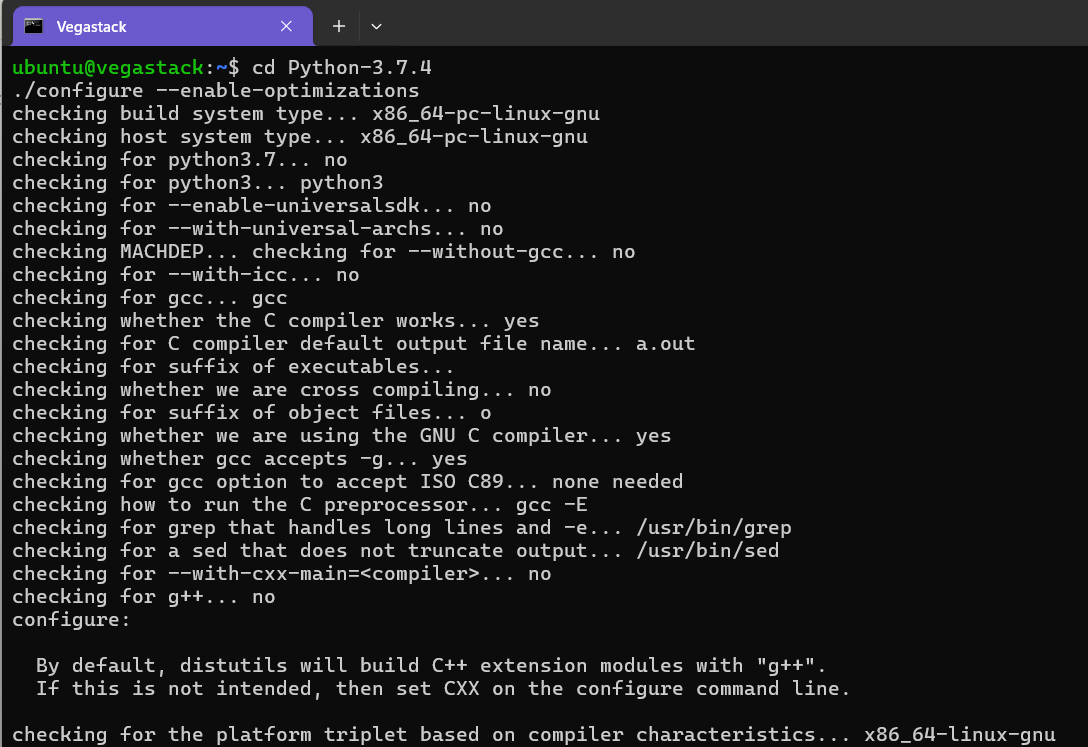
The --enable-optimizations option will optimize the Python binary by running numerous tests. This slows down the building process.
5) Using make, begin the Python build process:
make -j 8
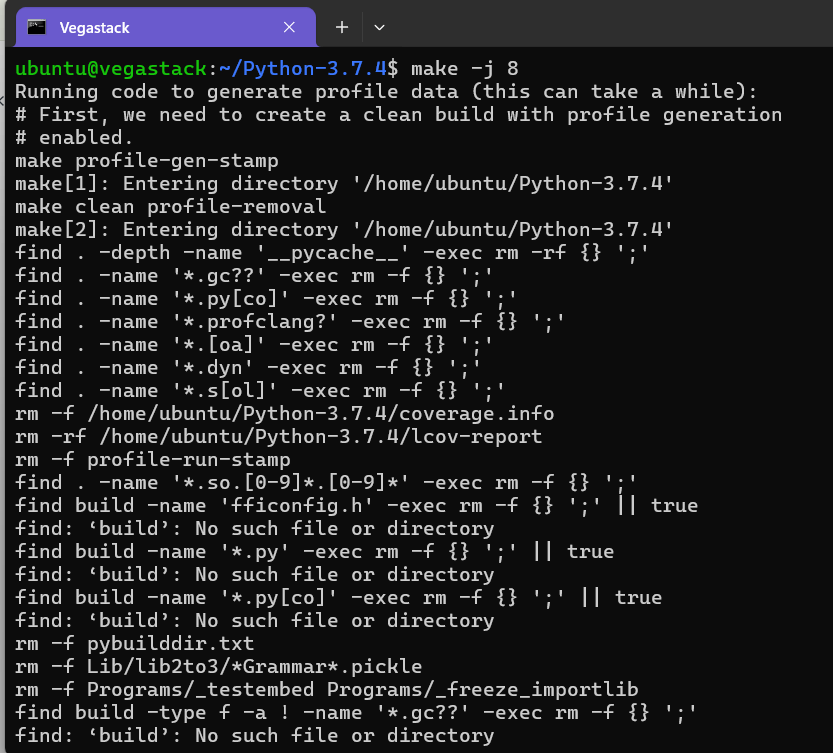
Modify the -j flag in accordance with your processor for a faster build time. If you are unsure about your processor's core count, you can find it by typing nproc. We are using the -j8 flag because the system used for this tutorial has 8 cores.
6) Once the build is complete, use the following command to install the Python binaries:
sudo make altinstall

It is recommended to not use the standard make install, as it will overwrite the default system python3 binary.
7) All done. Python 3.7 has been installed and is ready to use. Type the following command to confirm:
python3.7 --version
The output will display the Python version:
Output

Python 3.7.4
FAQs to Install Python 3.7 on Ubuntu 24.04
How do I verify if Python 3.7 is installed?
Open the terminal and type python3.7 --version. If Python 3.7 is installed correctly, it will display the version number.
Is Python 3.7 still supported?
Python 3.7 is in the security maintenance phase, receiving security updates but no new features.
What if I need to revert to a previous Python version?
Uninstall the current version and install the desired version using the appropriate commands.
How do I install Jupyter for Python 3.7?
Install it using pip: python3.7 -m pip install jupyter
Can I install Python packages using pip with Python 3.7?
Yes, after installing Python 3.7, you can use pip to install Python packages specifically for Python 3.7 by using the pip3.7 command.
Can I uninstall Python 3.7 later if needed?
Yes, you can uninstall Python 3.7 by running the command: sudo apt remove python3.7. However, be cautious as this may affect any applications relying on Python 3.7.
Conclusion
We hope this tutorial helped you understand how to install Python 3.7 on Ubuntu 24.04.
If you have any queries, please leave a comment below, and we’ll be happy to respond to them for sure.