

Choose a different version or distribution
Introduction
Before we begin talking about how to install qBittorrent on Ubuntu 22.04, let's briefly understand – What is qBittorrent?
qBittorrent is a free and open-source torrenting software that allows users to download and share files over the internet. It is a lightweight and easy-to-use application that offers features like search functionality, integrated torrent search engine, and bandwidth control.
With qBittorrent, users can manage their downloads efficiently and safely. Its clean interface and ad-free experience make it a popular choice among those looking for a reliable torrent client. Download qBittorrent for fast and secure file sharing.
In this tutorial, you will install qBittorrent on Ubuntu 22.04. We will also address a few FAQs on how to install qBittorrent on Ubuntu 22.04.
Advantages of qBittorrent
- Free and Open-Source: qBittorrent is free to use and open-source, ensuring transparency and accessibility.
- User-Friendly Interface: Its intuitive design makes it easy to navigate and manage downloads effectively.
- Ad-Free Experience: Enjoy a seamless torrenting process without any distracting ads.
- Built-in Search Engine: Access a torrent search feature for quick and convenient file discovery.
- Cross-Platform Support: Compatible with multiple operating systems, allowing users to enjoy its benefits across various devices and platforms.
Import qBittorrent PPA on Ubuntu 22.04
To access the qBittorrent packages for Ubuntu, we'll import the qBittorrent Launchpad PPA (Personal Package Archive) in this section.
Step 1: Update Ubuntu Before qBittorrent Installation
Update your Ubuntu system before we begin to make sure all packages are current. This will help prevent conflicts during the qBittorrent installation. Initially, perform the following actions to update the package list:
sudo apt update
Next, use the following command to upgrade any out-of-date packages:
sudo apt upgrade
Step 2: Install Initial Packages For qBittorrent on Ubuntu
You must install the qBittorrent dependencies after keeping your system updated. These packages guarantee that the qBittorrent PPA can be imported and accessed securely by your Ubuntu system. Execute the following command:
sudo apt install dirmngr ca-certificates software-properties-common apt-transport-https
The required packages will either be installed or their installation status will be checked by this command.
Step 3: Import qBittorrent PPA on Ubuntu
Importing the qBittorrent Team PPA with the most recent software version is necessary in order to install qBittorrent. The stable PPA and the unstable PPA are your options. While the latest features in the unstable PPA may not have undergone extensive testing, the stable PPA includes versions that have undergone extensive testing.
To import the PPA of your choosing, execute the following command:
Option 1: Import qBittorrent stable PPA:
sudo add-apt-repository ppa:qbittorrent-team/qbittorrent-stable -y
Option 2: Import qBittorrent unstable PPA:
sudo add-apt-repository ppa:qbittorrent-team/qbittorrent-unstable -y
Step 4: Update Packages List After qBittorrent PPA Import on Ubuntu
Update the packages list with the newly added PPA after importing the qBittorrent PPA. This guarantees that during installation, your system will be able to access the qBittorrent packages. Execute the subsequent command:
sudo apt update
Install qBittorrent Desktop Client on Ubuntu 22.04
This section will walk you through installing and starting the qBittorrent desktop client on your Ubuntu computer.
Step 1: Install qBittorrent Desktop Client via APT command
It's time to install the qBittorrent desktop client now that your system has the required dependencies and the qBittorrent PPA. Use the updated package list to install qBittorrent by running the following command:
sudo apt install qbittorrent
Using this command, your system will download and install the relevant qBittorrent package from the PPA.
Step 2: Launch qBittorrent Desktop Client via CLI Command
Once qBittorrent is installed, you can open and use the program. You can use the following command in your terminal session to start the qBittorrent desktop client (either stable or unstable, depending on which PPA you imported):
qbittorrent
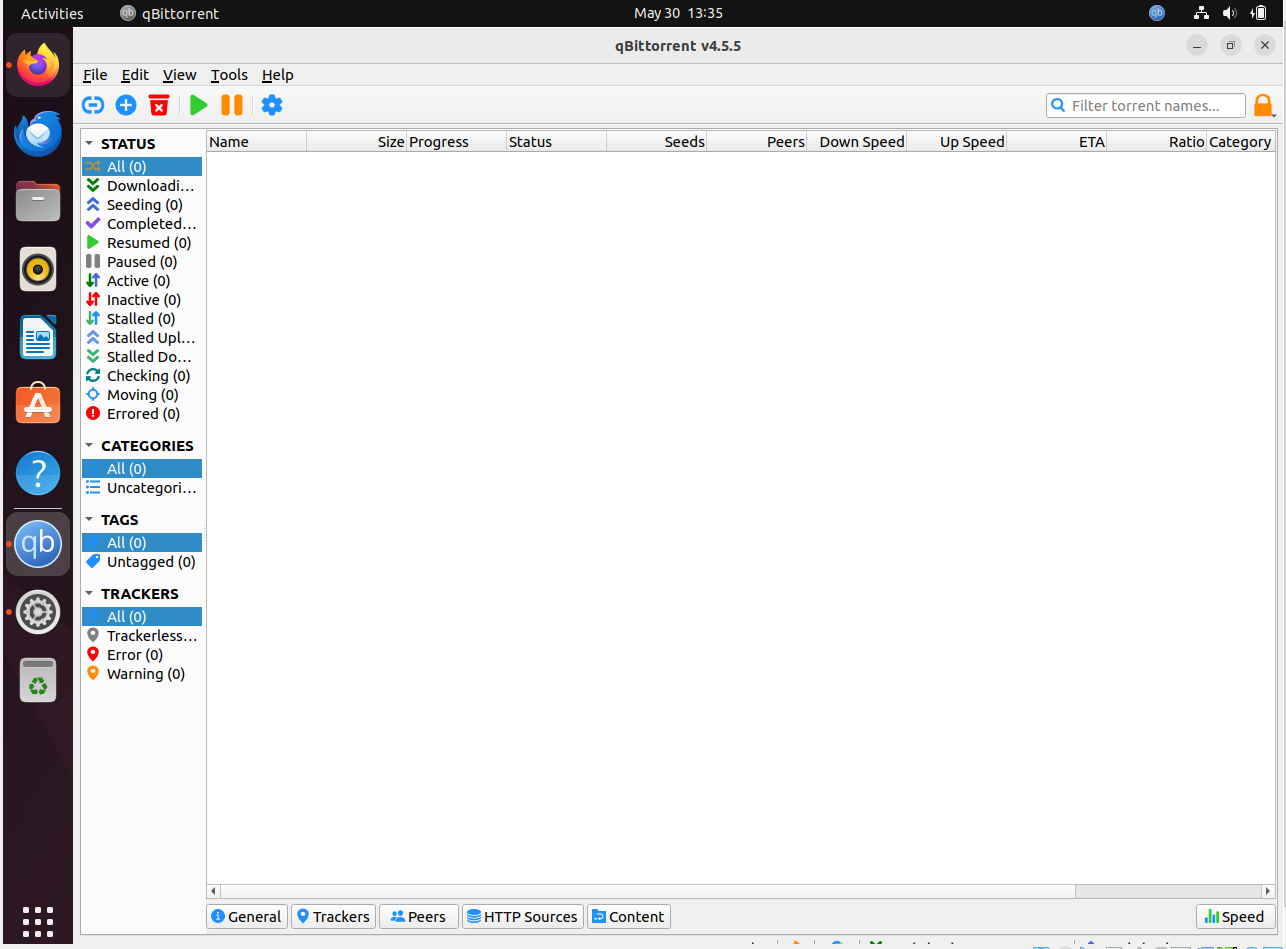
Once the qBittorrent client is open as a result of this command, you can start managing your torrents.
Alternatively, you can use the application menu on your computer to access qBittorrent if you would rather not use the terminal to launch it. To do this, take the following route:
Activities > Show Applications > qBittorrent
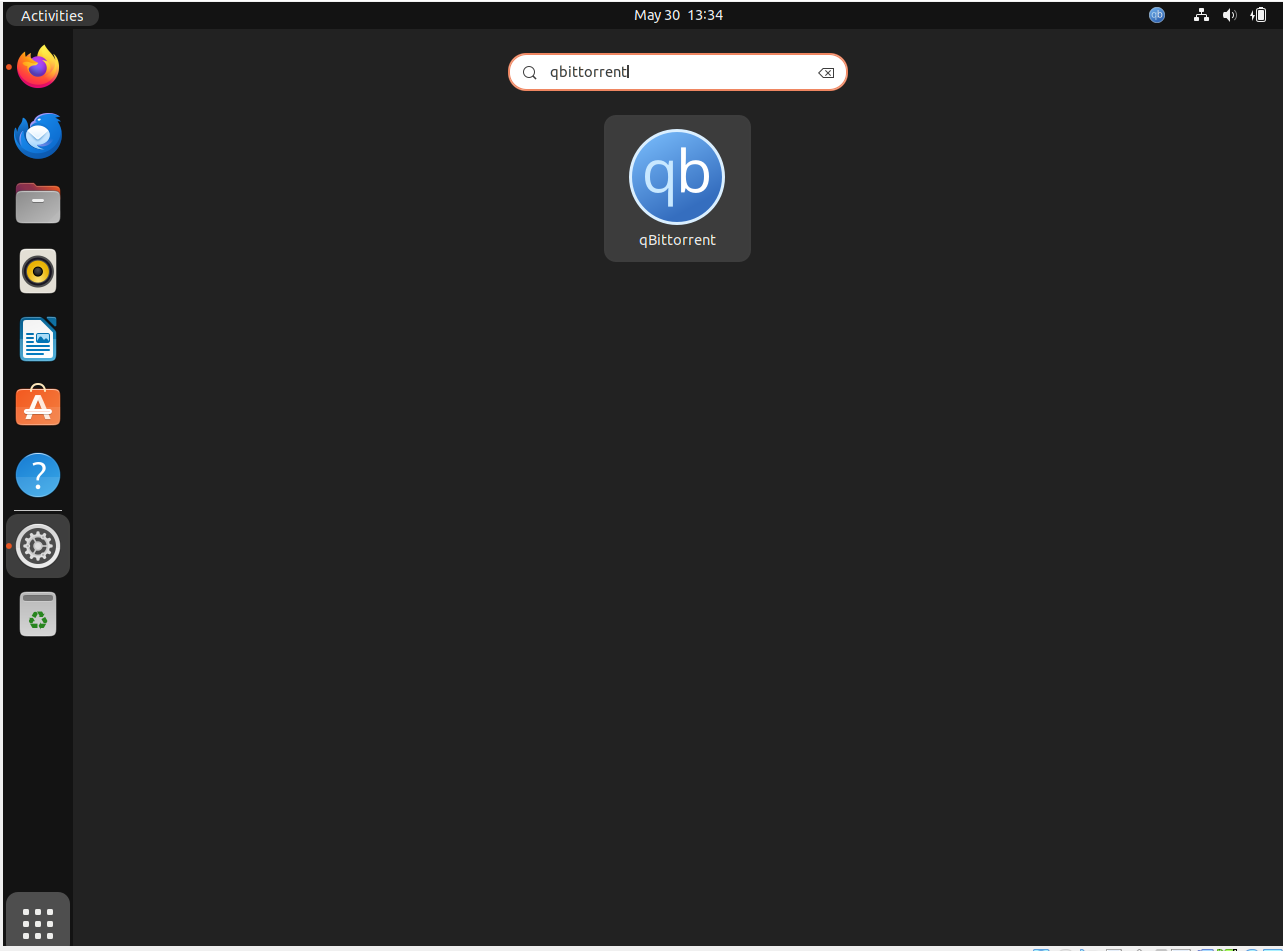
Once the qBittorrent client is open as a result of this command, you can start managing your torrents.
Alternatively, you can use the application menu on your computer to access qBittorrent if you would rather not use the terminal to launch it. To do this, take the following route:
Install qBittorrent-nox Web-UI (Ubuntu Server) on Ubuntu 22.04
Installing qBittorrent on a headless Ubuntu server or a remotely accessible desktop is possible with qBittorrent-nox. You can effectively manage qBittorrent with the WebUI interface while using your preferred browser.
Step 1: Install qBittorrent-nox via APT command
To set up qBittorrent-nox, execute the subsequent command:
sudo apt install qbittorrent-nox
qBittorrent-nox can be accessed through a Web interface at http://localhost:8080, which is the default location, and is intended for headless clients. By default, access to the Web UI is protected. Admin is the default username, and adminadmin is the default password.
Step 2: Create a System User and Group for qbittorrent-nox on Ubuntu
Rather than utilizing the terminal command to launch qBittorrent-nox, you will build a systemd service unit that launches at system boot and operates in the background.
In order to enable the service to operate as an unprivileged user, first create a qbittorrent-nox user and group:
sudo adduser --system --group qbittorrent-nox
When you create a system user rather than a normal user, you indicate this with the --system flag.
Example output:
Output

Adding system user `qbittorrent-nox' (UID 129) ... Adding new user `qbittorrent-nox' (UID 129) with group `qbittorrent-nox' ... Creating home directory `/home/qbittorrent-nox' ...
Step 3: Add Username to qBittorrent Group on Ubuntu
Next, use the following command to add your username to the qbittorrent-nox user group:
sudo adduser your-username qbittorrent-nox
Example using my username:
sudo adduser joshua qbittorrent-nox
Step 4: Create a Systemd Service File for qbittorrent-nox on Ubuntu
Make sure qbittorrent-nox has a systemd service file created:
sudo nano /etc/systemd/system/qbittorrent-nox.service
The lines below should be copied and pasted into the file:
[Unit]
Description=qBittorrent Command Line Client
After=network.target

[Service]
Type=forking
User=qbittorrent-nox
Group=qbittorrent-nox
UMask=007
ExecStart=/usr/bin/qbittorrent-nox -d --webui-port=8080
Restart=on-failure

[Install]
WantedBy=multi-user.target
Press CTRL+O to save the file, then CTRL+X to exit.
Step 5: Reload the Systemd Daemon for qbittorrent-nox on Ubuntu
Reload the systemd daemon in order for the modifications to be applied:
sudo systemctl daemon-reload
Step 6: Start and Enable qBittorrent-nox on Ubuntu
Use the following command to launch qBittorrent-nox:
sudo systemctl start qbittorrent-nox
Use this command to set up qBittorrent-nox to launch automatically when the computer boots up:
sudo systemctl enable qbittorrent-nox
Make sure everything is functioning properly by checking the status before moving forward:
systemctl status qbittorrent-nox
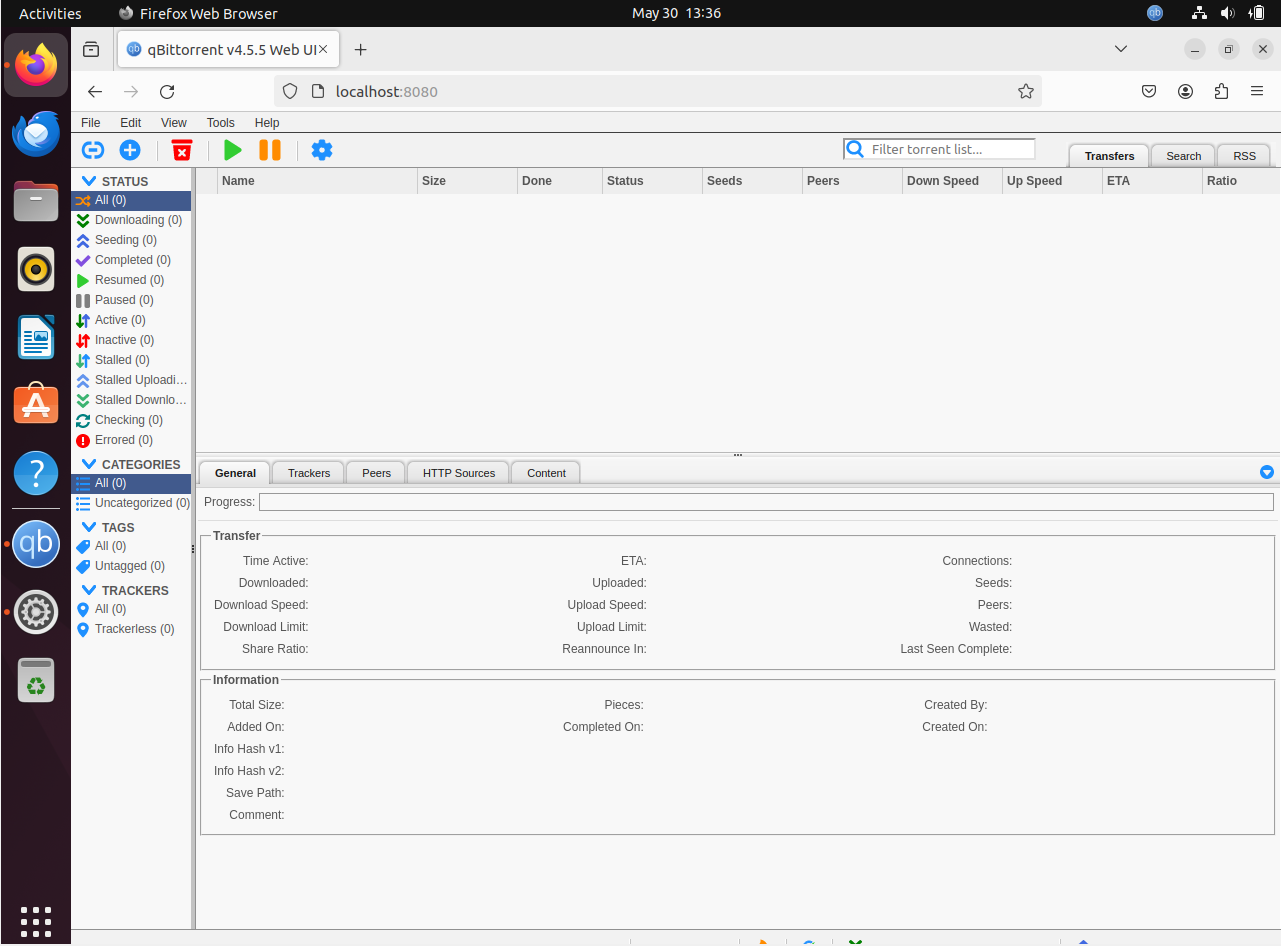
Step 7: Access qBittorrent Web UI via Ubuntu
You can use the Web UI to access qBittorrent by using the browser on your local network. Enter the internal IP address of the server, such as 192.168.55.156:8080, and then the port number (8080). Use the localhost address 127.0.0.1:8080 if the server is hosted locally.
Admin is the default username, and adminadmin is the default password.
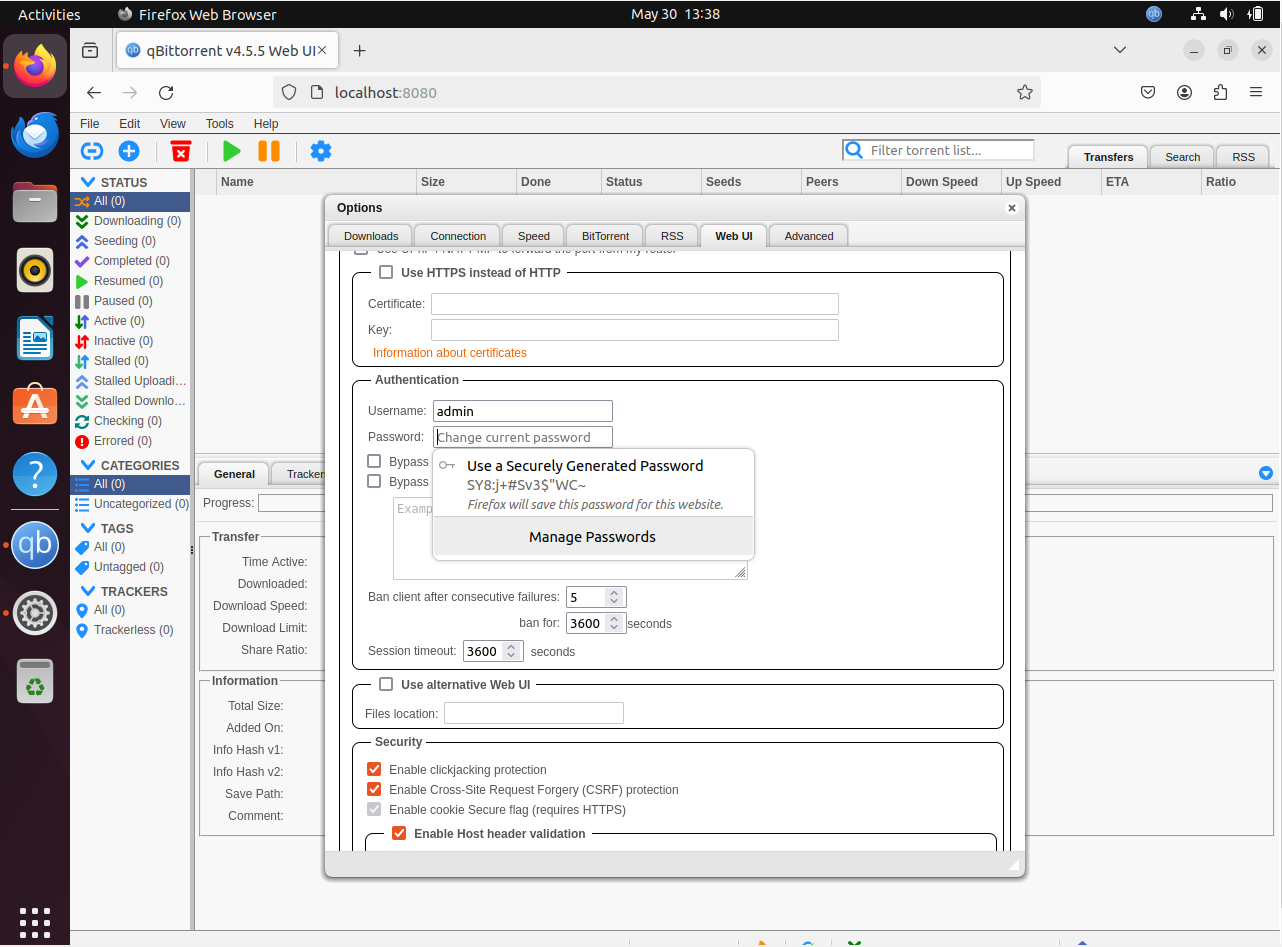
To protect your qBittorrent Web UI, you must change the default username and password before proceeding. Use the following path to update the login information:
Tools > Options > Web UI > Authentication
You can now change the username and password to whatever combination you want. By doing this, you can make sure that your qBittorrent Web UI stays secure and that only authorized users can access it.
Additional qBittorrent Commands for Ubuntu 22.04
Update qBittorrent or qBittorrent-nox on Ubuntu 22.04
Updating your system via the command line terminal is frequently the most effective method, even though it may take more work. Use this command to update qBittorrent or qBittorent-nox:
sudo apt update
In the event that qBittorrent or qBittorrent-nox have an update available, use the following command to upgrade:
sudo apt upgrade
Remove qBittorrent or qBittorrent-nox From Ubuntu 22.04
To uninstall qBittorrent, just follow these easy steps. If you installed the custom PPA in accordance with the previous tutorial, start by removing it.
Use these commands to get rid of the PPA you imported:
Remove qBittorrent stable PPA:
sudo add-apt-repository --remove ppa:qbittorrent-team/qbittorrent-stable -y
Remove qBittorrent unstable PPA:
sudo add-apt-repository --remove ppa:qbittorrent-team/qbittorrent-unstable -y
Next, use the following command to remove qBittorrent:
sudo apt remove qbittorrent
If you are a user who has installed qBittorrent-nox, you can remove it with the following command:
sudo apt remove qbittorrent-nox
FAQs to Install qBittorrent on Ubuntu 22.04
Does qBittorrent have any dependencies on Ubuntu 22.04?
qBittorrent has minimal dependencies on Ubuntu 22.04, which are usually installed automatically during the installation process.
Are there any alternative methods to install qBittorrent on Ubuntu 22.04?
You can also install qBittorrent on Ubuntu 22.04 by downloading the installer from the official website and following the installation instructions.
Does qBittorrent offer any additional features on Ubuntu 22.04?
qBittorrent on Ubuntu 22.04 provides all standard features such as torrent management, search options, and bandwidth control.
Is qBittorrent safe to use on Ubuntu 22.04?
Yes, qBittorrent is a safe and reliable torrent client that is commonly used on Ubuntu 22.04 without any security concerns.
Can I customize the settings of qBittorrent on Ubuntu 22.04?
Yes, qBittorrent allows users to customize various settings, including download/upload limits, queue settings, and more on Ubuntu 22.04.
Can I schedule downloads using qBittorrent on Ubuntu 22.04?
Yes, qBittorrent supports scheduling downloads, allowing you to set specific times for starting or stopping downloads on Ubuntu 22.04.
Does qBittorrent offer encryption options for enhanced privacy on Ubuntu 22.04?
Yes, qBittorrent provides encryption settings to secure your torrent traffic and enhance privacy while downloading files on Ubuntu 22.04.
Conclusion
We hope this tutorial helped you understand how to install qBittorrent on Ubuntu 22.04.
If you have any queries, please leave a comment below, and we’ll be happy to respond to them for sure.