

Introduction
Before we discuss how to install Qlipper on Ubuntu 22.04, let's first understand-What is Qlipper?
Qlipper is a clipboard manager for Linux that allows you to manage and access your clipboard history efficiently. It provides a convenient way to store and retrieve previously copied items, including text, images, files, and URLs.
This tutorial will walk you through the installation process of Qlipper on Ubuntu 22.04, highlighting its advantages, addressing common FAQs, and providing a conclusion.
Advantages
- Clipboard History: Qlipper keeps a record of your clipboard history, allowing you to easily access and paste previously copied items.
- Multi-Format Support: Qlipper supports various formats, including text, images, files, and URLs, ensuring you can access a wide range of clipboard content.
- Search Functionality: Qlipper provides a search feature, enabling you to quickly find specific items within your clipboard history.
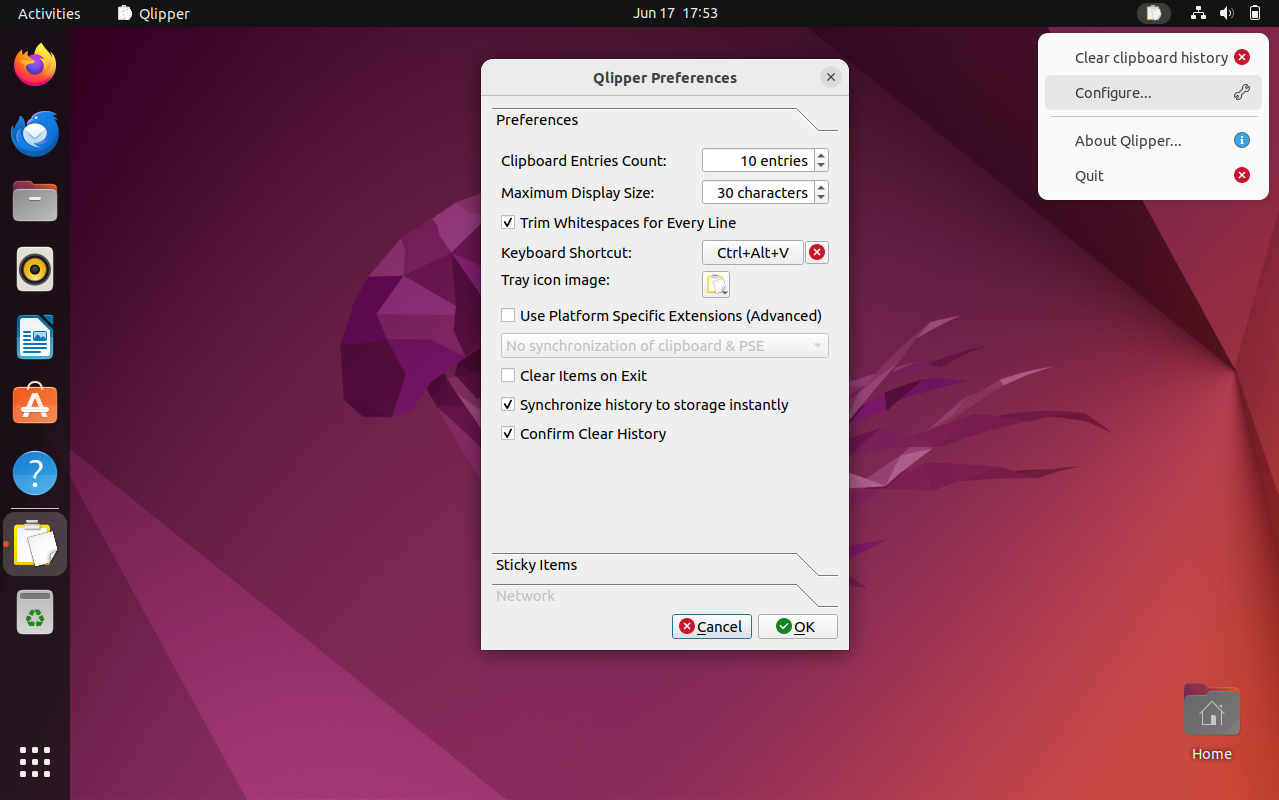
- Customizable Settings: Qlipper allows you to customize settings such as the maximum number of items stored, hotkeys, and the appearance of the clipboard menu.
- Cross-Platform Usage: Qlipper is available for multiple Linux distributions, making it convenient to use across different machines and installations.
Section 1: Install Qlipper on Ubuntu 22.04 via APT
Step 1: Update Your Ubuntu System Before Qlipper Installation
Keeping your system updated is crucial to maintaining system stability and security. This step ensures that you have the latest versions of packages, reducing the risk of security vulnerabilities and enhancing system performance.
To update your Ubuntu system, open the terminal application, then enter the following commands:
sudo apt update
sudo apt upgrade
The sudo apt update command updates the local package index with the latest changes made in the repositories, while sudo apt upgrade upgrades the currently installed packages to their newer versions if available.
Step 2: Install Qlipper on Ubuntu 22.04 via APT Command
Qlipper, by design, is included in the default Ubuntu repositories. This makes the installation process relatively straightforward.
Execute the following command in your terminal to install Qlipper:
sudo apt install qlipperThe command sudo apt install qlipper instructs the APT package manager to install the Qlipper package. sudo provides administrative privileges, apt calls upon the package management tool, install is the command that initiates the installation, and qlipper is the name of the package we wish to install.
Section 2: Initiating Qlipper for the First Time on Ubuntu 22.04
Having successfully installed Qlipper, you can initiate this powerful clipboard manager and integrate it into your workflow. Here, we’ll walk you through launching Qlipper, detailing how to do this through the terminal or the graphical user interface (GUI).
Launch Qlipper from Terminal on Ubuntu
The terminal is a powerful tool that efficiently launches and controls applications in Linux-based systems. To launch Qlipper through the terminal, enter the following command:
qlipper &The qlipper & command instructs the system to start the Qlipper application in the background. The ampersand (&) at the end of the command is particularly significant as it allows the terminal to return immediately rather than waiting for the command to complete. This lets you continue using the terminal for other tasks while Qlipper runs.
Launch Qlipper via GUI on Ubuntu
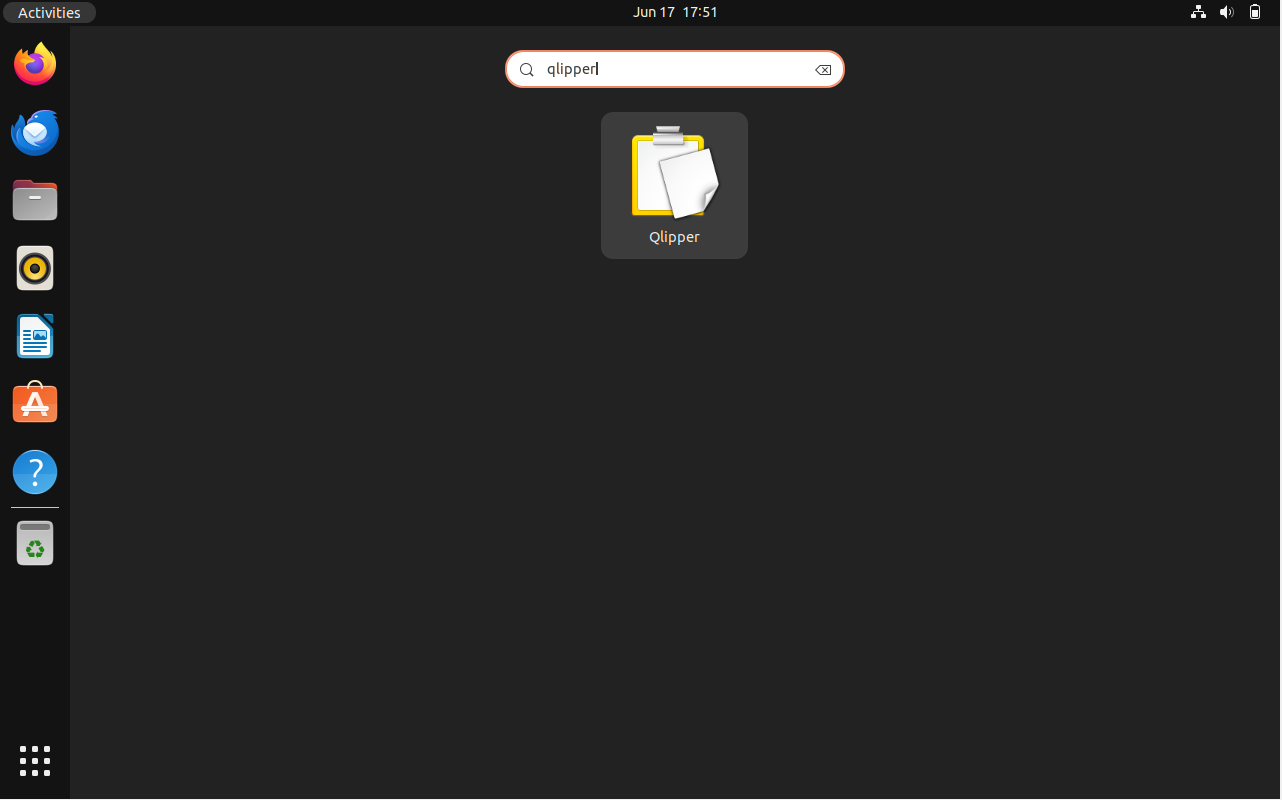
Qlipper can also be initiated directly from the graphical user interface for those who prefer a more visual approach. You can navigate to Qlipper through your application menu in the following way:
Activities > Show Applications > QlipperThe above path leads you to the icon of the Qlipper application. Clicking on the icon will launch the application, allowing you to leverage its clipboard management capabilities.
Section 3: Managing Qlipper on Ubuntu 22.04
After installation and customization, it’s essential to understand how to manage Qlipper on your Ubuntu Linux system. This involves knowledge of how to update and remove Qlipper when necessary.
Update Qlipper on Ubuntu 22.04
Installed via the APT package manager, Qlipper is integrated into your Ubuntu’s system updates. Therefore, when your system checks for updates, Qlipper will be part of the items to be updated if necessary.
For users who prefer a hands-on approach to managing updates, the following commands can be executed to update Qlipper specifically:
sudo apt update
sudo apt upgrade qlipper
The first command, sudo apt update, synchronizes your local package index files with the sources defined in your system’s sources list. Essentially, it checks if there are newer versions of the packages you have installed.
The second command, sudo apt upgrade qlipper, will upgrade the Qlipper package specifically if a newer version is available. This keeps your Qlipper installation up-to-date with the latest features and bug fixes.
Remove Qlipper on Ubuntu 22.04
There might be situations where you need to remove Qlipper from your system. For instance, if you no longer require its functionality or wish to reinstall it for troubleshooting purposes.
To uninstall Qlipper, execute the following command in your terminal:
sudo apt remove qlipperThis command will uninstall Qlipper from your system but leaves behind the configuration and data files associated with the application.
If you want to remove the application data as well, execute the following command:
sudo rm -r ~/.config/QlipperFAQs to Install Qlipper on Ubuntu 22.04
How do I launch Qlipper after installation?
Once installed, Qlipper executes in the background automatically. You can find its icon in the system tray or indicator area. Click on the icon to access the clipboard history.
Can I access the clipboard history of Qlipper using a keyboard shortcut?
Yes, you can set up a keyboard shortcut to directly open the Qlipper menu and access the clipboard history. The default shortcut is usually Ctrl + Alt + V.
Can I clear the clipboard history in Qlipper?
Yes, right-click on the Qlipper icon in the system tray or indicator area and choose the "Clear History" option to remove all items from the clipboard history.
Does Qlipper store sensitive or private clipboard items?
Qlipper respects your privacy and does not store clipboard content marked as sensitive or private. You can configure it to exclude certain applications or contents from being saved.
Can I paste a specific item from the Qlipper history without using the keyboard?
Yes, you can navigate through the Qlipper history using the mouse scroll wheel. Position the cursor where you want to paste the desired item and scroll up or down to select the item.
Is it possible to synchronize the clipboard history between different devices?
Qlipper does not natively support synchronization between devices. However, you can use synchronization tools like Dropbox or Nextcloud to achieve clipboard history synchronization manually.
Can I exclude certain applications from being tracked by Qlipper?
Yes, you can configure Qlipper to skip monitoring specific applications by adding their names to the exclusion list in the Qlipper settings.
Conclusion
In this comprehensive tutorial, we’ve walked through installing Qlipper on Ubuntu Linux, launching the application, and leveraging its key features for improved clipboard management. We also explored essential aspects such as customizing Qlipper to suit personal preferences and managing the application through updates and removals.
If you have any queries, feel free to ask them in the comments section, and we would be happy to respond to them....