
Choose a different version or distribution
Introduction
Before we begin talking about how to install SeaMonkey on Debian 12, let's briefly understand – What is SeaMonkey?
SeaMonkey is a versatile all-in-one internet suite that offers a web browser, email client, and internet tools. Developed by the Mozilla community, SeaMonkey provides a seamless browsing experience along with advanced features like tabbed browsing, customizable interface, and smart email management.
With its user-friendly design and extensive functionality, SeaMonkey is an excellent choice for those seeking an intuitive and powerful web solution.
In this tutorial, you will install SeaMonkey on Debian 12. We will also address a few FAQs on how to install SeaMonkey on Debian 12.
Advantages of SeaMonkey
- Complete Suite: SeaMonkey offers a web browser, email client, and internet tools all in one package.
- Tabbed Browsing: Users can conveniently navigate multiple websites using tabbed browsing, enhancing productivity.
- Customizable Interface: Personalize SeaMonkey with themes and extensions to suit your preferences and enhance your browsing experience.
- Smart Email Management: Seamlessly manage multiple email accounts with efficient filtering and organization features.
- Community-Driven Development: With the support of the Mozilla community, SeaMonkey benefits from regular updates, security patches, and reliable tech support.
Install SeaMonkey on Debian 12 via APT
Step 1: Update Debian Linux Before SeaMonkey Installation
Update your Debian system first to make sure the most recent packages are installed. Execute the subsequent command:
sudo apt update && sudo apt upgrade
Using apt update, this command first updates the package list. Next, it uses apt upgrade to update all installed packages to the most recent versions.
Step 2: Import SeaMonkey APT Repository on Debian
Install Required Packages
Run the following commands to install the required packages before importing the GPG key:
sudo apt install dirmngr software-properties-common apt-transport-https -y
You can safely manage GPG keys and repositories with the help of these packages.
Create GPG Directories (if necessary)
You might need to make the required directories if you haven't already imported a GPG key from the Ubuntu keyserver. Execute this command:
sudo gpg --list-keys
Or for root users:
gpg --list-keys
Example output:
Output

gpg: directory '/root/.gnupg' created gpg: keybox '/root/.gnupg/pubring.kbx' created gpg: /root/.gnupg/trustdb.gpg: trustdb created
If the necessary directories don't already exist, this command creates them and lists the GPG keys.
Import the GPG Key
After that, import the GPG key needed to confirm the legitimacy of the packages:
sudo gpg --no-default-keyring --keyring /usr/share/keyrings/ubuntuzilla.gpg --keyserver keyserver.ubuntu.com --recv-keys 2667CA5C
Using the specified keyserver, this command imports the Ubuntuzilla GPG key into a custom keyring file (/usr/share/keyrings/ubuntuzilla.gpg).
Example output:
Output

gpg: keybox '/usr/share/keyrings/ubuntuzilla.gpg' created
gpg: key B7B9C16F2667CA5C: public key "Daniel Folkinshteyn (Ubuntuzilla signing key) <[email protected]>" imported
gpg: Total number processed: 1
gpg:               imported: 1
Add Ubuntuzilla Repository
Installing the Ubuntuzilla repository on your system is now possible after importing the GPG key:
printf 'deb [signed-by=/usr/share/keyrings/ubuntuzilla.gpg] https://downloads.sourceforge.net/project/ubuntuzilla/mozilla/apt all main\n' | sudo tee /etc/apt/sources.list.d/ubuntuzilla.list
This command specifies that the repository is signed using the previously imported GPG key and creates a new repository file (/etc/apt/sources.list.d/ubuntuzilla.list) containing the details of the Ubuntuzilla repository.
Step 3: Install SeaMonkey using the APT Command on Debian
To include the recently added Ubuntuzilla repository, update the package list once more:
sudo apt update
The SeaMonkey Internet Suite can now be installed after the repository was added, and the package list was modified:
sudo apt install seamonkey-mozilla-build
Using the Ubuntuzilla repository, the most recent version of SeaMonkey is installed by using this command.
Launch SeaMonkey on Debian 12
You have two options for starting the SeaMonkey Internet Suite after installation: using your Debian system's graphical user interface (GUI) or the command line interface (CLI). The explanations of both approaches are provided below.
First, open a terminal window and type the following command to start SeaMonkey via the command line:
seamonkey
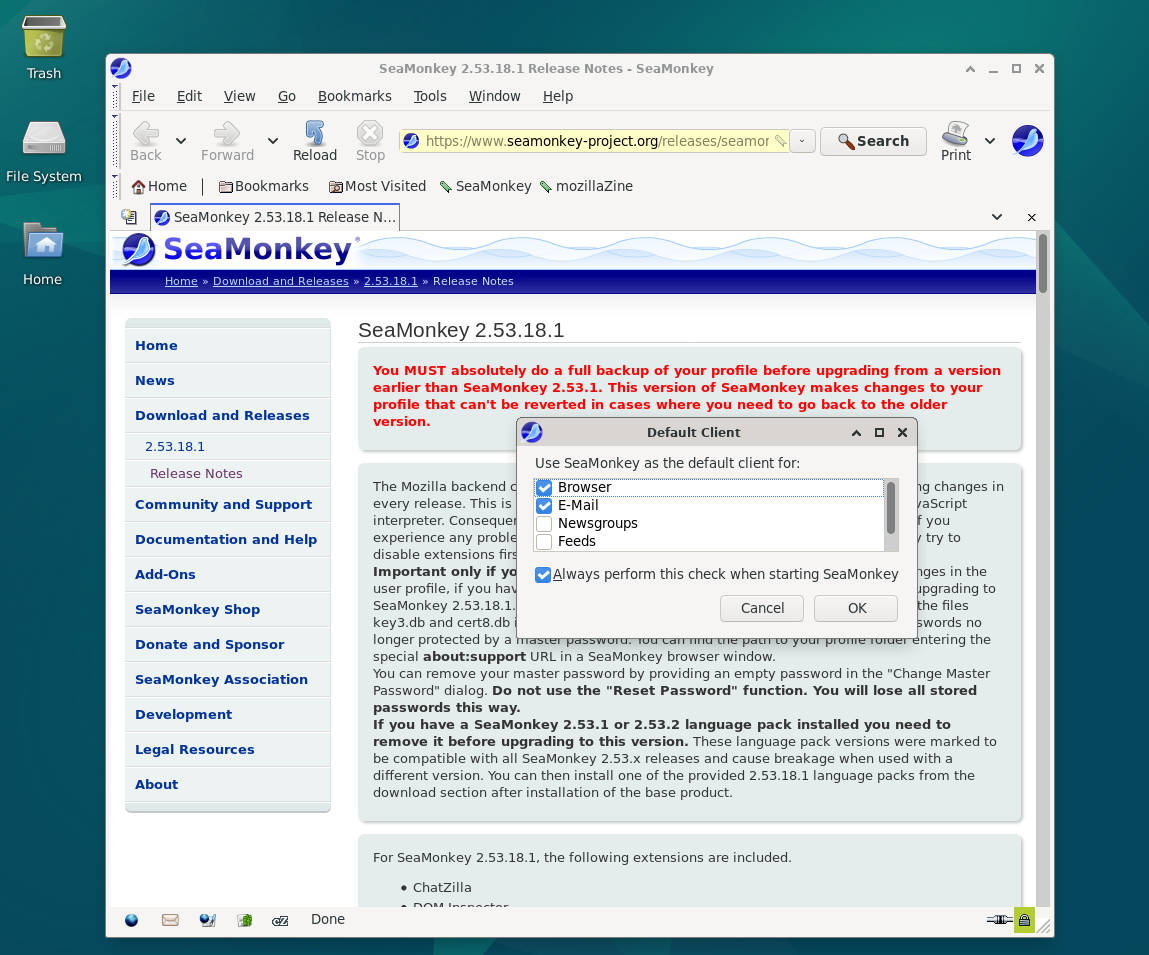
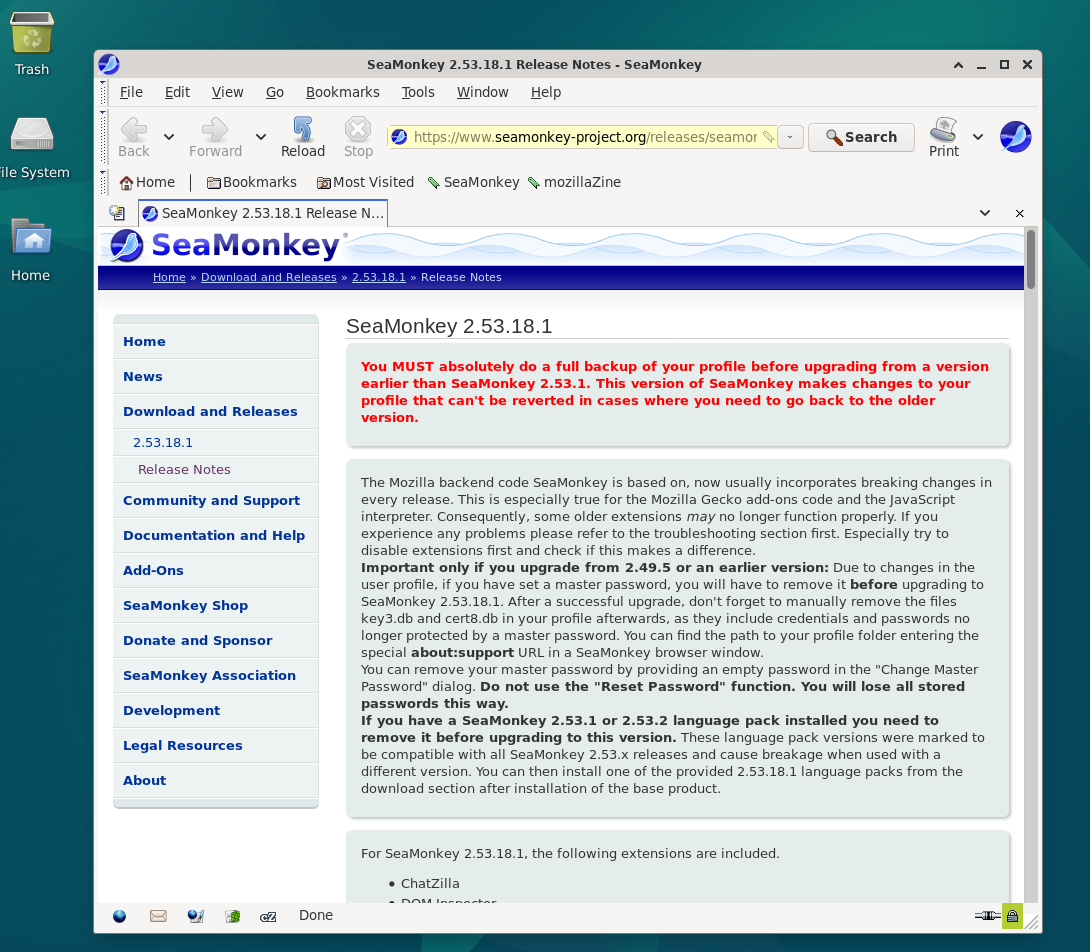
The main window of the SeaMonkey Internet Suite should soon appear on your screen after you run this command.
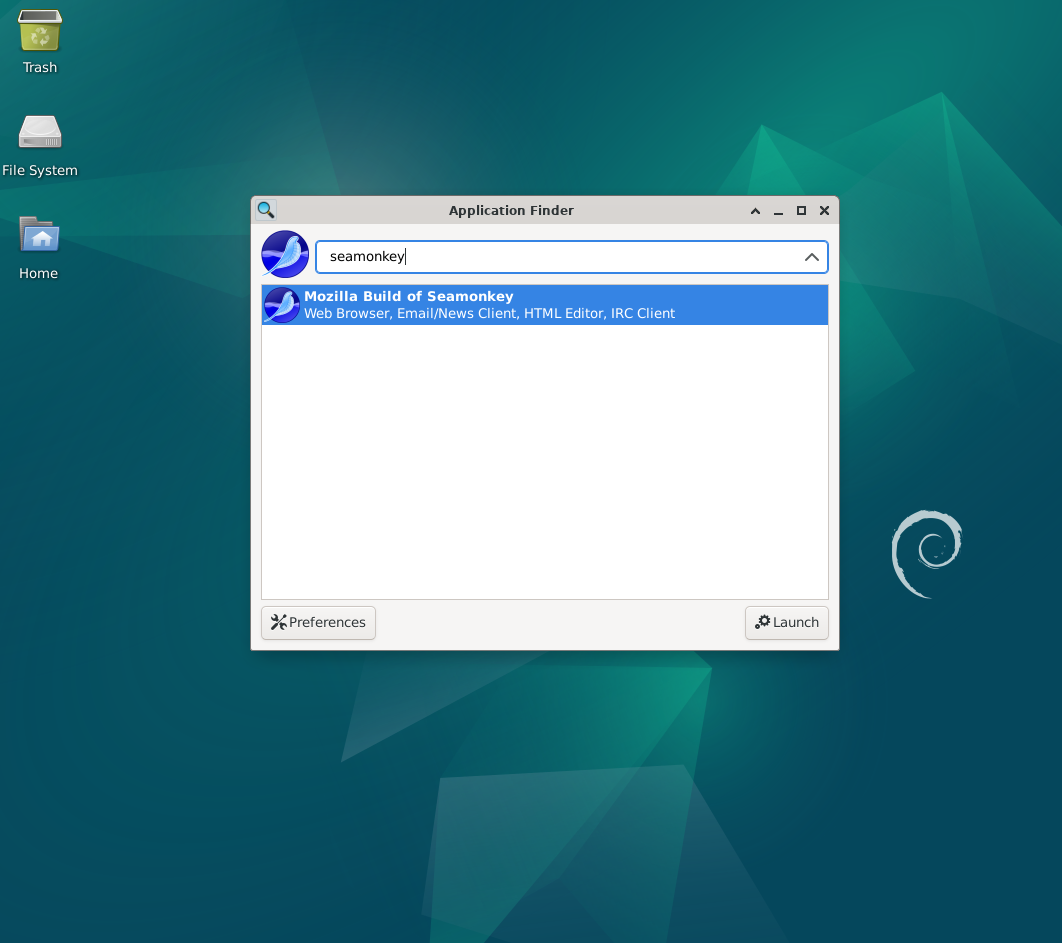
As an alternative, you can open SeaMonkey from your Debian system's application menu. Depending on the desktop environment you are using (e.g., GNOME, KDE, XFCE, etc.), the procedure may differ slightly. A general guideline is provided by the steps that follow:
- Access the application menu: The application menu icon is usually found in the top-left or bottom-left corner of your screen. Click on it. Depending on what your desktop environment is, this icon might look like a grid, the Debian swirl logo, or something else entirely.
- Search for SeaMonkey: Find the search bar in the application menu, then type SeaMonkey into it. A list of applications that match should show up as you type.
- Launch SeaMonkey: In the list of search results, select "SeaMonkey" or "SeaMonkey Internet Suite." The main window will open on your screen as soon as the application launches.
Getting Started with SeaMonkey on Debian 12
Let's look at some pointers and advice for getting the most out of the SeaMonkey Internet Suite now that you have installed and launched it. An overview of general advice, customization choices, and other useful details tailored specifically for Debian Linux users can be found in the following sections.
General SeaMonkey Tips with Debian
- Tabbed browsing: Tabbed browsing is supported by SeaMonkey, which lets you open multiple web pages in a single window. Use
Ctrl + Tto open a new tab, or right-click on an open tab and choose "New Tab". - Bookmark management: Use
Ctrl + Dto add a bookmark to the current page, or choose "Bookmark This Page" from the "Bookmarks" menu. By choosing "Manage Bookmarks" from the "Bookmarks" menu, you can also manage your bookmarks. - Download manager: Use the integrated download manager to keep track of your downloads. Either click the "Tools" menu and choose "Download Manager", or press
Ctrl + J. - Built-in email client: SeaMonkey includes a full-featured email client. Click on the "Window" menu and choose "Mail & Newsgroups" to configure your email account. Set up your email account and begin sending and receiving messages by following the instructions.
SeaMonkey Customization Options with Debian
- Extensions and Themes: Installing extensions and themes will improve SeaMonkey's appearance and functionality. By choosing "Add-on Manager" from the "Tools" menu, you can open the SeaMonkey Add-ons Manager. You can browse, install, and manage themes and extensions from there.
- Toolbar customization: To personalize a SeaMonkey toolbar, right-click on an empty toolbar area and choose "Customize". You can change the order of buttons and other components to fit your style.
- Change the default search engine: Choose "Manage Search Engines" from the menu after clicking the magnifying glass icon in the search bar to switch the search engine in SeaMonkey. You can then rearrange, delete, or add search engines from that point on.
Other with Debian Tips
- Built-in HTML editor: You can create and edit web pages with SeaMonkey's integrated HTML editor, Composer. Click the "Window" menu and choose "Composer" to open Composer.
- IRC chat client: Use ChatZilla, SeaMonkey's integrated IRC client, to join IRC chat rooms. Click the "Window" menu and choose "ChatZilla" to launch ChatZilla.
- Clear browsing history and cookies: You can quickly delete your cookies and browsing history to preserve your privacy. After choosing "Preferences" from the "Edit" menu, go to "Privacy & Security", and then click "Clear All".
You can get started with the SeaMonkey Internet Suite on Debian Linux with the help of these tips and customization options. You can explore the application's many features and customize the experience to your liking as you get to know it better.
Additional Commands For SeaMonkey on Debian 12
In this section, we'll go over some more commands and pointers for updating and uninstalling the SeaMonkey Internet Suite on your Debian system.
Update SeaMonkey on Debian
You can take advantage of the newest features, security updates, and bug fixes by keeping SeaMonkey up to date. To update SeaMonkey, take the following actions:
Launch the following command in an open terminal window:
sudo apt update
Using the Ubuntuzilla repository that contains SeaMonkey, among other configured repositories, this command retrieves the most recent package information.
Next, run the following command in the terminal to see if there is a SeaMonkey or any of your other package update available:
sudo apt upgrade
This command installs any updates that are found and checks for new ones. In the event that an update is available, the command will inform the user about the new version and prompt confirmation before installing it.
Remove SeaMonkey From Debian
In the event that you choose to remove SeaMonkey from your Debian system, do the following actions:
sudo apt remove seamonkey-mozilla-build
With this command, SeaMonkey and the related packages are removed. Before it is completed, you will be asked to confirm the removal.
Moreover, you can use the following command to delete the repository:
sudo apt remove etc/apt/sources.list.d/ubuntuzilla.list
FAQs to Install SeaMonkey on Debian 12
Can I install SeaMonkey using a graphical interface?
Yes, SeaMonkey can be installed using a graphical interface by following the same steps using the Debian Software Center or any other package manager.
Are there any system requirements for SeaMonkey installation?
SeaMonkey has modest system requirements. It generally works well on Debian 12, requiring a minimum of 512MB RAM and 200MB of disk space for installation.
Can I import bookmarks and settings from other browsers?
Yes, SeaMonkey allows you to import bookmarks, settings, and other data from several popular browsers like Firefox, Chrome, and Internet Explorer during the installation process.
Is SeaMonkey available in different languages?
Yes, SeaMonkey supports multiple languages. During the installation, you can select your preferred language from the provided options.
Can I use add-ons and extensions with SeaMonkey?
Absolutely! SeaMonkey offers a wide range of add-ons and extensions that can enhance your browsing experience. You can install them from the official SeaMonkey Add-Ons website.
Can I use SeaMonkey as my default web browser and email client?
Yes, SeaMonkey can be set as your default web browser and email client on Debian 12. You can configure this in the system settings or SeaMonkey's own preferences.
How do I set SeaMonkey as the default web browser and email client?
You can set SeaMonkey as the default web browser and email client in the system settings by selecting SeaMonkey as the default application for browsing and email.
Conclusion
We hope this tutorial helped you understand how to install SeaMonkey on Debian 12.
If you have any queries, please leave a comment below, and we’ll be happy to respond to them for sure.