

Choose a different version or distribution
Introduction
Before we begin talking about how to install Strapi on Ubuntu 20.04, let’s briefly understand – What is Strapi?
Strapi is an open-source, headless content management system (CMS) that makes it easy to build and manage powerful APIs. With Strapi, you can create APIs in a matter of minutes, without having to write any code, and you can easily integrate them with your web or mobile application.
In this tutorial, you will install Strapi on Ubuntu 20.04, a popular Linux distribution.
Features of Strapi
- Content Management System (CMS): Strapi provides an intuitive and user-friendly interface for managing and organizing content. It allows you to create and manage custom content types, fields, and entries with ease.
- API Generation: Strapi automatically generates a RESTful API for your content, making it easy to access and manipulate your data from any application or device.
- Role-Based Access Control: Strapi provides role-based access control, allowing you to specify which users have access to specific content and actions.
- Plugins: Strapi offers a large collection of plugins, ranging from security and authentication to media management and SEO optimization. This allows you to easily add features to your API without having to write custom code.
- Multi-Environment Support: Strapi supports multiple environments, making it easy to switch between development, staging, and production environments.
- Customizable Workflow: Strapi provides a customizable workflow, allowing you to create custom actions and triggers based on specific events, such as content creation or deletion. This allows you to automate tasks and streamline your workflow.
Prerequisites to Install Strapi
In this tutorial, the following packages will be used:
- 2 GB of RAM (The more, the better performance)
- 2 vCore CPU (Recommended in the documentation)
- Minimum of 30 GB or more Disk Space
- Ubuntu 20.04
- MongoDB
- Node.js 10
Step 1 – Install Node.js and npm
Strapi is built on Node.js, so the first step in installing Strapi is to install Node.js and npm (Node Package Manager). You can install them by running the following commands in your terminal:
curl -sL https://deb.nodesource.com/setup_10.x | sudo -E bash -
sudo apt update
sudo apt install nodejs
After the installation, you can check the version of Node.js and npm by running the following commands:
node -v
npm -v
Step 2 – Install MongoDB
Strapi uses MongoDB as its database, so the next step is to install MongoDB. You can install it by running the following command:
sudo apt install mongodb
2) After the installation, you can start the MongoDB service by running the following command:
sudo systemctl start mongodb
3) You can also enable MongoDB to start automatically at boot time by running the following command:
sudo systemctl enable mongodb
Step 4 – Install Strapi
1) Once the environment is complete, use the following instructions to begin installing Strapi and creating your first website:
sudo npm install strapi@alpha -g

sudo npm install pm2 -g
2) Next, make a new Strapi folder/project and provide any name.
cd ~
strapi new myproject
3) Select "Manual installation" and press 'ENTER' in response to the configuration.
Lets configurate the connection to your database:
? Choose your main database: MongoDB
? Database name: myproject
? Host: 127.0.0.1
? +srv connection: false
? Port (It will be ignored if you enable +srv): 27017
? Username: leave blank
? Password: leave blank
? Authentication database (Maybe "admin" or blank):
? Enable SSL connection: false
4) Now, start the build.
cd myproject
npm install --production
strapi build
4) The generator will create the skeleton for your app once all the questions have been answered. Install and set up the necessary npm dependencies, choosing all the default answers to the query.
5) When you are finished, use the command below to launch the server from the Strapi folder.
NODE_ENV=production pm2 start config/server.js --name api
6) As an alternative, use:
strapi start
7) If the aforementioned commands are unsuccessful, launch your browser and navigate to the hostname followed by #1337.
http://localhost:1337
8) You should be able to access your Strapi at http://localhost:1337.
9) Pressing Ctrl+C will cause the service to shut down.
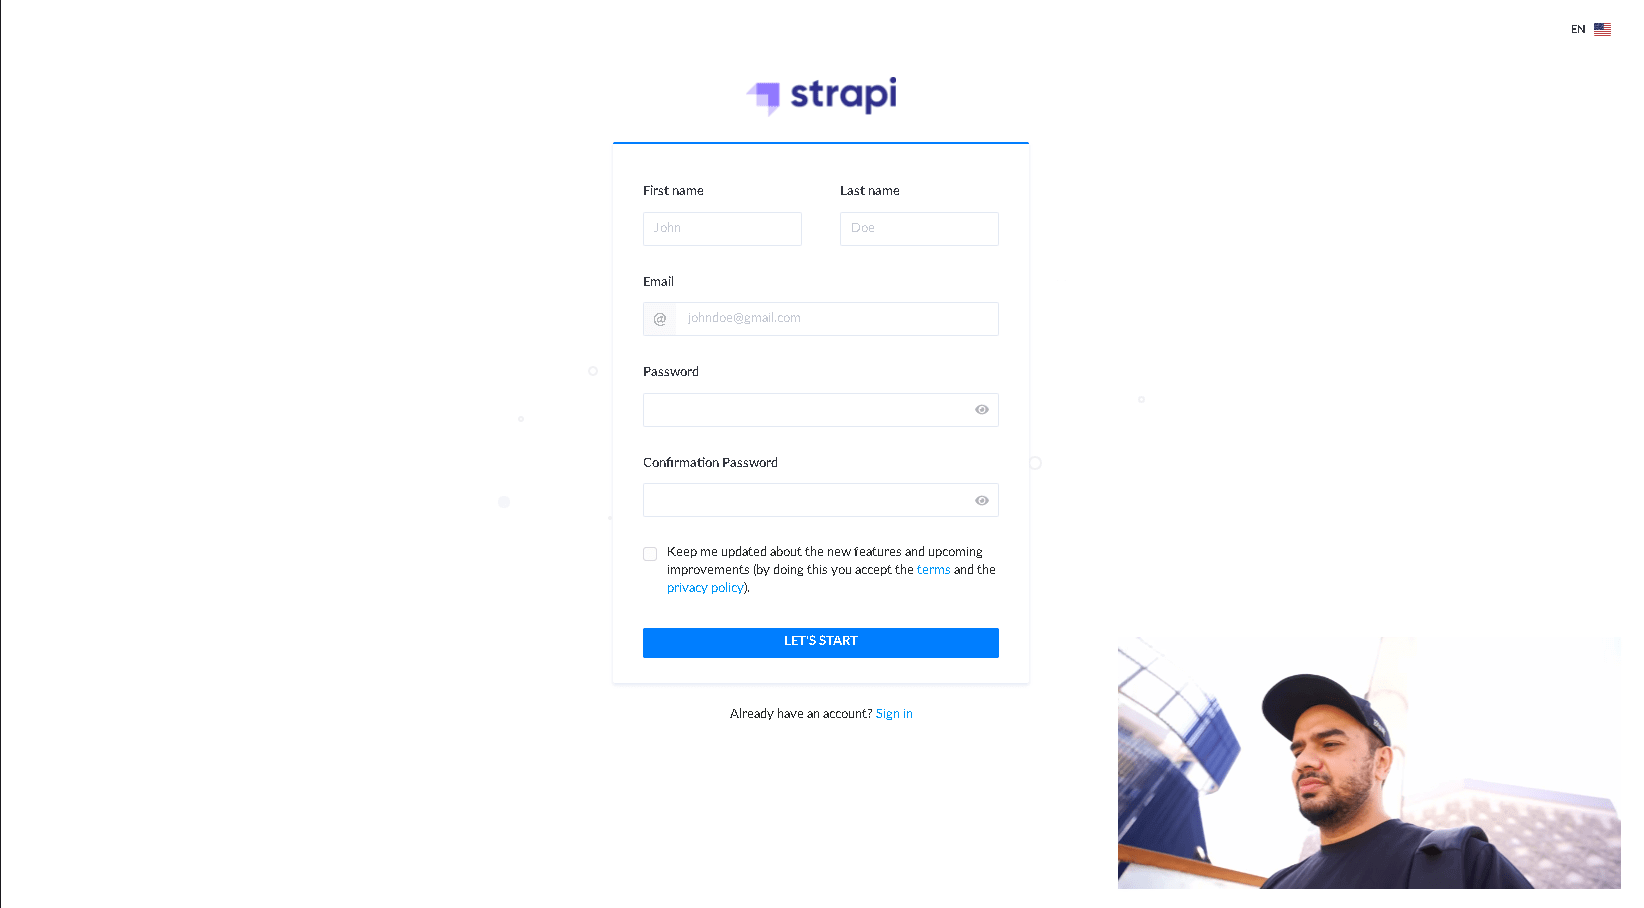
10) Sign in to the back-end now to start adding content.
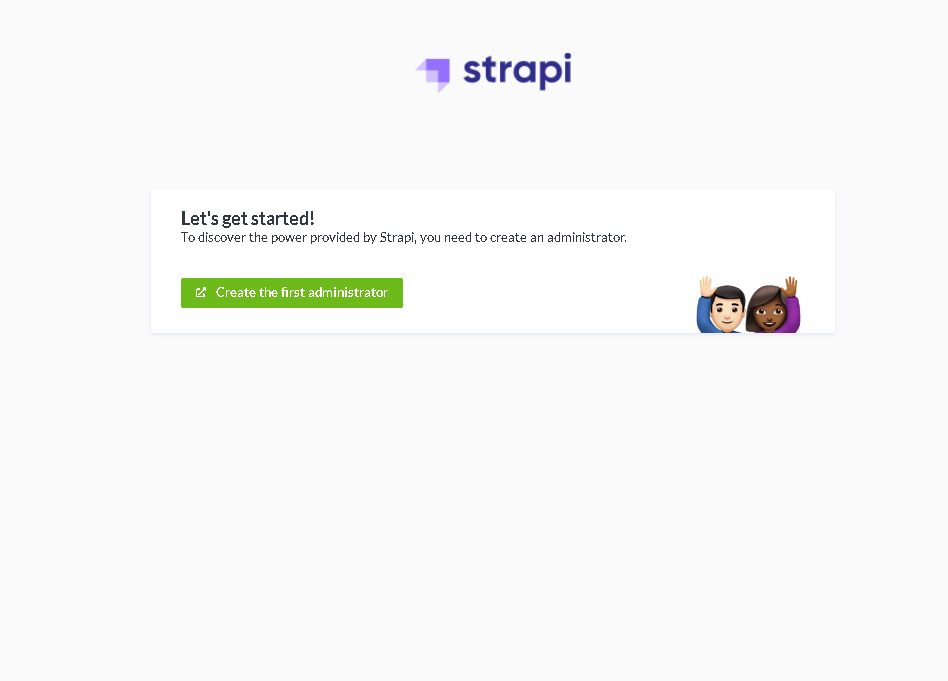
11) Enter the admin login information.
12) You may now get to work on producing content.
Create a Strapi Project
After installing Strapi, you can create a new Strapi project by running the following command:
strapi new my-project
Replace my-project with the name of your project. The command will create a new directory with the specified name and install the necessary dependencies.
Launch the Strapi Project
To launch the Strapi project, navigate to the project directory and run the following command:
cd my-project
strapi start
The command will start the Strapi server and you can access the Strapi admin panel at http://localhost:1337/admin. You can log in to the admin panel using the default username and password, which are admin and admin, respectively.
Create a New API
Now that you have launched the Strapi project, you can create a new API. To do this, log in to the Strapi admin panel, go to the Content Types Builder section, and create a new content type.
A content type is a blueprint for the structure of your API data. You can define the fields, types, and relationships between your data.
Deploy the Strapi Project
To deploy the Strapi project, you can use a hosting service such as AWS, Heroku, or DigitalOcean. You can follow the instructions provided by the hosting service to deploy the Strapi project.
FAQs
How do I update Strapi to a newer version?
You can update Strapi to a newer version by running the following command:
sudo npm install strapi@latest -g
Replace the latest with the desired version.
Can I use a different database besides MongoDB with Strapi?
Yes, you can use different databases such as PostgreSQL, MySQL, or SQLite with Strapi. You can choose the database when creating a new Strapi project.
How do I secure my Strapi?
Strapi provides several security features, such as authentication, authorization, and rate limiting, out-of-the-box. You can also use plugins to add additional security features to your Strapi.
How do I backup my Strapi data?
You can backup your Strapi data by backing up the MongoDB database. You can use tools such as mongodump or MongoDB Compass to backup your data.
How do I debug my Strapi project?
You can debug your Strapi project by using tools such as the Node.js debugger or by logging messages to the console. You can also use plugins to add additional debugging features to your Strapi project.
Conclusion
We hope this detailed tutorial helped you understand how to install Strapi on Ubuntu 20.04 server. With Strapi, you can easily create and manage APIs for your web or mobile application. Whether you're a beginner or an experienced developer, Strapi provides a powerful, flexible, and user-friendly platform for building APIs.
To learn more about Strapi installation on Ubuntu 20.04 server, check out the official Strapi installation document.
If you have any queries, please leave a comment below, and we’ll be happy to respond to them for sure.