Choose a different version or distribution
Introduction
Before we begin talking about how to install Django Web Framework on Ubuntu 20.04, let’s briefly understand – What is Django?
Django is a popular and powerful web framework written in Python. It simplifies the process of building web applications by providing many pre-built components and tools. With Django, developers can create secure and scalable websites efficiently.
It follows the Model-View-Controller (MVC) architectural pattern, making it easy to separate concerns and maintain code. Django's versatility, simplicity, and active community support have made it a go-to choice for web development. Explore Django to streamline your project and create impressive web applications.
In this tutorial, you will install Django Web Framework in an independent environment on Ubuntu 20.04. We will also address a few FAQs on how to install Django Web Framework on Ubuntu 20.04.
Advantages of Django
- Efficiency: Django's built-in tools and libraries accelerate development, increasing productivity and reducing time-to-market.
- Scalability: Django's scalability ensures your web application can handle increased traffic and data as your business grows.
- Security: Django's robust security features protect against common web vulnerabilities, ensuring the safety of your application and users' data.
- Versatility: Django's flexible architecture allows developers to build a variety of web applications, from simple websites to complex enterprise systems.
- Active Community: The vast and active Django community provides extensive resources, support, and plugins, making development easier and more efficient.
Different Methods
There are several ways to install Django, depending on your requirements and how you want to set up your development environment. Each has a unique set of benefits, and one might be more appropriate for your particular scenario than the others.
Among the various approaches are:
- Global install from packages: Django packages that can be installed using the standard
aptpackage manager are available in the official Ubuntu repositories. Though simple, this approach isn't as adaptable as some others. Additionally, the version found in the repositories can be out of date compared to the official versions made accessible by the project. - Install with
pipin a virtual environment: Use tools likevenvandvirtualenvto build a self-contained environment for your projects. Django and other per-project customizations and packages can be installed in a project directory without affecting the broader system using a virtual environment. When using Django, this is often the most efficient and suggested method. - Install the development version with
git: You can get the code from the Git repo if you want to install the most recent development version rather than the stable release. This can be completed within your virtual environment and is required to obtain the most recent features/fixes. However, stability guarantees for development versions differ from those for more stable versions.
Prerequisites
On your Ubuntu 20.04 server, you should have a non-root user with sudo privileges enabled before you start.
Global Install from Packages
The procedure is extremely simple if you want to install Django using the Ubuntu repositories.
Update your local package index using the apt command:
sudo apt update
Next, make sure Python is installed in the correct version. By default, Python 3.8 is included with version 20.04, which you can confirm by typing:
python3 -V
The output should be as follows:
Output
Python 3.8.2
After that, install Django:
sudo apt install python3-django
Entering the following will verify whether the installation was successful:
django-admin --version
Output
2.2.12
This implies that the software was successfully installed. The Django version is not the most recent stable version, as you may have noticed. Continue reading to find out how to create a sample project to learn more about how to use the software.
Install with pip in a Virtual Environment
Installing Django on your system in a virtual environment offers the most flexibility. With the help of the venv module from the standard Python 3 library, we will establish a virtual environment in which we will demonstrate how to install Django. With the help of this utility, you may install Python packages and build virtual Python environments without affecting the rest of the system. As a result, you can choose Python packages for each project without consideration to any potential conflicts with other projects’ requirements.
Let us begin by updating the local package index:
sudo apt update
Verify the Python version you have installed:
python3 -V
Output
Python 3.8.2
Installing pip and venv from the Ubuntu repositories will follow.
sudo apt install python3-pip python3-venv
You may now make a virtual environment for any new project you start. Create a new project directory and enter it first:
mkdir ~/newproject
cd ~/newproject
Next, use the python command that works with your version of Python to create a virtual environment inside the project directory. Our virtual environment will be called my_env, but you should give it a name that is descriptive:
python3 -m venv my_env
The standalone versions of Python and pip will then be installed into a separate directory structure within the project directory. Your chosen name will be used to construct a directory that will house the file hierarchy for the installation of your packages.
You must activate the isolated environment before you can install packages there by typing:
source my_env/bin/activate
You should see a change in your prompt to indicate that you are currently in your virtual environment. The format will be along the lines of (my_env)username@hostname:~/newproject$.
To install Django in your new environment, use pip. When you are in your virtual environment, pip should simply be known as pip, regardless of your Python version. Also keep in mind that since you are installing locally, you do not need to use sudo:
pip install django
You can confirm the installation by entering:
django-admin --version
Output
3.0.8
Please note that your version might vary from the example.
You need to issue the deactivate command from any location on the system in order to exit your virtual environment:
deactivate
Your prompt should restore to the regular display. Reactivate your virtual environment when you want to work on your project again by going back to the project directory and activating:
cd ~/newproject
source my_env/bin/activate
Development Version Install with Git
Django's Git repository allows you to download and install it if you require a development version. Let's carry out this from within a virtual environment.
Let's first update the local package index:
sudo apt update
Check the version of Python you have installed:
python3 -V
Output
Python 3.8.2
Install pip and venv following that from the official repositories:
sudo apt install python3-pip python3-venv
The Django repository must be copied as the next action. This repository will have more recent features and bug fixes in between releases, maybe at the sacrifice of stability. By entering the following command, you can clone the repository to your home directory's ~/django-dev directory:
git clone git://github.com/django/django ~/django-dev
Switch to this directory:
cd ~/django-dev
Using the python command and the Python version you have installed, create a virtual environment:
python3 -m venv my_env
Activate it:
source my_env/bin/activate
The repository can then be installed using pip. When installing from version control, the -e option will install in "editable" mode:
pip install -e ~/django-dev
You may check to see if the installation was successful by executing:
django-admin --version
Output
3.2
Once more, the version that is displayed may not be the same as what is displayed here.
The most recent Django release is now installed in your virtual environment.
Creating a Sample Project
Once Django has been installed, you can start working on your project. We'll go over how to build a project and test it using a virtual environment on your development server.
Make a directory for your project first, then change into it:
mkdir ~/django-test
cd ~/django-test
After that, create your virtual environment:
python3 -m venv my_env
Activate the environment:
source my_env/bin/activate
Install Django:
pip install django
You can use the startproject command in django-admin to create your project. We'll choose the name djangoproject for our project, but you can use another name instead. Within your current working directory, startproject will create a directory containing:
- To manage different Django-specific activities, you can utilize the management tool
manage.py. - A directory that contains the project's real code and has the same name as the project.
However, let's direct Django to put the management script and inner directory in the current directory (note the ending dot) to prevent having too many nested directories:
django-admin startproject djangoproject .
Let's use the manage.py with migrate command to migrate the database (this example defaults to SQLite). Any modifications you make to your Django models are transferred to your database schema using Migrations.
Type the following to migrate the database:
python manage.py migrate
You will see an output resembling the following:
Output
Operations to perform:
  Apply all migrations: admin, auth, contenttypes, sessions
Running migrations:
  Applying contenttypes.0001_initial... OK
  Applying auth.0001_initial... OK
  Applying admin.0001_initial... OK
  Applying admin.0002_logentry_remove_auto_add... OK
  Applying admin.0003_logentry_add_action_flag_choices... OK
  Applying contenttypes.0002_remove_content_type_name... OK
  Applying auth.0002_alter_permission_name_max_length... OK
  Applying auth.0003_alter_user_email_max_length... OK
  Applying auth.0004_alter_user_username_opts... OK
  Applying auth.0005_alter_user_last_login_null... OK
  Applying auth.0006_require_contenttypes_0002... OK
  Applying auth.0007_alter_validators_add_error_messages... OK
  Applying auth.0008_alter_user_username_max_length... OK
  Applying auth.0009_alter_user_last_name_max_length... OK
  Applying sessions.0001_initial... OK
To access the Djano admin interface, let's create an administrative user at the end. Let's execute the following command using createsuperuser:
python manage.py createsuperuser
A username, email address, and password for your user will be required from you.
Modifying ALLOWED_HOSTS in the Django Settings
You must change one of the directives in the Django settings in order to test your application correctly.
To access the settings file, type:
nano ~/django-test/djangoproject/settings.py
The ALLOWED_HOSTS directive can be found there. This specifies a list of possible IP addresses or domain names for contacting the Django instance. An exception will be thrown if an incoming request has a Host header that is not in this list. Django requires that you specify this in order to guard against a specific kind of security vulnerability.
List the IP addresses or domain names connected to your Django server inside the square brackets. The items should all be listed in quotation marks, with commas between each entry. Add a semicolon to the beginning of the entry if you want requests for the complete domain as well as any subdomains:
ALLOWED_HOSTS = ['your_server_ip_or_domain', 'your_second_ip_or_domain', . . .]
Save the file when finished, then close your editor.
Testing the Development Server
You can launch the Django development server after you have a user to view what a new Django project looks like. This should only be used for development. When you are prepared to deploy, pay close attention to Django's deployment instructions.
Make sure the proper port is open in your firewall before you test the development server. If you used the basic server setup guide and have UFW enabled, you can open port 8000 by entering the following command:
sudo ufw allow 8000
Launching the development server:
python manage.py runserver your_server_ip:8000
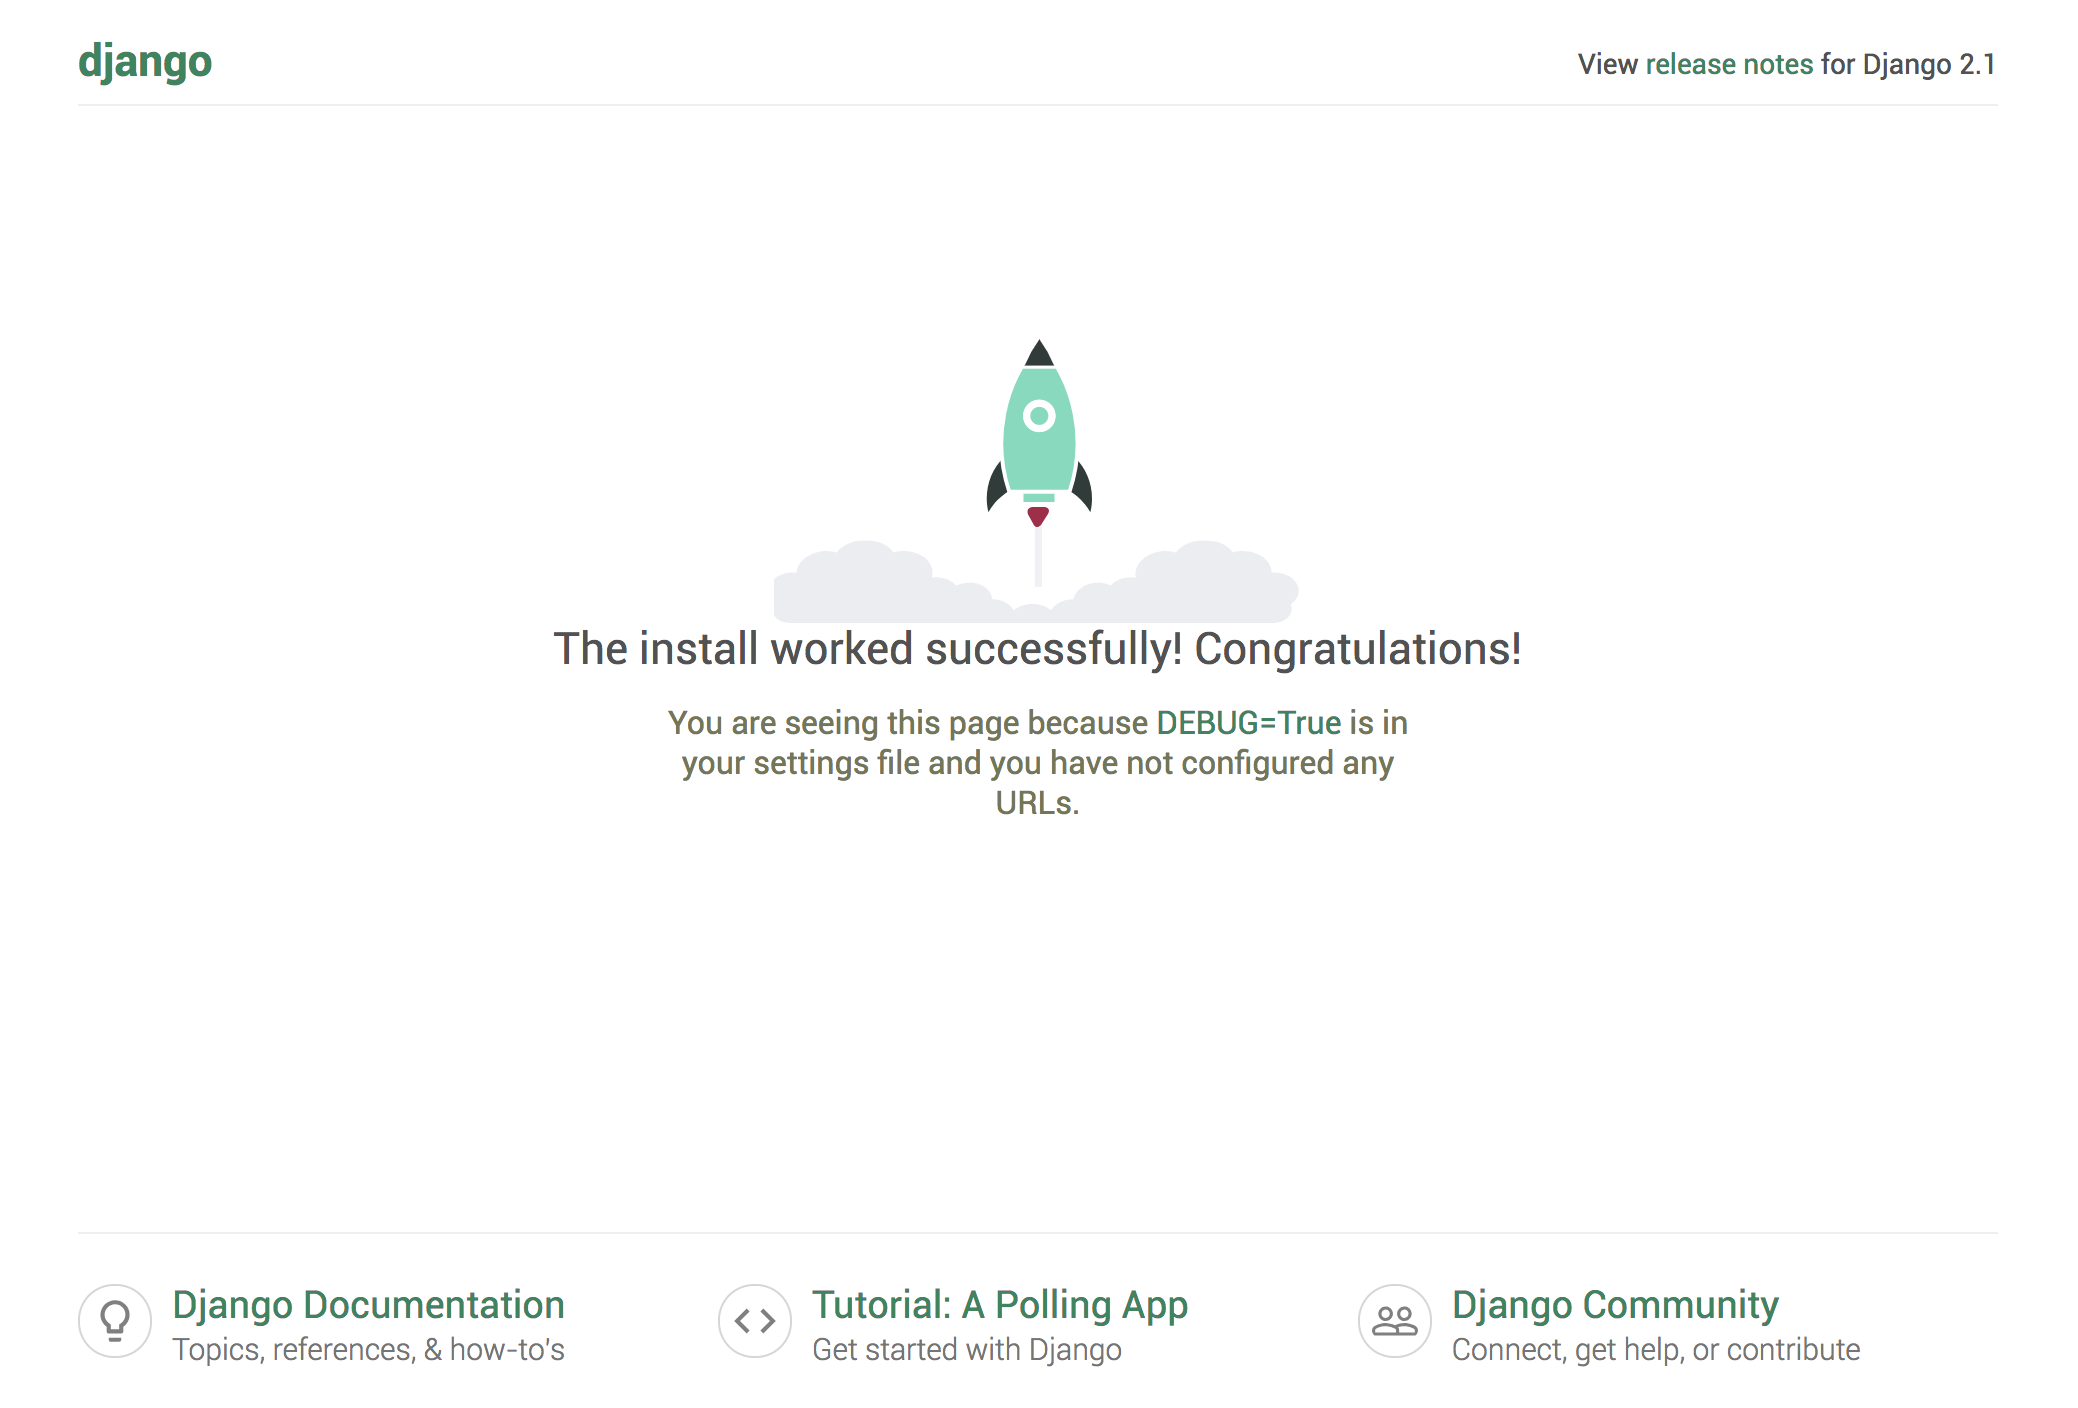
Go to the IP address of your server followed by the number :8000 in your web browser:
http://your_server_ip:8000
You should observe something that appears like follows:
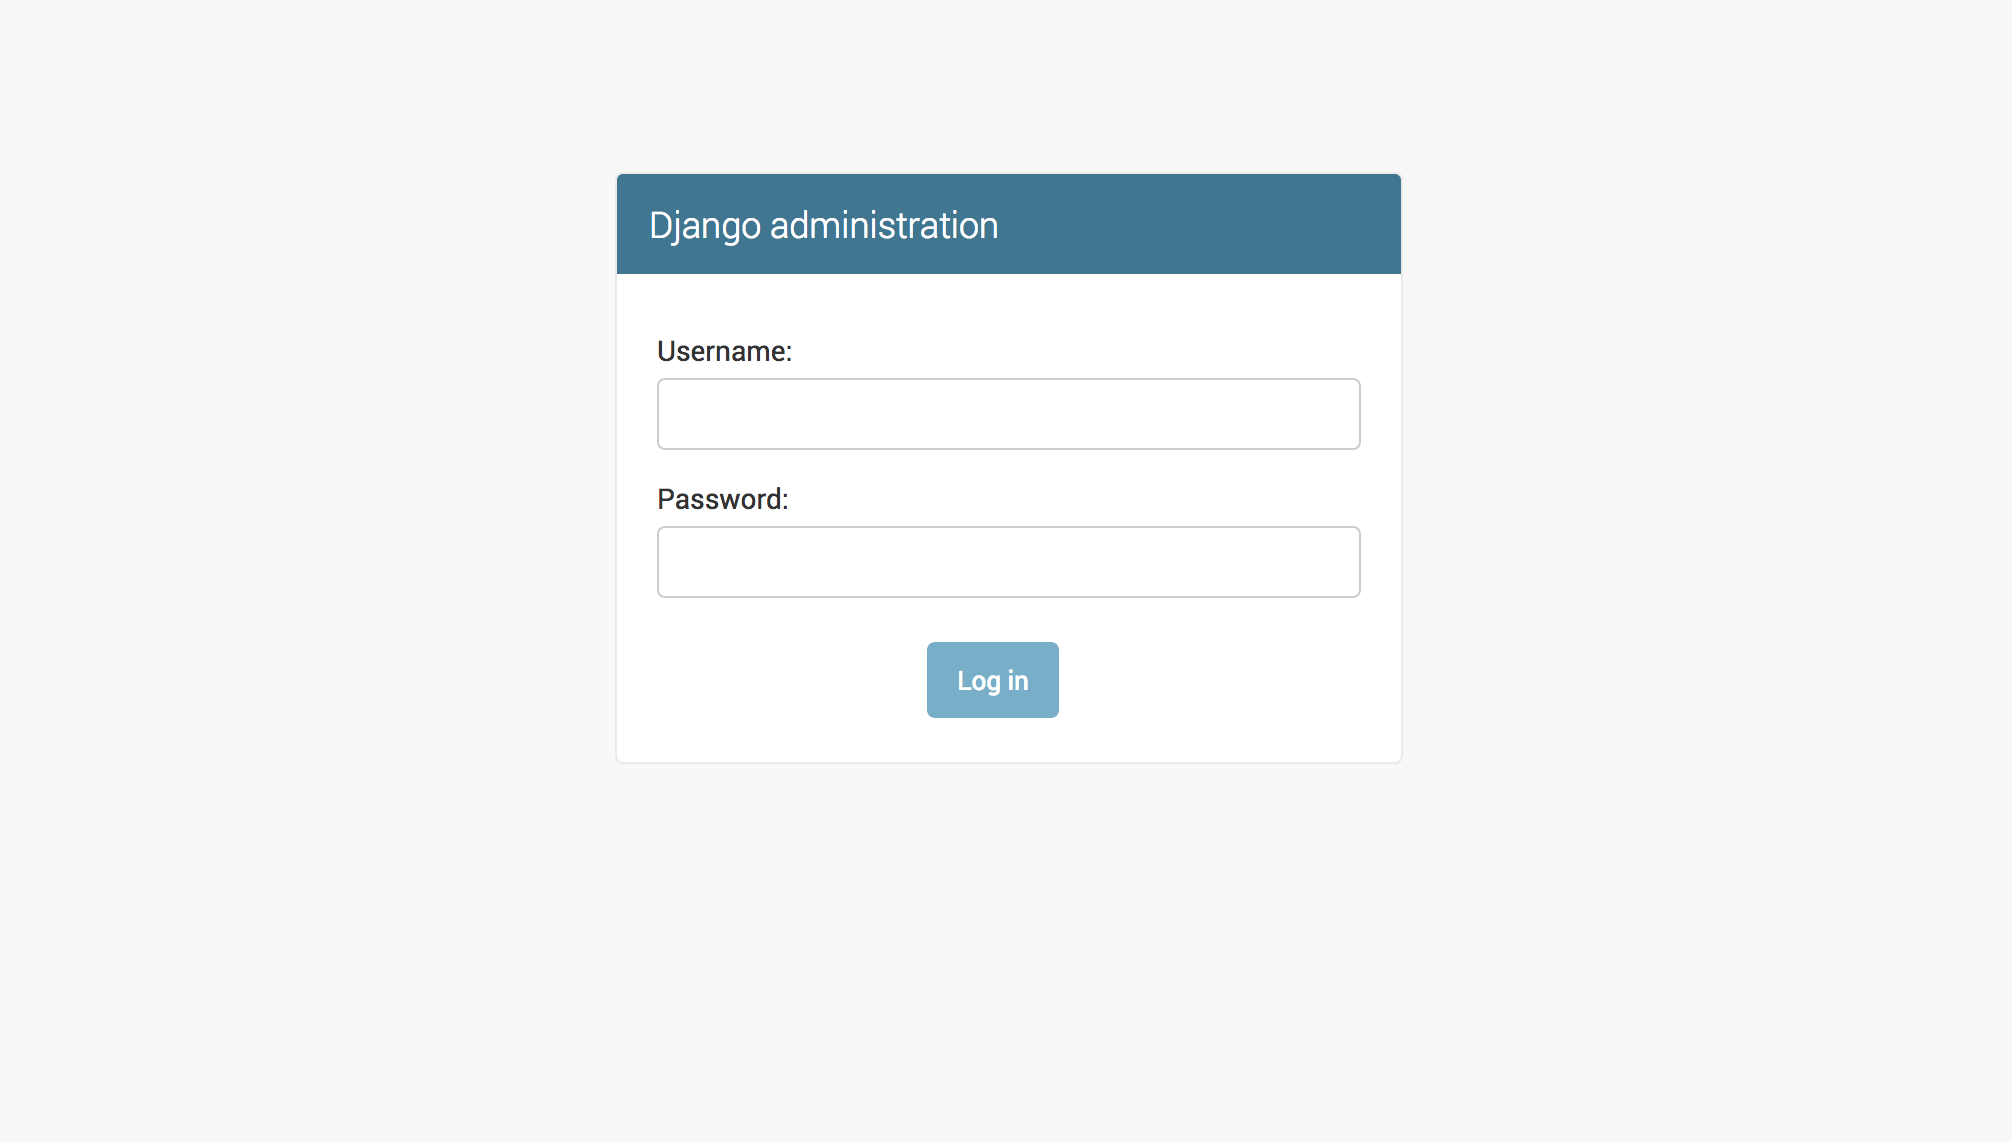
Put /admin/ at the end of your URL to get to the admin interface:
http://your_server_ip:8000/admin/
Clicking on this will bring up a login screen:
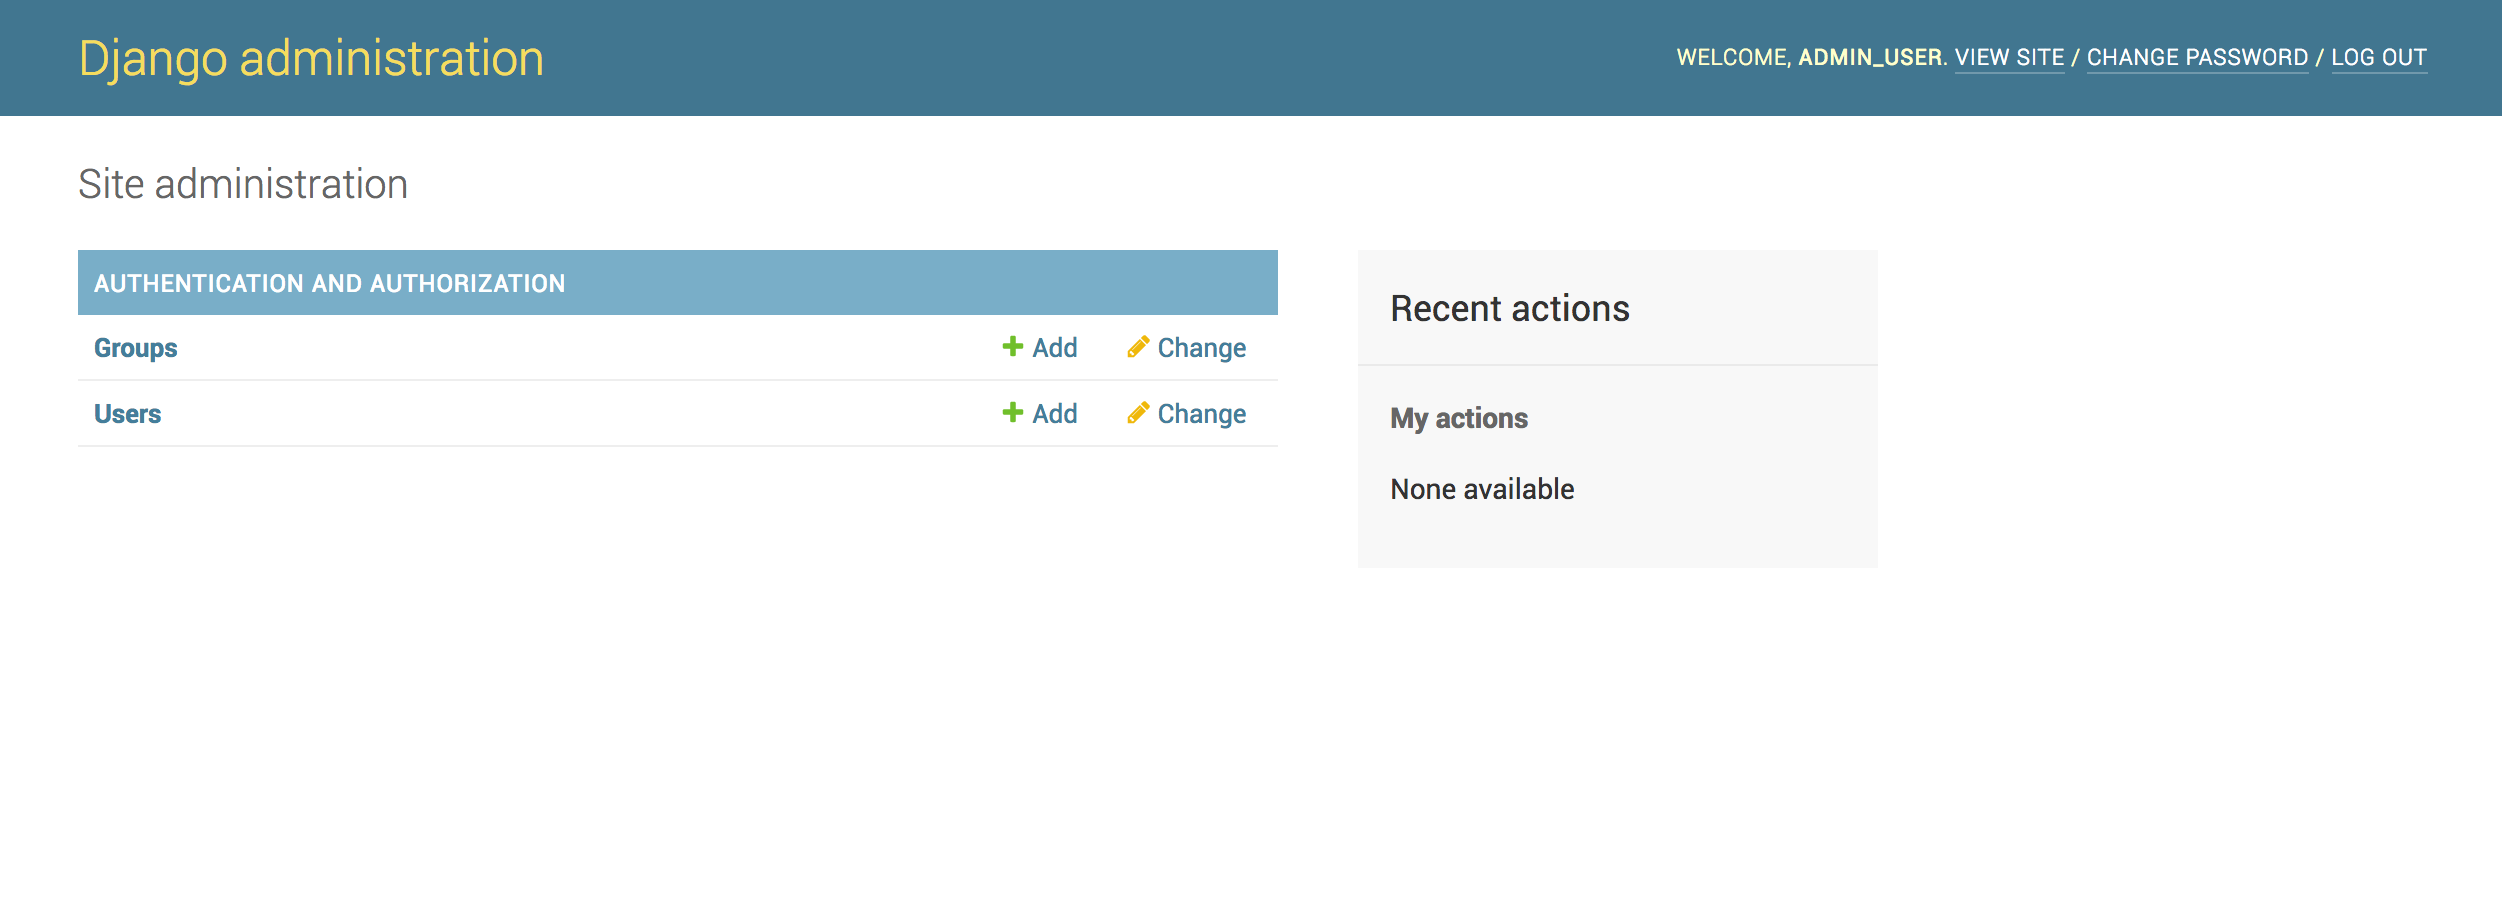
You can access the primary admin area of the website by entering the admin username and password you just made:
By pressing CTRL-C in your terminal after finishing your exploration of the default site, you can terminate the development server.
The Django project you developed offers the structural framework for creating a more comprehensive website. For further details on how to create applications and modify your website, consult the Django manual.
FAQs to Install Django Web Framework on Ubuntu 20.04
Can I use Python 2 to run Django on Ubuntu 20.04?
No, Django requires Python 3. Make sure Python 3 is installed on your system before installing Django.
Is it preferable to use a virtual environment for Django?
Yes, it's recommended to set up a virtual environment to isolate Django's dependencies and project-specific packages.
What are the system requirements for Django?
Django requires Python 3.x, and it is compatible with Ubuntu 20.04.
Can I use the default Python version available on Ubuntu for Django?
Yes, you can use the default Python version (usually Python 3.x) for installing and running Django.
What is the Django development server?
The development server is a lightweight web server included with Django, used for testing and development purposes.
How do I deploy a Django application on a production server?
Deploying a Django app on a production server involves configuring a web server like Nginx or Apache with Gunicorn or uWSGI.
Can I use a different database with Django instead of the default SQLite?
Yes, Django supports other databases like PostgreSQL and MySQL. You can configure your preferred database in the settings.py file.
Conclusion
On your Ubuntu 20.04 server, Django should now be installed, giving you access to the essential resources you need to build strong web apps. Additionally, you should be able to launch the developer server and create a new project. Utilizing a comprehensive web framework, such as Django, can speed up development by letting you focus solely on the distinctive features of your applications.
If you have any queries, please leave a comment below, and we’ll be happy to respond to them.