Introduction
Before we begin talking about how to install Ubuntu on Raspberry Pi, let's briefly understand – What is Ubuntu?
Ubuntu is a popular Linux-based operating system that prioritizes community, simplicity, and accessibility. With a user-friendly interface and a wide range of applications, Ubuntu offers a versatile platform for both beginners and advanced users.
Its open-source nature fosters collaboration and customization, allowing users to freely modify and distribute the software. Ubuntu embodies the spirit of sharing, inclusivity, and collective progress, making it an excellent choice for those seeking a reliable and user-centric operating system.
In this tutorial, you will install Ubuntu on Raspberry Pi. We will also address a few FAQs on How to Install Ubuntu on Raspberry Pi.
Advantages of Ubuntu
- User-Friendly Interface: Ubuntu offers an intuitive and easy-to-navigate interface, making it accessible for beginners and experienced users alike.
- Wide Application Compatibility: Ubuntu supports a vast range of applications, ensuring compatibility with various software and tools.
- Robust Security: With regular updates and a strong focus on security, Ubuntu provides a secure computing environment, protecting users from potential threats.
- Customizability: Ubuntu's open-source nature allows users to customize and personalize their operating system to suit their preferences and needs.
- Thriving Community: Ubuntu boasts a vibrant community of users and developers who actively contribute to its development, ensuring a wealth of support and resources.
Writing the Image to the SD Card
You can flash ISO photos to SD cards using a variety of various free programs. We'll take advantage of the Raspberry Pi Imager in this tutorial.
An open-source tool called Raspberry Pi Imager is used to flash OS systems for the Raspberry Pi to SD cards. Ubuntu, macOS, and Windows all support it.
Download the most current version of Imager for your operating system from the Raspberry Pi downloads page, then install it.
It should be noted that flashing an image to an SD card is a destructive procedure that deletes all the data already there. Create a backup of any data you have on the SD card first.
1) Launch the Raspberry Pi Imager program after inserting the SD card into your SD card reader:
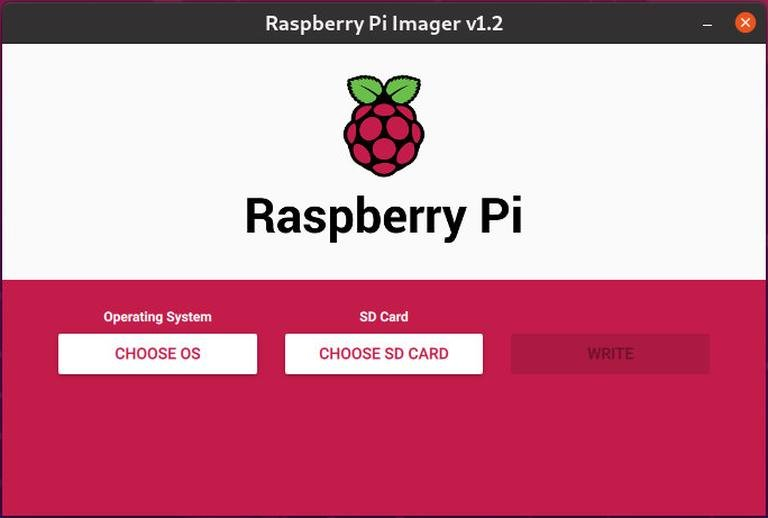
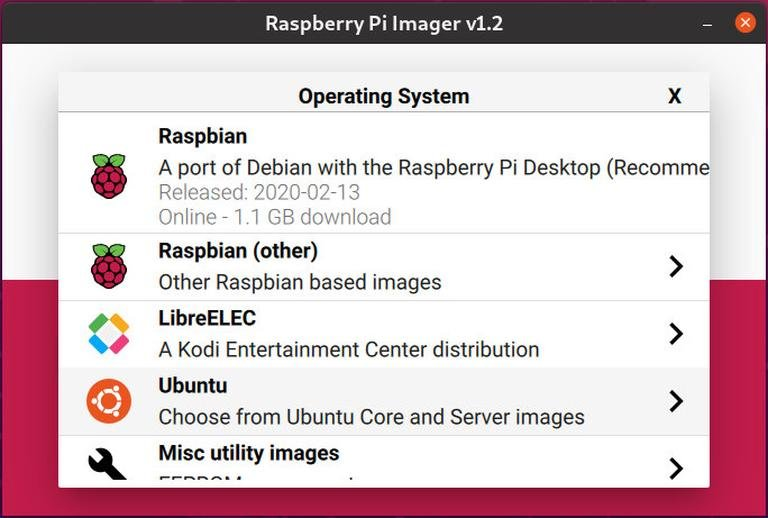
2) To access the menu for choosing the Operating System, click the “CHOOSE OS” button. Go down the page and choose “Ubuntu”:
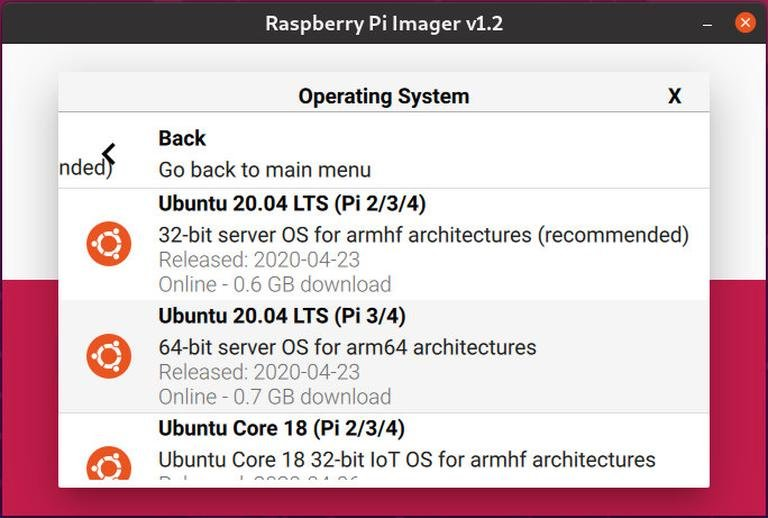
3) You'll be given a selection of Ubuntu images to choose from. Choose the picture based on the Pi version you are using. In this tutorial, we'll use a Raspberry Pi 4 with 4GB of RAM and Ubuntu 20.04 64-bit as our operating system:
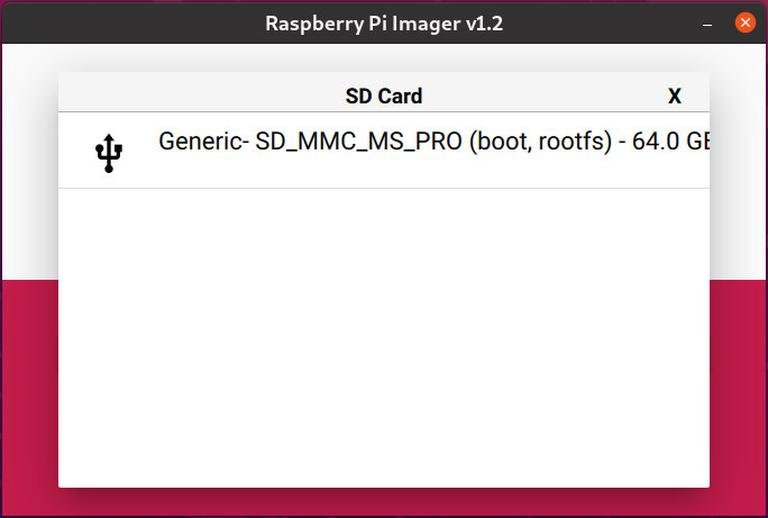
4) Select the SD card you just put in the new menu by clicking the “CHOOSE SD CARD” button. Make sure the right drive has been chosen before flashing the image if more than one SD card is connected to your system:
5) When you click “WRITE,” Raspberry Pi Imager will download the chosen image and begin flashing it:
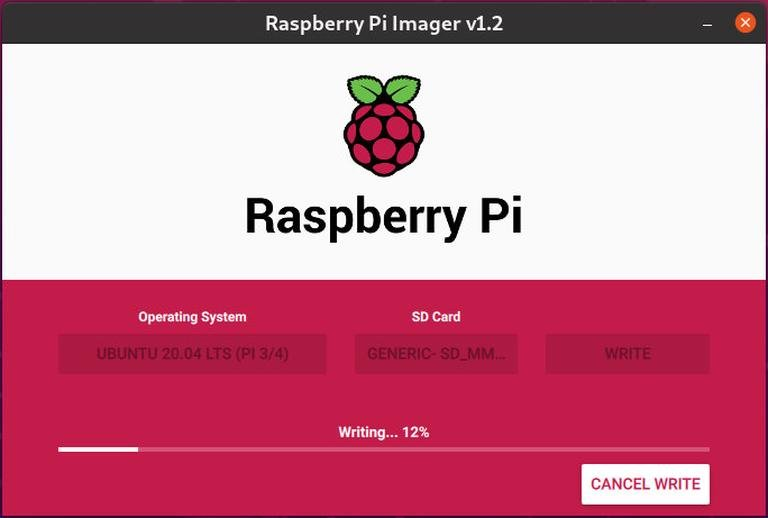
Depending on the size of the file and the card speed, the procedure might take several minutes.
6) The program will display the following message upon success:
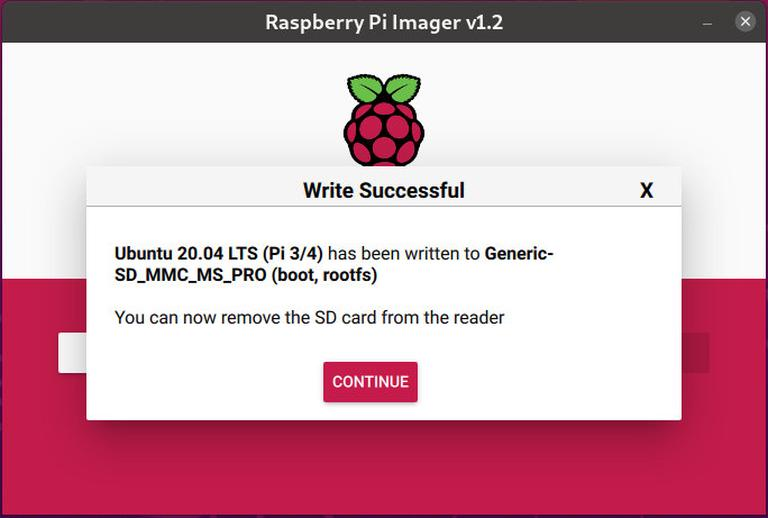
That's it. You have an SD card with a bootable copy of Ubuntu.
Network Configuration
Using Ethernet or Wi-Fi, you may connect your PI to the Internet. Connect the Pi to your home network via a cable if you're using a wired connection, then skip the further instructions in this section.
You must change the network configuration file and input your Wi-Fi information if you want your Pi to automatically connect to the network wirelessly when it boots.
1) Put the SD card back into the computer's card reader if you previously removed it. It will immediately mount the SD card.
2) Use your OS file manager to go to the system-boot partition on the SD card.
3) Update the network-config file with your Wi-Fi login information by opening it. You would modify the file as follows, for instance, if your Wi-Fi network name is “my-router” and your Wi-Fi password is “S3kr1t”:
version: 2
ethernets:
eth0:
  dhcp4: true
  optional: true
wifis:
  wlan0:
  dhcp4: true
  optional: true
  access-points:
    my-router:
      password: "S3kr1t"
4) Remove the card from your computer and save the file. Your Pi will automatically join the selected network upon launch.
Boot Raspberry Pi
You may connect to your Raspberry Pi via SSH or an HDMI display while using it as a headless computer.
Connect your Pi to the SD card and turn it on. Before turning on your Raspberry Pi board, connect to your keyboard and monitor if you're using one.
Ubuntu serves as both the username and the password by default.
The Pi will take some time to start up. Once connected, you may ssh into Ubuntu and look for the Raspberry Pi's IP address in your router's DHCP lease table:
ssh [email protected]
You'll be prompted to change the Ubuntu user password on your first login.
FAQs to Install Ubuntu on Raspberry Pi
Is Ubuntu free for Raspberry Pi?
Yes, Ubuntu is an open-source operating system, and the Raspberry Pi versions are freely available for download and use.
What are the minimum system requirements for Ubuntu on Raspberry Pi?
The specific requirements vary based on the Pi model, but generally, you need a compatible Pi board, an SD card, and a power supply.
Can I dual boot Ubuntu and another operating system on Raspberry Pi?
Yes, it is possible to set up dual booting on Raspberry Pi, allowing you to switch between Ubuntu and another OS.
Are all Raspberry Pi models supported by Ubuntu?
While official Ubuntu images are available for many Pi models, not all models are officially supported. Check the Ubuntu website for compatibility details.
Can I use Ubuntu Desktop or only Ubuntu Server on Raspberry Pi?
Both Ubuntu Desktop and Ubuntu Server versions are available for Raspberry Pi, giving you the flexibility to choose based on your needs.
How do I update Ubuntu on Raspberry Pi?
You can update Ubuntu on Raspberry Pi using the apt package manager by running the sudo apt update and sudo apt upgrade commands.
Conclusion
Ubuntu installation on the Raspberry Pi is a rather simple procedure. Simply writing the image to the SD card and starting the Raspberry Pi is all that is required.
If you have any queries, please leave a comment below, and we’ll be happy to respond to them.