
Introduction
Before we begin talking about how to install UrBackup on Ubuntu 22.04, let's briefly understand – What is UrBackup?
UrBackup is a reliable and efficient backup solution that safeguards your valuable data. It provides a hassle-free way to secure your files, folders, and even entire systems. With UrBackup, you can schedule automatic backups, ensuring regular protection against accidental deletion, system failures, or cyber threats.
Its user-friendly interface allows you to easily restore lost data whenever needed. With powerful features and continuous updates, UrBackup is an essential tool for keeping your information safe.
In this tutorial, you will install UrBackup on Ubuntu 22.04. We will also address a few FAQs on how to install UrBackup on Ubuntu 22.04.
Advantages of UrBackup
- Reliable Data Protection: UrBackup ensures reliable backup and recovery of your valuable files and folders, protecting them from loss, damage, or cyber threats.
- Centralized Management: With UrBackup, you can manage multiple devices and backups from a single interface, simplifying administration and monitoring.
- Efficient Incremental Backups: UrBackup optimizes backup time and storage space by performing incremental backups, capturing only the changes made since the last backup.
- Easy File Restoration: Instantly restore individual files or entire backups with UrBackup's intuitive interface, minimizing downtime and data loss.
- Cross-Platform Support: UrBackup supports various operating systems, including Windows, Linux, and macOS, ensuring flexibility and compatibility for diverse environments.
Prerequisites
You need sudo privileges or can access the root account on Ubuntu system.
Installation of UrBackup Server
To install the Urbackup tool, take the actions listed below:
Step 1: Install Dependencies
Ubuntu Urbackup requires the installation of a few packages. So, execute the command shown below to install the necessary packages:
sudo apt install curl gnupg2 software-properties-common

Once all required packages have been installed on your system, press 'y' and then 'Enter'.
Step 2: Add Urbackup PPA repository
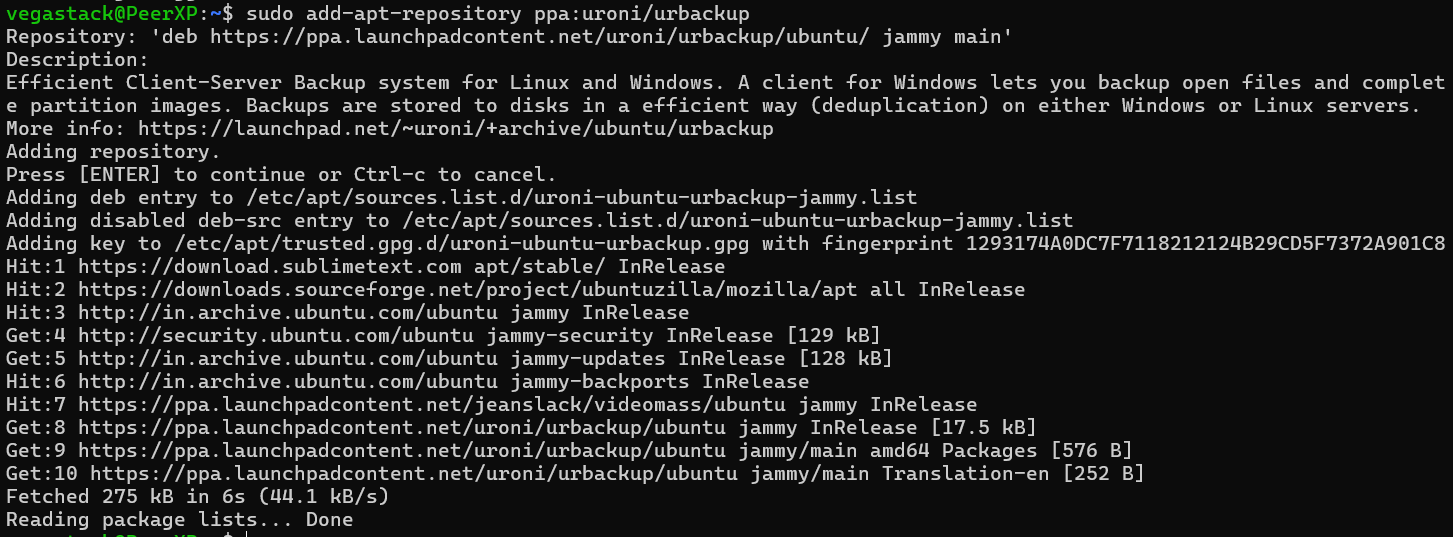
The official Ubuntu default repository does not contain the Urbackup utility. Thus, run the following command to add the Urbackup PPA apt repository to your system:
sudo add-apt-repository ppa:uroni/urbackup
Step 3: Installing Urbackup Server
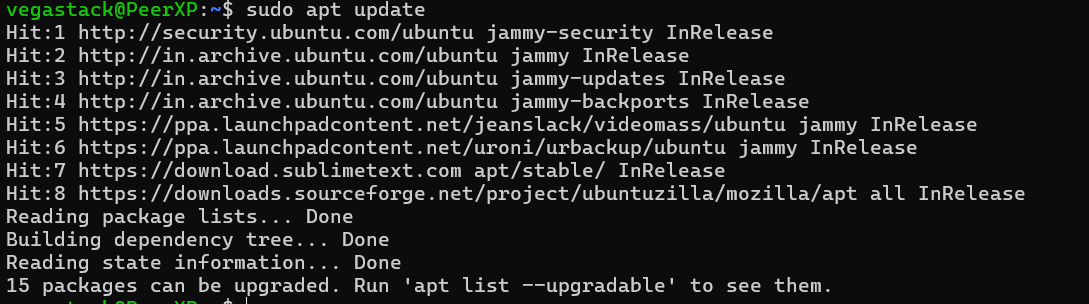
After adding the Urbackup utility PPA apt repository, use the command following to refresh the system apt packages index:
sudo apt update
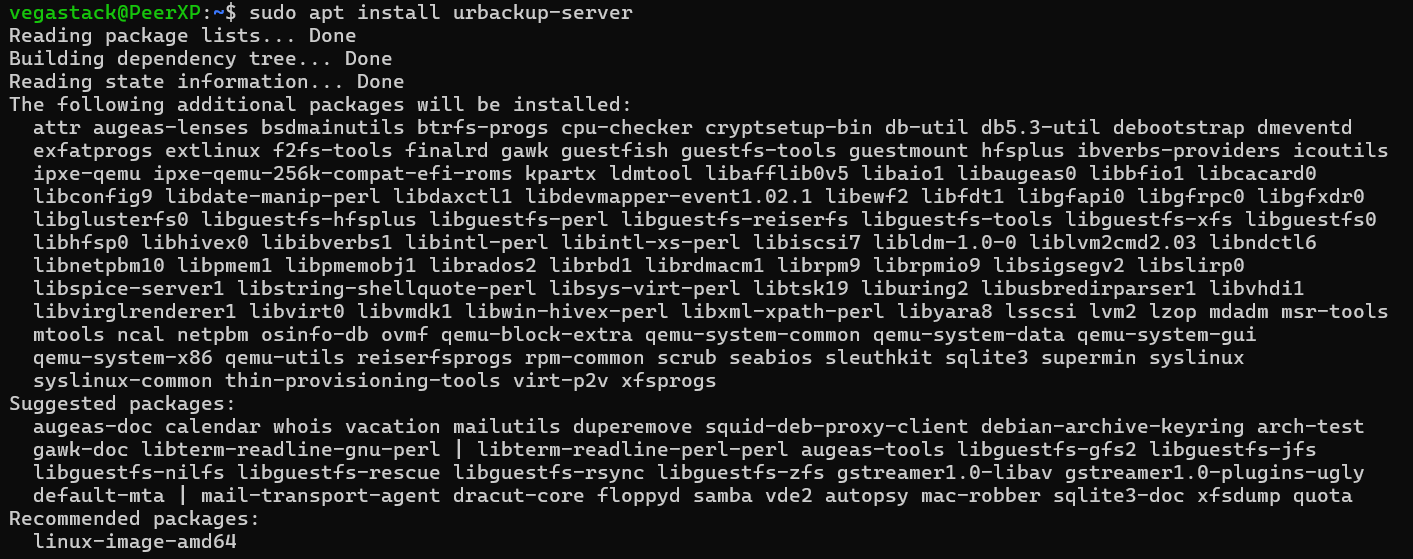
Use the command below to install the Urbackup server on the target system after updating the apt system repository:
sudo apt install urbackup-server
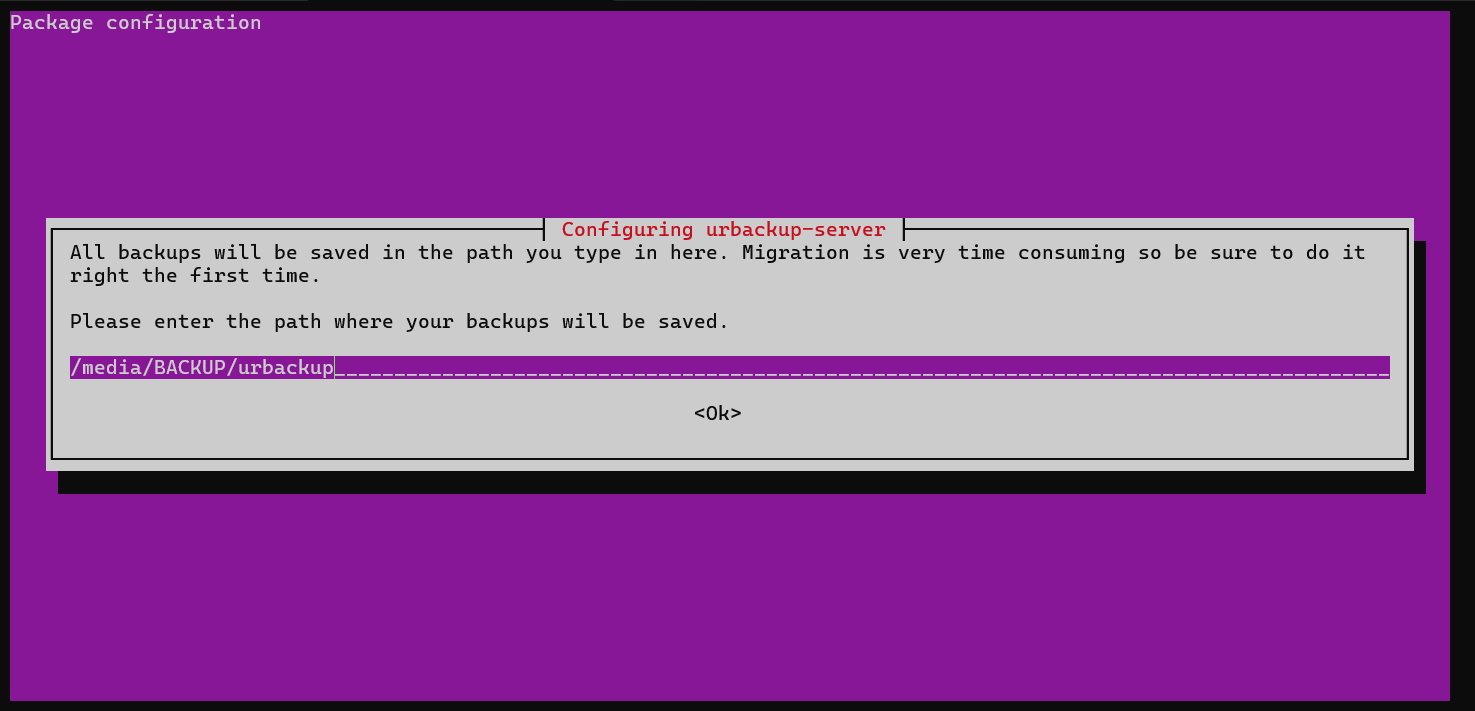
A window with a graphical text-based interface will ask you to choose the directory where you wish to save the backup when the Urbackup server is installing. Click "OK", then choose the following default place to store your system backup:
Step 4: Enable and start Urbackup Service
After the Urbackup server installation is finished, use the following commands to enable and launch the systemd Urbackup service:
sudo systemctl start urbackupsrv$ sudo systemctl enable urbackupsrv
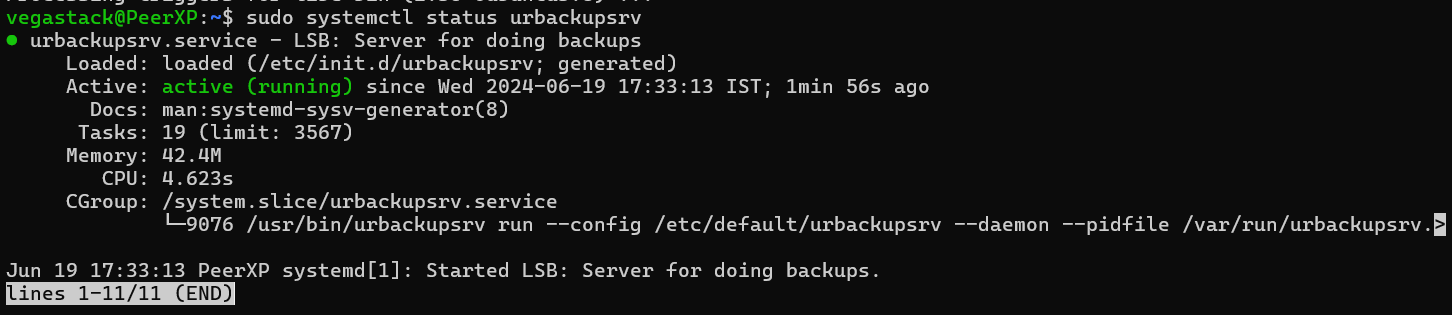
Use the following command to see if the Urbackup tool service is currently operating:
sudo systemctl status urbackupsrv
Step 5: Access web interface of UrBackup server
Use a web browser to open the Urbackup server's web interface in order to access its services. In the URL address bar, type the IP address of your system, a colon, and the port number it listens on.
server-IP-address:55414
In your web browser, the Urbackup server's web interface will look like this:

The installation of UrBackup is now complete.
FAQs to Install UrBackup on Ubuntu 22.04
Does UrBackup support incremental backups?
Yes, UrBackup supports incremental backups. This means that after the initial full backup, subsequent backups only include changes to the files, significantly reducing backup time and storage requirements.
Can UrBackup back up network drives or NAS devices?
Certainly! UrBackup can back up network drives and NAS devices seamlessly, enabling you to protect data stored on these remote storage locations.
Does UrBackup support encryption for data security?
Yes, UrBackup provides encryption options to protect your data during transmission and storage. It ensures that your backups remain secure and inaccessible to unauthorized users.
Can I schedule automatic backups with UrBackup on Ubuntu 22.04?
Absolutely! UrBackup allows you to schedule automatic backups at predefined intervals on Ubuntu 22.04. You can set up daily, weekly, or custom backup schedules according to your preferences.
How can I restore files from a UrBackup backup?
Restoring files from a UrBackup backup is straightforward. Simply open the UrBackup client on the target device, select the files or directories you want to restore, and initiate the restore process. It will retrieve your files in no time.
Can I monitor and manage UrBackup remotely?
Yes, UrBackup offers a web-based interface that allows you to remotely monitor and manage backups. You can access the interface from any device with a web browser, providing convenience and flexibility.
Is UrBackup a free software?
Yes, UrBackup is free and open-source software. It is released under the GNU AGPLv3 license, allowing users to use, modify, and distribute it freely.
Conclusion
We hope this tutorial helped you understand how to install UrBackup on Ubuntu 22.04.
If you have any queries, please leave a comment below, and we’ll be happy to respond to them for sure.