
Choose a different version or distribution
Introduction
Before we begin talking about how to install VirtualBox 7 on Debian 12, let's briefly understand – What is VirtualBox?
VirtualBox is a powerful virtualization software that enables users to run multiple operating systems simultaneously on a single computer. It creates a virtual environment, allowing you to install and run various operating systems like Windows, Linux, and macOS on your existing system.
With VirtualBox, you can test software, develop applications, and explore different OS versions without the need for separate hardware. This versatile tool helps users maximize their computing resources while enhancing efficiency and productivity.
In this tutorial, you will understand how to install VirtualBox 7 on Debian 12. We will also address a few FAQs on how to install VirtualBox 7 on Debian 12.
Advantages of VirtualBox
- Versatility: Run multiple operating systems on one computer simultaneously.
- Cost-effective: No need for additional hardware as VirtualBox creates virtual environments.
- Flexibility: Easily test software and develop applications in different operating systems.
- Resource optimization: Maximize computing resources by running multiple systems on a single machine.
- Productivity boost: Increase efficiency and productivity by exploring different OS versions without the hassle of separate installations.
Import VirtualBox APT Repository into Debian 12
Step 1: First, update your Debian system before installing VirtualBox
As we prepare to install VirtualBox 7.0, it is important to make sure your Debian system is updated. Updating the packages on your computer helps prevent installation problems caused by out-of-date software.
Let's start by updating your Debian system's package list. This step updates your system with the most recent versions of each program that are available. Using an open terminal, type the following command:
sudo apt update
Let's upgrade the packages themselves after changing the package list. Any out-of-date packages will be replaced with their most recent versions at this phase. To accomplish this, use the following command:
sudo apt upgrade
Step 2: Install the First Packages on Debian That VirtualBox Needs
Certain required software need to be installed on your system in order for VirtualBox to install successfully. Even though your Debian system probably already has the majority of these packages loaded, it's a good idea to double-check.
To make sure that all necessary dependencies are installed, use the following command:
sudo apt install dirmngr ca-certificates software-properties-common apt-transport-https curl -y
Recheck this step and try running the command again if you run into installation problems in the subsequent phases.
Step 3: On Debian, import the VirtualBox GPG key
It is recommended that you include the GPG (GNU Privacy Guard) key for package integrity and authenticity. This public key cryptography system key guarantees that the packages originate from the authorized VirtualBox repository.
To add the GPG key, run this command:
curl -fSsL https://www.virtualbox.org/download/oracle_vbox_2016.asc | gpg --dearmor | sudo tee /usr/share/keyrings/virtualbox.gpg > /dev/null
Step 4: Configuring the Debian VirtualBox Repository
Let's now add your system's VirtualBox repository. The VirtualBox packages that we will install in the next steps are contained in this repository.
The command to add the repository is as follows:
echo "deb [arch=$( dpkg --print-architecture ) signed-by=/usr/share/keyrings/virtualbox.gpg] http://download.virtualbox.org/virtualbox/debian $(lsb_release -cs) contrib" | sudo tee /etc/apt/sources.list.d/virtualbox-7.list
Reload the repository list on your PC after adding the VirtualBox repository. Making sure your system detects the recently added VirtualBox repository is the goal of this step. To accomplish this, use the following command:
sudo apt update
You have now successfully added the VirtualBox APT repository to your machine by following these procedures. You can now move forward with installing VirtualBox 7.0.
Install VirtualBox 7.0 on Debian 12
After the VirtualBox repository has been properly integrated, let's install VirtualBox 7.0 on your Debian system.
Step 1: Set up Debian Headers and VirtualBox 7.0
Installing VirtualBox 7.0 and the relevant Debian headers for the kernel version of your machine is the first step. These headers are required for proper VirtualBox operation. To install VirtualBox 7.0 and the necessary Linux headers, run the following command:
sudo apt install virtualbox-7.0 linux-headers-$(uname -r) -y
With this command, you tell Debian to install the appropriate Linux headers and VirtualBox 7.0 from the repository for your particular kernel version.
Step 2: Confirming Debian VirtualBox Installation
You can confirm that the VirtualBox installation came from the repository we added before, however this is not a necessary but recommended step. The priority, version number, and origin repository of the installed package can be found out by using the apt-cache policy command.
To verify the installation, execute the subsequent command:
apt-cache policy virtualbox-7.0
After the command is executed, an output will be displayed to you. Check the result carefully to make sure the repository is the official VirtualBox repository we installed before and that the version number corresponds to VirtualBox 7.0.
Step Three: Verifying the Status of the VirtualBox Service on Debian
Now that the installation has been verified, let's see how the vboxdrv service is doing. VirtualBox kernel modules are managed by this service. We may use the following command to see the status of the service:
systemctl status vboxdrv
The service's status, including whether it is running or active, is provided by this command. Here's an illustration of what you could see:
An output showing that the service is active should appear; this indicates that the installation was successful.
Step 4: If necessary, enable and launch the VirtualBox service
After installation, the vboxdrv service might not always be turned on by default. Use the following command to launch the service and configure it to run automatically when the system boots up:
sudo systemctl enable vboxdrv --now
By using this command, you can make sure the VirtualBox service is up and running and that your system is prepared to use VirtualBox 7.
Launching VirtualBox 7.0 on Debian 12
With VirtualBox 7.0 loaded and working, we can now initialize the program and verify that the critical service is up and running. We can now start building and maintaining our virtual computers thanks to this.
Launching VirtualBox from the Debian Terminal (Optional) For individuals who would rather work directly from the terminal, VirtualBox can be started with a single command.
Enter the following command in your terminal to accomplish this:
virtualbox
With this command, you may manage your virtual machines directly from your terminal by launching the VirtualBox application.
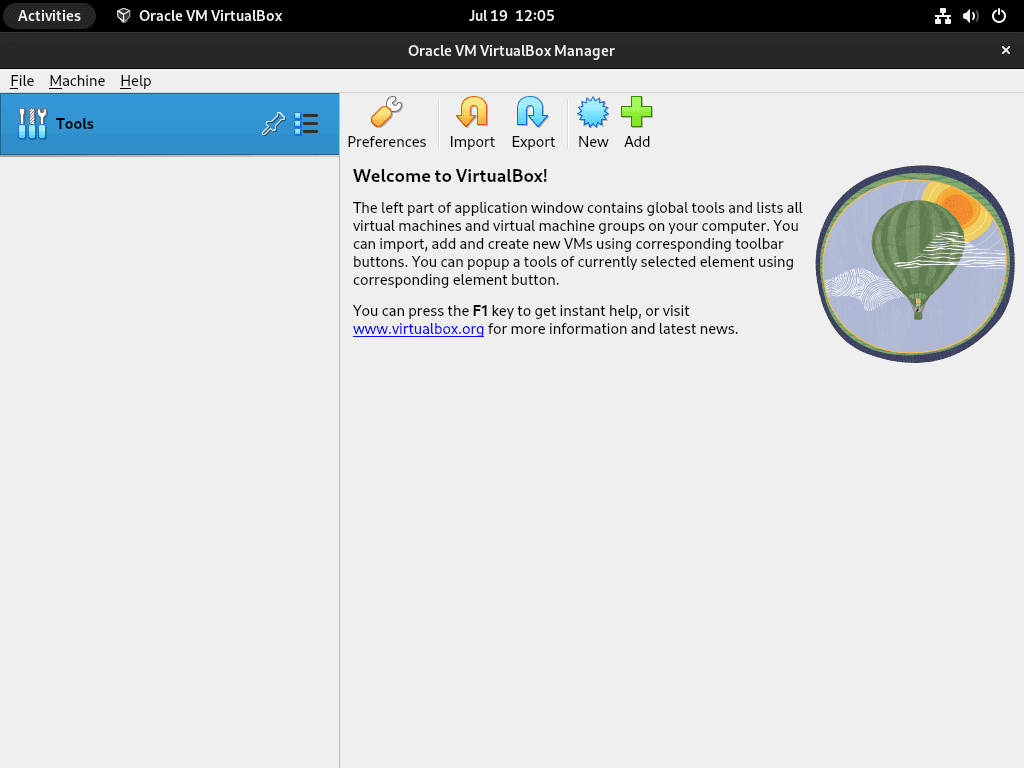
Starting VirtualBox on a Debian Desktop
For those who prefer a graphical interface, launching VirtualBox through the desktop environment could be more convenient.
- Find and select the Activities option located at the top of your screen.
- Select "Show Applications" from the menu dropdown.
- Locate and choose Oracle VM Virtualbox from the application list.

Install VirtualBox Extension Pack on Debian 12
By offering a number of useful functions, the VirtualBox Extension Pack is an optional but extremely helpful add-on that can greatly improve your VirtualBox experience. This is a step-by-step installation tutorial.
Step 1: Get the Debian version of the VirtualBox 7.0 Extension Pack
You should download the Extension Pack version that corresponds to the VirtualBox version that is installed on your Debian system. Use the following command to find out what version of VirtualBox you are running:
vboxmanage -v | cut -dr -f1
The version number will be returned by this command in a format resembling "7.0.x." With this knowledge, you may use the wget command to get the relevant Extension Pack:
wget https://download.virtualbox.org/virtualbox/7.0.x/Oracle_VM_VirtualBox_Extension_Pack-7.0.x.vbox-extpack
Replace every instance of "7.0.x" in the URL with the version of VirtualBox that you are using with this command.
Step 2: Install the VirtualBox 7.0 Extension Pack on Debian
To install the downloaded Extension Pack, run the following command:
sudo vboxmanage extpack install Oracle_VM_VirtualBox_Extension_Pack-7.0.x.vbox-extpack
Replace every instance of "7.0.x" in the URL with the version of VirtualBox that you are using with this command.
Step 3: On Debian, install the VirtualBox 7.0 Extension Pack
To install the downloaded Extension Pack, run the following command:
vboxmanage list extpacks
The version numbers of the installed Extension Packs as well as other important details will be shown by this command.
Step 4: Adding a User on Debian to the vboxusers group
Include your user account in the vboxusers group in order to utilize VirtualBox.
Execute this command:
sudo usermod -a -G vboxusers $USER
Restart your computer once the command has been executed. Verify that you were able to successfully add your user account to the vboxusers group when you log back in. Run:
groups $USER
The groups to which your user account is assigned are displayed by this command. Verify that vboxusers are visible in the list.
Extra VirtualBox Commands for Debian 12
This section offers some additional commands and tips that will help you manage VirtualBox on your Debian system more easily.
Update VirtualBox 7.0 on Debian
Regular updates to your VirtualBox installation are necessary. Use the following command in the terminal to verify and apply updates:
sudo apt update && sudo apt upgrade
Uninstall VirtualBox 7.0 From Debian
In the event that you choose to uninstall VirtualBox completely from your machine, you can do so by running the following command:
sudo apt remove virtualbox-7.0
Removing the VirtualBox 7.0 Repository Sources File
The following command can be used to delete the repository sources file if you so choose:
sudo rm /etc/apt/sources.list.d/virtualbox-7.list
Option to Remove the VirtualBox GPG Key
The command to remove the GPG key is as follows:
sudo rm /usr/share/keyrings/virtualbox.gpg
By using these commands and methods, you may efficiently maintain your VirtualBox installation, making sure it stays up to date and, if needed, uninstalling it completely.
FAQs to Install VirtualBox 7 on Debian 12
What are the system requirements for VirtualBox 7 on Debian 12?
Your Debian 12 system should have sufficient memory, disk space, and meet the minimum processor requirements specified by VirtualBox.
How do I enable virtualization on Debian 12?
Enter the BIOS or UEFI settings of your computer, enable virtualization technology (VT-x/AMD-V), save the changes, and then proceed with the VirtualBox installation.
Are there any prerequisites for installing VirtualBox 7 on Debian 12?
Yes, ensure that your Debian 12 system is up to date with the latest packages and dependencies before installing VirtualBox.
Is there a graphical interface available for installing VirtualBox 7 on Debian 12?
Yes, you can install VirtualBox 7 using a graphical package manager like Synaptic or GNOME Software, or by using the Software Center.
Can I import and run virtual machines from older VirtualBox versions on Debian 12?
Yes, VirtualBox supports importing and running virtual machines created with older versions, ensuring backward compatibility.
Can I use USB devices within a VirtualBox 7 virtual machine on Debian 12?
Yes, VirtualBox 7 supports USB passthrough, allowing you to use USB devices seamlessly within your virtual machine on Debian 12.
Does VirtualBox 7 support 64-bit guest operating systems on Debian 12?
Yes, VirtualBox 7 supports 64-bit guest operating systems, allowing you to run a wide range of 64-bit operating systems within your Debian 12 environment.
Conclusion
Installing VirtualBox on Debian provides users with a highly versatile and cost-effective solution for running multiple operating systems on a single machine.
With its flexibility, resource optimization, and productivity-boosting capabilities, VirtualBox offers a seamless virtualization experience that simplifies software testing, application development, and exploration of various operating system versions.
We hope this tutorial helped you understand how to install VirtualBox 7 on Debian 12. If you have any queries, please leave a comment below, and we’ll be happy to respond to them for sure.