

Choose a different version or distribution
Introduction
Before we begin talking about how to install WonderCMS with Nginx on Ubuntu 22.04, let's briefly understand – What is WonderCMS?
WonderCMS is a lightweight and user-friendly Content Management System (CMS) that allows you to create and manage websites effortlessly. It is designed to provide simplicity and flexibility for both beginners and experienced users. With its minimalistic approach, WonderCMS offers an easy-to-use interface and essential features without the need for complex installations or databases.
This search engine optimized (SEO) solution offers hassle-free website development, making it an ideal choice for those seeking a simple yet effective CMS.
In this tutorial, you will install WonderCMS with Nginx on Ubuntu 22.04. We will also address a few FAQs on how to install WonderCMS with Nginx on Ubuntu 22.04.
Advantages of WonderCMS with Nginx
- Speed: WonderCMS with Nginx provides incredibly fast website loading times, ensuring an optimal user experience.
- Security: The combination of WonderCMS and Nginx offers robust security features, protecting your website from potential threats and attacks.
- Easy Configuration: Setting up and managing WonderCMS with Nginx requires minimal configuration, making it beginner-friendly and hassle-free.
- Scalability: With Nginx's scalable architecture, you can easily handle high traffic volumes without compromising performance.
- SEO-friendly: WonderCMS with Nginx follows SEO best practices, ensuring your website is easily discoverable.
Update Ubuntu Before WonderCMS Installation
It's a good idea to make sure your system is up to date with all available packages before installing WonderCMS. Use the following command in your terminal to accomplish this:
sudo apt update && sudo apt upgrade
Rebooting your system is advised if you upgrade any significant components, like the Linux kernel.
Install Nginx on Ubuntu 22.04
Installing Nginx is the first step. To achieve this, run the following command:
sudo apt install nginx
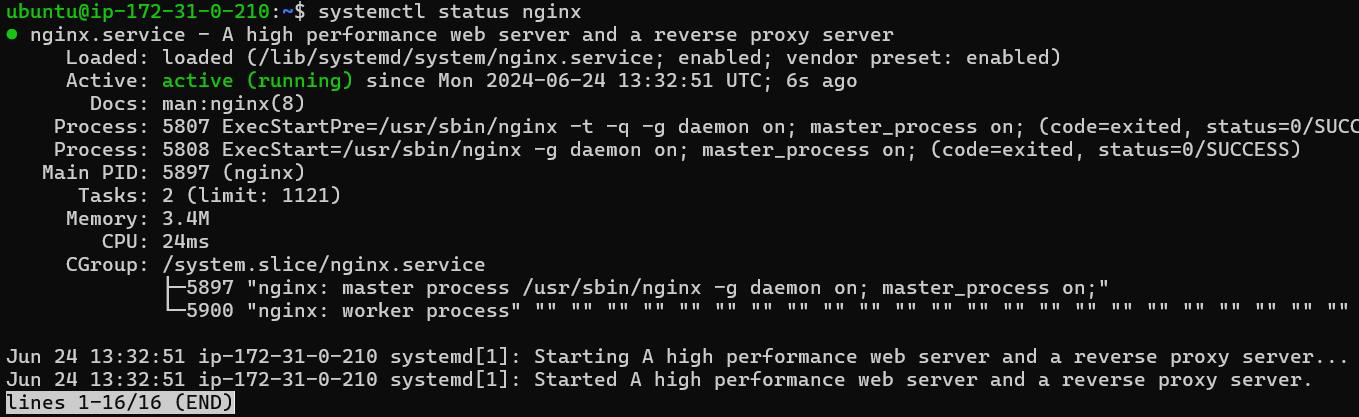
Normally, Nginx is installed with the service turned on by default. Still, it's a good idea to make sure it works correctly. To accomplish this, run the subsequent command:
systemctl status nginx
The following command can be used to activate the Nginx service if it hasn't already:
sudo systemctl enable nginx --now
With this command, you can make sure that whenever the server reboots, Nginx launches automatically. Establishing a working LEMP stack requires confirming and activating the Nginx service.
Consider using the most recent mainline version of Nginx to maximize WonderCMS's performance. The performance and speed of your website are enhanced by the new features and improvements in this version.
Configure UFW Firewall for Nginx and WonderCMS
To secure your Nginx server and grant external access to default web ports, you must configure the UFW firewall. Fortunately, quick UFW configuration is possible thanks to profiles provided by Nginx.
Ubuntu should come pre-installed with UFW, but you should make sure it is by running the following command to make sure it is:
sudo apt install ufw
Upon installation, turn on UFW for your computer. All outgoing connections will be accepted, and all incoming connections will be refused by UFW by default. Run the following command to make the firewall operational:
sudo ufw enable
Run the following command to see the available Nginx profiles:
sudo ufw app list
According to the output, Nginx uses port 80 for HTTP, Nginx Secure uses port 443 for HTTPS, and Nginx Full uses both. Use the Nginx Full profile to allow access via both HTTP and HTTPS:
sudo ufw allow 'Nginx Full'
However, depending on your needs, you might need to modify the profile. For example, utilize the Nginx Secure profile if you only require HTTPS access:
sudo ufw allow 'Nginx Secure'
As an alternative, use the Nginx HTTP profile if you just require HTTP access:
sudo ufw allow 'Nginx HTTP'
Install PHP and PHP-FPM for WonderCMS on Ubuntu 22.04
It's now time to install PHP, a necessary service for WonderCMS to function. We advise updating to the most recent stable release of PHP for your system or even moving to a newer version completely.
Run the following command in your terminal to install PHP and PHP-FPM on your Ubuntu system, along with the necessary modules:
sudo apt install php php-fpm php-mbstring php-bcmath php-common php-cli php-curl php-zip
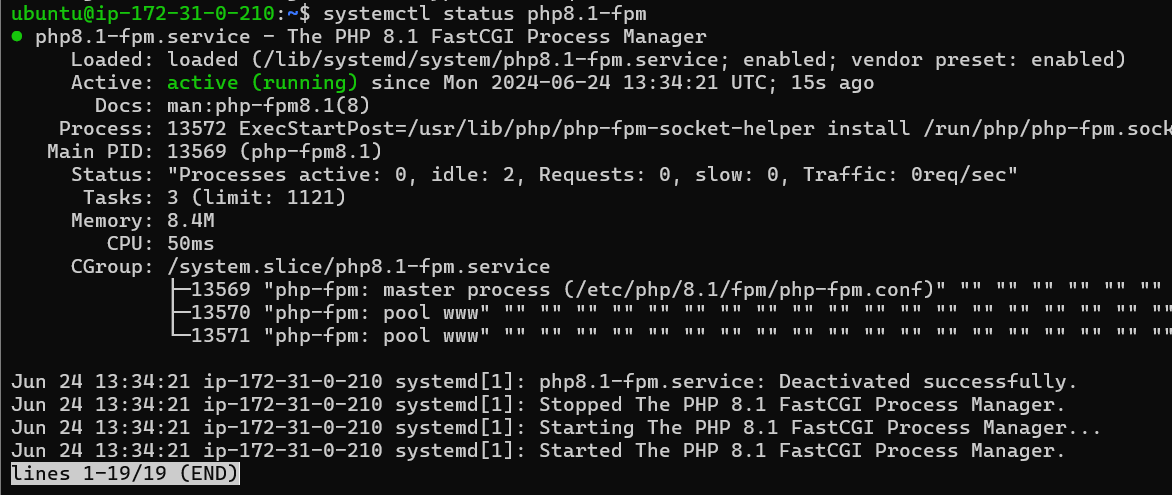
As with MariaDB and Nginx, you must confirm the PHP service's status after installation to make sure everything is operating as it should. We'll examine PHP 8.1's current state in this example, as it is the default on Ubuntu 22.04:
systemctl status php8.1-fpm
If you are unsure of the PHP version that is installed, you can see the version details in your terminal by running the following command:
php -v
Install WonderCMS with Nginx on Ubuntu 22.04
Download and Setup Directories for WonderCMS with Nginx
Download WonderCMS
Downloading the WonderCMS archive package is the first step. To download the file, use your terminal and the wget or curl commands. Visit the official download page to see the most recent link.
wget https://github.com/WonderCMS/wondercms/releases/download/3.4.1/wondercms-341.zip
Create Folder Structure for WonderCMS
After downloading the archive, extract its contents and transfer them to your www directory.
Make the WonderCMS directory first:
sudo mkdir -p /var/www/wondercms
The WonderCMS files should then be extracted to the www directory.
sudo unzip wondercms*.zip -d /var/www/
Install the zip package if the aforementioned command does not function:
sudo apt install zip unzip
Set Proper Permissions for WonderCMS
If you don't set the directory owner permissions to www-data, WonderCMS write permissions will cause problems.
Configure the ownership rights (crucial):
sudo chown -R www-data:www-data /var/www/wondercms/
Set the permissions for the files and folders (important):
sudo find /var/www/wondercms -type d -exec chmod 755 {} \;
sudo find /var/www/wondercms -type f -exec chmod 644 {} \;
Create Nginx Server Block Configuration for WonderCMS
Setting up the WonderCMS server block is the next step. For those who are unfamiliar with Nginx, a server block is the backend web application's configuration file. For those transferring from Apache-based web applications, this is comparable to a virtual host.
Create a Server Block
First, use the following command to create a server block, being careful to replace example.com with the domain name of your choice:
sudo nano /etc/nginx/sites-available/example.com.conf
This is an illustration of a configuration. Keep in mind that the Nginx configuration file needs to contain the location ~ \.php$ section. Make sure that example.com, www.example.com, and the root path are changed appropriately.
server {
        listen 80;
        # adapt to your server name
        server_name www.wonder-example.com;
        # adapt the path
        root /var/www/wondercms;
        index index.php;
        # prevent directory listing
        autoindex off;

        # rewrite url to make it pretty
        location / {
            try_files $uri $uri/ @rewrite;
        }
            location @rewrite {
            rewrite ^/(.+)$ /index.php?page=$1 last;
        }

        # prevent access to database.js
        location ~ database.js {
            return 403;
        }

        location ~ cache.json {
            return 403;
        }

        # use php-fpm for dealing with php files

location ~ \.php$ {
      fastcgi_pass unix:/run/php/php8.1-fpm.sock;

      fastcgi_param SCRIPT_FILENAME $document_root$fastcgi_script_name;
      include fastcgi_params;
      include snippets/fastcgi-php.conf;
      fastcgi_buffer_size 128k;
      fastcgi_buffers 4 128k;
      fastcgi_intercept_errors on;
        }
    }
If you're using PHP 8.xx, The line fastcgi_pass unix:/run/php/php7.4-fpm.sock; should be changed to fastcgi_pass unix:/run/php/php8.0-fpm.sock; for PHP 8.x or fastcgi_pass unix:/run/php/php8.1-fpm.sock; for PHP 8.1
Enable the Nginx Configuration File
Next, make a symbolic link to the sites-enabled directory so that you can access the Nginx configuration file from the sites-enabled directory as follows:
sudo ln -s /etc/nginx/sites-available/example.com.conf /etc/nginx/sites-enabled/
Make sure the name of your configuration file appears in place of example.conf.
If everything checks out now, do a dry run and restart your Nginx server:
sudo nginx -t
Restart the Nginx service if the results of your Nginx dry run test show no problems:
sudo systemctl restart nginx
PHP.ini Configuration for WonderCMS on Ubuntu
It is a good idea to optimize your PHP settings for WonderCMS before moving on to the web UI installation. The suggestions that follow are meant to be used as a reference; feel free to modify them to suit your needs.
Edit the PHP.ini File
Open your php.ini file first. Depending on your PHP version number, this file may be located in a different location:
sudo nano /etc/php/{version}/fpm/php.ini
By changing the parameters listed below, you can improve the performance of your CMS. Be aware that you might not notice a noticeable improvement if your system has limited resources (1 vCPU, 1GB). Make any necessary adjustments after using these settings as a starting point.
##increase upload max size recommend 50 to 100mb example only##
 upload_max_filesize = 100MB

##increase post max size recommend 50 to 100mb  example only##
 post_max_size = 100MB

## increase max execution time recommend 120 to 300##
 max_execution_time = 120

## increase GET/POST/COOKIE input variables recommend 5000 to 10000##
max_input_vars = 5000

## increase memory limit recommend 256mb or 512mb##
memory_limit = 256M
Restart the PHP-FPM server:
sudo systemctl restart php{version}-fpm
Update Nginx Server Block
The PHP backend is using the PHP settings that you changed. To support larger body sizes, the Nginx server block must also be modified. Reopen your server block to accomplish this:
sudo nano /etc/nginx/sites-available/example.com
To increase the permitted body size, add the following line:
client_max_body_size 100M;
Make sure the PHP file setting and the client_max_body_size value match.
Lastly, if everything checks out, test the modifications and restart your Nginx server:
sudo nginx -t
Restart the Nginx service if the Nginx dry run test is successful:
sudo systemctl restart nginx
Install WonderCMS with WebUI on Ubuntu 22.04 and Nginx
It's time to install the WonderCMS Web UI after finishing the backend setup and configuration. To get started, take the actions listed below.
Access the Installation Page
To initiate the installation process, navigate to your domain:
https://www.yoursite.com
Logging In
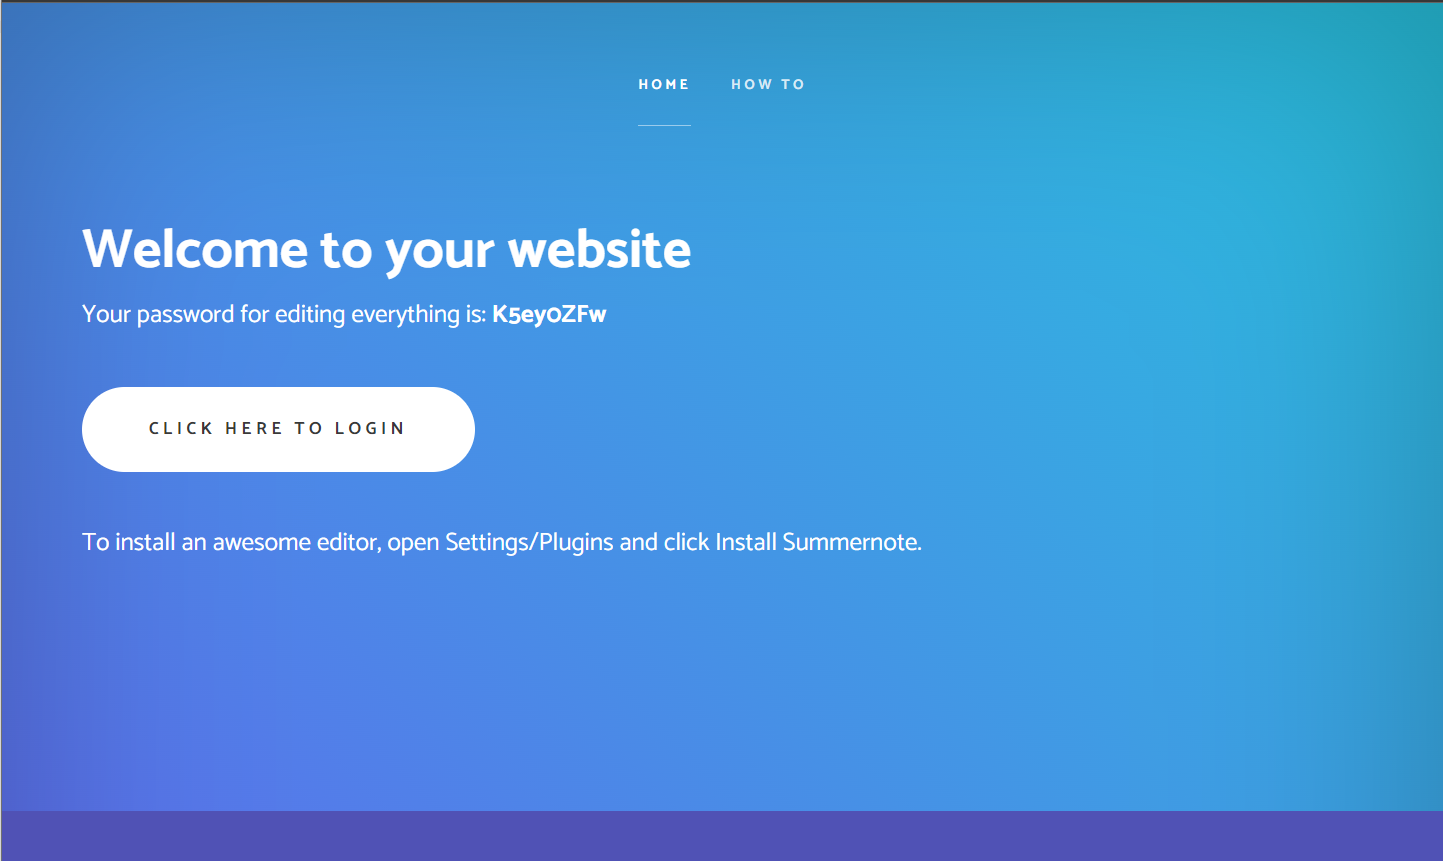
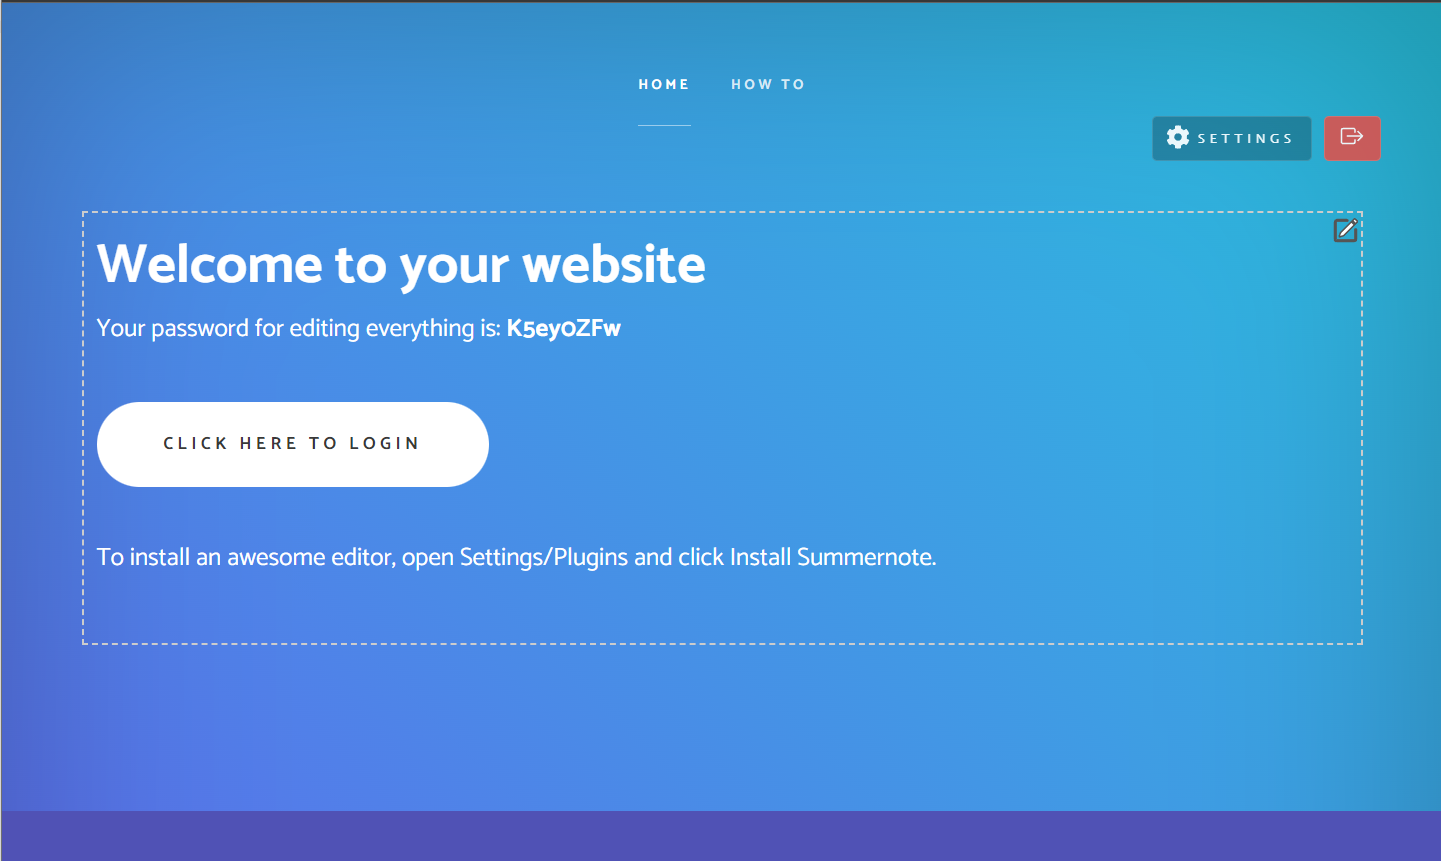
On the first page, there is a login button and a temporary password. Press "Login" to continue.
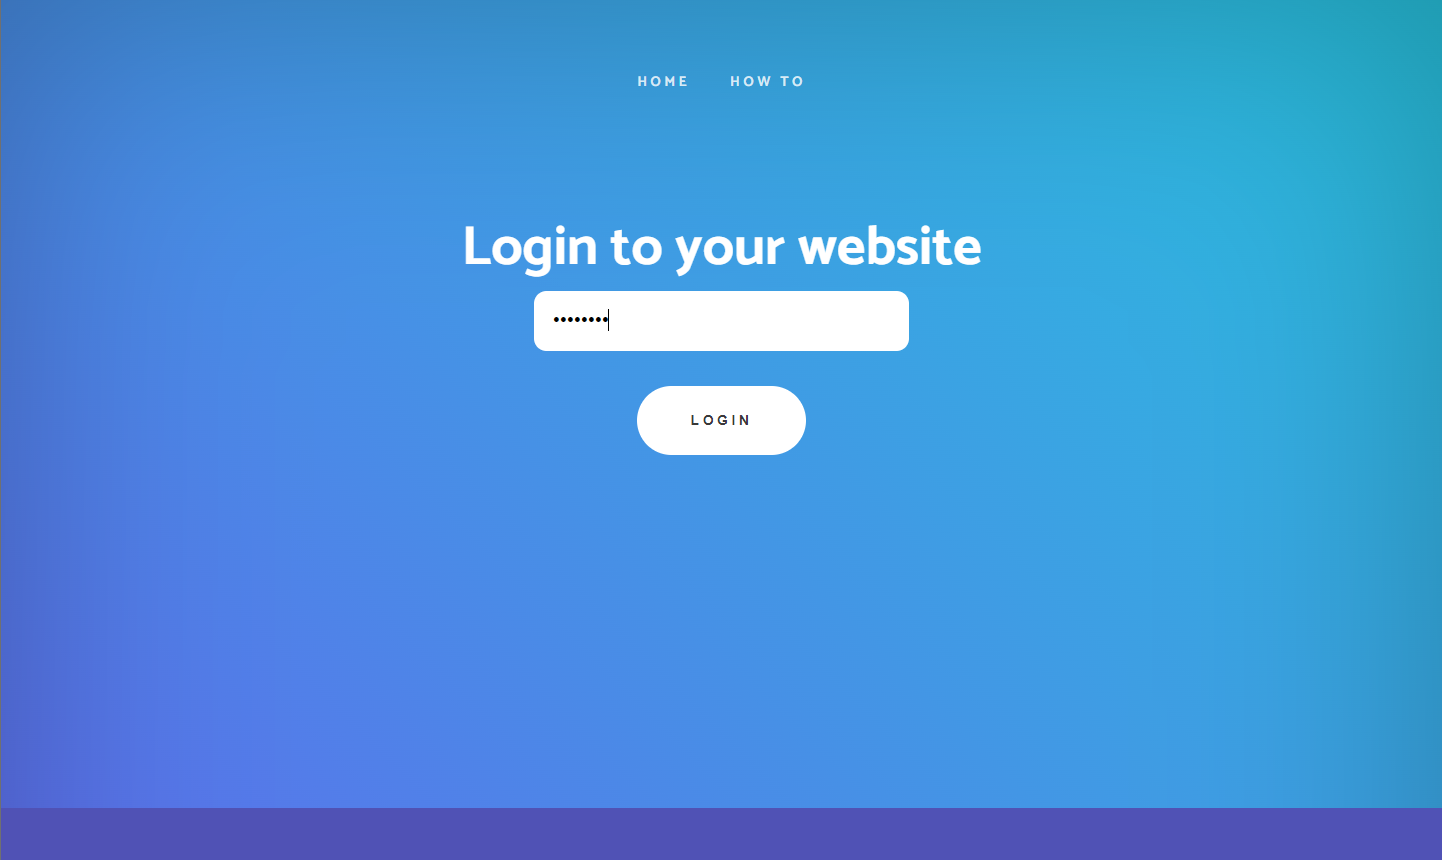
On the login page that says "Welcome to your website", enter the temporary password. Click the back button, copy the password once more, and attempt logging in again if you failed to copy it or forgot it.
Configuring Your Website
You will be taken to a page that resembles the original login page after successfully logging in. This CMS page is editable, though. You will see the option to "Change settings" at the top of the page.
To view the configuration panel, click "Change settings." It is strongly advised that you update your settings right away to improve the security of your website.
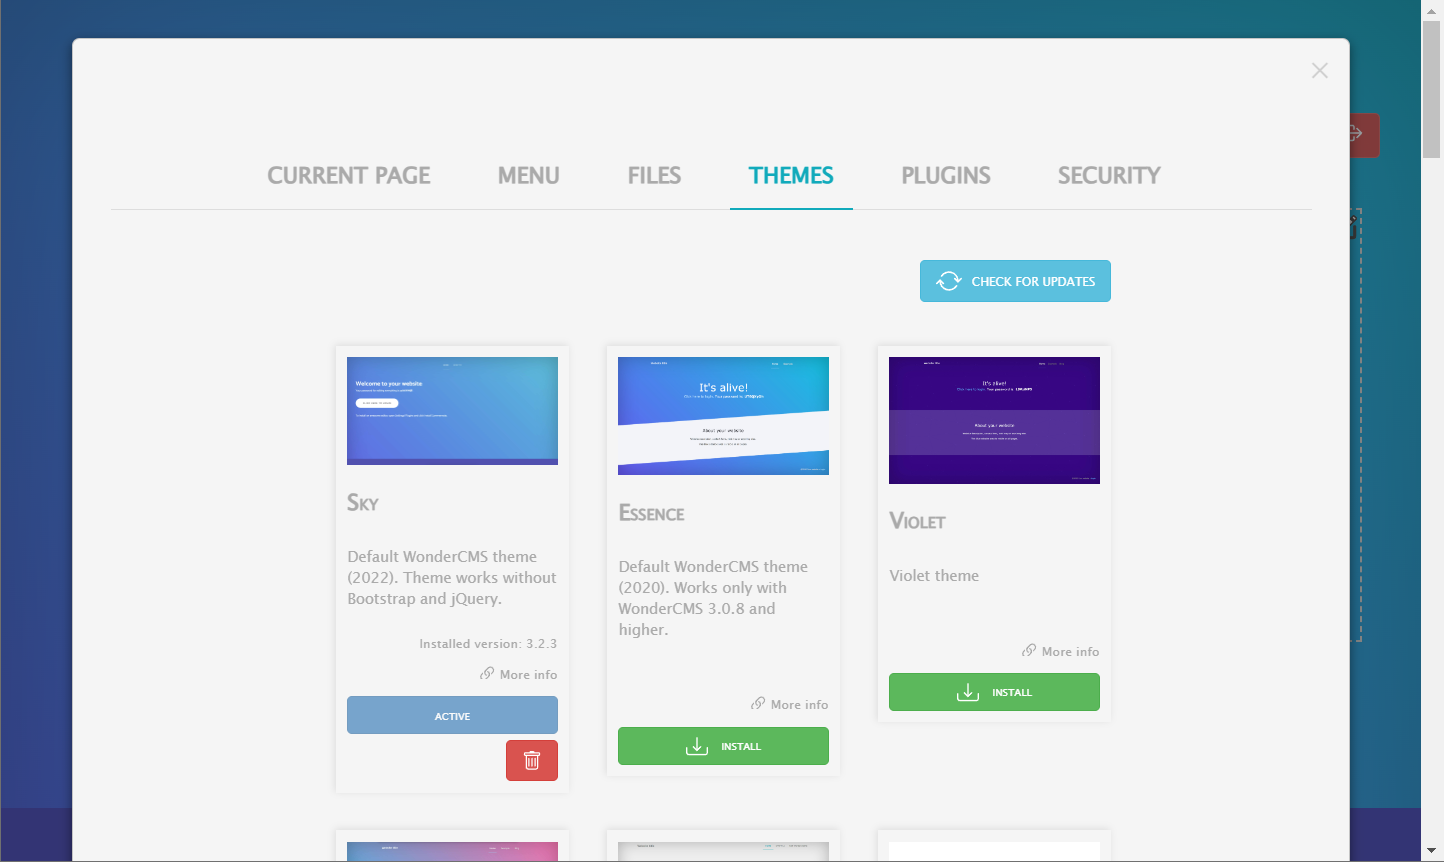
Customize Your WonderCMS Website
After your website has been secured, feel free to explore WonderCMS's customization options. You have the ability to alter the appearance and feel of your website by adding new pages and changing the themes.
Tips on Getting Started with WonderCMS and Nginx on Ubuntu 22.04
It's time to explore WonderCMS's features and customization options after installing it on your Ubuntu server. We'll go over some general pointers, customizations, and other helpful information to get you going with WonderCMS in this guide.
General Tips with WonderCMS Nginx Combination on Ubuntu
- Keep your WonderCMS updated: Ensure that WonderCMS is up to date by routinely checking for updates. Better security, performance, and access to new features will result from this.
- Enable HTTPS: Use a free SSL certificate from Let's Encrypt to enable HTTPS on your website and make it secure. This will add an additional layer of security by encrypting data traveling between your server and users' browsers.
- Regularly back up your data: Make frequent backups of the data on your website to safeguard it. In the event of data loss or server problems, this will enable you to recover swiftly.
Customization Options with WonderCMS Nginx Combination on Ubuntu
- Change themes: WonderCMS provides a large selection of themes. Choose a theme that best fits your needs to personalize the look of your website. The WonderCMS community offers more themes, or you can make your own.
- Add plugins: Installing plugins will improve the functionality of your website. Many plugins from the WonderCMS community can be used to add contact forms, optimize your website for search engines, and accomplish a lot more.
- Customize menus: Customize menus to organize the navigation of your website. You have the ability to add unique links to external pages, rearrange menu items, and make new menus.
Other Useful Tips with WonderCMS Nginx Combination on Ubuntu
- Optimize images: Optimize your images to increase the speed at which your website loads. Utilize online resources such as TinyPNG or Compressor.io to compress your photos without sacrificing quality.
- Enable caching: Caching can help your website load faster. By doing this, users' browsers will save copies of your website, which will lessen server load and speed up page loads.
- Monitor website performance: Make use of resources like Google Analytics and Google Search Console to monitor the performance of your website. These tools offer insightful data about user behavior, website traffic, and possible problems.
You'll have no trouble building an effective and captivating WonderCMS website on your Ubuntu server if you adhere to these customization suggestions and guidelines.
Setup NGINX HTTPS with Let’s Encrypt for WonderCMS on Ubuntu 22.04
Using HTTPS to secure your website is essential for protecting user privacy and data. Utilizing Let's Encrypt, a free, automated, and open certificate authority run by the nonprofit Internet Security Research Group (ISRG), is one way to accomplish this. This section will walk you through configuring Let's Encrypt to use HTTPS for your Nginx-powered WonderCMS website.
Install Nginx Certbot Package on Ubuntu for WonderCMS HTTPS
Start by using the following command to install the Certbot package:
sudo apt install python3-certbot-nginx
Create an SSL Certificate for Nginx on Ubuntu for WonderCMS HTTPS
To create your SSL certificate, run the command below after installing the Certbot package. Make sure to substitute your own domain name and email address:
sudo certbot --nginx --agree-tos --redirect --hsts --staple-ocsp --email [email protected] -d www.example.com
Strict-Transport-Security headers, OCSP Stapling, and force HTTPS 301 redirects are all part of this perfect configuration. Just remember to modify the domain name and email to suit your needs.
With the help of OCSP Stapling, a Strict-Transport-Security header, and force HTTPS 301 redirects, this command sets up a secure configuration.
Instead of using http://www.example.com, your website URL will now read https://www.example.com. The HTTPS version will be automatically redirected if you try to access the old HTTP URL.
If everything goes as planned, run the following terminal command to launch your crontab window.
Set Up Automatic Certificate Renewal for HTTPS
You can set up a cron job to renew your SSL certificates automatically, ensuring they always remain valid. A script is provided by Certbot to manage this procedure.
Start by doing a dry run to test the renewal process:
sudo certbot renew --dry-run
After a successful dry run, launch the crontab window:
sudo crontab -e
Create a new cron job now to check every day for certificate renewals. The script will take care of the update if a renewal is required. Take the line that follows as an example, and alter the schedule as necessary:
00 00 */1 * * /usr/sbin/certbot-auto renew
Use crontab.guru to find an appropriate time for the renewal check if you need assistance. You can use a free SSL certificate from Let's Encrypt to secure your WonderCMS website with HTTPS by following these steps.
FAQs to Install WonderCMS with Nginx on Ubuntu 22.04
What are the system requirements for installing WonderCMS with Nginx on Ubuntu 22.04?
To install WonderCMS with Nginx, you'll need a server running Ubuntu 22.04, Nginx, PHP version 7.4 or higher, and MySQL or MariaDB.
Is there a step-by-step installation guide available?
Yes, there is a step-by-step installation guide available on the official WonderCMS website. You can find detailed instructions on how to install WonderCMS with Nginx on Ubuntu 22.04.
Can I use a different web server instead of Nginx?
Yes, WonderCMS can be used with different web servers like Apache or LiteSpeed, but Nginx is recommended for its performance and scalability benefits.
Do I need to have prior knowledge of coding to install WonderCMS with Nginx?
No, you don't need prior coding knowledge. The installation process involves basic server configuration and following the installation guide.
Can I migrate my existing website to WonderCMS with Nginx?
Yes, you can migrate your existing website to WonderCMS with Nginx. Make sure to backup your current website, export your content, and follow the migration instructions provided.
Is WonderCMS with Nginx SEO-friendly?
Yes, WonderCMS with Nginx is SEO-friendly. It allows you to easily optimize your website for search engines by adding meta tags, custom URLs, and optimizing content.
Can I install multiple instances of WonderCMS with Nginx on the same server?
Yes, you can install multiple instances of WonderCMS with Nginx on the same server by creating separate virtual hosts or using subdirectories.
Conclusion
We hope this tutorial helped you understand how to install WonderCMS with Nginx on Ubuntu 22.04.
If you have any queries, please leave a comment below, and we’ll be happy to respond to them for sure.