
Choose a different version or distribution
Introduction
Before we begin talking about how to install and configure Nextcloud with Apache on CentOS 9, let's briefly understand - What is Nextcloud?
Nextcloud is a powerful self-hosted cloud platform that provides secure file synchronization, sharing, and collaboration functionalities.
You can store your data in various cloud services, including Google Drive, Microsoft OneDrive, and Dropbox. Being commercial services and relying on them to protect your data is the only thing that makes these services less wonderful. What if there was a substitute for these commercial services? This is where Nextcloud comes into play.
This tutorial will walk you through the process of installing and configuring Nextcloud with Apache on a CentOS 9 server, enabling you to set up your own private cloud storage solution.
Advantages
- Enhanced Privacy: With Nextcloud, you have full control over your data, as it allows you to host it on your own server instead of relying on third-party cloud storage providers.
- Collaboration and Sharing: Nextcloud facilitates seamless collaboration by enabling file sharing, versioning, commenting, and real-time editing, making it ideal for teams and organizations.
- Extensive App Ecosystem: Nextcloud offers a wide range of apps and extensions that can be installed to extend its functionality, allowing you to tailor the platform to your specific needs.
- Access Anywhere: With Nextcloud, you can access your files and data from anywhere, using various devices like laptops, desktops, smartphones, or tablets, as long as you have an internet connection.
- Data Sync and Backup: Nextcloud provides automatic file synchronization across devices, allowing you to keep your data up to date. It also offers features for backing up and restoring files, providing an additional layer of protection.
Set up a System for Nextcloud
Before we can install Nextcloud, we need a few modules that will help to run it.
Pre-requisites
Install the LAMP Stack on your machine.
In addition, you must enable the EPEL repository on your system.
Install any dependencies required for the installation.
sudo yum install -y yum-utils unzip curl wget bash-completion policycoreutils-python-utils mlocate bzip2
Install additional PHP modules.
sudo yum install -y php-gd php-mbstring php-intl php-pecl-apcu php-mysqlnd php-opcache php-json php-zip php-dom php-xml php-mysql
Then you should update your system.
sudo yum update
Create Apache Virtualhost for Nextcloude
In the Apache directory, create a virtual host for Nextcloud.
sudo vi /etc/httpd/conf.d/nextcloud.conf
Add the below content while providing your server name and the root directory where you will store Nextcloud files.
<VirtualHost *:80>
  DocumentRoot /var/www/html/nextcloud/
  ServerName  nextcloud.technix.com

  <Directory /var/www/html/nextcloud/>
    Require all granted
    AllowOverride All
    Options FollowSymLinks MultiViews

    <IfModule mod_dav.c>
      Dav off
    </IfModule>

  </Directory>
</VirtualHost>
Start the Apache service again.
sudo systemctl restart httpd
Create a Database for Nextcloud
Launch the MySQL command-line tool.
sudo mysql -u root -p
Next, enter the below lines:
CREATE USER 'nextcloud'@'localhost' IDENTIFIED BY 'StrongPassword';
CREATE DATABASE IF NOT EXISTS nextcloud CHARACTER SET utf8mb4 COLLATE utf8mb4_general_ci;
GRANT ALL PRIVILEGES on nextcloud.* to 'nextcloud'@'localhost';
FLUSH privileges;
Use the following command to quit:
quit;
Install NextCloud on CentOS 9|AlmaLinux 9|RHEL 9
Visit the Download page to download the latest Nextcloud Server release. Click on Download for Server under Archive file in the Download Server section. As seen below, you can also download it using the wget command.
wget https://download.nextcloud.com/server/releases/latest.zip
You need to unzip the file to the /var/www/html/ directory.
sudo unzip latest.zip -d /var/www/html
Make a data folder to assist with installation.
sudo mkdir /var/www/html/nextcloud/data
Set permissions to Apache for the entire Nextcloud folder.
sudo chown -R apache:apache /var/www/html/nextcloud
Start the Apache server again.
sudo systemctl restart httpd
Create a firewall rule to grant apache access.
sudo firewall-cmd --permanent --add-port=80/tcp
sudo firewall-cmd --reload
SELinux Configuration
If your Linux distribution has SELinux enabled, you may need to run some commands to configure Nextcloud. The SELinux Configuration page includes additional configuration settings. For this guide, execute the following commands.
sudo semanage fcontext -a -t httpd_sys_rw_content_t '/var/www/html/nextcloud/data(/.*)?'
sudo semanage fcontext -a -t httpd_sys_rw_content_t '/var/www/html/nextcloud/config(/.*)?'
sudo semanage fcontext -a -t httpd_sys_rw_content_t '/var/www/html/nextcloud/apps(/.*)?'
sudo semanage fcontext -a -t httpd_sys_rw_content_t '/var/www/html/nextcloud/.htaccess'
sudo semanage fcontext -a -t httpd_sys_rw_content_t '/var/www/html/nextcloud/.user.ini'
sudo semanage fcontext -a -t httpd_sys_rw_content_t '/var/www/html/nextcloud/3rdparty/aws/aws-sdk-php/src/data/logs(/.*)?'

sudo restorecon -R '/var/www/html/nextcloud/'
sudo setsebool -P httpd_can_network_connect on
Once the configuration is complete, navigate to http://your-domain_or_IP/ and continue with the next installation steps on the Installation Wizard. The first step is to make an account specifically for administrative tasks.
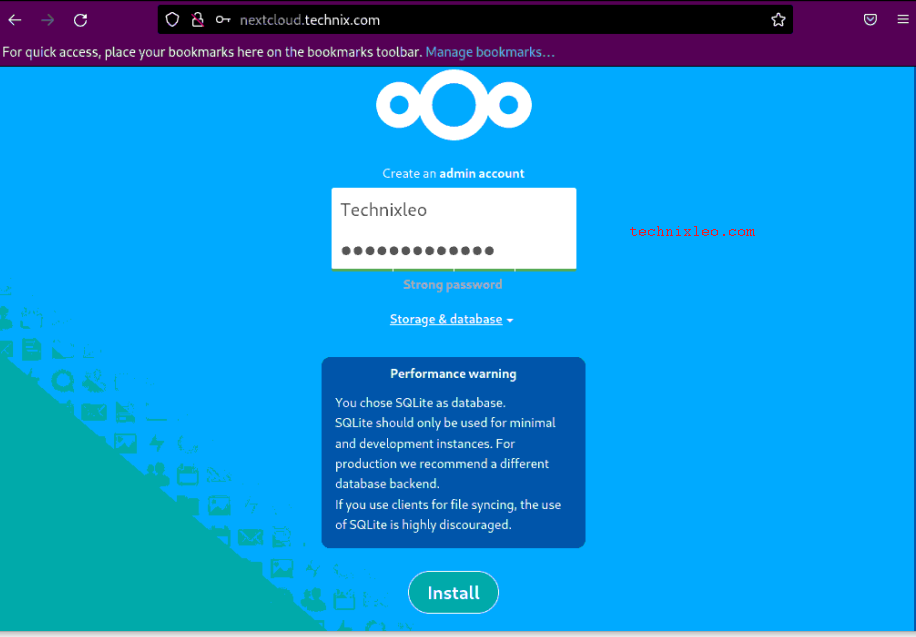
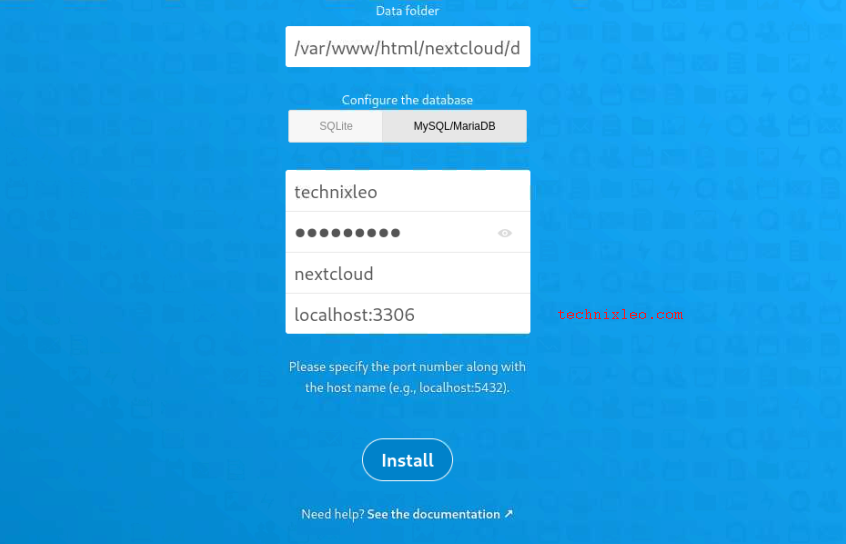
Since we want to use MySQL/MariaDB database, click on Storage & database then and choose the database type, and enter the details that we created above for the Database. Next, click Install. For initial development instances, you might decide to keep using the SQLite database.
The list of suggested apps to download is on the next page.

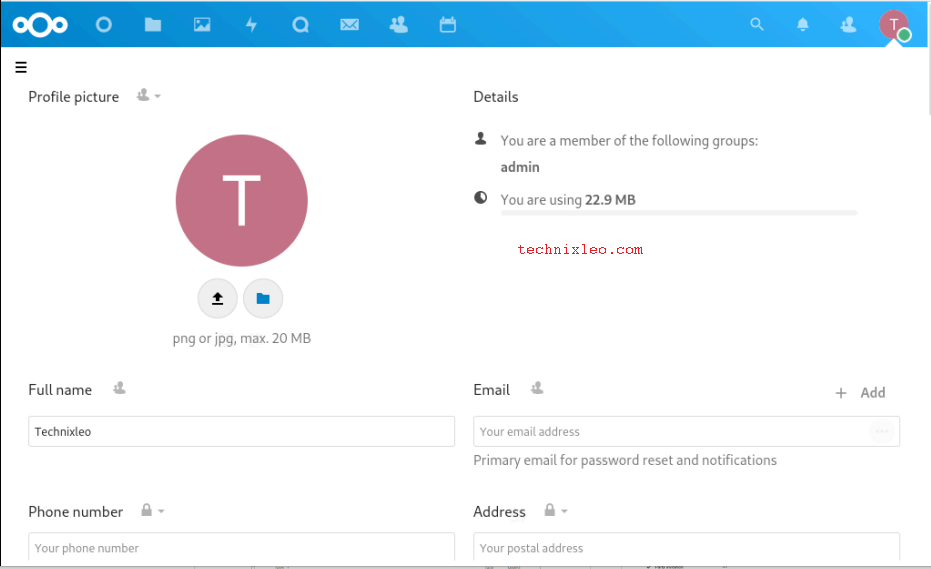
Your setup is complete, and the dashboard page will appear as seen below.

You can view other details that you can add by clicking on Profile, such as a profile picture, email, role, organization, About, Languages, Locale, Headline, and so on.
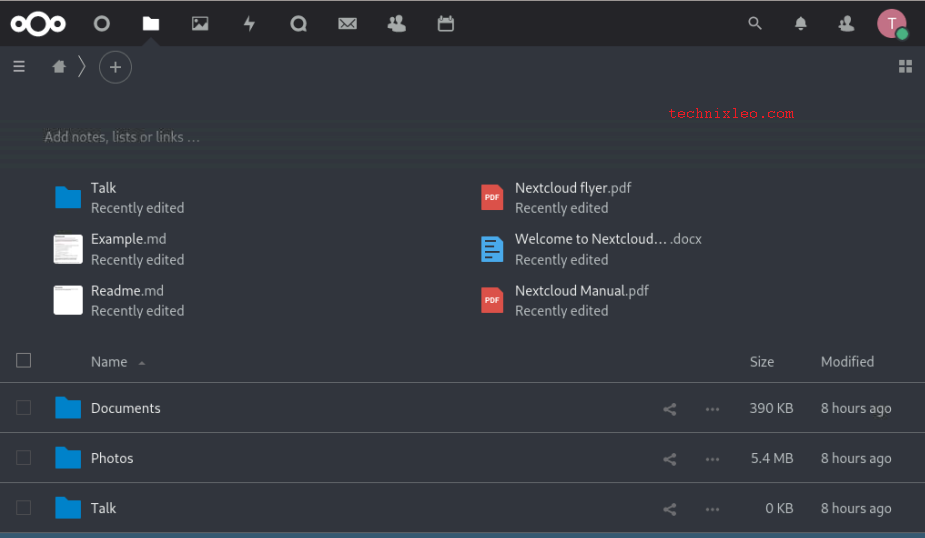
Your files are listed in the Files section.

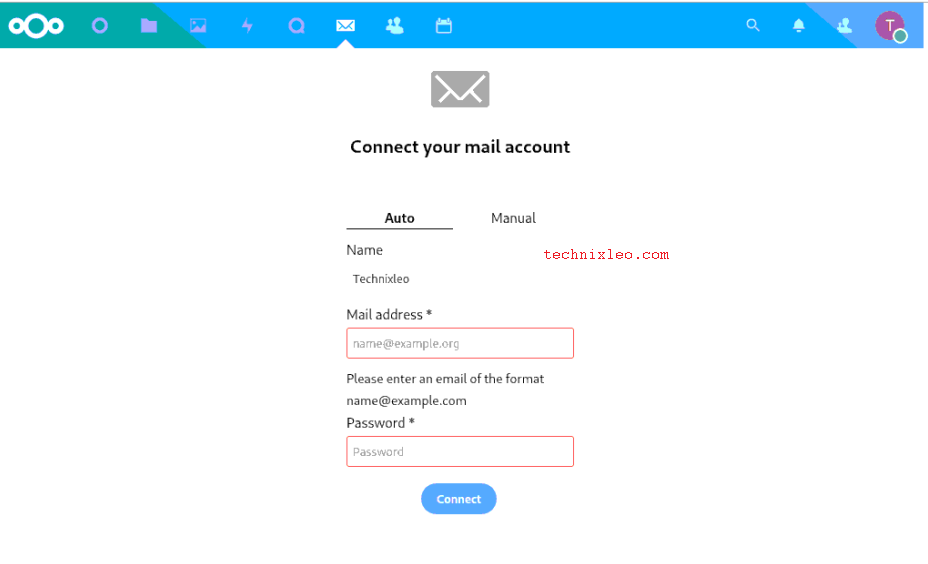
You can connect your mail account or make a manual connection in the mail section.
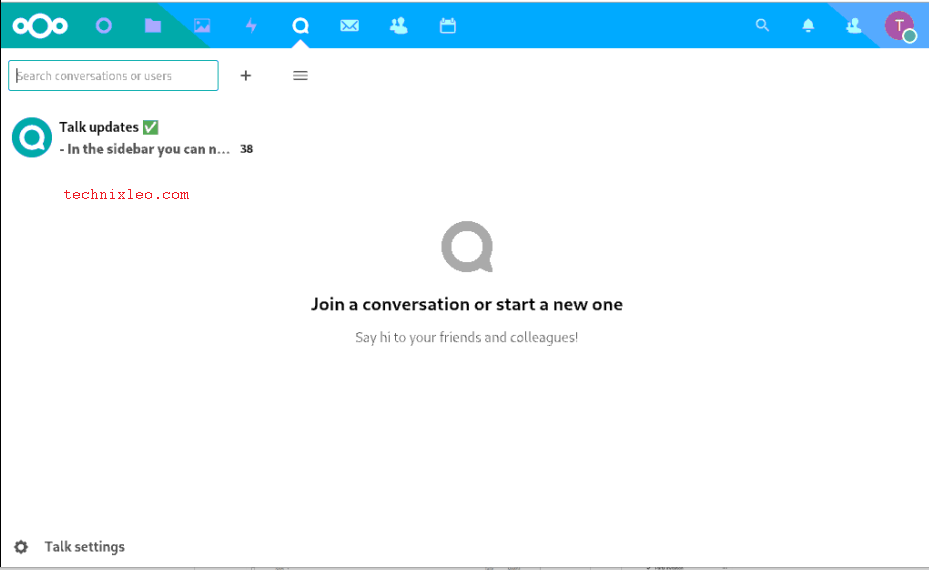
You can start conversations with colleagues and friends in the Talk section.
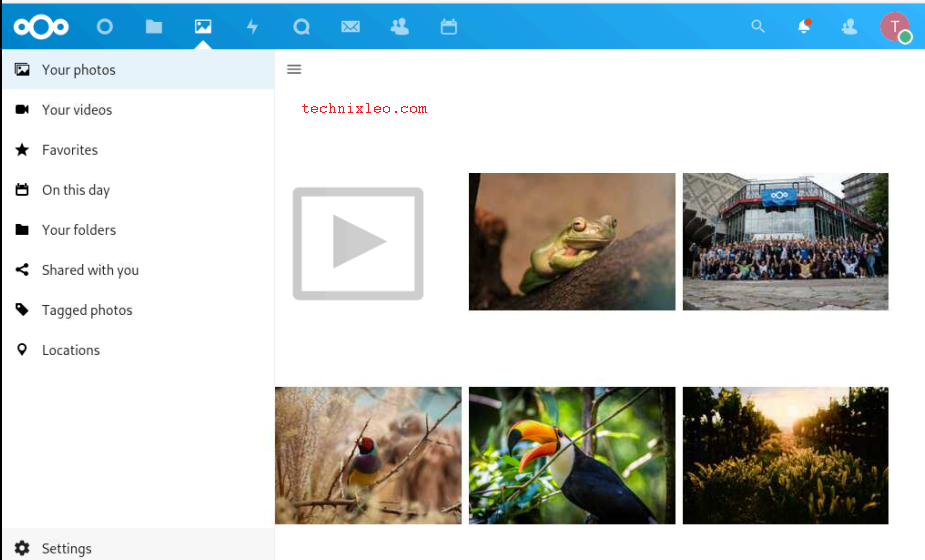
You can view your photos in the Photos Sections.
You can add contacts via the contacts section.

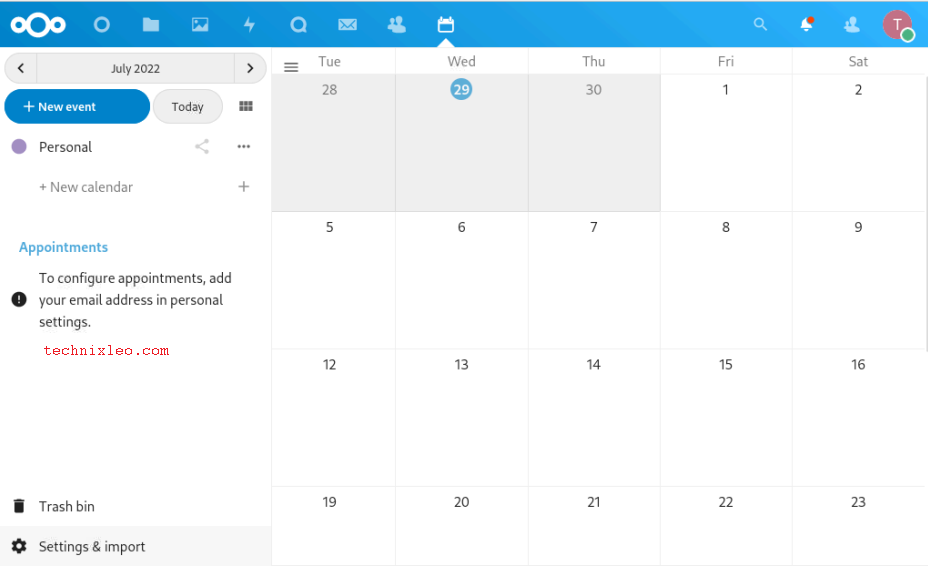
You can schedule events and configure appointments through the Calendar Tab.
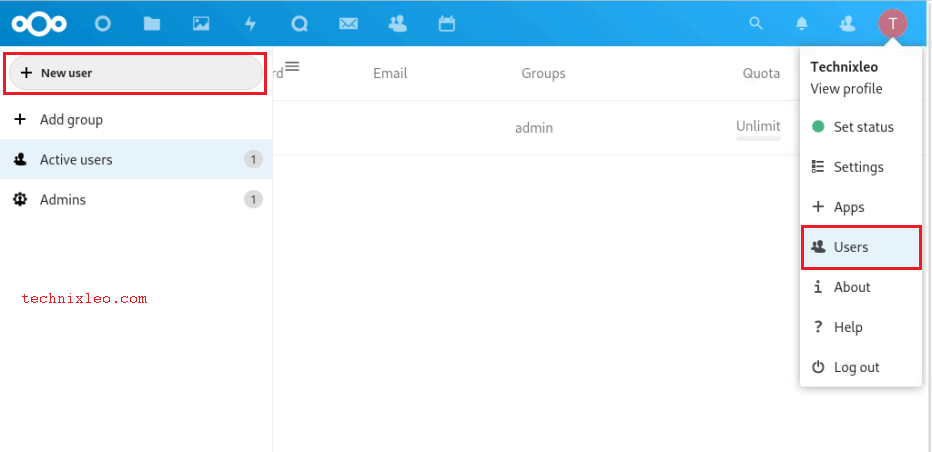
Create a user on Nextcloud
Go to Users then click on New user to create a user.
Enter the details of the New User then click on 'Add a new user'.
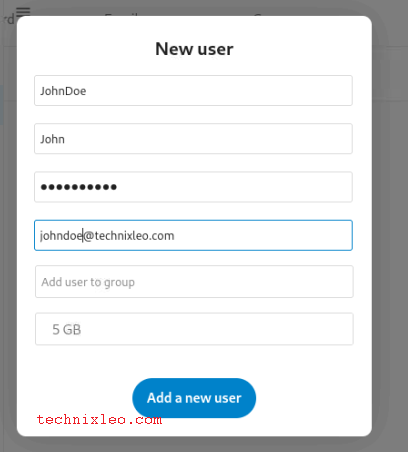
To authorize the user creation, you will need to enter the Admin password. After that, the user will be included in the list of other users, as displayed below.
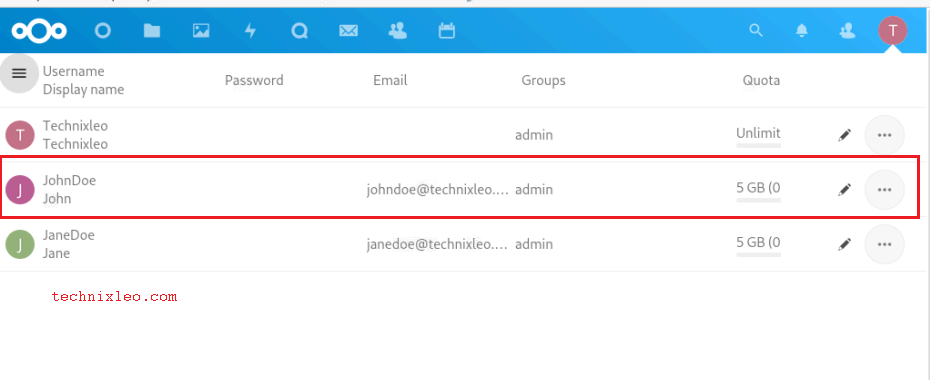
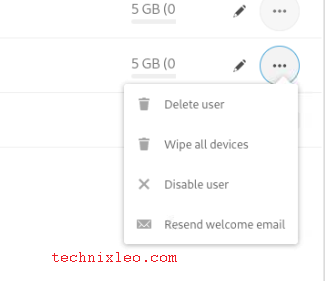
As demonstrated below, the user can also be subjected to other actions.
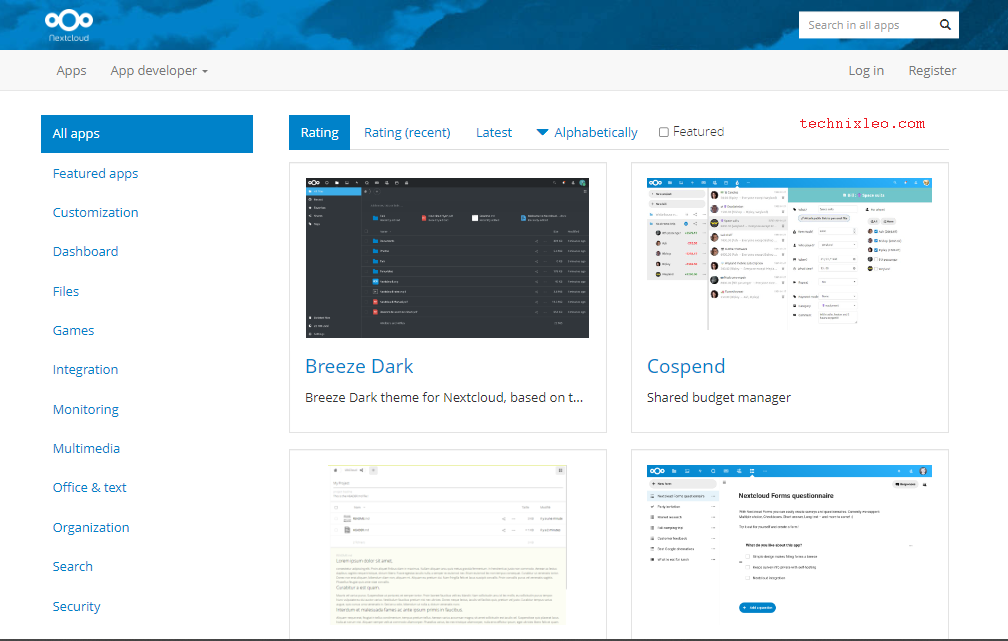
Install Addons on Nextcloud
To further personalize and enhance the functionality of the server, Nextcloud provides Apps that can be installed. They are available on the Apps webpage on Nextcloud Site.
To access the available apps, however, you must connect the server to the website. To accomplish this, edit the configuration file and add the following entries.
$ sudo vi /var/www/html/nextcloud/config/config.php
'appstoreenabled' => true,
'appstoreurl' => 'https://apps.nextcloud.com/api/v1',
'appsallowlist' => [],
'apps_paths' => [
        [
                'path'=> '/var/www/html/nextcloud/apps',
                'url' => '/apps',
                'writable' => true,
        ],
],
'appcodechecker' => true,
After saving and closing the file, restart your web server.
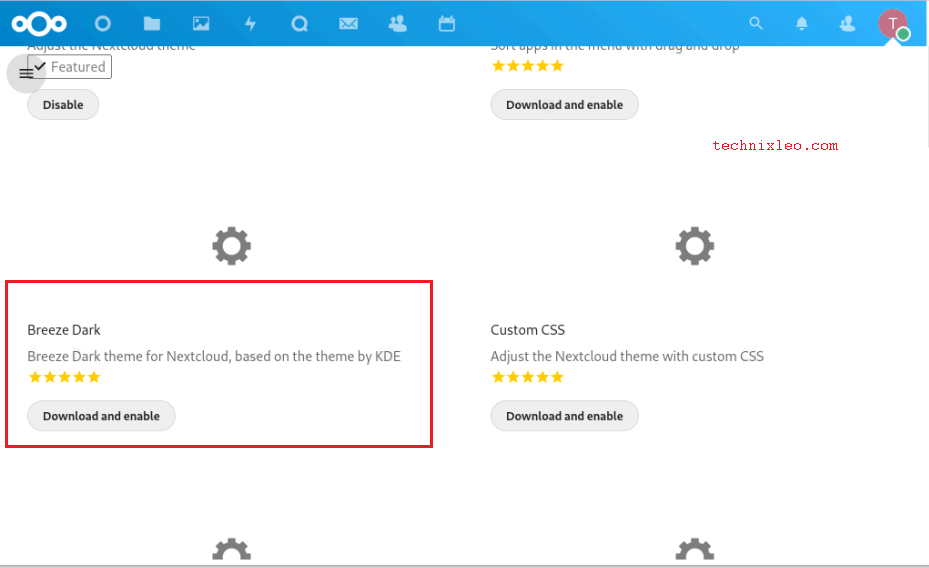
Go to Apps and then view the available apps as displayed. Click on the app you would like to install, in this case, Breeze Dark theme, and then click Download and Enable.
After that, navigate to Settings > Theming.
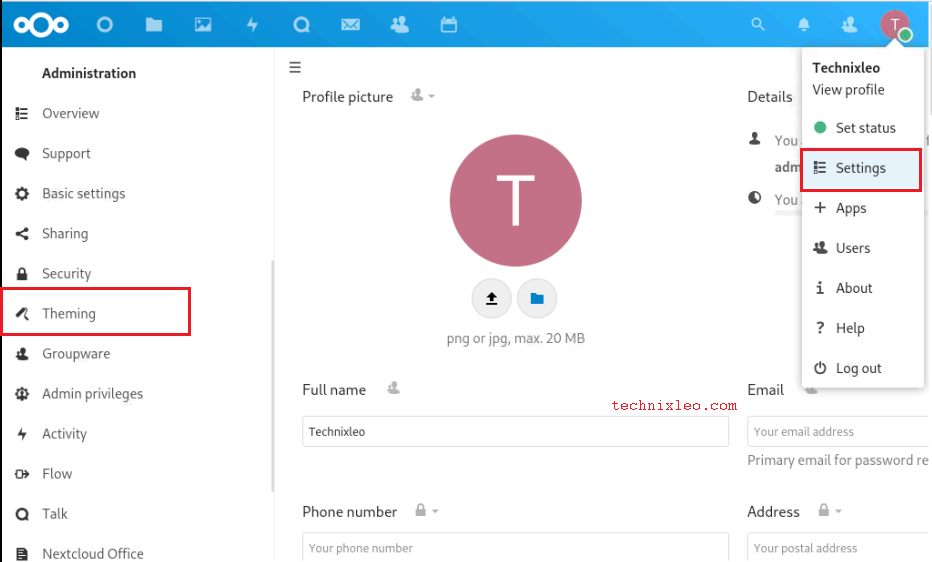
Scroll to Breeze Dark next. To automatically enable the theme, select the Checkbox.

To see the changes, reload the page.
Secure Nextcloud with SSL
Prerequisites
- The Self-signed Certificate is kept in the
/etc/pki/tls/certsdirectory. - Let's Encrypt Certificate is kept in the directory
/etc/letsencrypt/live/nextcloud.technix.com/.
Set up the Firewall to allow HTTPS access.
sudo firewall-cmd --permanent --add-port=443/tcp
sudo firewall-cmd --reload
You need to install the mod_ssl package using:
sudo yum install mod_ssl
Self-signed Certificate
Open the SSL configuration file and set the paths to the necessary keys.
$ sudo vi /etc/httpd/conf.d/ssl.conf
SSLCertificateKeyFile "/etc/pki/tls/certs/server.key"
SSLCertificateFile "/etc/pki/tls/certs/server.crt"
Set up such that only the root may access them.
sudo chown root:root /etc/pki/tls/certs/server.key
sudo chmod 600 /etc/pki/tls/certs/server.key
Start the Apache server again
sudo systemctl restart httpd
Let’s Encrypt certificate
Open the SSL configuration file and specify the path to the key.
$ sudo vi /etc/httpd/conf.d/ssl.conf
SSLCertificateFile /etc/letsencrypt/live/nextcloud.technix.com/fullchain.pem
SSLCertificateKeyFile /etc/letsencrypt/live/nextcloud.technix.com/privkey.pem
Set up such that only the root may access them.
sudo chown root:root /etc/letsencrypt/live/nextcloud.technix.com/fullchain.pem
sudo chmod 600 /etc/letsencrypt/live/nextcloud.technix.com/fullchain.pem
Start the Apache Web server again:
sudo systemctl restart httpd
Access https://your-domain.com/nextcloud using your browser.

Configure Nginx as HTTPD Proxy.
Use the following command to install Nginx:
sudo yum install nginx
The root folder and the following information should be added to the server block by editing the main configuration file.
$ sudo vi /etc/nginx/nginx.conf
listen                3200;
listen                [::]:3200;
server_name      nextcloud.example.com;
root                   /var/www/html/nextcloud;

location / {
    proxy_pass http://nextcloud.technix.com;
}
Save the file, then close it.
The server name should be added to the trusted domains list by editing the Nextcloud configuration file.
$ sudo vi /var/www/html/nextcloud/config/config.php
'trusted_domains' =>
  array (
    0 => 'nextcloud.technix.com',
    1 => 'nextcloud.example.com',
  ),
To enable Nginx to forward traffic, configure SELinux.
sudo setsebool -P httpd_can_network_connect 1
sudo  semanage port -a -t http_port_t -p tcp 3200
sudo semanage port -m -t http_port_t -p tcp 3200
Start the service and allow it to launch automatically when it boots up.
sudo systemctl enable --now nginx
Check the service status:
$ sudo systemctl status nginx
● nginx.service - The nginx HTTP and reverse proxy server
     Loaded: loaded (/usr/lib/systemd/system/nginx.service; enabled; vendor pre>
    Drop-In: /usr/lib/systemd/system/nginx.service.d
             └─php-fpm.conf
     Active: active (running) since Wed 2022-06-29 14:18:44 EAT; 7s ago
    Process: 10259 ExecStartPre=/usr/bin/rm -f /run/nginx.pid (code=exited, sta>
    Process: 10260 ExecStartPre=/usr/sbin/nginx -t (code=exited, status=0/SUCCE>
    Process: 10261 ExecStart=/usr/sbin/nginx (code=exited, status=0/SUCCESS)
   Main PID: 10262 (nginx)
      Tasks: 3 (limit: 48771)
     Memory: 3.5M
        CPU: 30ms
     CGroup: /system.slice/nginx.service
             ├─10262 "nginx: master process /usr/sbin/nginx"
             ├─10263 "nginx: worker process"
             └─10264 "nginx: worker process"
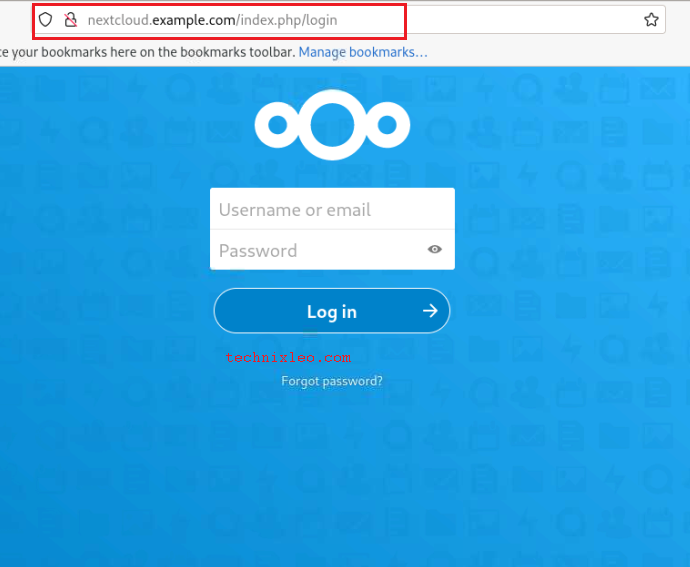
Connect to http://nextcloud.example.com from a browser.
FAQ's on how to install and configure Nextcloud with Apache on CentOS 9
Why should I choose Nextcloud over other cloud storage solutions?
Nextcloud provides enhanced privacy and control over your data compared to using public cloud storage solutions. You can host your files on your own server and have complete control over who can access them.
What are the minimum system requirements for installing Nextcloud with Apache on CentOS 9?
The recommended minimum system requirements for Nextcloud include a CentOS 9 server with Apache, PHP, and a database (MySQL/MariaDB) installed.
How can I install Apache, PHP, and the necessary PHP extensions on CentOS 9?
You can install Apache, PHP, and required PHP extensions using the package manager yum. For example, sudo yum install httpd php php-mysqlnd php-gd php-xml php-mbstring.
What is the process of installing and configuring Nextcloud on CentOS 9?
The process involves setting up a LAMP stack (Linux, Apache, MySQL/MariaDB, PHP), enabling necessary Apache modules, creating a database, downloading and extracting Nextcloud, configuring Apache virtual host, and finishing the installation through a web browser.
Can I use a different database instead of MySQL/MariaDB?
Yes, Nextcloud supports various databases like PostgreSQL, SQLite, and Oracle. However, MySQL/MariaDB is the most commonly used database for Nextcloud installations.
Is it possible to access Nextcloud remotely from other devices?
Yes, once installed and configured, you can access Nextcloud from any device with an internet connection and a web browser. Nextcloud also provides mobile apps for iOS and Android.
Can I customize the appearance and branding of my Nextcloud instance?
Yes, Nextcloud allows customization options, including themes and custom branding, to match your organization's branding or personal preferences.
Conclusion
By following the installation and configuration steps outlined in this tutorial on CentOS 9 with Apache, you can take control of your data and create your own private cloud server. With its emphasis on privacy, flexibility, and extensibility, Nextcloud offers significant advantages over traditional cloud storage solutions.
If you have any queries, feel free to leave a comment below and we'll be happy to help.
