
Introduction
Before we begin talking about how to install Cockpit on Ubuntu 22.04, let's briefly understand – What is Cockpit?
Cockpit is a powerful tool designed for managing Linux servers through a user-friendly web interface. It provides a centralized platform for administrators to monitor system performance, manage services, and perform various tasks efficiently. With Cockpit, administrators can easily navigate through server settings, view resource utilization, and troubleshoot issues.
This intuitive software simplifies server administration, making it accessible even for users with limited technical knowledge. By streamlining server management, Cockpit software enhances productivity and ensures the smooth and efficient operation of Linux servers.
In this tutorial, you will install Cockpit on Ubuntu 22.04. We will also address a few FAQs on how to install Cockpit on Ubuntu 22.04.
Advantages of Cockpit
- Simplified Server Management: Cockpit offers an intuitive web interface that makes it easy to manage and monitor Linux servers.
- Remote Accessibility: Administrators can access and control servers remotely, allowing for convenient administration from any location.
- Real-time Monitoring: Cockpit provides live system performance metrics and logs, enabling prompt detection and resolution of issues.
- User-Friendly Interface: The intuitive design of Cockpit makes server administration accessible to both technical and non-technical users.
- Task Automation: Cockpit offers automation capabilities, allowing administrators to streamline repetitive tasks and improve overall efficiency.
Install Cockpit on Ubuntu 22.04 via APT
We will guide you through the installation of Cockpit on your Ubuntu system in this section. To ensure a seamless installation and setup of the Cockpit web interface, adhere to the instructions provided below.
Step 1: Update Ubuntu Before Cockpit Installation
Update your Ubuntu system to ensure you have the most recent packages and security updates before installing Cockpit. This lessens the possibility of problems occurring during installation. Open the terminal and type the following command to update your system:
sudo apt update && sudo apt upgrade
Step 2: Install Cockpit on Ubuntu 22.04
Although Cockpit can be found in the official Ubuntu repository, users who prefer the most recent version of Cockpit can also obtain it through a PPA.
Method 1: Install Cockpit via Ubuntu’s Default APT Repository
Run the following command in your terminal to install Cockpit on your system:
sudo apt install cockpit
Method 2: Install Cockpit on Ubuntu 22.04 via PPA
As an alternative, you can enable the ViViD-maintained third-party repository, which offers the most recent versions of Ubuntu Focal Fossa and Jammy Jellyfish. In order to install this version, import the PPA first.
sudo add-apt-repository ppa:vivnet/cockpit -y
Use the following command to update the packages list with the recently imported PPA:
sudo apt update
Use this command to install or upgrade Cockpit, depending on whether it is already installed or not:
sudo apt install cockpit
Step 3: Start Cockpit Service on Ubuntu
Following installation, Cockpit's service is not immediately operational. Therefore, in order to start and enable Cockpit on your system, you will need to use a few systemctl commands.
Enter the following command to launch the Cockpit service:
sudo systemctl start cockpit.socket
Step 4: Enable Cockpit on Ubuntu System Startup
If you want Cockpit to launch on its own whenever your computer boots up, run the following command:
sudo systemctl enable cockpit.socket
Step 5: Verify Cockpit Status on Ubuntu
Lastly, you must confirm that Cockpit is operating properly on your system. Use the following command to see the Cockpit service's current status:
systemctl status cockpit.socket
If everything is configured properly, the service status will show as active.

Configure UFW Firewall for Cockpit on Ubuntu 22.04
This section of the guide walks you through setting up the Uncomplicated Firewall (UFW) to permit access to the Cockpit. As port 9090 is where Cockpit listens by default, you need to make sure that the firewall rules permit incoming connections on this port.
Step 1: Check UFW Status
It is imperative that you verify the UFW firewall's current status before making any changes. Use the following command to achieve this:
sudo ufw status
You must first enable the firewall if it is not currently active. Use the following command to enable UFW:
sudo ufw enable
Step 2: Allow Cockpit Through UFW on Ubuntu
Enter the following command in your terminal to set the UFW firewall to accept incoming connections for Cockpit:
sudo ufw allow 9090
If the command runs successfully, the output should look like this:
Output

Rules updated Rules updated (v6)
This output updates IPv4 and IPv6 rules, allowing traffic on port 9090.
Step 3: Verify UFW Configuration For Cockpit on Ubuntu
It is crucial to confirm that the firewall is configured correctly and permits access to the Cockpit. Use this command to verify that the UFW rules are followed:
sudo ufw status
Port 9090 should be visible in the output as being open to incoming connections:
Output

Status: active

To                         Action      From
--                         ------      ----
9090                       ALLOW       Anywhere
9090 (v6)                  ALLOW       Anywhere (v6)
Now that the firewall is set up properly, Cockpit should be reachable on port 9090, allowing you to move forward with the remaining setup and configuration steps.
Accessing the Cockpit Web Interface on Ubuntu 22.04
We'll guide you through the process of logging into the Cockpit web interface in this section. You can use the user-friendly web interface of Cockpit to manage your Linux server after you've installed, configured, and granted access via the firewall.
Step 1: Open Your Web Browser
Any device on the same network as the Cockpit server must have a web browser in order to access the Cockpit web interface. Popular web browsers like Microsoft Edge, Mozilla Firefox, and Google Chrome are available for use.
Step 2: Navigate to the Cockpit Web Interface
Enter the hostname or IP address of the Cockpit-running server in the address bar of your web browser, followed by the port number (by default, 9090) on which Cockpit is listening. The URL ought to resemble this:
https://<your-server-ip-or-hostname>:9090
For instance, if the IP address of your server is 192.168.1.100, you would type:
https://192.168.1.100:9090
Step 3: Accept the SSL Warning (Optional)
Because Cockpit by default uses a self-signed SSL certificate, your web browser might display a security warning. You can proceed without risk by acknowledging the warning and creating an exception for the Cockpit web interface, as this is standard. Depending on the web browser you're using, there are different steps to complete this.
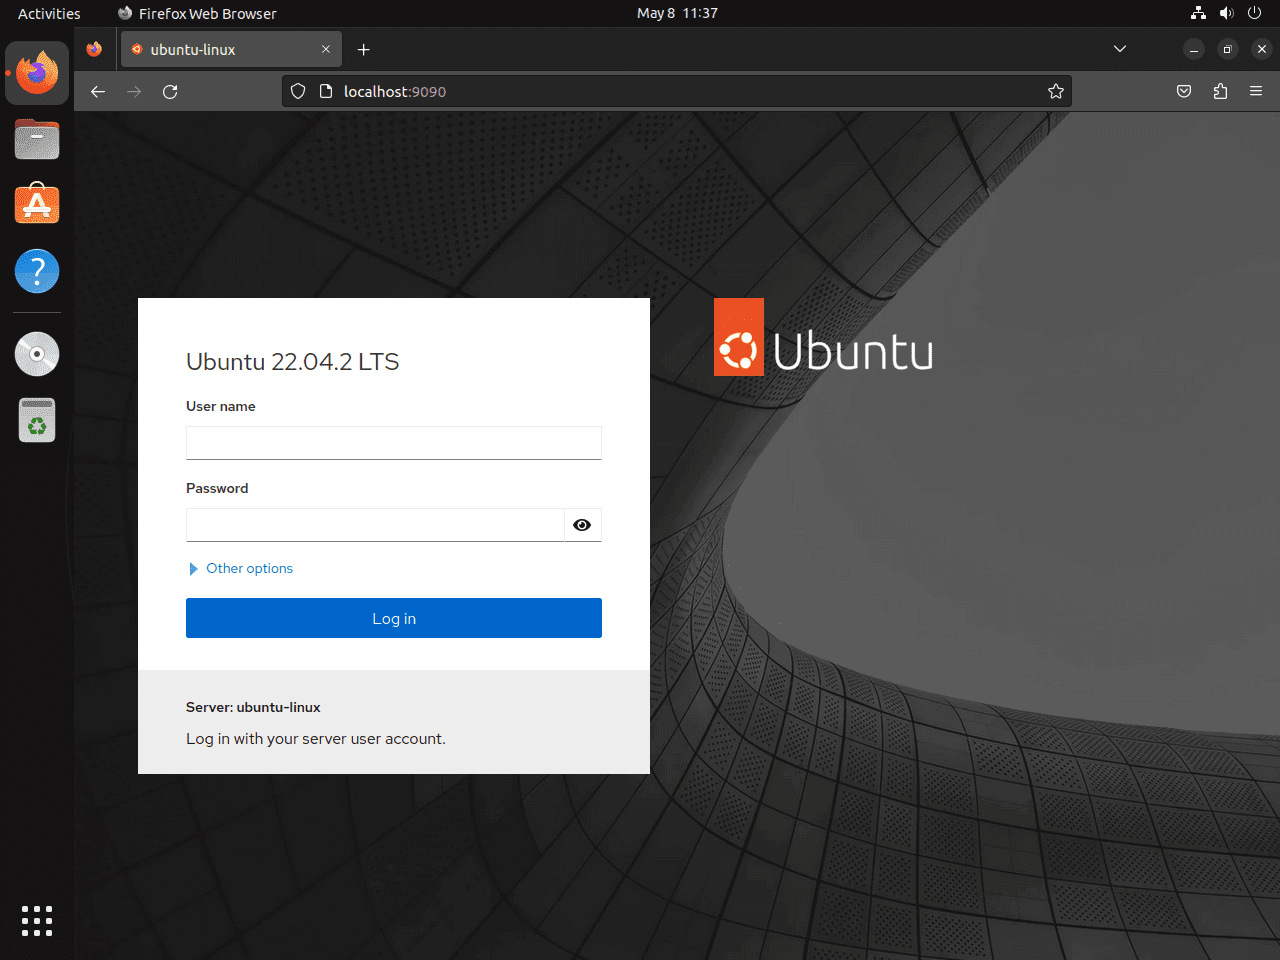
Step 4: Log In to Cockpit on Ubuntu
You should see the login screen after accessing the Cockpit web interface and, if required, accepting the SSL warning. To log in, use the username and password associated with your server. These are the same login credentials that you use to access the local console or SSH.
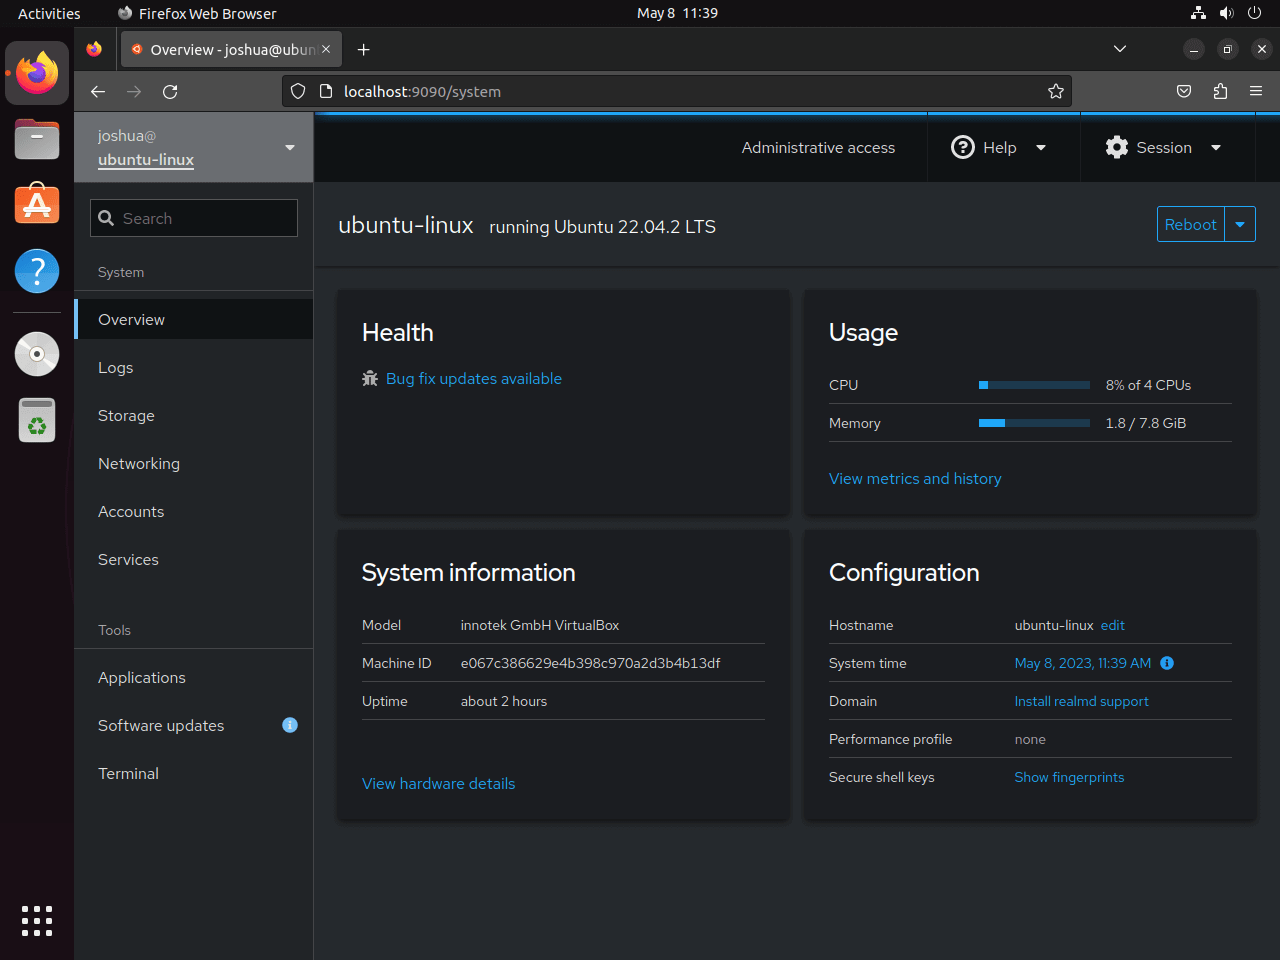
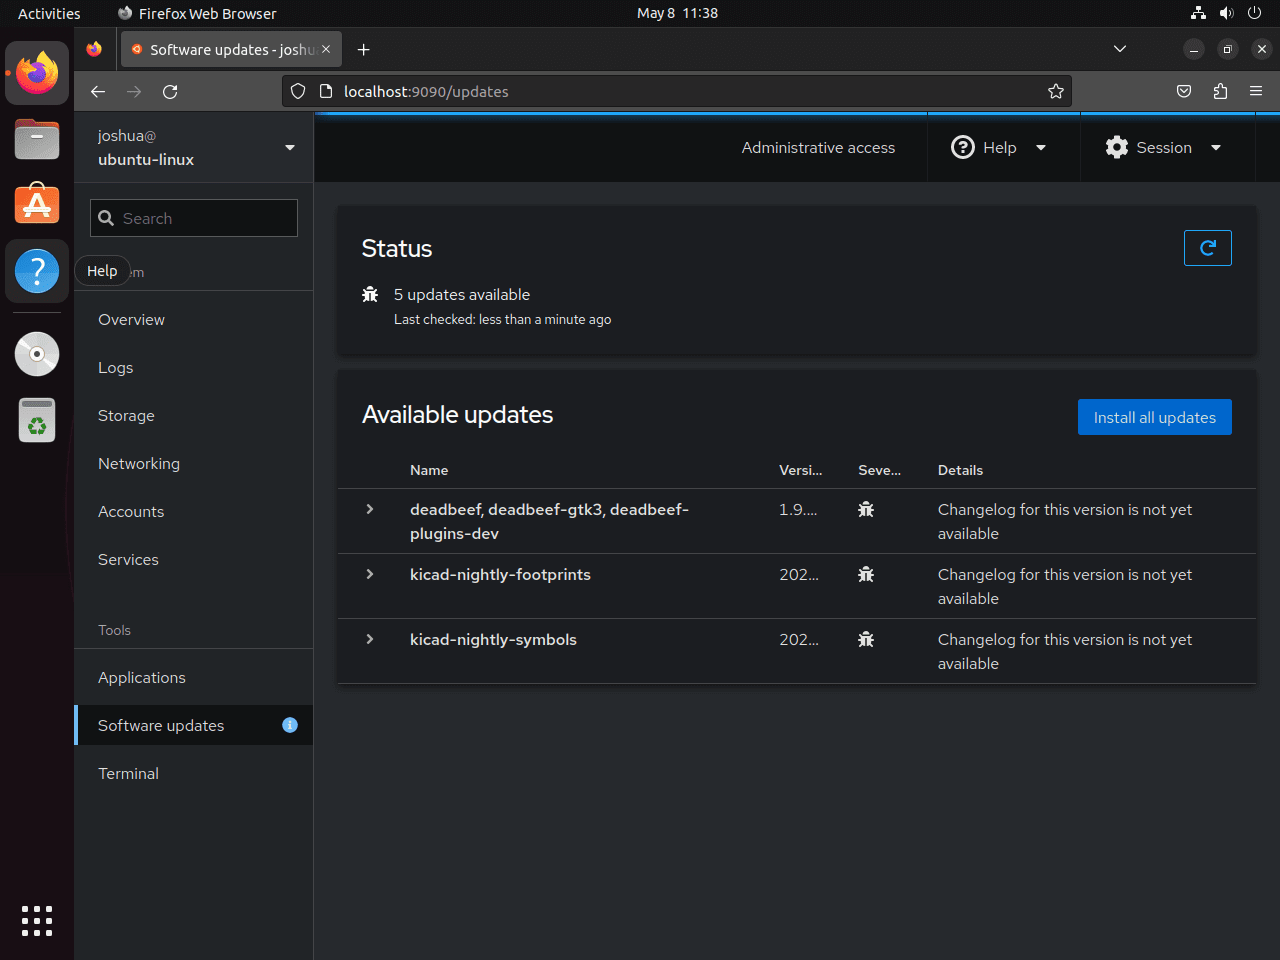
After logging in successfully, you'll be greeted with the Cockpit dashboard, where you can use the intuitive web interface to monitor, manage, and configure different aspects of your Linux server.
Tips on Getting Started with Cockpit with Ubuntu 22.04
We'll give you some pointers and advice in this section to help you get the most out of Cockpit on Ubuntu Linux. These recommendations cover a wide range of Cockpit topics, from general advice to customizations.
Cockpit General Tips on Ubuntu
- Keep Your System Up-to-Date: Update your Ubuntu system frequently to make sure you have the most recent security updates and packages. By doing this, you can reduce the likelihood of problems and stay up to date with new features and enhancements.
- Explore Available Modules: Numerous modules are available in Cockpit to assist with managing various aspects of your Linux server. While some modules might not be installed by default, you can use the package manager to quickly install them. Examples are virtual machine management with cockpit-machines and Docker container management with cockpit-docker.
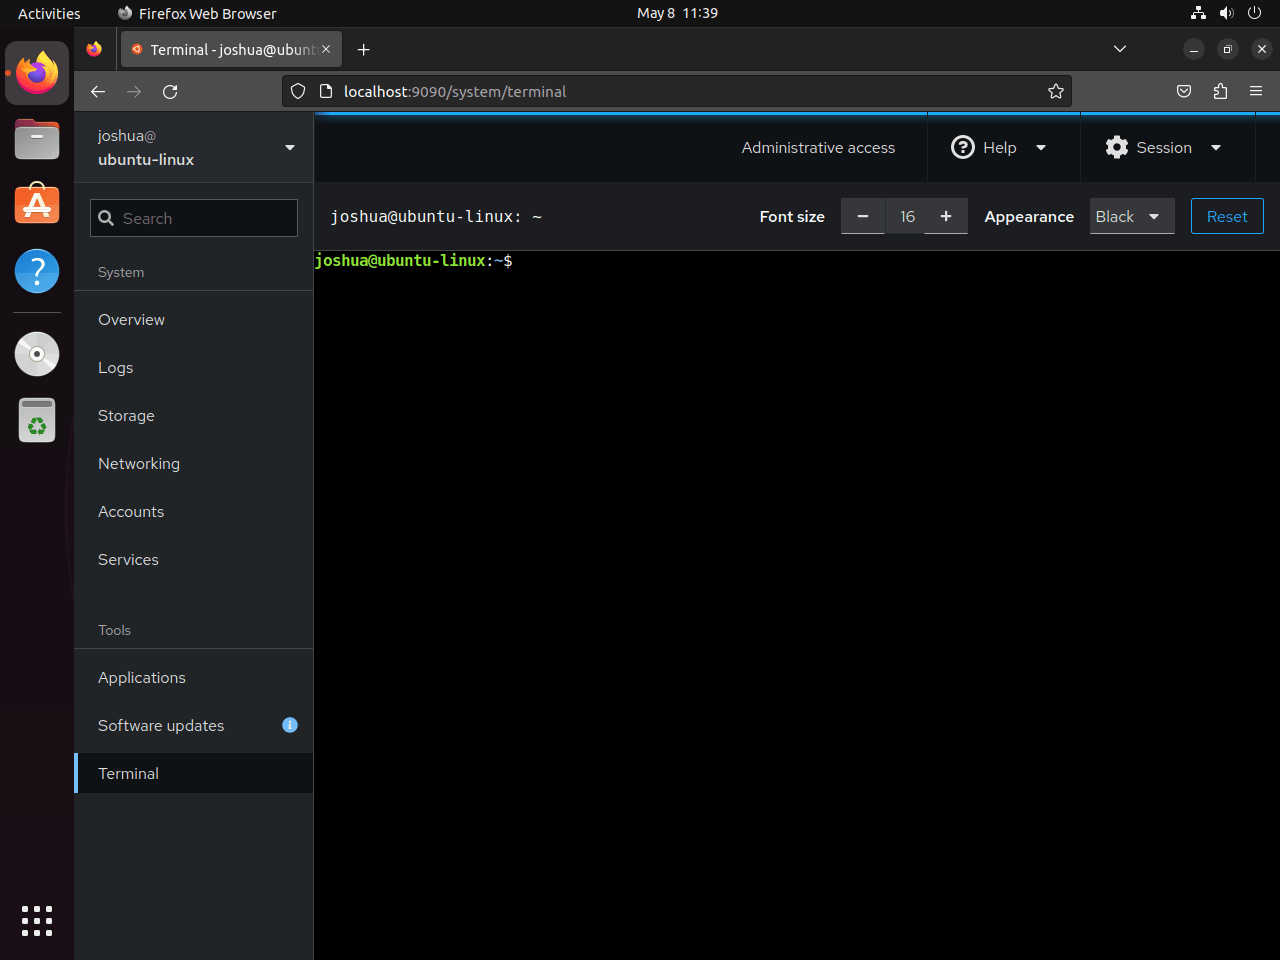
- Use the Terminal in Cockpit: With Cockpit, you can run commands straight from the web interface thanks to an integrated terminal. Using this can be a handy method to manage your server's tasks without constantly switching between a separate terminal or SSH session and the web interface.
Customizations with Cockpit on Ubuntu
- Change the Listening Port: Cockpit listens on port 9090 by default. Change the ListenStream value to the desired port number in the
/lib/systemd/system/cockpit.socketfile if you would rather use a different port. Following the modification, launch the cockpit.socket service again. - Configure SSL Certificates: By default, Cockpit uses a self-signed SSL certificate, which may cause web browser security warnings. You can set Cockpit to use an SSL certificate that is currently valid and issued by a reputable Certificate Authority (CA) to prevent this.
Other Cockpit Tips on Ubuntu
- Monitor System Performance: Watch how much CPU, memory, and network activity your server is using by using Cockpit's integrated system monitoring tools. This can assist you in locating possible bottlenecks and improving server performance through optimization.
- Manage User Accounts: You can quickly add, edit, and remove user accounts from your Linux server using Cockpit. User administration is made easy and effective by using the Accounts module to manage users and their privileges.
- Configure Storage: Logical volumes, RAID arrays, and iSCSI targets can all be created and managed with Cockpit's robust storage management interface. To maintain your data safe and organized, use the Storage module.
- Backup Your Configuration: Make sure you have a backup of your configuration files before utilizing Cockpit to make any big changes to your server's configuration. If necessary, you will be able to swiftly undo any changes thanks to this.
With these pointers, you will be able to fully utilize Cockpit's potent features and get started with it on Ubuntu Linux. Investigate different settings and modules to customize Cockpit to your server management requirements.
Additional Cockpit Commands on Ubuntu 22.04
Update Cockpit on Ubuntu 22.04
You should periodically check for updates to guarantee that Cockpit on your Ubuntu 20.04 system remains current. This is essential to preserving your server's stability and security. Use the following command in your terminal to see if there are any updates available:
sudo apt update
You can update your system packages, including Cockpit, by running the following after obtaining the updates:
sudo apt upgrade
Using this command, all available packages will be upgraded, keeping your Cockpit installation and other system packages current.
Remove Cockpit From Ubuntu 22.04
You can quickly uninstall Cockpit from your system by running the following command if you decide it is no longer needed:
sudo apt remove cockpit
With this command, Cockpit will be uninstalled along with all of its installed but unnecessary dependencies. A clean, safe system environment must be maintained by getting rid of unnecessary software. To remove a PPA installation, run the following command:
sudo add-apt-repository --remove ppa:vivnet/cockpit -y
FAQs to Install Cockpit on Ubuntu 22.04
Is Cockpit compatible with other Ubuntu versions?
Yes, Cockpit is compatible with various Ubuntu versions, including 22.04, 20.04, and 18.04.
How do I access Cockpit after installation?
Simply open a web browser and visit https://localhost:9090 to access the Cockpit interface.
Can Cockpit be accessed remotely?
Yes, Cockpit can be accessed remotely by enabling the necessary firewall rules and configuring SSL/TLS encryption.
Does Cockpit require any additional dependencies?
Cockpit automatically handles dependencies during installation, making it easy to set up on Ubuntu.
Can Cockpit manage multiple Ubuntu servers?
Yes, Cockpit has the capability to manage multiple Ubuntu servers, allowing centralized monitoring and administration.
Is it possible to customize the Cockpit interface?
Cockpit allows limited customization options, such as changing the theme and configuring certain settings.
Conclusion
We hope this tutorial helped you understand how to install Cockpit on Ubuntu 22.04.
If you have any queries, please leave a comment below, and we’ll be happy to respond to them for sure.
