
Choose a different version or distribution
Introduction
Before we begin talking about how to install Jenkins on Ubuntu 20.04, let's briefly understand – What is Jenkins?
Jenkins is an open-source automation tool used for continuous integration and delivery (CI/CD) in software development. It simplifies the process of building, testing, and deploying applications, enabling developers to deliver high-quality software more efficiently.
With its extensive plugin ecosystem, Jenkins can integrate with various tools and platforms, making it highly customizable and adaptable. By automating repetitive tasks, Jenkins enhances collaboration among development teams and helps accelerate the software development lifecycle. It is a popular choice among developers for its flexibility, scalability, and reliability in managing complex workflows.
In this tutorial, you will set up Jenkins as a standalone service on Ubuntu 20.04. We will also address a few FAQs on how to install Jenkins on Ubuntu 20.04.
Advantages of Jenkins
- Automation: Jenkins automates repetitive tasks, reducing manual effort and enabling faster software delivery.
- Continuous Integration: It facilitates the integration of code changes from multiple developers, ensuring early detection of issues and faster bug fixes.
- Extensibility: Jenkins offers a vast plugin ecosystem, allowing integration with various tools, platforms, and technologies.
- Scalability: It can handle large-scale projects and distributed build environments, accommodating the needs of growing development teams.
- Flexibility: Jenkins supports various programming languages, version control systems, and deployment strategies, providing flexibility for diverse project requirements.
Installing Java
Jenkins is a Java application, hence the system must have Java 8 or later installed. The open-source Java Platform implementation, OpenJDK 11, will be installed.
To install OpenJDK 11, issue the following commands as root, a user with sudo permissions, or both:
sudo apt update
sudo apt install openjdk-11-jdk
Verify that the installation was successful by looking at the Java version:
java -version
The final result should resemble this:
Output

openjdk version "11.0.7" 2020-04-14
OpenJDK Runtime Environment (build 11.0.7+10-post-Ubuntu-3ubuntu1)
OpenJDK 64-Bit Server VM (build 11.0.7+10-post-Ubuntu-3ubuntu1, mixed mode, sharing)
Installing Jenkins
Jenkins is relatively simple to install on Ubuntu. After importing the repository's GPG key and enabling the Jenkins APT repository, the Jenkins package will be installed.
Use the wget command below to import the Jenkins repository's GPG keys:
curl -fsSL https://pkg.jenkins.io/debian-stable/jenkins.io-2023.key | sudo tee /usr/share/keyrings/jenkins-keyring.asc > /dev/null
The Jenkins repository should then be added to the system using:
echo deb [signed-by=/usr/share/keyrings/jenkins-keyring.asc] https://pkg.jenkins.io/debian-stable binary/ | sudo tee /etc/apt/sources.list.d/jenkins.list > /dev/null
To update the apt package list and install the most recent version of Jenkins after the Jenkins repository has been activated.
sudo apt update
sudo apt install jenkins
The Jenkins service will launch automatically following installation. By printing the service status, you can confirm it:
systemctl status jenkins
Output

● jenkins.service - LSB: Start Jenkins at boot time
     Loaded: loaded (/etc/init.d/jenkins; generated)
     Active: active (exited) since Thu 2020-07-16 20:22:12 UTC; 15min ago
...
Adjusting firewall
You must open the port 8080 if you're installing Jenkins on a firewall-protected remote Ubuntu server.
Normally, you would want to restrict access to the Jenkins server to only a certain IP address or range of IP addresses. For instance, if you wanted to restrict connections to those coming from the 192.168.121.0/24 subnet, you would issue the command:
sudo ufw allow proto tcp from 192.168.121.0/24 to any port 8080
If you need to allow access from anywhere, run:
sudo ufw allow 8080
Setting up Jenkins
Open your browser and type your domain or IP address followed by port 8080, http://your_ip_or_domain:8080 to configure your new Jenkins installation.
You will be prompted to enter the Administrator password that is created during the installation on a page that looks something like the following:
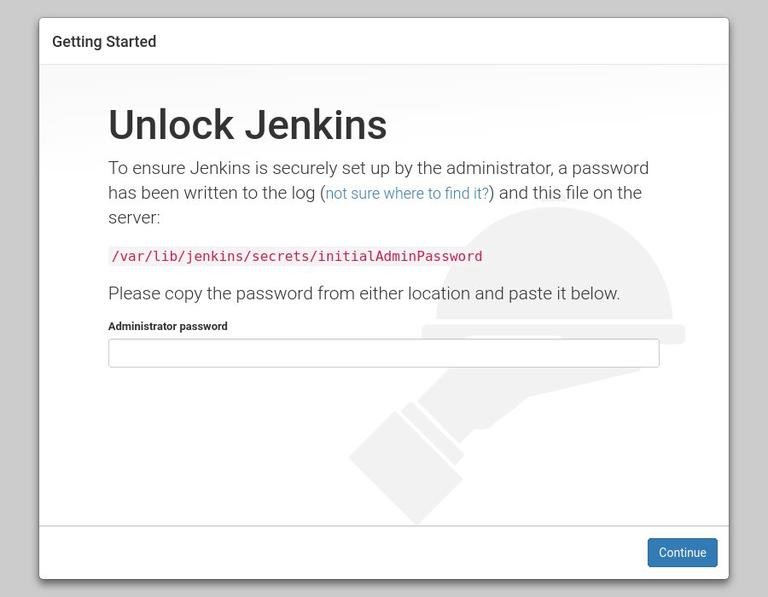
Now, use the cat command to display the password on the terminal:
sudo cat /var/lib/jenkins/secrets/initialAdminPassword
You should see a 32-character long alphanumeric password, as shown below:
Output

06cbf25d811a424bb236c76fd6e04c47
Click “Continue” after copying the administrator password from the terminal and paste it there.
The setup procedure will ask you if you want to install suggested plugins or only certain plugins on the following screen.
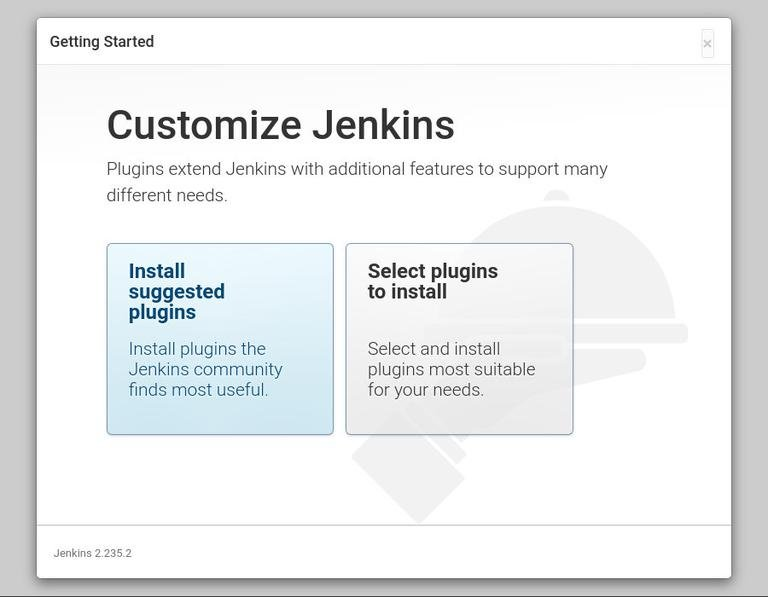
As soon as you click the “Install suggested plugins” button, the installation procedure will begin.
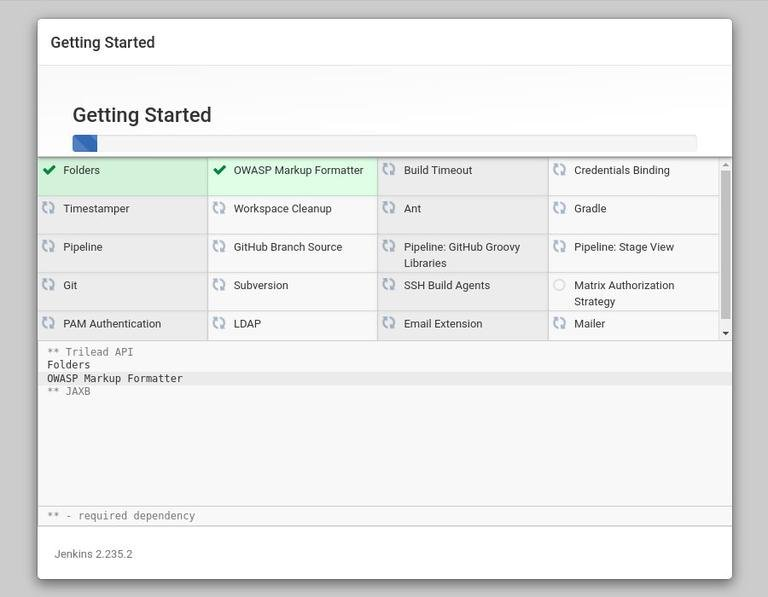
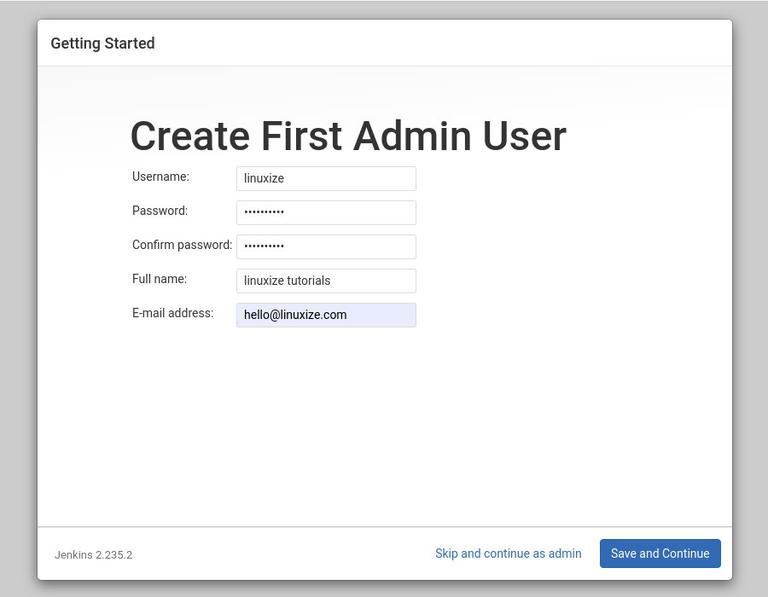
After installing the plugins, you will be asked to create the first admin user. Click “Save and Continue” after completing all the fields that are required.
You will be prompted to enter your Jenkins instance's URL on the following screen. A URL that was created automatically will be entered into the field.
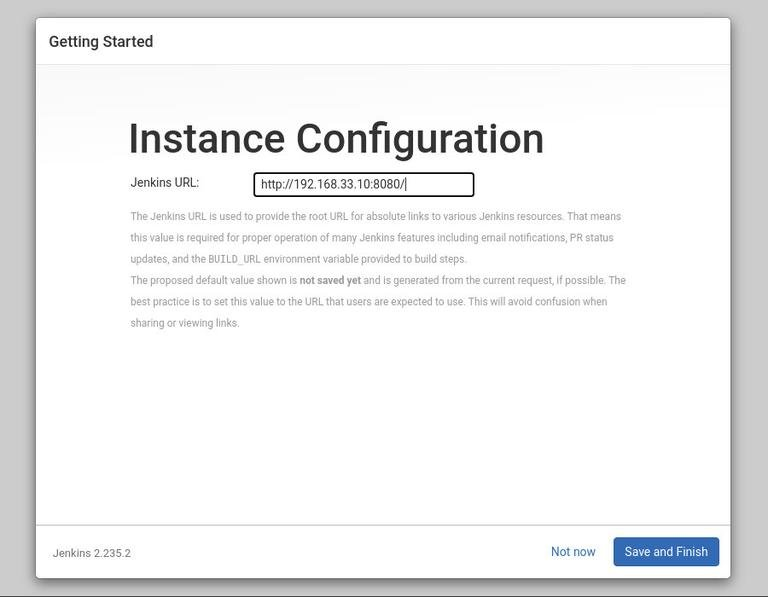
The setup procedure will be finished once you click the Save and Finish button after verifying the URL.
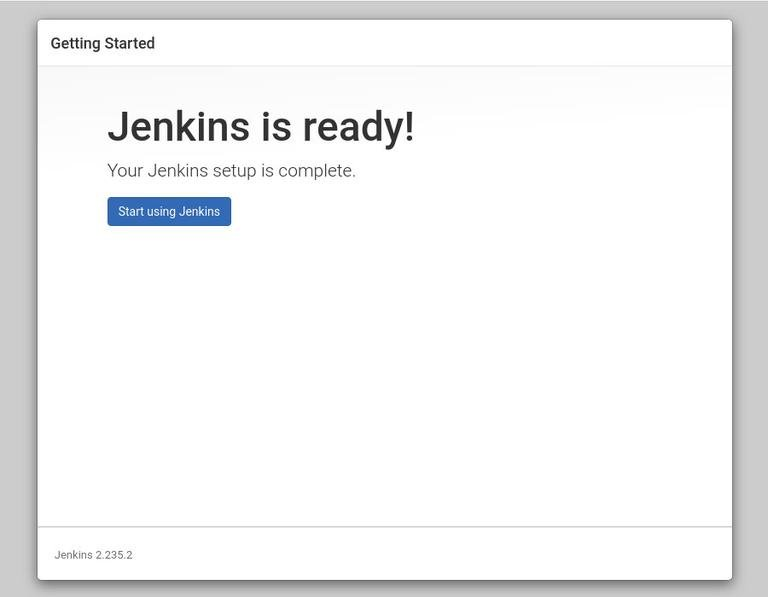
When you click the Start using Jenkins button, you will be taken to the Jenkins dashboard, where you can log in using the admin user you generated in a previous phase.
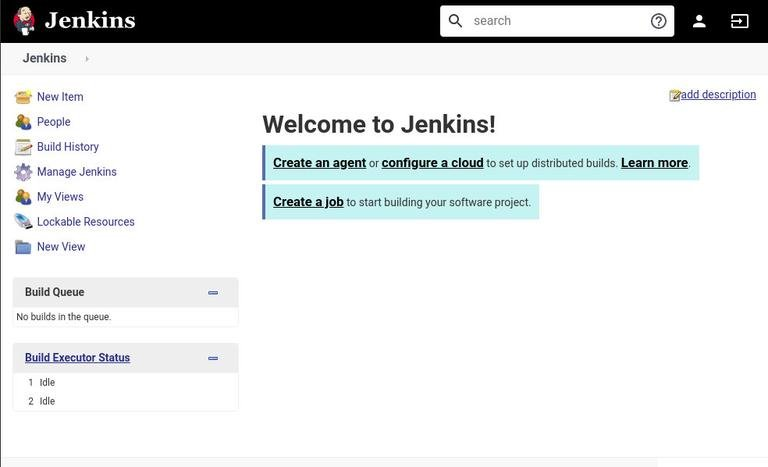
At this point, you’ve successfully installed Jenkins on your server.
FAQs to Install Jenkins on Ubuntu 20.04
How do I start and enable Jenkins service?
After installing Jenkins, start and enable the service using the following commands:
- Start Jenkins:
sudo systemctl start jenkins - Enable Jenkins to start on boot:
sudo systemctl enable jenkins
How can I access the Jenkins web interface?
Jenkins web interface is accessible through a web browser using the URL: http://your_server_ip_or_domain:8080
What is the initial admin password for Jenkins?
To retrieve the initial admin password, use the command: sudo cat /var/lib/jenkins/secrets/initialAdminPassword
Can I change the default Jenkins port?
Yes, you can change the default port by modifying the Jenkins configuration file located at /etc/default/jenkins. Change the HTTP_PORT value and restart Jenkins.
How can I configure Jenkins to run on a different IP address or domain?
Update the Jenkins configuration file /etc/default/jenkins. Modify the HTTP_HOST value to specify the desired IP address or domain. Restart Jenkins for the changes to take effect.
How do I install plugins in Jenkins?
In the Jenkins web interface, go to Manage Jenkins > Manage Plugins. In the Available tab, select the desired plugins and click Install without restart.
Can I uninstall Jenkins from Ubuntu 20.04?
Yes, you can uninstall Jenkins by running the command: sudo apt remove --purge jenkins
Conclusion
In this tutorial, you have been shown how to install Jenkins on Ubuntu 20.04 and finish the initial configuration.
You can now explore Jenkins' workflow and plug-in paradigm by going to the official Jenkins documentation page.
If you have any queries, please leave a comment below, and we’ll be happy to respond to them.