
Choose a different version or distribution
Introduction
Before we begin talking on how to install OpenCV on Ubuntu. Let’s briefly understand - What is OpenCV?
OpenCV is an open-source library that offers numerous algorithms and functions for developing computer vision applications. Installing OpenCV on Ubuntu allows you to harness the power of computer vision for various image and video processing tasks.
By following the steps outlined in this tutorial, you will be able to install OpenCV and its necessary dependencies, ensuring a smooth installation process. Whether you want to work with OpenCV in C++ or Python, this tutorial will cover both scenarios. Additionally, you will learn how to verify the installation and use OpenCV in your programs.
In this tutorial, you will how to install OpenCV on Ubuntu. We will also address a few FAQs on how to install OpenCV on Ubuntu.
Advantages of Installing OpenCV on Ubuntu
- Computer Vision Capabilities: With OpenCV on Ubuntu, you gain access to powerful computer vision algorithms and functions, enabling tasks like object detection, image processing, and facial recognition.
- Wide Platform Support: OpenCV is highly portable and works seamlessly on Ubuntu, allowing you to develop computer vision applications across various platforms and devices.
- Extensive Library: Ubuntu's OpenCV provides a vast collection of pre-built functions, reducing development time and effort for tasks like image analysis, feature extraction, and pattern recognition.
- Open-Source Community: Installing OpenCV on Ubuntu connects you with a vibrant open-source community, offering constant updates, bug fixes, and a wealth of resources to aid in your computer vision projects.
- Integration Ease: Ubuntu's package management system facilitates easy installation, updating, and maintenance of OpenCV, ensuring a smooth workflow for developers and researchers working on computer vision tasks.
Installing OpenCV on Ubuntu
There are two ways to install the OpenCV platform. Using either the repository or directly from the source. The steps for each approach will be discussed here.
1. Install OpenCV via Repository
It is the simplest of the two methods because it only requires two commands.
Update your repository first.
sudo apt update
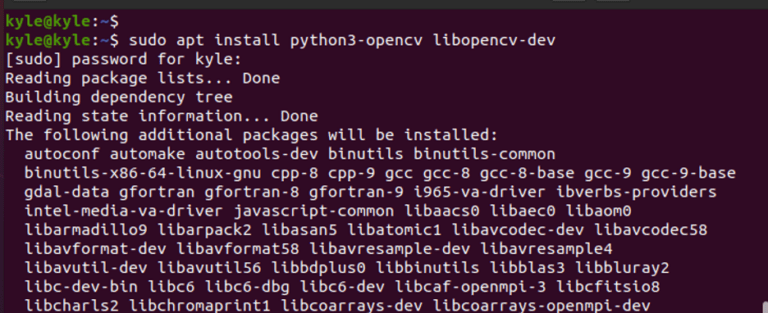
Then, run the following command to install OpenCV:
sudo apt install libopencv-dev python3-opencv
All done! Your system has successfully installed OpenCV. By using the C++ binding, you may verify by looking up its version. Execute the command below:
pkg-config –modversion opencv4
As seen in the following image, the output should return the current version:

2. Install OpenCV via Source Code
It is possible that you will not get the most recent version if you install OpenCV using the repository. The solution is to install it straight from the source code. Furthermore, this approach optimizes OpenCV for your system, providing you total control over its build options. Having stated that, the steps below will help you.
Step 1. Install OpenCV Dependencies and Build Tools
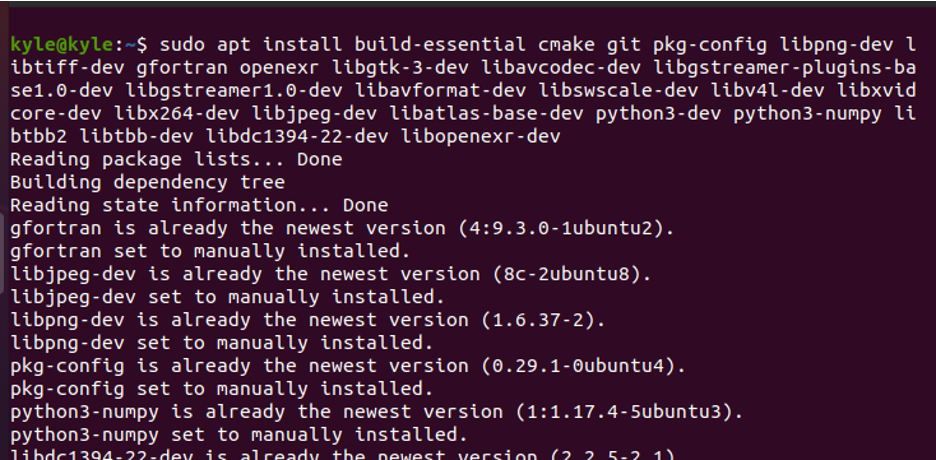
Several packages are required for OpenCV to function. To install the necessary dependencies and build tools, copy the following command.
sudo apt install build-essential cmake git pkg-config libgtk-3-dev libavformat-dev libswscale-dev libv4l-dev libx264-dev libjpeg-dev libpng-dev libtiff-dev openexr libatlas-base-dev python3-dev python3-numpy libtbb-dev libopenexr-dev libgstreamer1.0-dev
Step 2. Clone OpenCV and Its Repositories
It is possible to clone OpenCV from its GitHub repository.
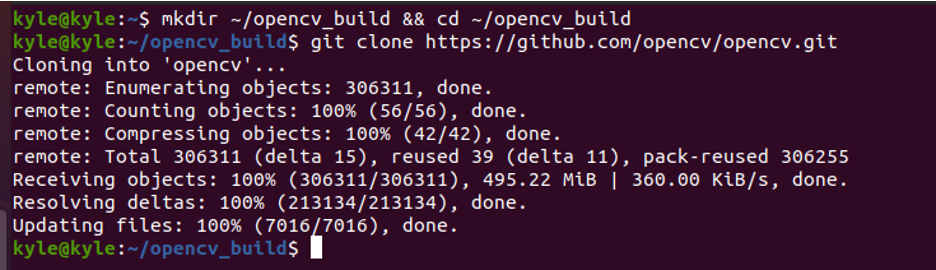
Create a directory first on your system.
mkdir ~/opencv_build && cd ~/opencv_build
Next, use the command to clone OpenCV as follows:
git clone https://github.com/opencv/opencv.git
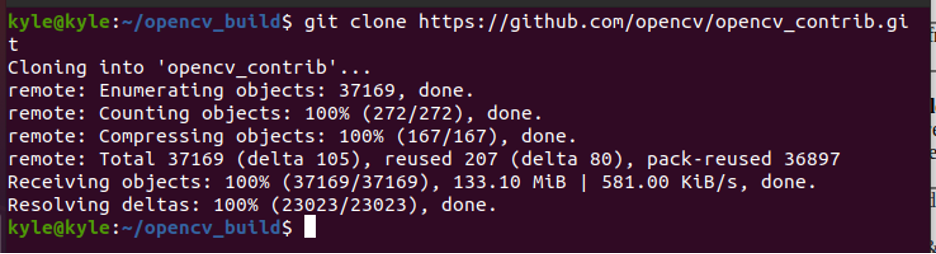
Lastly, clone its contrib repositories.
git clone https://github.com/opencv/opencv_contrib.git
Although the previous steps installed the most recent version of OpenCV, you can also opt for an earlier version. The only thing you have to do is enter the opencv and opencv_contrib directories, then issue the command:
git checkout <prefreed-opencv-old-version>
Step 3: Create a Build Directory
It is necessary to create a temporary build directory where OpenCV will be set up using CMake.
Use the commands listed below to create and access the directory.
cd ~/opencv_build/opencv
mkdir -p build && cd build
Then, use CMake to configure OpenCV build using the following command:
cmake -D CMAKE_BUILD_TYPE=RELEASE \ -D CMAKE_INSTALL_PREFIX=/usr/local \ -D INSTALL_C_EXAMPLES=ON \ -D INSTALL_PYTHON_EXAMPLES=ON \ -D OPENCV_GENERATE_PKGCONFIG=ON \ -D OPENCV_EXTRA_MODULES_PATH=~/opencv_build/opencv_contrib/modules \ -D BUILD_EXAMPLES=ON ..
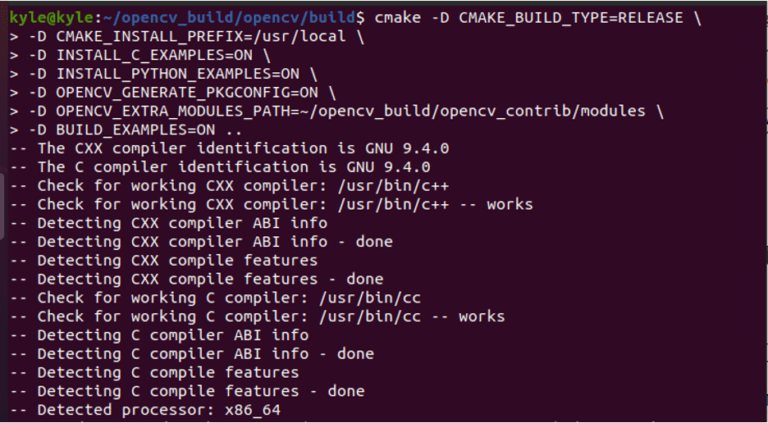
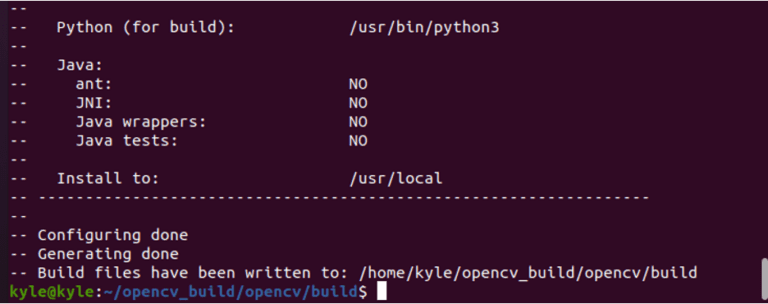
You should take notice of the output indicating that the setup and generating are complete, as well as the path of the build files.
Step 4: Start Compilation
It is time to start the compilation after the build is complete. However, use the nproc Linux command to first determine how many processors you have.
nproc

Run the following command after you have checked it, replacing the number after j with the number of processors you have:
make -j2
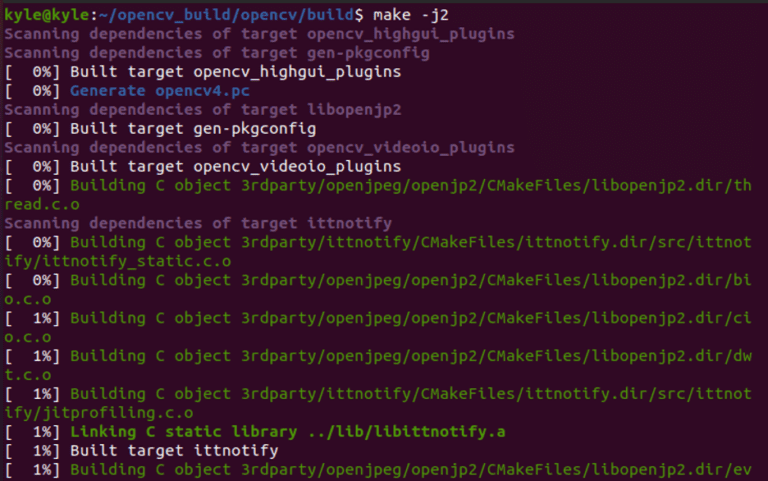
Please be patient as the compilation takes some time.
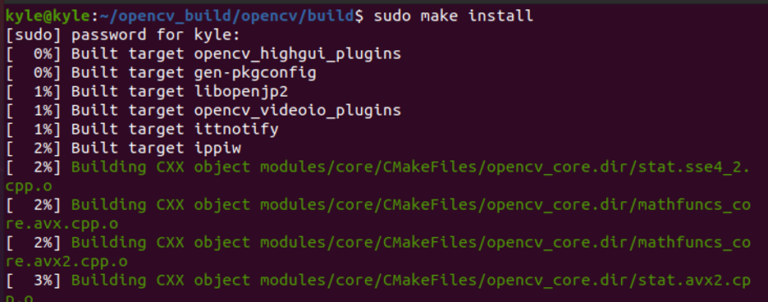
Step 5: Install OpenCV
The last step is to run the command that installs OpenCV, which is as follows:
sudo make install
Step 6: Confirm Installation
In order to confirm the installation, check the OpenCV version using bindings for various programming languages. In method 1, we already verified the C++ bindings. In this method, we will use Python. The command is:
python3 -c "import cv2; print(cv2.__version__)"
Depending on when you read this article, your output may be the same or a newer version of the image below:
python3 -c "import cv2; print(cv2.__version__)"

FAQs to Install OpenCV on Ubuntu
How do I update my Ubuntu system before installing OpenCV?
You can update your Ubuntu system by running the command sudo apt update followed by sudo apt upgrade.
Can I install OpenCV using the package manager on Ubuntu?
Yes, you can install OpenCV using the package manager with the command sudo apt install libopencv-dev.
Can I verify if OpenCV is installed correctly on Ubuntu?
You can verify the installation by compiling and running a simple OpenCV program or by checking the OpenCV version using the command pkg-config --modversion opencv.
Can I use OpenCV with Python on Ubuntu?
Yes, OpenCV has Python bindings that allow you to use OpenCV functions and features in Python programs on Ubuntu. Install the python3-opencv package to use OpenCV with Python.
How can I integrate OpenCV with other libraries like NumPy or TensorFlow on Ubuntu?
To integrate OpenCV with other libraries on Ubuntu, ensure they are installed and properly linked. You can then use the desired libraries alongside OpenCV in your programs.
Can OpenCV be used in a virtual environment on Ubuntu?
Yes, OpenCV can be used within Python virtual environments on Ubuntu. Create a virtual environment, activate it, and install OpenCV using pip.
Can I use OpenCV on Ubuntu for real-time video processing?
Certainly! OpenCV provides functionalities for real-time video processing on Ubuntu, allowing you to perform tasks like object detection, tracking, or video analysis in real-time.
Conclusion
If you are a computer vision developer, the OpenCV is a tool you can not do without. You can choose from a variety of applications and algorithms. If you are having trouble installing it on Ubuntu, this tutorial will come in handy because it provides two options to go about it. One of the two methods should suffice for you.
If you have any suggestions or queries, kindly leave them in the comments section.