

Introduction
Before we begin talking about how to install PhotoQT on Ubuntu 22.04, let's briefly understand – What is PhotoQT?
PhotoQT is an innovative and user-friendly photo editing software designed to enhance your pictures effortlessly. With its intuitive interface and powerful editing tools, PhotoQT allows you to transform ordinary photographs into stunning masterpieces. Whether you are a beginner or a professional, this software offers a wide range of features, including filters, cropping, resizing, and color adjustments.
Experience the joy of editing your photos with PhotoQT and watch as your images come to life. Upgrade your photography skills today with this easy-to-use and versatile software.
In this tutorial, you will install PhotoQT on Ubuntu 22.04. We will also address a few FAQs on how to install PhotoQT on Ubuntu 22.04.
Advantages of PhotoQT
- Intuitive Interface: PhotoQT boasts a user-friendly interface, making it easy for beginners.
- Powerful Editing Tools: With a range of features like filters, cropping, resizing, and color adjustments, PhotoQT allows you to enhance your photos effortlessly.
- Professional Results: Transform ordinary photographs into stunning masterpieces with PhotoQT's editing capabilities.
- Versatility: Whether you're a beginner or a professional, PhotoQT offers a wide range of tools suitable for all user levels.
- Enhance Your Skills: Upgrade your photography skills with this easy-to-use software and watch your images come to life.
Install PhotoQT on Ubuntu 22.04 via APT
Using the APT (Advanced Package Tool), we will walk you through a thorough installation process so you can take advantage of PhotoQt's full potential on your Ubuntu system. The default package manager for Ubuntu is this tool, which manages the operating system's packages. We will update your system and choose an appropriate installation technique to guarantee a seamless installation process.
Step 1: Update Your Ubuntu System Before the PhotoQT Installation
It's imperative that you update your current system packages before starting the installation. This action is required to prevent conflicts with out-of-date packages that might cause issues for the newly installed software. Additionally, it guarantees that the most recent security patches and updates are installed on your system. The commands listed below will update and upgrade your Ubuntu system:
sudo apt update
sudo apt upgrade
While sudo apt upgrade updates all installed packages to the most recent versions, sudo apt update retrieves package information from all configured sources.
Step 2: Install PhotoQT on Ubuntu 22.04 via APT Command
Using the APT package manager, you have two choices for installing PhotoQt after your system has been updated:
Option 1: Install PhotoQt using the Ubuntu APT Repository
For stability, it is strongly advised to install PhotoQt using Ubuntu's default repository. Despite the fact that, depending on your Ubuntu version, this method might not include the newest features, it guarantees the least amount of system compatibility problems. Software versions that have been extensively tested to work with Ubuntu are kept in the Ubuntu repository.
Use Ubuntu's repository to install PhotoQt by running the following command:
sudo apt install photoqt
Option 2: Install PhotoQt using the PPA Method on Ubuntu
Lukas Spies' Personal Package Archive (PPA) can be installed and imported as an alternative way to use the APT package manager. Using this method, PhotoQt is frequently updated with new features.
The first step is to import the repository using the command:
sudo add-apt-repository ppa:lumas/photoqt -y
By using this command, you can allow APT to download and install packages from the PPA by adding it to your system's software sources.
In order to include the recently imported PPA in your system's package list, perform an APT update first:
sudo apt update
You can now use the following command to install the application:
sudo apt install photoqt
Using the newly added PPA, this command will download and install the most recent version of PhotoQt.
Install PhotoQt on Ubuntu 22.04 via Flatpak and Flathub
An alternative installation technique you might want to think about is Flatpak, a widely used universal package management system that is comparable to Snap. With its sandbox operation, Flatpak isolates software dependencies and boosts security. Additionally, you can access and install apps through Flatpak that might not be in the standard repositories of your distribution. One of those apps is PhotoQt, which can be installed from the Flathub repository using Flatpak.
Step 1: Enable Flathub Repository for PhotoQT on Ubuntu
Enabling the Flathub repository, the main hub for Flatpak apps, is essential before installing PhotoQt. Users can easily install a multitude of applications that are packaged in the Flatpak format by visiting Flathub.
Use the following command in your terminal to add the Flathub repository to your Flatpak configuration:
sudo flatpak remote-add --if-not-exists flathub https://flathub.org/repo/flathub.flatpakrepo
With the help of this command, Flatpak adds the Flathub repository, enabling you to use a variety of apps, including PhotoQt.
Step 2: Install PhotoQt on Ubuntu 22.04 via Flatpak Command
Now that Flathub is a source, you can use the flatpak install command to install PhotoQt. Using this command, you can install the PhotoQt package on your computer after downloading it from Flathub.
Run the command below in your terminal:
flatpak install flathub org.photoqt.PhotoQt -y
By installing PhotoQt from the Flathub repository, you can be sure you have the most latest version of the program.
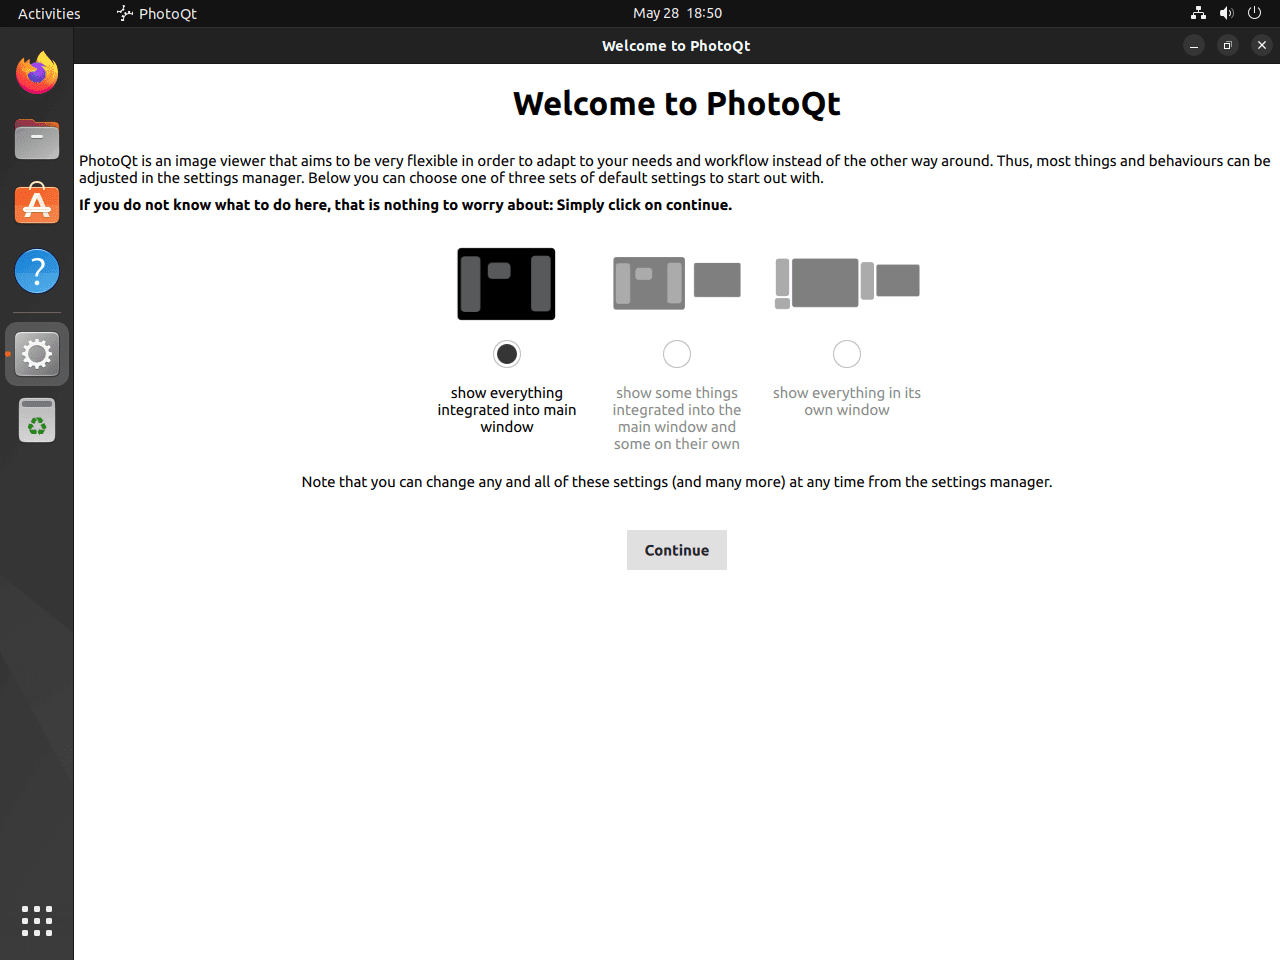
Launching PhotoQt on Ubuntu 22.04
The next step after installing PhotoQt successfully is to open the program and take advantage of all of its powerful features. PhotoQt can be opened in a number of ways, including through the graphical user interface (GUI) and the command line.
Launch PhotoQt from the Terminal on Ubuntu
To start PhotoQt, all users need to do is type a command into the terminal if they are familiar with the command line. Press the arrow key to launch PhotoQt:
photoqt
This command tells your computer to launch the PhotoQt program.
To launch PhotoQt, you need to use a slightly different command if you installed it using Flatpak. Run the command below in your terminal:
flatpak run org.photoqt.PhotoQt
With this command, Flatpak is told to launch the PhotoQt program from the installed packages.
Launch PhotoQt from the GUI on Ubuntu
Launching PhotoQt is simple for most desktop users who prefer to use the graphical interface. Using your Ubuntu system's integrated application menu, you can launch the application.
To open PhotoQt, take the following path:
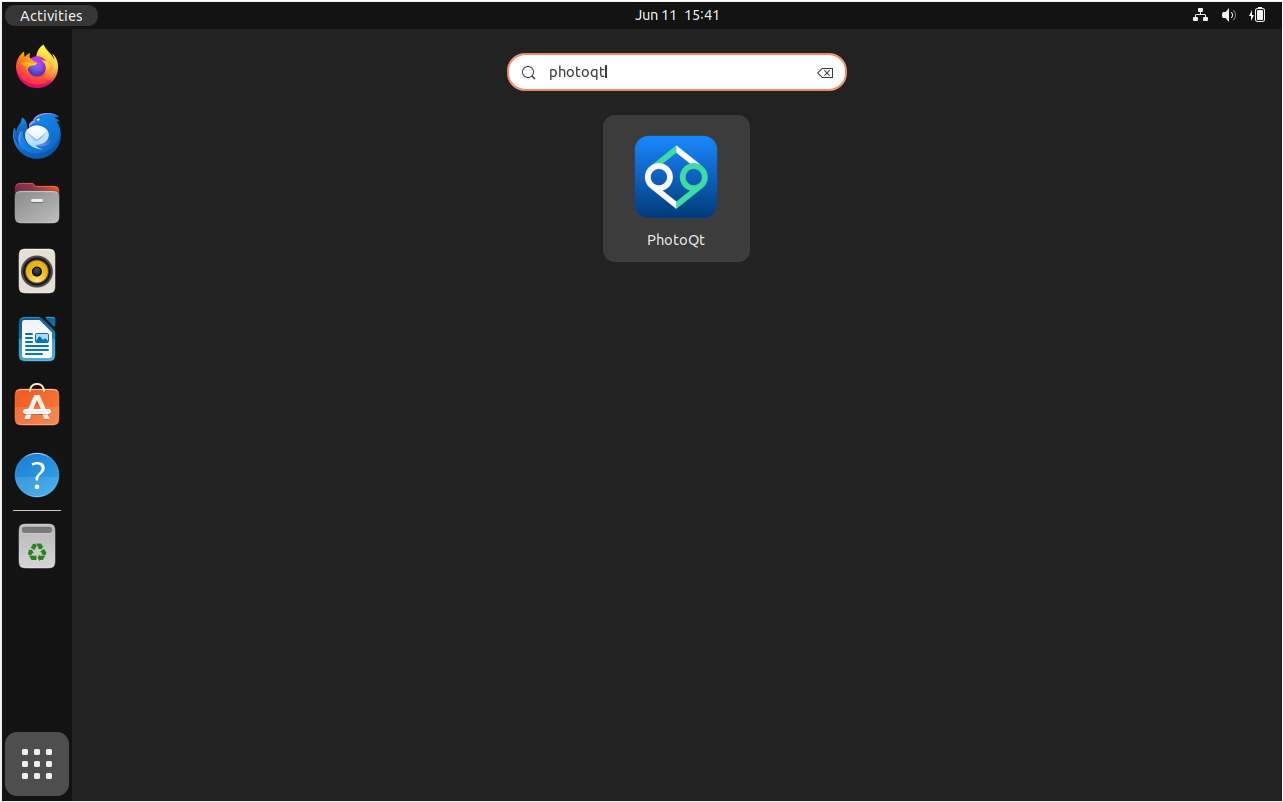
Activities > Show Applications > PhotoQt
Tips on Getting Started with PhotoQT on Ubuntu 22.04
After installing PhotoQt on your Ubuntu Linux computer, you might be wondering how to get the most out of this feature-rich image viewer. This section is dedicated to providing you with some basic PhotoQt usage tips and tricks. It covers customization, general usage tips, and other helpful tidbits to improve your image viewing experience.
General Usage Tips with PhotoQT on Ubuntu
Although PhotoQt is simple to use, it has a lot of features that you might not notice right away. The following advice will help you use this application efficiently:
- Quick Access to Settings: Press 'Ctrl+P' to open the settings dialog box. By using this shortcut, you can access the settings and modify many aspects of PhotoQt to make it more to your liking.
- Navigate the Images: To navigate through your images, use the arrow keys on your keyboard. The "right arrow key" and the "left arrow key" can be used to navigate to the next and previous images, respectively.
- Quick Image Information: Press 'I' to find out more about an image's specifics, like its size or format. A pop-up with pertinent image information will appear as a result.
Customization Tips with PhotoQT on Ubuntu
Tailoring PhotoQt to your preferences can greatly improve the way you view images. Here are some ideas for customizing PhotoQt:
- Changing the Theme: The theme that comes with PhotoQt is dark and light. Choose "Interface" from the "Settings" menu to alternate between these. There, you have a choice between the "Dark" and "Light" themes.
- Setting an Image as Wallpaper: You can use PhotoQt to directly set an image as your desktop background if you find one. If you do a right-click on the picture, choose "Set As Wallpaper."
Other Useful Tips with PhotoQT on Ubuntu
In addition to standard use and customization, the following additional advice will help you make the most of PhotoQt:
- Opening an Image in a New Window: You can right-click on an image thumbnail and choose "Open in New Window" to open the image in a new window.
- Image Rotation: An image can be rotated directly within PhotoQt. To rotate an image clockwise or counterclockwise, select it and press
Ctrl+RorCtrl+Shift+R.
Managing PhotoQT on Ubuntu 22.04
The important subject of controlling your Ubuntu Linux PhotoQt installation is covered in this section. This procedure includes updating your application and learning how to properly uninstall the program if necessary, among other things.
Update PhotoQT on Ubuntu 22.04
Maintaining updated applications is essential to achieving peak performance, and with PhotoQt, this procedure is simple and effective.
You can use Flatpak or the APT package manager to update PhotoQt, depending on how you installed it. It is critical to realize that these approaches are not mutually exclusive; for updates, use the package manager that you used for the original installation.
APT Update Command for PhotoQT on Ubuntu
To update the application, run the following command if you installed PhotoQt using the APT method:
sudo apt upgrade && sudo apt upgrade
In addition to updating your system, this command will update every other package that the APT package manager oversees. Regardless of whether you get notifications or automatic GUI updates, you should run this command often to keep your system in optimal condition.
Flatpak Update Command for PhotoQT on Ubuntu
To update the application, use a different command if you installed PhotoQt using Flatpak:
flatpak update
Using this command, you can be sure that all installed applications, including PhotoQt, are up to date.
How to Remove PhotoQT from Ubuntu 22.04
You might eventually find that PhotoQt is not necessary for your system. If so, you can use one of the following commands to uninstall the application, depending on how you installed it in the first place.
APT Remove Commands for PhotoQT on Ubuntu
If you used APT to install PhotoQt, you could use this command to uninstall it:
sudo apt remove photoqt
If you plan to never use the program again, you should also delete the PPA repository. You can use the following command to accomplish this:
sudo add-apt-repository --remove ppa:lumas/photoqt -y
Flatpak Remove Command for PhotoQT on Ubuntu
To uninstall PhotoQt, use the following command if you installed it using Flatpak:
flatpak uninstall --delete-data org.photoqt.PhotoQt
With this command, PhotoQt will be removed from your computer along with any related data.
FAQs to Install PhotoQT on Ubuntu 22.04
Is PhotoQT compatible with Ubuntu 22.04?
Yes, PhotoQT is fully compatible with Ubuntu 22.04.
Can I install PhotoQT using a graphical interface?
No, PhotoQT installation requires the use of terminal commands.
Is there a fee to install PhotoQT on Ubuntu 22.04?
No, PhotoQT is free to install on Ubuntu 22.04.
Does PhotoQT require any additional dependencies or libraries?
No, PhotoQT comes with all the necessary dependencies and libraries.
Will installing PhotoQT overwrite any of my existing files or data?
No, installing PhotoQT will not overwrite any existing files or data on your system.
Can I use PhotoQT for editing both raw and JPEG images?
Yes, PhotoQT supports editing both raw and JPEG image formats.
Does PhotoQT provide any tutorials or documentation for usage?
Yes, the PhotoQT website offers tutorials and documentation for users.
Conclusion
We hope this tutorial helped you understand how to install PhotoQT on Ubuntu 22.04.
If you have any queries, please leave a comment below, and we’ll be happy to respond to them for sure.