

Introduction
Before we begin talking about how to install Rider on Ubuntu 22.04, let's briefly understand – What is Rider?
Rider is a powerful and user-friendly integrated development environment (IDE) designed for .NET developers. It is developed by JetBrains, a renowned software company. With a wide range of features and tools, Rider simplifies the process of building, testing, and debugging .NET applications. This IDE supports various programming languages like C#, VB.NET, F#, ASP.NET, and more.
Rider offers excellent performance, code analysis, and navigation capabilities, enhancing developers' productivity. Its intuitive interface and cross-platform compatibility make it a top choice for developers looking for an efficient and versatile IDE for .NET development.
In this tutorial, you will install Rider on Ubuntu 22.04. We will also address a few FAQs on how to install Rider on Ubuntu 22.04.
Advantages of Rider
- Powerful IDE: Rider offers a wide range of advanced features and tools for efficient .NET development, making it a preferred choice for developers.
- Cross-platform Compatibility: With support for Windows, macOS, and Linux, Rider provides flexibility and convenience for developers working on different operating systems.
- Code Analysis and Navigation: The IDE offers intelligent code analysis and navigation capabilities, aiding developers in quickly understanding and modifying code.
- Enhanced Productivity: Rider's intuitive interface and extensive keyboard shortcuts help developers work faster and more efficiently, saving time and effort.
- Multi-language Support: Rider supports multiple programming languages, including C#, VB.NET, F#, and ASP.NET, making it a versatile solution for diverse development projects.
Section 1: Install Rider on Ubuntu 22.04 via APT and PPA
The robust package management system that forms the basis of Ubuntu and other Debian-based distributions is called the Advanced Packaging Tool, or APT. Installing JetBrains Rider, a flexible Integrated Development Environment (IDE) made specifically for.NET development, will be done in this section using APT.
Step 1: Refreshing the Ubuntu System Before Rider Installation
We need to maintain our system's local package database up to date before installing any new software. By keeping your Ubuntu system updated with the newest versions of all available software, this practice lays the groundwork for installations to go smoothly and successfully. Run the subsequent command to make updates to the package database:
sudo apt update
We should upgrade the system in addition to updating the package database. This helps create a more stable and secure operating environment by ensuring that all the installed software is up-to-date. To carry out the system upgrade, run the following command:
sudo apt upgrade
Step 2: Install Initial Packages for Rider on Ubuntu
We must add a few necessary packages to our system in order to complete the installation process. These packages, which include dirmngr, ca-certificates, software-properties-common, apt-transport-https, curl, and lsb-release, manage repositories, enable safe file transfers, and carry out other essential package-related functions. Run the following command to add these packages to your system:
sudo apt install dirmngr ca-certificates software-properties-common apt-transport-https curl lsb-release -y
Step 3: Incorporating the JetBrains PPA by Jonas Groeger on Ubuntu
We now need to include the JetBrains Personal Package Archive (PPA) in the list of repositories on the system. By including this repository, APT can obtain JetBrains Rider straight from JetBrains' PPA.
To ensure package authenticity, we will import the JetBrains repository's GPG key. As an implementation of the OpenPGP standard, the GNU Privacy Guard (GPG) confirms that the packages in the repository are actually from JetBrains. The command to import the GPG key is as follows:
curl -s https://s3.eu-central-1.amazonaws.com/jetbrains-ppa/0xA6E8698A.pub.asc | gpg --dearmor | sudo tee /usr/share/keyrings/jetbrains-ppa-archive-keyring.gpg > /dev/null
Next, use the following command to import the repository:
echo "deb [signed-by=/usr/share/keyrings/jetbrains-ppa-archive-keyring.gpg] http://jetbrains-ppa.s3-website.eu-central-1.amazonaws.com any main" | sudo tee /etc/apt/sources.list.d/jetbrains-ppa.list > /dev/null
Step 4: Refreshing the APT Package Index after Rider PPA Import on Ubuntu
It is imperative that the APT package database be updated after a new repository has been integrated into the system. This step guarantees that the most recent package information from the recently added JetBrains PPA is recognized by your system. To update the database for the APT package, run the following command:
sudo apt update
Step 5: Install Rider on Ubuntu 22.04 via APT Command
The installation of JetBrains Rider is now possible. The Rider package details from the JetBrains PPA have been primed, and your system is ready to download and install it. To start the installation process, use the APT install command as follows:
sudo apt install rider
When the command is executed, APT will download and install JetBrains Rider on your system after resolving any necessary dependencies.
Section 2: Install Rider via Snap on Ubuntu 22.04
Canonical, the company that makes Ubuntu, has developed a powerful package management and software deployment system called Snap. Its design ethos makes ongoing maintenance and software installation across different Linux distributions easier. This section explores how to use the Snap package manager to install JetBrains Rider step-by-step.
Step 1: Verifying the Existence of Snap-on Your Ubuntu System
Canonical has integrated Snap by default into the majority of Ubuntu distributions. Snap might not have been pre-installed in some circumstances, though, or it might have been manually removed. Snap can be reinstalled on your system using the following command in such cases:
sudo apt install snapd -y
Installing the Snap Daemon (snapd) command sets up a background service that keeps track of and manages Snap packages on your computer.
Step 2: Enabling Classic Snap Support for Rider on Ubuntu
A feature called "classic" confinement, which gives the Snap package access to your system's resources like regular software, is necessary for some Snap packages. In order to guarantee widespread compatibility and smooth functioning of these packages, we create a symbolic link (symlink) by executing the subsequent command:
sudo ln -s /var/lib/snapd/snap /snap
By executing the aforementioned command, you can enable classic Snap support on your system by creating a symlink between /var/lib/snapd/snap and /snap.
Step 3: Install the Core Snap Before Rider Installation on Ubuntu
Installing the "core" Snap is a prerequisite for installing JetBrains Rider. With the libraries and services it provides, this core Snap serves as the basis for other Snaps. By taking this proactive measure, possible disputes or problems that might arise later on can be avoided. Run the following command to install the core Snap installer:
sudo snap install core
Step 4: Install Rider via Snap Command on Ubuntu
Now that the requirements are met, we can install JetBrains Rider. You can accomplish this by running the following command:
sudo snap install rider --classic
The above command uses the following notations: sudo is used to grant elevated privileges, snap launches the Snap package manager, install denotes the action to install a package, and rider is the package that we want to install. Rider can access system resources by using the --classic option, just like a conventionally packaged application would.
Section 3: Install Rider via Flatpak and Flathub on Ubuntu 22.04
A universal package management system created with Linux in mind is called Flatpak. Despite having some similarities to Snap, it stands out thanks to a unique sandboxing feature. Applications are encapsulated by this functionality, which separates them from the rest of the system. As a result, there are fewer possible software conflicts and increased system security.
Step 1: Enable the Flathub Repository for Rider Flatpak Installation on Ubuntu
First, we enable the Flathub repository before beginning the Flatpak installation of JetBrains Rider. For the purpose of hosting Flatpak apps, Flathub functions as a reliable distribution platform. It functions similarly to an internet store, giving users access to a range of installed applications.
Run the following command in your terminal to add the Flathub repository to the configuration of your system:
sudo flatpak remote-add --if-not-exists flathub https://flathub.org/repo/flathub.flatpakrepo
By using the above command, you can easily incorporate the Flathub repository into your Flatpak configuration. JetBrains Rider is one of the many applications made possible by this integration.
Step 2: Install Rider via Flatpak Command on Ubuntu
After you have integrated the Flathub repository into your system, the next step is to install JetBrains Rider. For this to work, the flatpak install command is needed. The specific command needed to install JetBrains Rider is:
flatpak install flathub com.jetbrains.Rider -y
With this command, JetBrains Rider is started to download and install from the Flathub repository. It guarantees that the latest stable version of the application is obtained for usage.
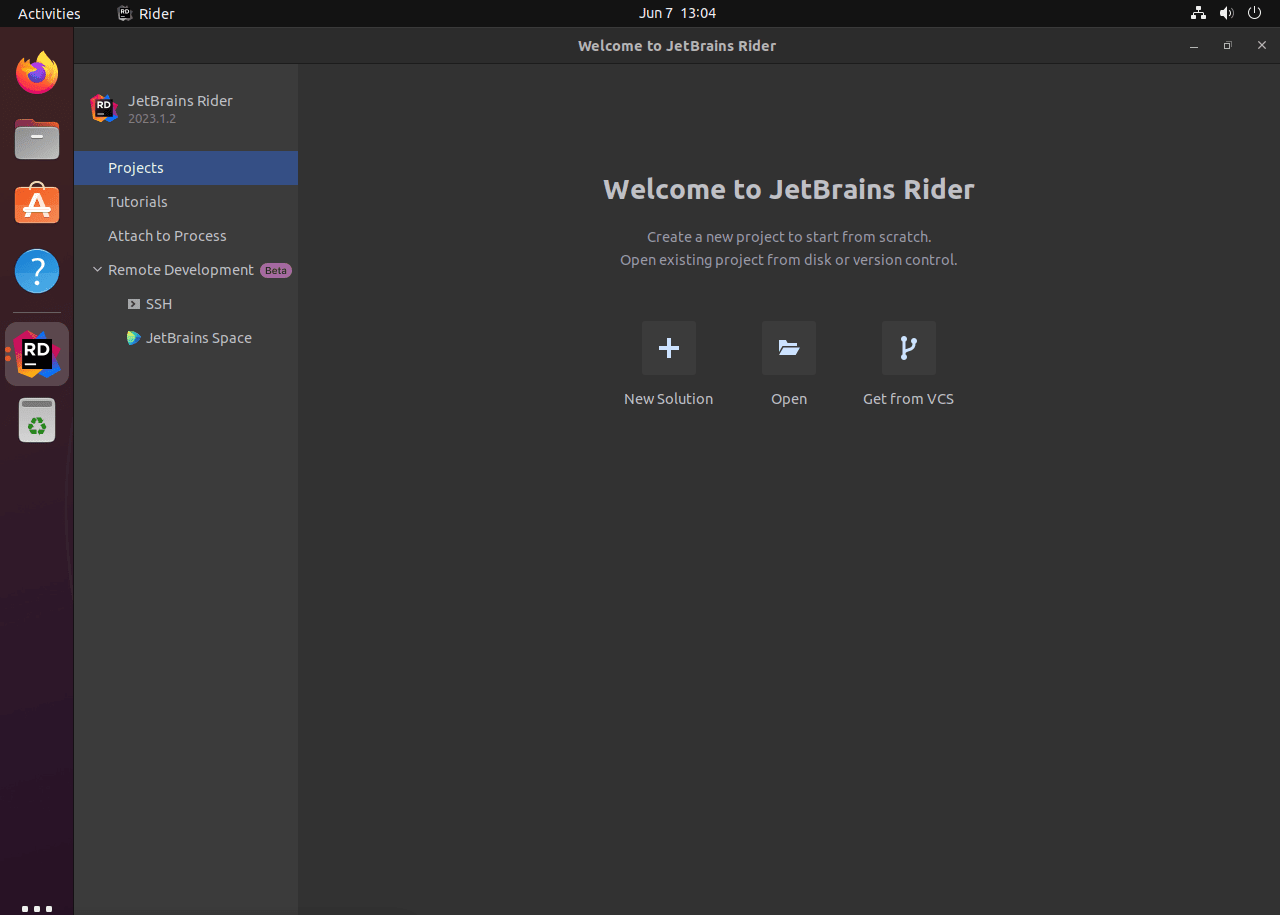
Section 4: Starting Rider on Ubuntu 22.04
After JetBrains Rider has been successfully installed on your Ubuntu system, you need to launch the application. The command-line interface (CLI) and the graphical user interface (GUI) are the two main ways to start Rider. Every technique offers customization based on user preferences, allowing you to interact with your system in a flexible way. This section describes how to use both of these approaches to launch JetBrains Rider.
Initiating Rider through the Command-Line Interface (CLI) on Ubuntu
The command-line interface is a very useful tool in the Linux environment, and it's also how programs like JetBrains Rider get started. Depending on how you installed it, you can use the command sets in the following subsections to launch JetBrains Rider: APT, Snap, and Flatpak.
Commencing JetBrains Rider Using the APT Command
Launching your terminal and entering the following will start JetBrains Rider using the APT command:
rider
This command prepares the Integrated Development Environment (IDE) for your coding projects by instantiating it upon execution.
Commencing JetBrains Rider Using the Snap Command
The command to launch JetBrains Rider if you installed it using Snap is:
snap run rider
When this command is executed, assuming the installation went smoothly, JetBrains Rider opens.
Commencing JetBrains Rider Using the Flatpak Command
In the event that Flatpak is your preferred installation method, launch JetBrains Rider by typing the following command into your terminal:
flatpak run com.jetbrains.Rider
As long as the installation was done correctly, this command activates JetBrains Rider.
Initiating JetBrains Rider through the Graphical User Interface (GUI) on Ubuntu
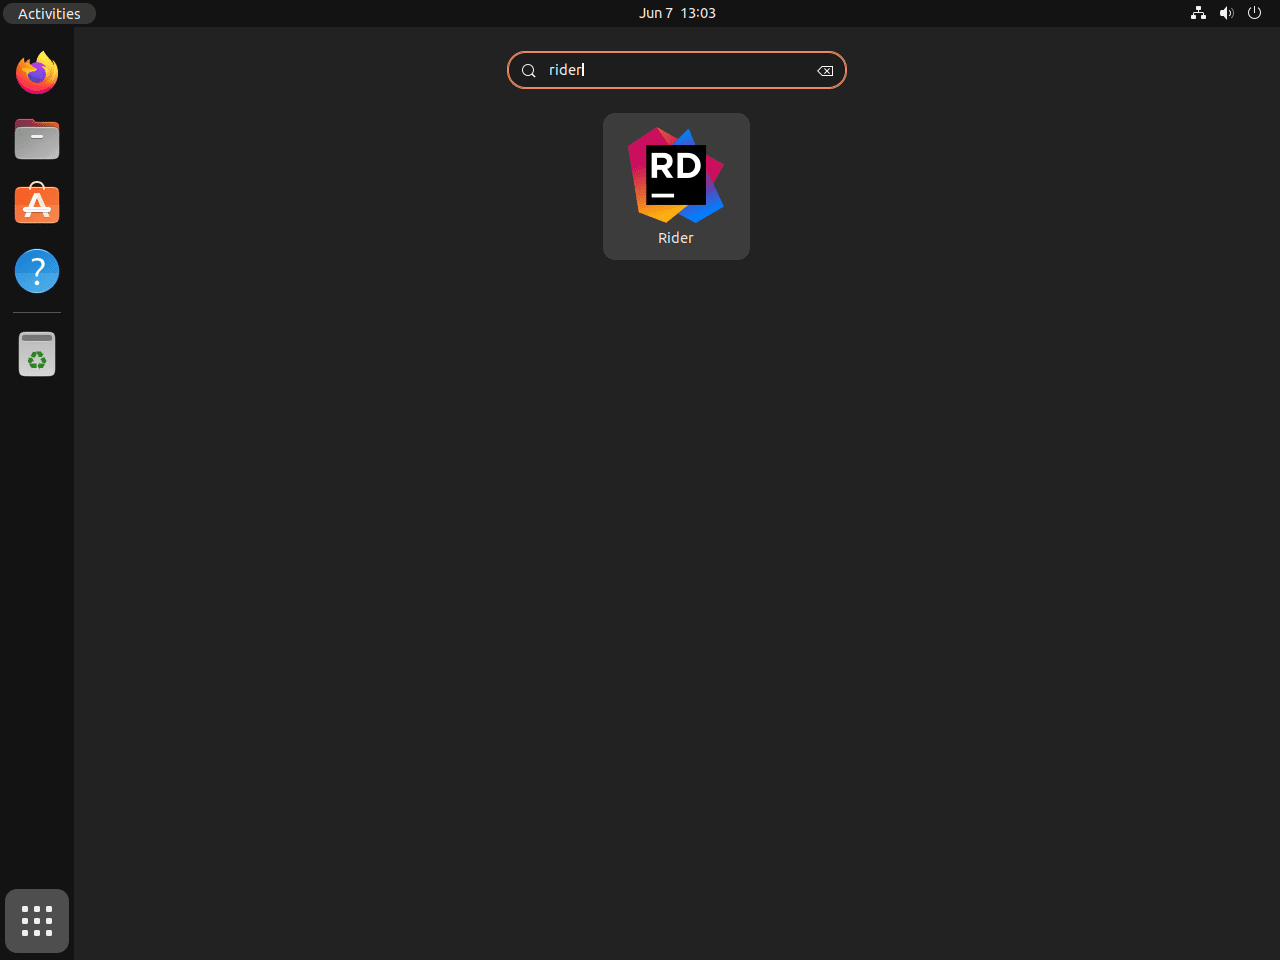
JetBrains Rider can also be started using Ubuntu's graphical user interface (GUI), which is a good option for people who prefer a visual approach. The following steps are involved in the process:
- Access the Activities menu: This can be found in the upper-left corner of your desktop display.
- Choose the Show Applications icon: This can be found beneath the Activities overlay.
- Proceed to search for JetBrains Rider: You can use the search bar for a quicker find or manually scroll through your applications.
- Launch JetBrains Rider: Lastly, launch the IDE and configure it for your coding tasks by clicking the JetBrains Rider icon.
Section 5: Tips for Getting Started with Rider on Ubuntu 22.04
An incredibly powerful and adaptable Integrated Development Environment (IDE) is JetBrains Rider. It can be adjusted and modified to suit different coding preferences and styles. Here are some pointers and strategies to help you use Ubuntu Linux's power more effectively.
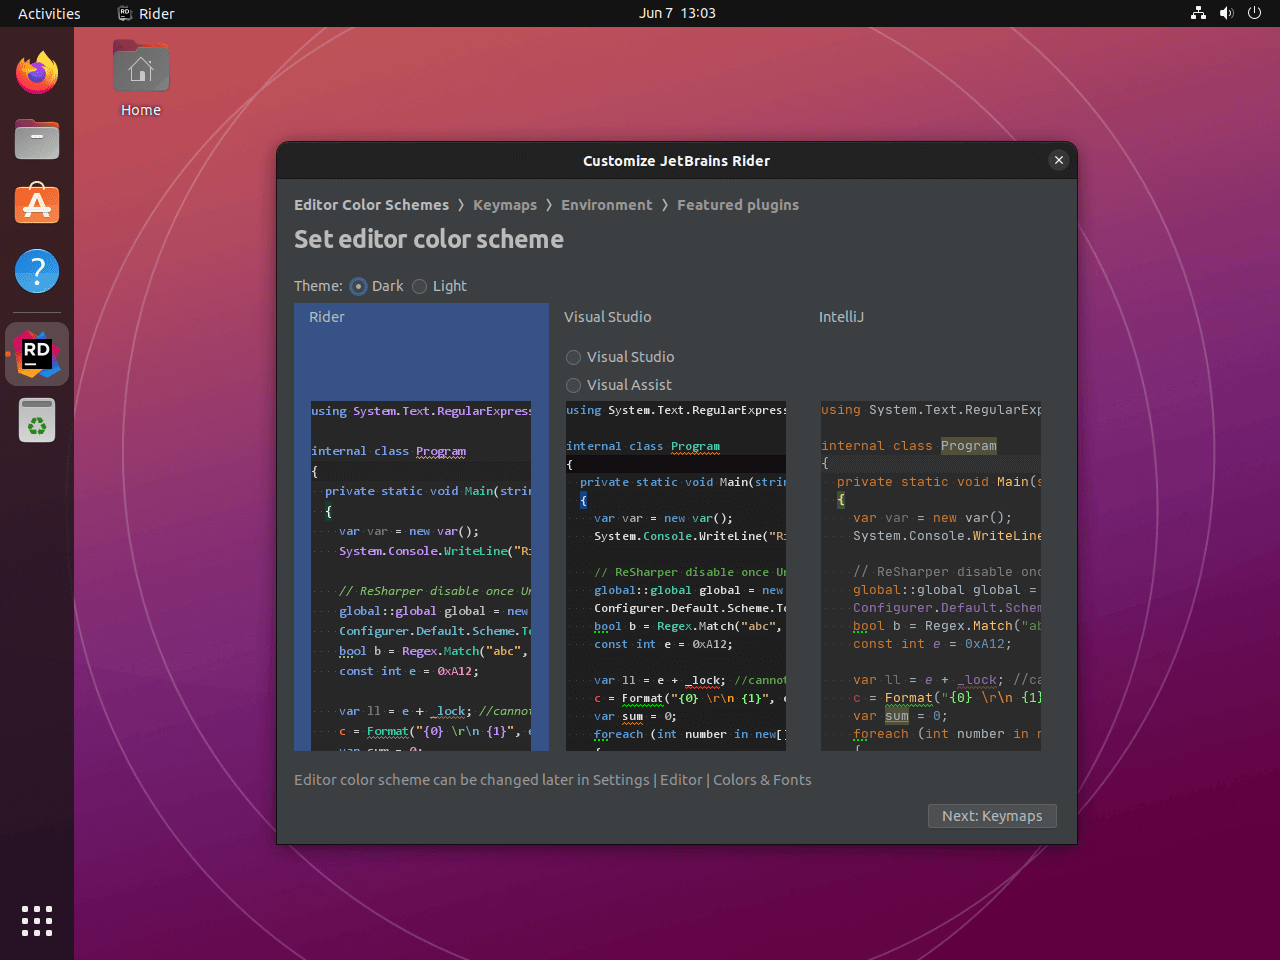
Customize Your IDE Theme on Ubuntu
You can personalize the appearance and feel of your IDE by selecting from a variety of themes that Rider offers. For improved readability, these themes come in light and dark variations as well as a high contrast theme. Getting to your theme and changing it:
- Go to File > Settings > Appearance & Behavior > Appearance.
- From the Theme dropdown menu, pick the theme that you like most.
Code Analysis and Error Detection
Code smells, redundancies, and syntax errors are highlighted by Rider's real-time code analysis. Additionally, it provides fast fixes that only require pressing the Alt+Enter key combination. This feature guarantees a cleaner, more optimized codebase and significantly increases coding efficiency.
Utilize Live Templates
Rider offers pre-written code snippets called "live templates" that you can add to your own code. They shorten the time needed for tedious tasks, which speeds up coding. To make a template that is live:
- Navigate to File > Settings > Editor > Live Templates.
- To create a new live template, click the
+button, add your code snippet, and specify the relevant context.
Leverage Built-In Terminal
You can execute Linux commands directly from Rider's built-in terminal without ever leaving the IDE. You can get to this by selecting View > Tool Windows > Terminal. Depending on your preferences, you can change the terminal settings to use a different shell program.
Debug with Ease
A robust debugger for .NET, Mono, Unity, .NET Core, and other platforms is offered by Rider. Setting breakpoints, stepping through code, and inspecting variables are all made simple by the visual debugger.
Manage VCS with Rider
Rider offers superior integration with the Version Control System (VCS). Right from the IDE, you can manage branches, review differences, and commit changes. Go to VCS > Commit (or use the keyboard shortcut Ctrl+K) to access this.
Keep in mind that these are only a few pointers for utilizing JetBrains Rider. More features and capabilities that can improve your coding experience and productivity will become apparent as you continue to explore the IDE.
Section 6: Additional Rider Commands on Ubuntu 22.04
The management of JetBrains Rider within your Ubuntu Linux environment is the main topic of this guide. The Integrated Development Environment (IDE) will be updated and removed by the focal point using particular command-line operations. Our main focus will be on the special commands related to package managers such as APT, Snap, and Flatpak.
Update Rider on Ubuntu 22.04
It's essential to keep your tools updated when it comes to software. Updates on a regular basis bring important security patches, new features, and performance improvements. It is therefore very helpful to become familiar with updating Rider using different package managers.
Refreshing Rider Using the APT Command on Ubuntu
One of the most popular package management systems in Ubuntu is called Advanced Package Tool, or APT for short. Two essential steps are involved in updating Rider using APT. The package list is first updated to reflect each package's most recent status. The upgrade command is then sent out to put the updates into effect. The following commands make these operations possible:
sudo apt update
sudo apt upgrade rider
Updating Rider via the Snap Command on Ubuntu
Update Rider with ease using Snap, a software packaging and deployment framework created by Canonical. This operation is started with the following command:
sudo snap refresh rider
Keep in mind that if you installed Rider as a snap package, updates are taken care of for you. Every day, photos are reloaded in the background.
Utilizing Flatpak to Update Rider on Ubuntu
For Linux platforms, Flatpak is a powerful tool for package management, application virtualization, and software deployment. To update Rider using Flatpak, run the following command:
sudo flatpak update com.jetbrains.Rider
Keep in mind that by updating all out-of-date packages, these commands will preserve the best practices for preserving the performance and security of your system.
Remove Rider on Ubuntu 22.04
You might occasionally need to uninstall Rider from your Ubuntu Linux system. The steps needed for this procedure are described in detail in the following sections.
Removing Rider Using the APT Command on Ubuntu
You must execute the following command in order to uninstall Rider using APT:
sudo apt remove rider
If you do not intend to use the JetBrains third-party APT PPA or reinstall Rider, you can also use these commands to clear the repository and GPG key:
sudo rm /etc/apt/sources.list.d/jetbrains-ppa.list
sudo rm /usr/share/keyrings/jetbrains-ppa-archive-keyring.gpg
Uninstalling Rider via the Snap Command on Ubuntu
All you have to do to uninstall Rider using Snap is to issue the following command:
sudo snap remove rider
Utilizing the Flatpak Command to Remove Rider on Ubuntu
Finally, you should run the following command to uninstall Rider using Flatpak:
sudo flatpak uninstall com.jetbrains.Rider
FAQs to Install Rider on Ubuntu 22.04
What are the system requirements for installing Rider on Ubuntu 22.04?
Rider requires Ubuntu 22.04 or later, with a minimum of 4GB RAM and 1.5GB of disk space.
Can I install Rider alongside other JetBrains IDEs?
Yes, you can install Rider alongside other JetBrains IDEs without any conflicts.
Are there any additional dependencies needed for Rider installation?
Rider may have some dependencies, such as Java Development Kit (JDK) and Mono Framework. Follow the installation guide for instructions.
How do I launch Rider after installation?
You can launch Rider by searching for it in the applications menu or by running the command: rider in the terminal.
Can I import settings from a previous Rider installation?
Yes, Rider allows you to import settings from a previous installation or from other JetBrains IDEs during the initial setup.
How can I update Rider on Ubuntu 22.04?
Rider offers automatic updates. You will receive notifications when updates are available, and you can install them with a few clicks.
Can I use Rider for free on Ubuntu 22.04?
Rider is a commercial IDE, but JetBrains offers a 30-day free trial. After the trial period, a license needs to be purchased to continue using Rider.
Conclusion
We hope this tutorial helped you understand how to install Rider on Ubuntu 22.04.
If you have any queries, please leave a comment below, and we’ll be happy to respond to them for sure.