
Choose a different version or distribution
Introduction
Before we discuss how to install SeaMonkey on Ubuntu 22.04, let's briefly understand-What is SeaMonkey?
SeaMonkey is an all-in-one internet suite that includes a web browser, email client, newsreader, HTML editor, and IRC chat client. It provides a comprehensive set of tools for internet tasks, making it a convenient choice for users who prefer an integrated suite.
This tutorial will walk you through the process of installing SeaMonkey on Ubuntu 22.04.
Advantages
- All-in-One Suite: SeaMonkey combines multiple internet tools in a single application, allowing you to browse the web, manage emails, read news, edit HTML, and chat on IRC without the need for separate programs.
- Familiar Interface: SeaMonkey's interface is similar to older versions of the Mozilla Firefox browser, making it easy for users accustomed to the Firefox interface to navigate and use the suite.
- Integrated Email Client: SeaMonkey includes a powerful email client that supports multiple accounts, filters, advanced search, and customizable views, providing a comprehensive solution for managing your emails.
- Web Development Tools: SeaMonkey includes an HTML editor and a built-in JavaScript debugger, making it suitable for web developers who need a complete package for web authoring and debugging.
- Open-Source and Community Driven: SeaMonkey is an open-source project with an active community of developers and contributors, ensuring regular updates, bug fixes, and user-driven improvements.
Install SeaMonkey on Ubuntu 22.04 via APT PPA
Step 1: Update Ubuntu Before SeaMonkey Installation
Before proceeding with the tutorial, ensuring your system is up-to-date with all existing packages is good.
sudo apt updateProceed to upgrade any outdated packages using the following command.
sudo apt upgradeStep 2: Install Initial Packages For SeaMonkey on Ubuntu
The first and easiest method is installing SeaMonkey using the source APT repository from UbuntuZilla to keep up with any new changes quickly. Another great feature is the repository works for all currently released Ubuntu versions that are not EOL.
First, install the required packages.
sudo apt install dirmngr ca-certificates software-properties-common apt-transport-https -yStep 3: Import GPG Key For SeaMonkey on Ubuntu
For users who have not previously imported a GPG key from the Ubuntu keyserver, the command line terminal will often have issues importing GPG keys from LaunchPAD PPAs because the directories are not created. This is an easy fix. Use the following command that will, in turn, generate the directories.
This can be skipped, but run the command and re-try if you encounter an issue.
sudo gpg --list-keysExample output:
Output

gpg: directory '/root/.gnupg' created
gpg: keybox '/root/.gnupg/pubring.kbx' created
gpg: /root/.gnupg/trustdb.gpg: trustdb created
Next, import the GPG key.
sudo gpg --no-default-keyring --keyring /usr/share/keyrings/ubuntuzilla.gpg --keyserver keyserver.ubuntu.com --recv-keys 2667CA5CExample output:
Output

/usr/share/keyrings/ubuntuzilla.gpg --keyserver keyserver.ubuntu.com --recv-keys 2667CA5C
gpg: keybox '/usr/share/keyrings/ubuntuzilla.gpg' created
gpg: key B7B9C16F2667CA5C: public key "Daniel Folkinshteyn (Ubuntuzilla signing key) <[email protected]>" imported
gpg: Total number processed: 1
gpg:               imported: 1
Step 5: Import UbuntuZilla PPA For SeaMonkey on Ubuntu
Now, import the APT repository using the following command.
printf 'deb [signed-by=/usr/share/keyrings/ubuntuzilla.gpg] https://downloads.sourceforge.net/project/ubuntuzilla/mozilla/apt all main\n' | sudo tee /etc/apt/sources.list.d/ubuntuzilla.list >/dev/nullRun a quick APT update to reflect the newly added APT source.
sudo apt updateStep 6: Install SeaMonkey on Ubuntu 22.04 via APT Command
Lastly, install SeaMonkey using the following command.
sudo apt install seamonkey-mozilla-buildLaunch SeaMonkey on Ubuntu 22.04
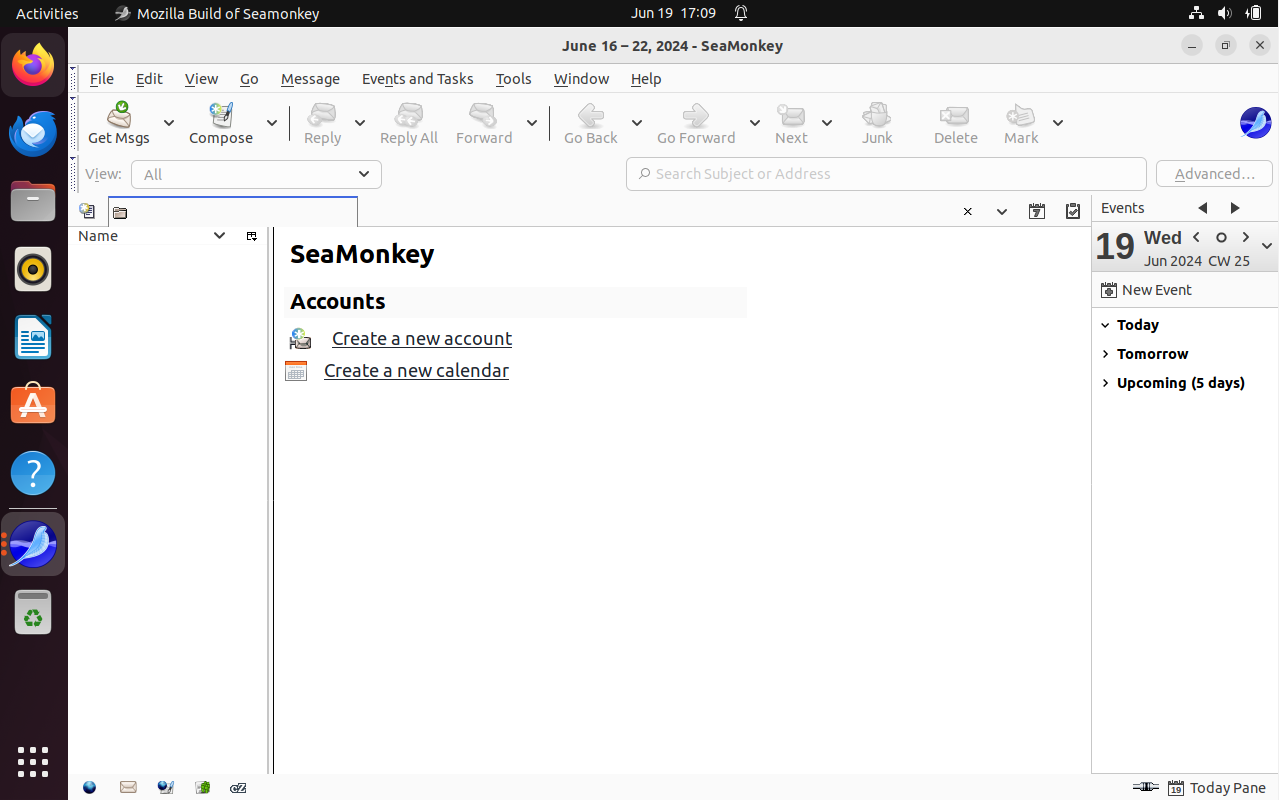
Now that you have installed the SeaMonkey internet suite, you can launch the application immediately via your command terminal using the following command:
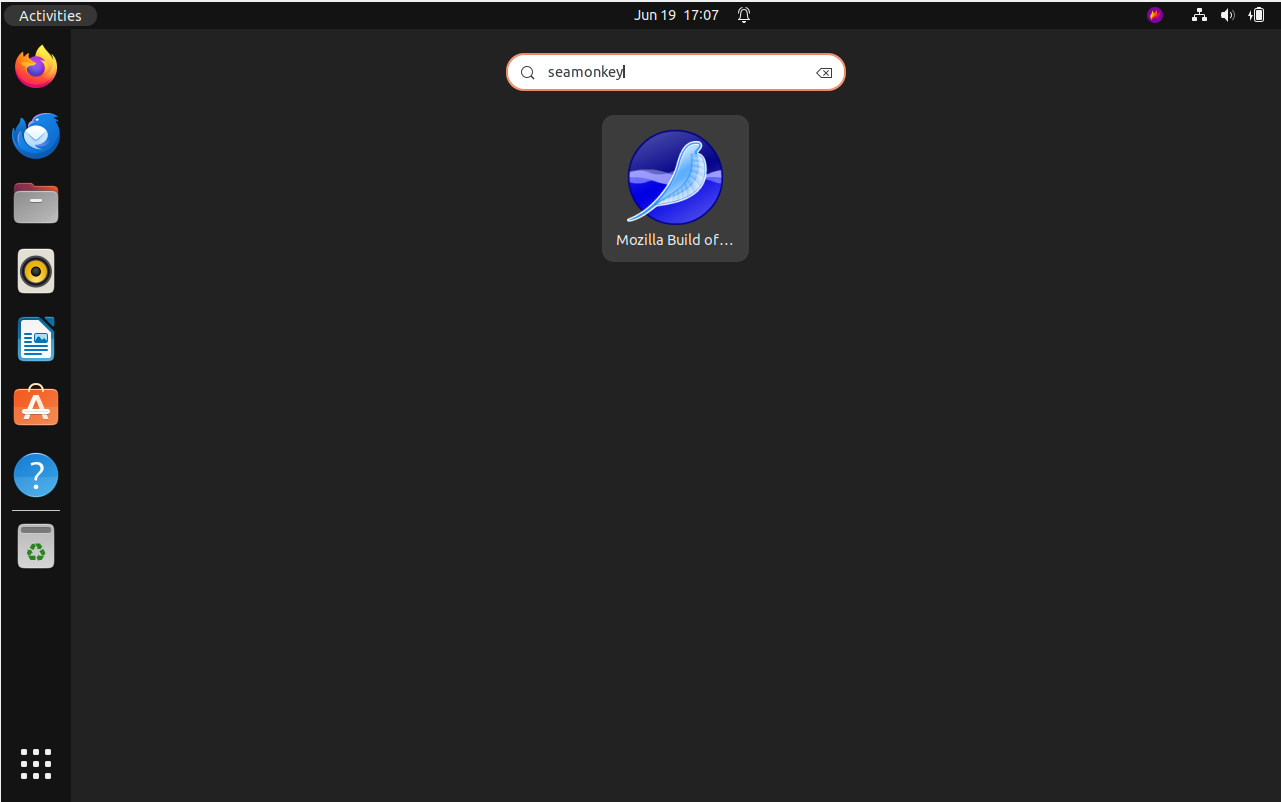
seamonkeyAlternatively, you can launch the software suite by following the application path to its icon:
Activities > Show Applications > SeaMonkey
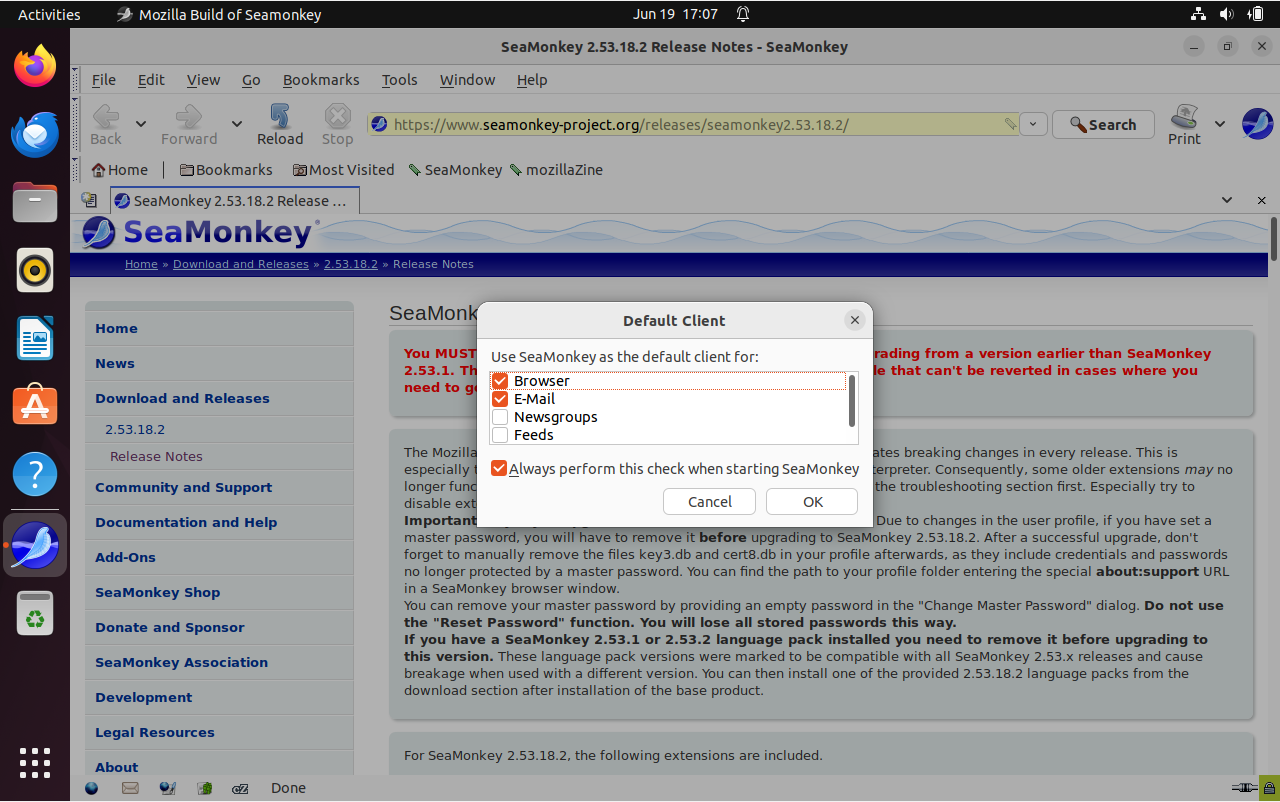
Tips on Getting Started with SeaMonkey on Ubuntu 22.04
Having successfully installed SeaMonkey on Ubuntu, you might be curious about the best ways to optimize your user experience. SeaMonkey isn’t just a web browser; it’s an all-in-one internet application suite, including an email client, news client, HTML editor, and more. Let’s explore some first-time user tips to help you navigate and make the most out of SeaMonkey.
General Tips with SeaMonkey on Ubuntu
Profile Manager
- SeaMonkey’s Profile Manager allows you to create and manage multiple user profiles. Using one device for personal and professional tasks is incredibly beneficial. Access the Profile Manager from the start menu or by launching SeaMonkey with the
-profilemanagercommand.
Keyboard Shortcuts
- Just like any sophisticated software, SeaMonkey boasts a variety of keyboard shortcuts to enhance your productivity:
Ctrl + T: Opens a new browser tab.Ctrl + U: View the source code of a webpage.Ctrl + E: Focuses the search bar.
Integrated Email Client
- Don’t overlook the power of the built-in email client in SeaMonkey. It supports POP and IMAP protocols, making it compatible with most email services. Plus, you can manage multiple accounts simultaneously.
Customizations with SeaMonkey on Ubuntu
Themes and Appearance
- Customize the look and feel of SeaMonkey to your preference. Visit the Add-ons Manager and select Themes. Whether you prefer a minimalistic design or a vibrant theme, there’s likely an option for you.
Extensions
- Expand SeaMonkey’s capabilities with extensions. Whether it’s an ad-blocker, password manager, or a download manager, myriad extensions are available to enhance functionality.
Other Tips with SeaMonkey on Ubuntu
Composer – The HTML Editor
- One of SeaMonkey’s standout features is the built-in HTML editor called Composer. It’s a WYSIWYG (What You See Is What You Get) editor, perfect for those who want to dabble in web design without diving deep into coding.
Integrated Chat Client
- Communicate effortlessly using SeaMonkey’s integrated chat client. It supports IRC, XMPP, and more. Set it up under
Window > ChatZilla.
News and Blogs
- Keep yourself updated with the latest headlines by configuring SeaMonkey’s news client. It lets you subscribe to RSS and Atom feeds, so you’re always in the know.
Performance Optimization
- If you ever feel SeaMonkey is lagging, consider clearing the cache. Go to
Edit > Preferences > Advanced > Cache, and clickClear Cache.
Navigating SeaMonkey might initially seem daunting due to its suite of applications. However, with these tips, you can harness its full potential better.
Additional SeaMonkey Commands on Ubuntu 22.04
Update SeaMonkey Suite on Ubuntu 22.04
Next are the commands to run in your terminal to check for updates. These commands will blanket-check all installed packages on your system that match the installation package manager. Ideally, you should run this regardless, even if auto-updates are set up to ensure your system is up-to-date, and no update errors occur for newer users.
sudo apt update && sudo apt upgradeRemove SeaMonkey Suite on Ubuntu 22.04
First, remove the internet suite using the following command for users who no longer wish to have SeaMonkey installed.
sudo apt install seamonkey-mozilla-build --purgeUsers that will no longer require the APT import repository since you will not use it again can safely remove it, which is good housekeeping and security best practices.
sudo rm /etc/apt/sources.list.d/ubuntuzilla.listOptionally, you can remove the GPG as well with the following command.
sudo rm /usr/share/keyrings/ubuntuzilla.gpgFAQs to Install SeaMonkey on Ubuntu 22.04
Can I install SeaMonkey from the Ubuntu Software Center?
Yes, you can search for SeaMonkey in the Ubuntu Software Center and install it from there. The steps are similar to using the terminal.
How do I launch SeaMonkey after installation?
SeaMonkey should be automatically added to your applications menu. You can launch it by searching for "SeaMonkey" in the applications menu or by using the terminal command seamonkey.
Can I import my browser bookmarks into SeaMonkey?
Yes, during the first launch of SeaMonkey, it will prompt you to import data from other browsers such as Firefox. You can select to import your bookmarks, history, and other settings from Firefox or other compatible browsers.
Can I use SeaMonkey for web development purposes?
Yes, SeaMonkey includes an HTML editor (Composer) that allows you to create and edit web pages. It also provides a JavaScript debugger for debugging web scripts.
Does SeaMonkey support add-ons?
Yes, SeaMonkey supports add-ons similar to Mozilla Firefox. You can enhance SeaMonkey's functionality by installing various extensions, themes, and plugins.
Can I customize the appearance of SeaMonkey?
Yes, SeaMonkey allows you to customize the interface through different themes and addons. You can change the look and feel of the suite to suit your preferences.
Can I set up multiple email accounts in SeaMonkey?
Yes, SeaMonkey's integrated email client supports multiple email accounts, allowing you to manage multiple email addresses from within the suite.
Conclusion
We have explained how to install SeaMonkey on Ubuntu 22.04 in this tutorial.
If you have any queries, let us know in the comments section, and we would be happy to answer to them.....
