
Introduction
Before we discuss how to install WordPress on Debian 12, let's first understand-What is WordPress?
WordPress is a popular content management system (CMS) that allows you to create and manage websites easily. Debian 12 provides a stable and reliable platform for hosting WordPress, ensuring optimal performance and security. To run your WordPress website, you can build up a reliable web server environment by installing WordPress on Debian 12.
This tutorial will show you how to install WordPress on Debian 12. We will also address few FAQs on how to install WordPress on Ubuntu 22.04.
Advantages
- Open-Source and Free: WordPress is open-source software, which means it is free to use and modify. You can use Debian 12, which is also open-source and free, to host your WordPress site without any licensing costs.
- Flexible and Customizable: WordPress offers a wide range of themes and plugins, allowing you to customize your website to suit your needs. Debian 12 provides a flexible and customizable environment, giving you full control over the server configuration and software installations.
- Active Community Support: WordPress has a large and active community of users and developers who contribute to its development, provide support, and create new plugins and themes. Debian 12 also benefits from a vibrant community, ensuring access to support channels and documentation.
- Reliability and Stability: Debian 12 is known for its stability and reliability as a Linux distribution. By using Debian 12 to host your WordPress site, you can expect consistent performance, security updates, and long-term support.
- Security and Privacy: Both WordPress and Debian 12 prioritize security, regularly releasing updates and patches to address vulnerabilities. With proper configuration and best practices, you can ensure the security of your WordPress site on Debian 12.
Steps to Install WordPress on Debian 12
Step-1: Update Operating System
Upgrade your Debian 12 operating system to ensure that all installed packages are up-to-date:
apt update && apt upgradeInstall the required packages as follows:
sudo apt install nano wget unzip -yStep 2: Install Nginx web server on Debian 12
To set up Nginx, execute this following command:
sudo apt install nginx -yWith the following commands, you can launch the Nginx service and set it up to run automatically at startup:
sudo systemctl start nginx
sudo systemctl enable nginx
The systemctl status command can be used to check the Nginx service's status:
sudo systemctl status nginxnginx.service - A high performance web server and a reverse proxy server
Loaded: loaded (/lib/systemd/system/nginx.service; enabled; preset: enabled)
Active: active (running)
Docs: man:nginx(8)
Process: 674 ExecStartPre=/usr/sbin/nginx -t -q -g daemon on; master_process on; (code=exited, status=0/SUCCESS)
Process: 873 ExecStart=/usr/sbin/nginx -g daemon on; master_process on; (code=exited, status=0/SUCCESS)
Main PID: 875 (nginx)
Tasks: 2 (limit: 2273)
Memory: 4.5M
CPU: 402ms
CGroup: /system.slice/nginx.service
├─875 "nginx: master process /usr/sbin/nginx -g daemon on; master_process on;"
└─876 "nginx: worker process"Step 3: Set up WordPress with PHP and PHP extensions
The following command can be used to install PHP and other supporting packages:
sudo apt install php php-curl php-fpm php-bcmath php-gd php-soap php-zip php-curl php-mbstring php-mysqlnd php-gd php-xml php-intl php-zip -yCheck to see if PHP is installed.
php -vOutput:
PHP 8.2.7 (cli) (built: Jun  9 2023 19:37:27) (NTS)
Copyright (c) The PHP Group
Zend Engine v4.2.7, Copyright (c) Zend Technologies
    with Zend OPcache v8.2.7, Copyright (c), by Zend Technologies
Edit the php.ini file once all the packages have been installed:
sudo nano /etc/php/8.2/fpm/php.iniAdjust the following parameters to suit your needs:
max_execution_time = 300
memory_limit = 512M
post_max_size = 128M
upload_max_filesize = 128M
Restart the php-fpm service to take the modifications into effect:
sudo systemctl restart php8.2-fpmStep 4: Install MariaDB Database Server
You can use the following command to install MariaDB:
sudo apt install mariadb-server mariadb-client -yUse the following commands to launch the database server daemon and set it up to launch automatically at the next boot:
sudo systemctl start mariadb
sudo systemctl enable mariadb
Use the systemctl status command to verify the MariaDB service's current state:
sudo systemctl status mariadbOutput:
mariadb.service - MariaDB 10.11.3 database server
     Loaded: loaded (/lib/systemd/system/mariadb.service; enabled; preset: enabled)
     Active: active (running)
       Docs: man:mariadbd(8)
             https://mariadb.com/kb/en/library/systemd/
   Main PID: 959 (mariadbd)
     Status: "Taking your SQL requests now..."
      Tasks: 12 (limit: 2273)
     Memory: 256.5M
        CPU: 6.621s
     CGroup: /system.slice/mariadb.service
             └─959 /usr/sbin/mariadbd
To secure your MariaDB server, use the following command after the database server has been installed:
sudo mysql_secure_installationNext, a series of configuration questions will be posed to you; you are required to respond with Y to each one.
Remove anonymous users? [Y/n]: Y
Disallow root login remotely? [Y/n]: Y
Remove test database and access to it? [Y/n]:  Y
Reload privilege tables now? [Y/n]:  Y
For the modifications to take effect, restart the database server.
Run the following command:
Step 5: Create a New Database for WordPress
sudo systemctl restart mariadbUse the following command to log into your MariaDB server :
mysql -u root -pIn order to create a new database and user, use the following commands:
MariaDB [(none)]> CREATE DATABASE wordpress_db;
MariaDB [(none)]> GRANT ALL PRIVILEGES ON wordpress_db.* TO 'wordpress_user'@'localhost' IDENTIFIED BY 'password';
MariaDB [(none)]> FLUSH PRIVILEGES;
MariaDB [(none)]> EXIT'password' with a strong password of your choice.Step 6: Download WordPress
Now that WordPress is up-to-date, we will download it from the WordPress Official site.
The command to download WordPress is as follows:
wget https://wordpress.org/latest.zipOpen the file and extract it to the /var/www/html/ folder. Using the following commands:
The /var/www/html/wordpress/ directory should then be accessed:
sudo unzip latest.zip -d /var/www/html/cd /var/www/html/wordpressA sample file for setup is included with WordPress. Copy the contents of this file:
sudo cp wp-config-sample.php wp-config.php
Next, specify your database settings in the WordPress configuration file:
sudo nano wp-config.phpModify the lines that correspond with your database configuration:
/** The name of the database for WordPress */
define( 'DB_NAME', 'wordpress_db' );

/** MySQL database username */
define( 'DB_USER', 'wordpress_user' );

/** MySQL database password */
define( 'DB_PASSWORD', 'password' );

/** MySQL hostname */
define( 'DB_HOST', 'localhost' );
When you're done, save the file.
Modify the website directory's permissions:
sudo chown -R www-data:www-data /var/www/html/wordpress/Step 7: Configure Nginx Web Server for WordPress
To generate a configuration file for your installation, navigate to the sudo nano /etc/nginx/sites-available/wordpress directory and run the following command:
Add the following content:
sudo nano /etc/nginx/sites-available/wordpressserver {
listen 80;
server_name your-domain.com www.your-domain.com;
root /var/www/html/wordpress;
index index.php;
access_log /var/log/nginx/your-domain.com.access.log;
error_log /var/log/nginx/your-domain.com.error.log;
client_max_body_size 100M;
location / {
try_files $uri $uri/ /index.php?$args;
}
location ~ \.php$ {
include snippets/fastcgi-php.conf;
fastcgi_pass unix:/var/run/php/php8.2-fpm.sock;
include fastcgi_params;
fastcgi_intercept_errors on;
}
}After saving the file, exit.
Restart the Nginx web server.
sudo systemctl restart nginxStep 8: Access WordPress Web Installer
Launch your browser and enter your domain, such as http://your-domain.com. The language selection page will appear after you are redirected:
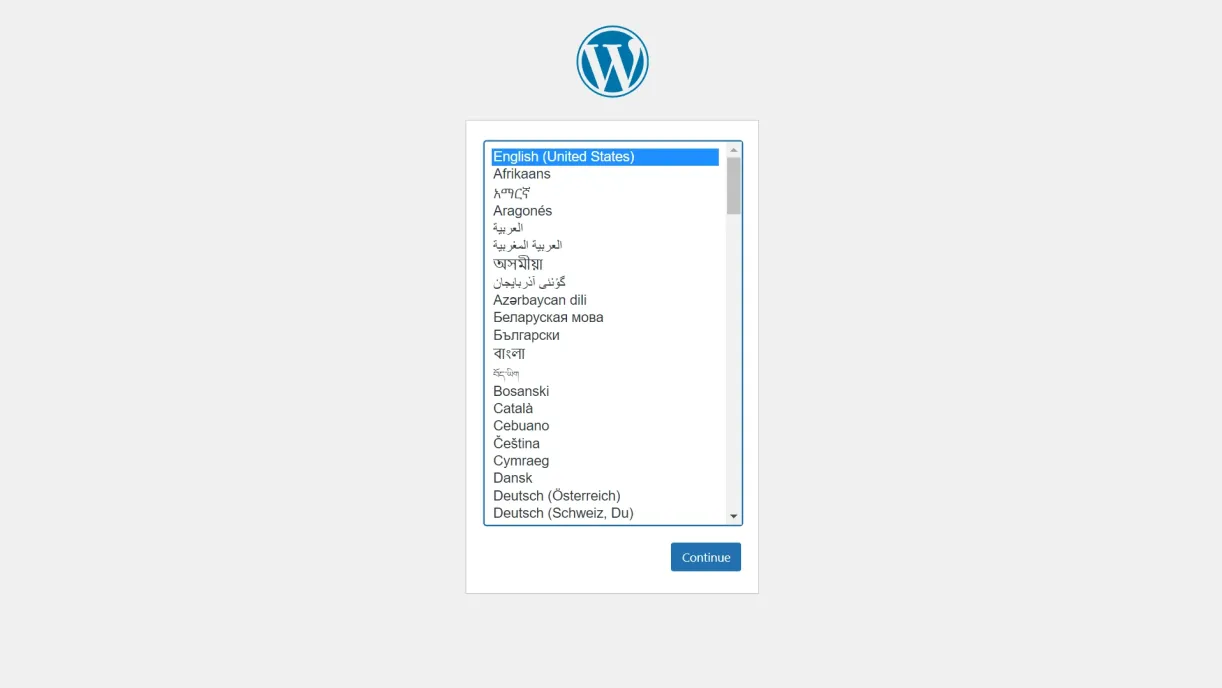
After selecting your language, press the "Continue" button.
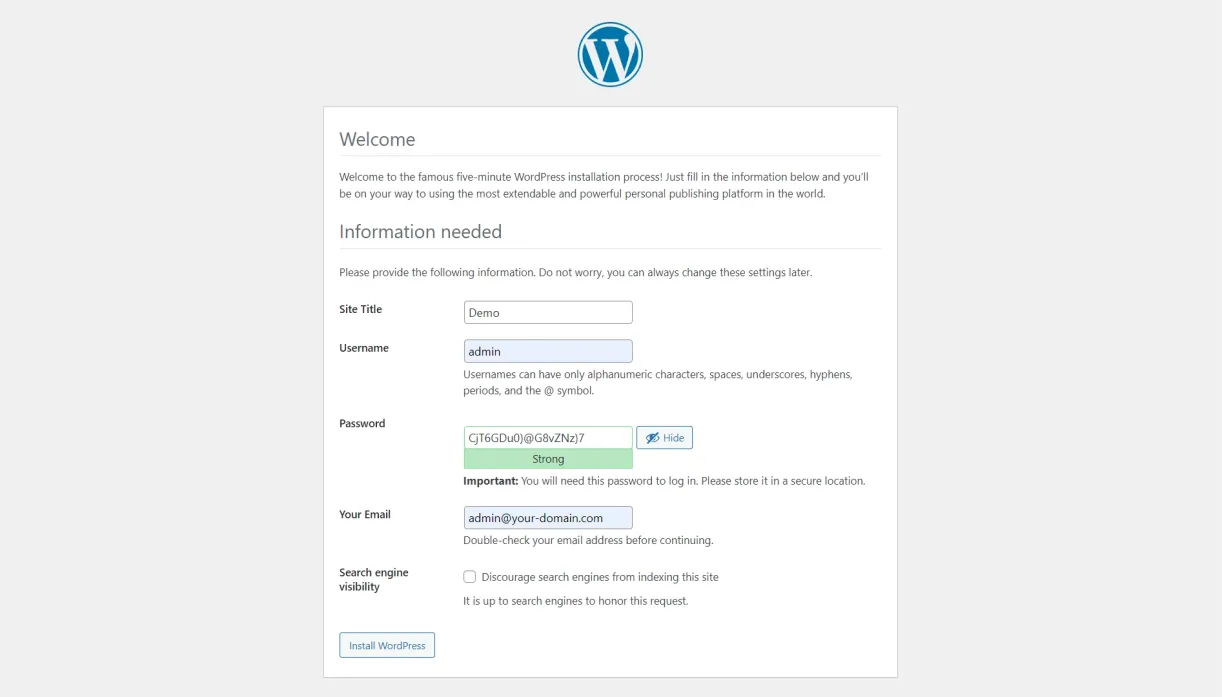
After entering the necessary data, press the install WordPress button. After the installation is complete. The following screen will appear to you:
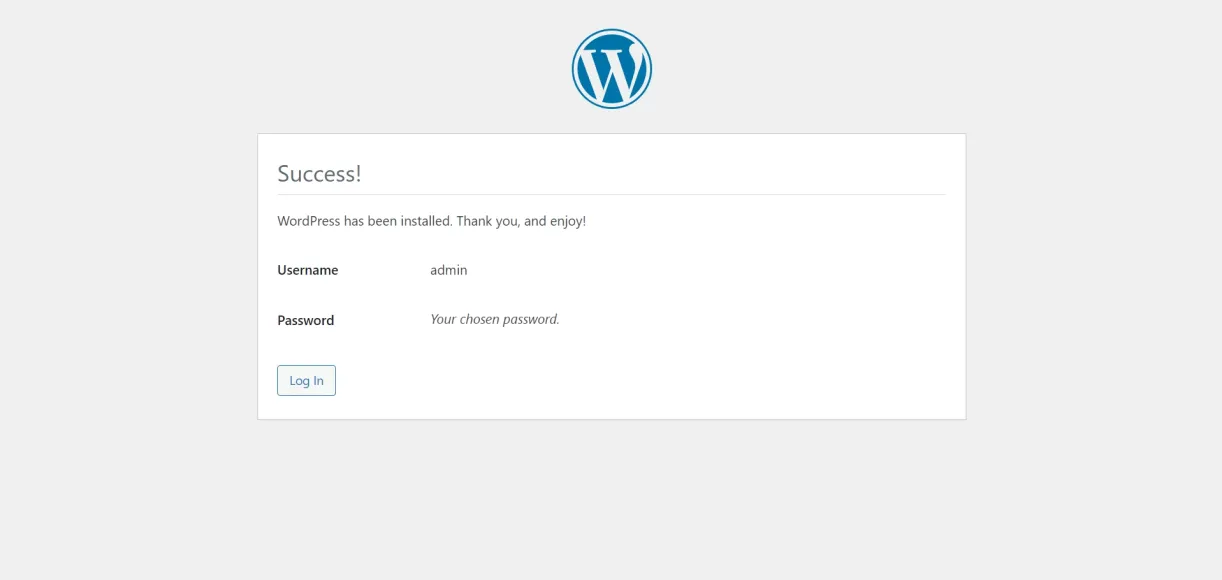
Click on the Login button. The WordPress login screen should be visible to you:
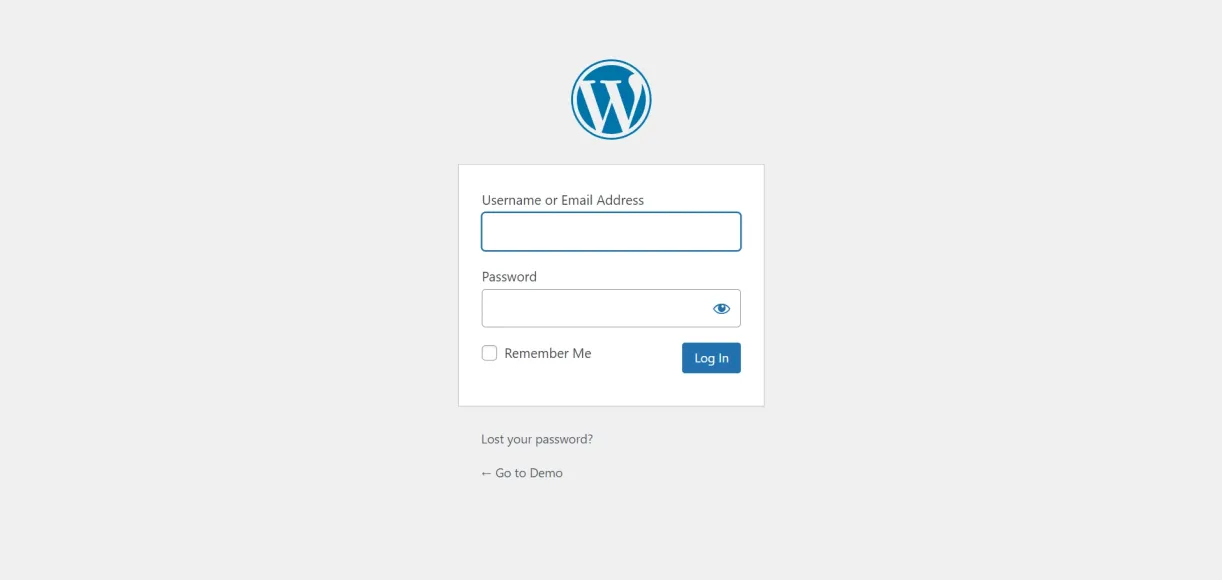
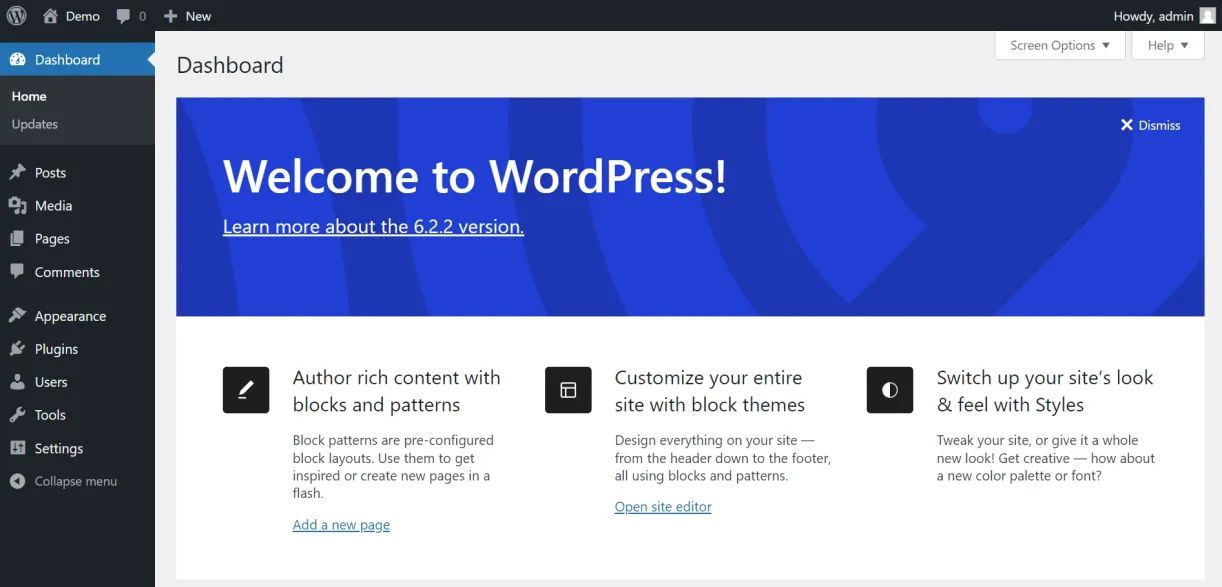
Click the Log In button after entering your password and administrator user information. The dashboard will appear on the screen that looks like this:
FAQs to Install WordPress on Debian 12
Does Debian 12 include built-in support for WordPress?
Debian 12 does not include built-in support for WordPress. You will need to manually install and configure WordPress on your Debian 12 server.
How do I install and configure Apache on Debian 12 for WordPress?
To install and configure Apache on Debian 12 for WordPress, you can follow the official Debian documentation or use package managers like apt or aptitude. It involves installing Apache, configuring virtual hosts, enabling necessary modules, and restarting the Apache service.
Can I use a different database instead of MySQL with WordPress on Debian 12?
Yes, you can use a different database like MariaDB or PostgreSQL instead of MySQL with WordPress on Debian 12. However, MySQL is commonly used and has extensive community support and documentation.
How do I install and configure PHP on Debian 12 for WordPress?
You can install PHP on Debian 12 using apt or aptitude package manager. It involves installing PHP and necessary modules, configuring PHP settings, and restarting the web server.
What is the recommended way to install WordPress on Debian 12?
The recommended way to install WordPress on Debian 12 is by following the official WordPress installation documentation. It provides step-by-step instructions for downloading, extracting, and configuring WordPress.
Can I use a different web server instead of Apache with WordPress on Debian 12?
Yes, you can use a different web server like Nginx instead of Apache with WordPress on Debian 12. Nginx has its own configuration process, but you can find specific instructions for WordPress installations with Nginx on the official WordPress documentation or online resources.
Can I install multiple WordPress sites on Debian 12?
Yes, you can install multiple WordPress sites on Debian 12 by setting up separate installations for each site and configuring virtual hosts in your web server.
Conclusion
That is all. WordPress CMS (Content Management System) has been successfully installed on Debian 12 OS.
We advise you to review the official WordPress documentation if you need any extra assistance or helpful information.
Please feel free to ask any questions you may have in the comments section, and we will be pleased to respond.