
Introduction
Before we begin talking about how to install Xrdp Server on Debian 10, let's briefly understand – What is Xrdp server?
You can control a remote system graphically using Xrdp, an open-source implementation of the Microsoft Remote Desktop Protocol (RDP). You can build a true desktop session on the remote computer using RDP just as you would on a local workstation.
Check out VNC if you are searching for an open-source alternative for remote desktop access.
In this tutorial, you will install Xrdp Server on Debian 10.
Installing Desktop Environment
Generally, a desktop environment is not preinstalled on Linux servers. Installing X11 and a desktop environment that will serve as Xrdp's backend is the first step.
In the Debian repositories, a number of desktop environments (DE) are available. We will be installing Xfce. It is the best desktop environment for use on a remote server since it is efficient, reliable, and lightweight. You can install Gnome in place of Xfce if that is the desktop environment you prefer.
To install Xfce on your server, run the following commands as root or a user with sudo privileges:
sudo apt update
sudo apt install xfce4 xfce4-goodies xorg dbus-x11 x11-xserver-utils
It may take some time to download and install the Xfce packages, depending on your system and internet connection.
Install Xrdp
The Xrdp package is accessible through the default Debian repositories. Run the below command to install it:
sudo apt install xrdp
Upon successful completion of the installation process, the service will launch automatically. By running the following command, you may see if the Xrdp service is active:
sudo systemctl status xrdp
The output should look like the one shown below:
Output

● xrdp.service - xrdp daemon
   Loaded: loaded (/lib/systemd/system/xrdp.service; enabled; vendor preset: enabled)
   Active: active (running) since Wed 2020-04-01 21:19:11 UTC; 4s ago
  ...
By default, Xrdp uses the /etc/ssl/private/ssl-cert-snakeoil.key file, which is only accessible to users who are members of the “ssl-cert” group. To add the xrdp user to the group, execute the following command:
sudo adduser xrdp ssl-cert
All done. You have successfully installed Xrdp on your Debian system.
Configure Xrdp
The /etc/xrdp directory contains the Xrdp configuration files. You do not need to modify the configuration files for simple Xrdp connections. The default X Window desktop, in this example XFCE, will be used by Xrdp.
The primary configuration file is named xrdp.ini. You can set global configuration settings like security and listening addresses in this file's sections, as well as create several xrdp login sessions.
You must restart the Xrdp service each time you modify the configuration file:
sudo systemctl restart xrdp
The X session is started by Xrdp using the startwm.sh file. Edit this file to use another X Window desktop.
Configure Firewall
On all interfaces, Xrdp listens on port 3389 by default. You must include a rule to allow traffic on the Xrdp port if you run a firewall on your Debian server, which you should always do.
Assuming you manage the firewall with ufw, use the following command to allow access to the Xrdp server from a particular IP address or IP range, in this case 192.168.1.0/24:
sudo ufw allow from 192.168.1.0/24 to any port 3389
For security reasons, it is strongly advised against allowing access from anywhere. However, if you must, then run the following command:
sudo ufw allow 3389
If your system uses nftables to filter connections, use the following command to open the required port:
sudo nft add rule inet filter input tcp dport 3389 ct state new,established counter accept
For added protection, configure Xrdp to listen solely on localhost and create an SSH tunnel that securely transmits traffic from your local machine on port 3389 to the server on the same port. Installing OpenVPN and connecting to the Xrdp server through the private network is another safe choice.
Connecting to the Xrdp Server
Now that you have configured your Xrdp server, launch your Xrdp client and connect to the server.
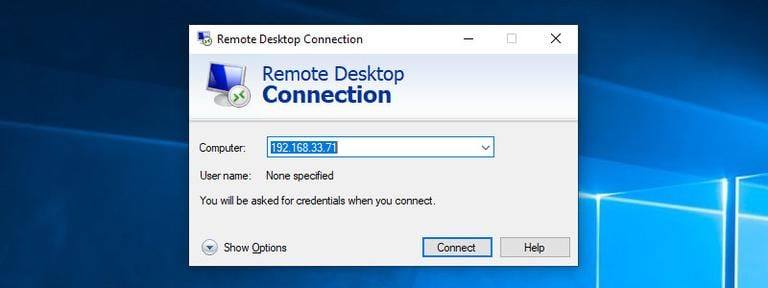
Use the built-in RDP client if you have a Windows computer. In the Windows search box, enter “remote,” then select “Remote Desktop Connection.” The RDP client will launch as a result. Enter the IP address of the remote server in the “Computer” section and press “Connect”.
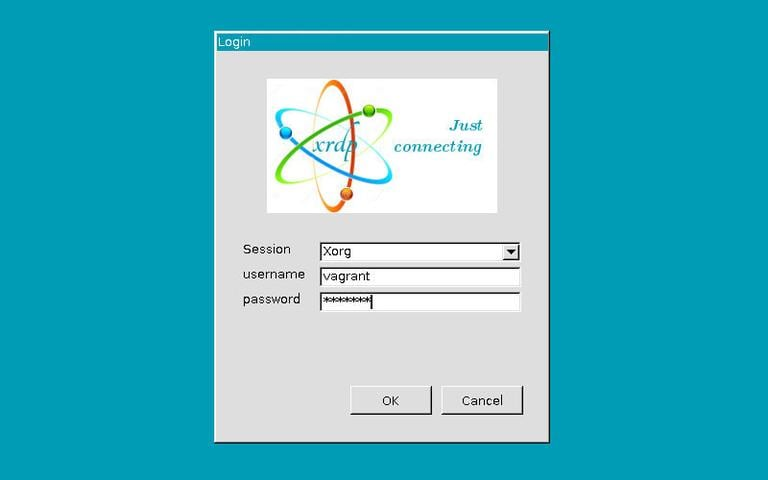
Enter your username and password on the login screen, then hit “OK.”
You should see the default Xfce desktop after logging in. It should resemble the following:
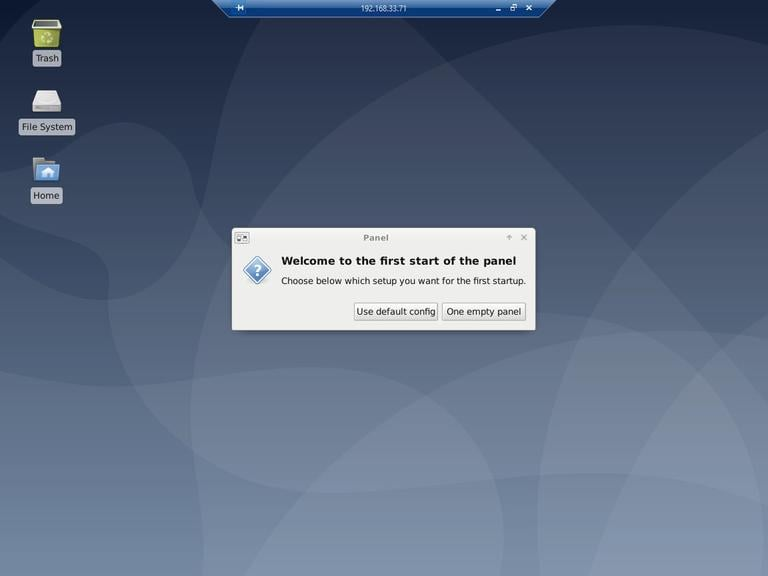
You can now use your local system's keyboard and mouse to interact with the remote XFCE desktop.
The Microsoft Remote Desktop application is available for download from the Mac App Store if you are running macOS. RDP clients like Remmina or Vinagre are available for Linux users.
Conclusion
Hope this detailed guide, helped you understand how to install a Xrdp server, you may use your local desktop machine to easily manage your Debian 10 server from there.
If you have any doubts, feel free to comment down below, and we'll be glad to help.