
Introduction
Before we discuss how to set up a python dev environment on Ubuntu VPS, let's briefly understand-What is VPS ?
A Virtual Private Server (VPS) is a virtual machine that runs its own copy of an operating system, providing you with dedicated resources and greater control over your hosting environment.
Setting up a Python web development environment on an Ubuntu Virtual Private Server (VPS) is essential for building and deploying web applications.
This tutorial will walk you through the process of setting up a Python Dev environment on an Ubuntu VPS. We will also address a few FAQs on how to set up a Python Dev environment on an Ubuntu VPS.
Steps to Configure A Python Web Dev Environment on Ubuntu VPS
Now let's go over how to set up a web development environment on an Ubuntu VPS in detail. This post makes the assumption that you have already bought a VPS and are getting ready to set it up.
Step 1: Access Your VPS Using SSH
Logging into the cloud machine is the first step in working with it. Run ssh username@ip_address and then enter the VPS password as displayed below to log in to the computer.
You will then be logged into your cloud-based computer and be able to begin installing software.
Step 2: Install Git Or Another Version Control System
Installing Git or another version control system, such as SVN, is the first step in setting up a development environment, regardless of whether you are working with Android development or data science.
The most recent Ubuntu servers frequently come with git preinstalled. Use the following command to see if it has been installed or not.
git --version.
If your output resembles this, git is likely already set up on your server.
git version 2.25.1
Run the following command to install Git if it isn't already there.
sudo apt update
sudo apt install git
Use the following commands to set up a username and email address for your local git installation.
git config --global user.name "Your Name"
git config --global user.email "[email protected]"
Step 3: Setting Up Python
On all Linux distributions, Python3 comes preinstalled. However, in order to get any other python packages we might require, we still need to install pip3.
To check the version of Python3 installed on your server, use the following command first.
python3 --version
Python can be downloaded if it isn't already there by using:
sudo apt install python3
It will produce something resembling 3.x.z. Install the packages listed below based on your version number.
sudo apt install python3
We can now install pip3 by using the command below.
sudo apt install python3-pip
You are fine to go if your output looks anything like what is displayed below.
Step 4: Installing Django
We will set up and host the Django framework for our web development environment. If you choose Flask instead of Django, you can install it.
We must first set up a virtual environment using Python that will produce an isolated Python environment before we can begin working in Django.
This helps us maintain a consistent environment over the course of development without any dependent conflicts and maintains the project's dependencies separate.
Execute the following to install a Python virtual environment.
pip3 install virtualenv
We can use this command to install Django after setting up the virtual environment.
pip3 install django
Step 5: Starting The Django Project
We need to set up a virtual environment before we begin our first Django project.
virtualenv -p python3 test_project
cd test_project
source bin/activate
The name of your virtual environment should now appear in brackets. Your virtual environment is active as a result of this.
It's time to launch a Django project. Execute the next command.
django-admin startproject First_Django_project
Your Django project's directory structure is shown below. It can occasionally be perplexing because there is another folder with the same name in the project directory.
Step 6: Running The Django Web server
We'll cover how to host your Django project locally while you work on it in this part. We must first add our IP address to the list of permitted hosts in settings.py. Then, add the following by opening the settings.py file in the Django project directory.
ALLOWED_HOSTS = ['IP_Address_of_your_VPS']
The project must then be permitted to run on a port after that. For the 8000 port to be allowed, issue the following command. Hosting your projects on port 8000 is commonplace.
sudo ufw allow 8000
We can now use the following command to host the development server.
python manage.py runserver <ubuntu_vps_ip>:8000
Go to http://server_ip>:8000 in a browser now. If everything went according to plan, this page should be waiting for you.
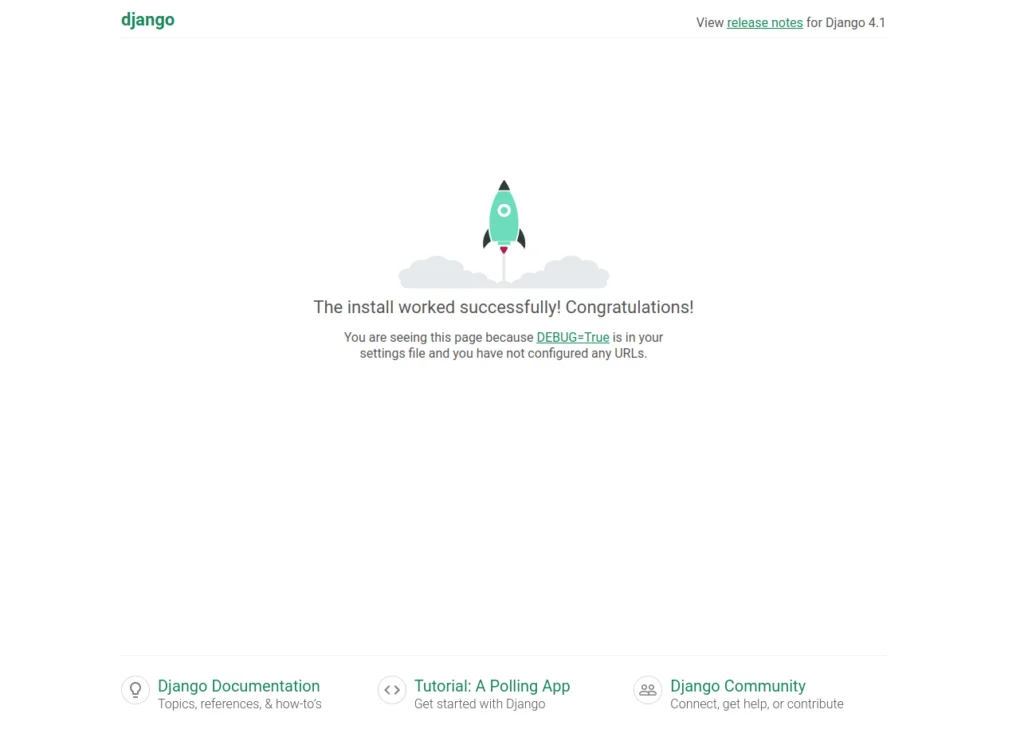
The changes will now be reflected on this remote web server page, and you can start adding code to the project folder.
FAQs to set up Python Web Development on Ubuntu VPS
How do I access my Ubuntu VPS?
You can access your Ubuntu VPS through Secure Shell (SSH) using a terminal or an SSH client like PuTTY for Windows. Connect to your VPS by providing the IP address and login credentials.
Do I need to update my VPS before setting up the environment?
Yes, it is recommended to update your VPS by running sudo apt update and sudo apt upgrade to ensure you have the latest packages and security patches.
Which Python version should I install for web development?
It's recommended to install the latest stable version of Python, which is Python 3. This guide assumes Python 3 is to be installed.
How can I install Python 3 on my Ubuntu VPS?
Install Python 3 by running sudo apt install python3 in the terminal. Verify the installation with python3 --version.
Which web server should I use for Python web development?
The most popular web server for Python web development is Apache, which can be installed using sudo apt install apache2.
How do I install and manage Python packages?
Python package management is typically done using pip, the package installer for Python. Install packages by running pip install package_name.
Should I use a virtual environment for Python development?
Yes, it is recommended to use a virtual environment to keep your project dependencies isolated. Install the venv module with sudo apt install python3-venv and create a virtual environment with python3 -m venv myenv.
Conclusion
Now that we know how to set up a fundamental Python web development environment, let's move on. When the development server is operational, you may immediately verify all of your modifications.
Django's documentation can be used to find further information. It is possible to include additional components, such as various web development frameworks like Flask, web servers like Apache, and databases like MongoDB or MySQL.