Choose a different version or distribution
Introduction
Before we begin talking about how to install and configure Graphite on Ubuntu 18.04, let’s briefly understand - What is Graphite?
Graphite is a powerful software tool used for visualizing and analyzing data. It provides a flexible and scalable platform to track and monitor various metrics in real-time. With its user-friendly interface, Graphite allows users to create customized graphs, charts, and dashboards to gain insights into their data.
It is widely used in industries such as IT, finance, and healthcare to monitor performance, detect anomalies, and make data-driven decisions. Graphite's versatility and robustness make it an indispensable tool for data visualization and analysis.
In this tutorial, you will install and configure Graphite on Ubuntu 18.04. We will also answer some FAQs relating to Graphite installation.
Advantages of Graphite
- Efficiency: Graphite software enables efficient data visualization and analysis, allowing users to make informed decisions quickly.
- Scalability: With its scalable architecture, Graphite can handle large amounts of data, making it suitable for businesses of all sizes.
- Real-time Monitoring: Graphite provides real-time monitoring capabilities, enabling users to track and analyze data as it is generated.
- Customization: Users can customize Graphite to fit their specific needs, creating personalized dashboards and visualizations.
- Integration: Graphite seamlessly integrates with other tools and systems, facilitating easy data integration and enhancing overall workflow efficiency.
Step 1 - Update System and installed packages
sudo apt-get update
sudo apt-get upgrade
Step 2 - Install Docker Engine
Install Docker and confirm that the service is running.
Use our step-by-step tutorial guide to install Docker on Ubuntu 18.04.

Before proceeding, confirm if the service is running.
$ systemctl status docker
● docker.service - Docker Application Container Engine
   Loaded: loaded (/lib/systemd/system/docker.service; enabled; vendor preset: enabled)
   Active: active (running) since Mon 2020-09-21 07:45:15 UTC; 34s ago
     Docs: https://docs.docker.com
 Main PID: 8898 (dockerd)
    Tasks: 16
   CGroup: /system.slice/docker.service
           ├─8898 /usr/bin/dockerd -H fd://
           └─8937 docker-containerd --config /var/run/docker/containerd/containerd.toml
Step 3 - Install Graphite and statsd container
1) Now you have to start a Docker container for Graphite and Statsd. You can use the official Docker repo for Graphite site.
2) Now, you need to make directories on the host system for persistent data storage.
sudo mkdir -p /data/graphite/{statsd,configs,data}
3) Though Graphite and Statsd can be a bit complex to set up, the Docker image can get you running and collecting stats in no time.
sudo docker run -d \
 --name graphite \
 --restart=always \
 -p 80:80 \
 -p 2003-2004:2003-2004 \
 -p 2023-2024:2023-2024 \
 -p 8125:8125/udp \
 -p 8126:8126 \
 -v /data/graphite/configs:/opt/graphite/conf \
 -v /data/graphite/data:/opt/graphite/storage \
 -v /data/graphite/statsd:/opt/statsd \
 graphiteapp/graphite-statsd
4) The installation may take some time, once it is done, you will be able to see docker container running.
$ docker ps
CONTAINER ID        IMAGE                         COMMAND             CREATED             STATUS              PORTS                                                                                                                                                        NAMES
959fe7ab2abd        graphiteapp/graphite-statsd   "/sbin/my_init"     11 seconds ago      Up 10 seconds       0.0.0.0:80->80/tcp, 0.0.0.0:2003-2004->2003-2004/tcp, 8080/tcp, 0.0.0.0:2023-2024->2023-2024/tcp, 0.0.0.0:8126->8126/tcp, 8125/tcp, 0.0.0.0:8125->8125/udp   graphite
5) Docker container named : Graphite has now been started. Now you can freely remap the container port to any host port in case the corresponding port is occupied on the host.
Included Components
- Nginx – reverse proxies the graphite dashboard
- Graphite – front-end dashboard
- Carbon – back-end
- Statsd – UDP based back-end proxy
The default settings have Statsd listening on UDP port 8125. If you want to listen to the TCP port 8125, you have to set the environment variable STATSD_INTERFACE to tcp while running the container.
Step 4 - Accessing the Graphite Web interface
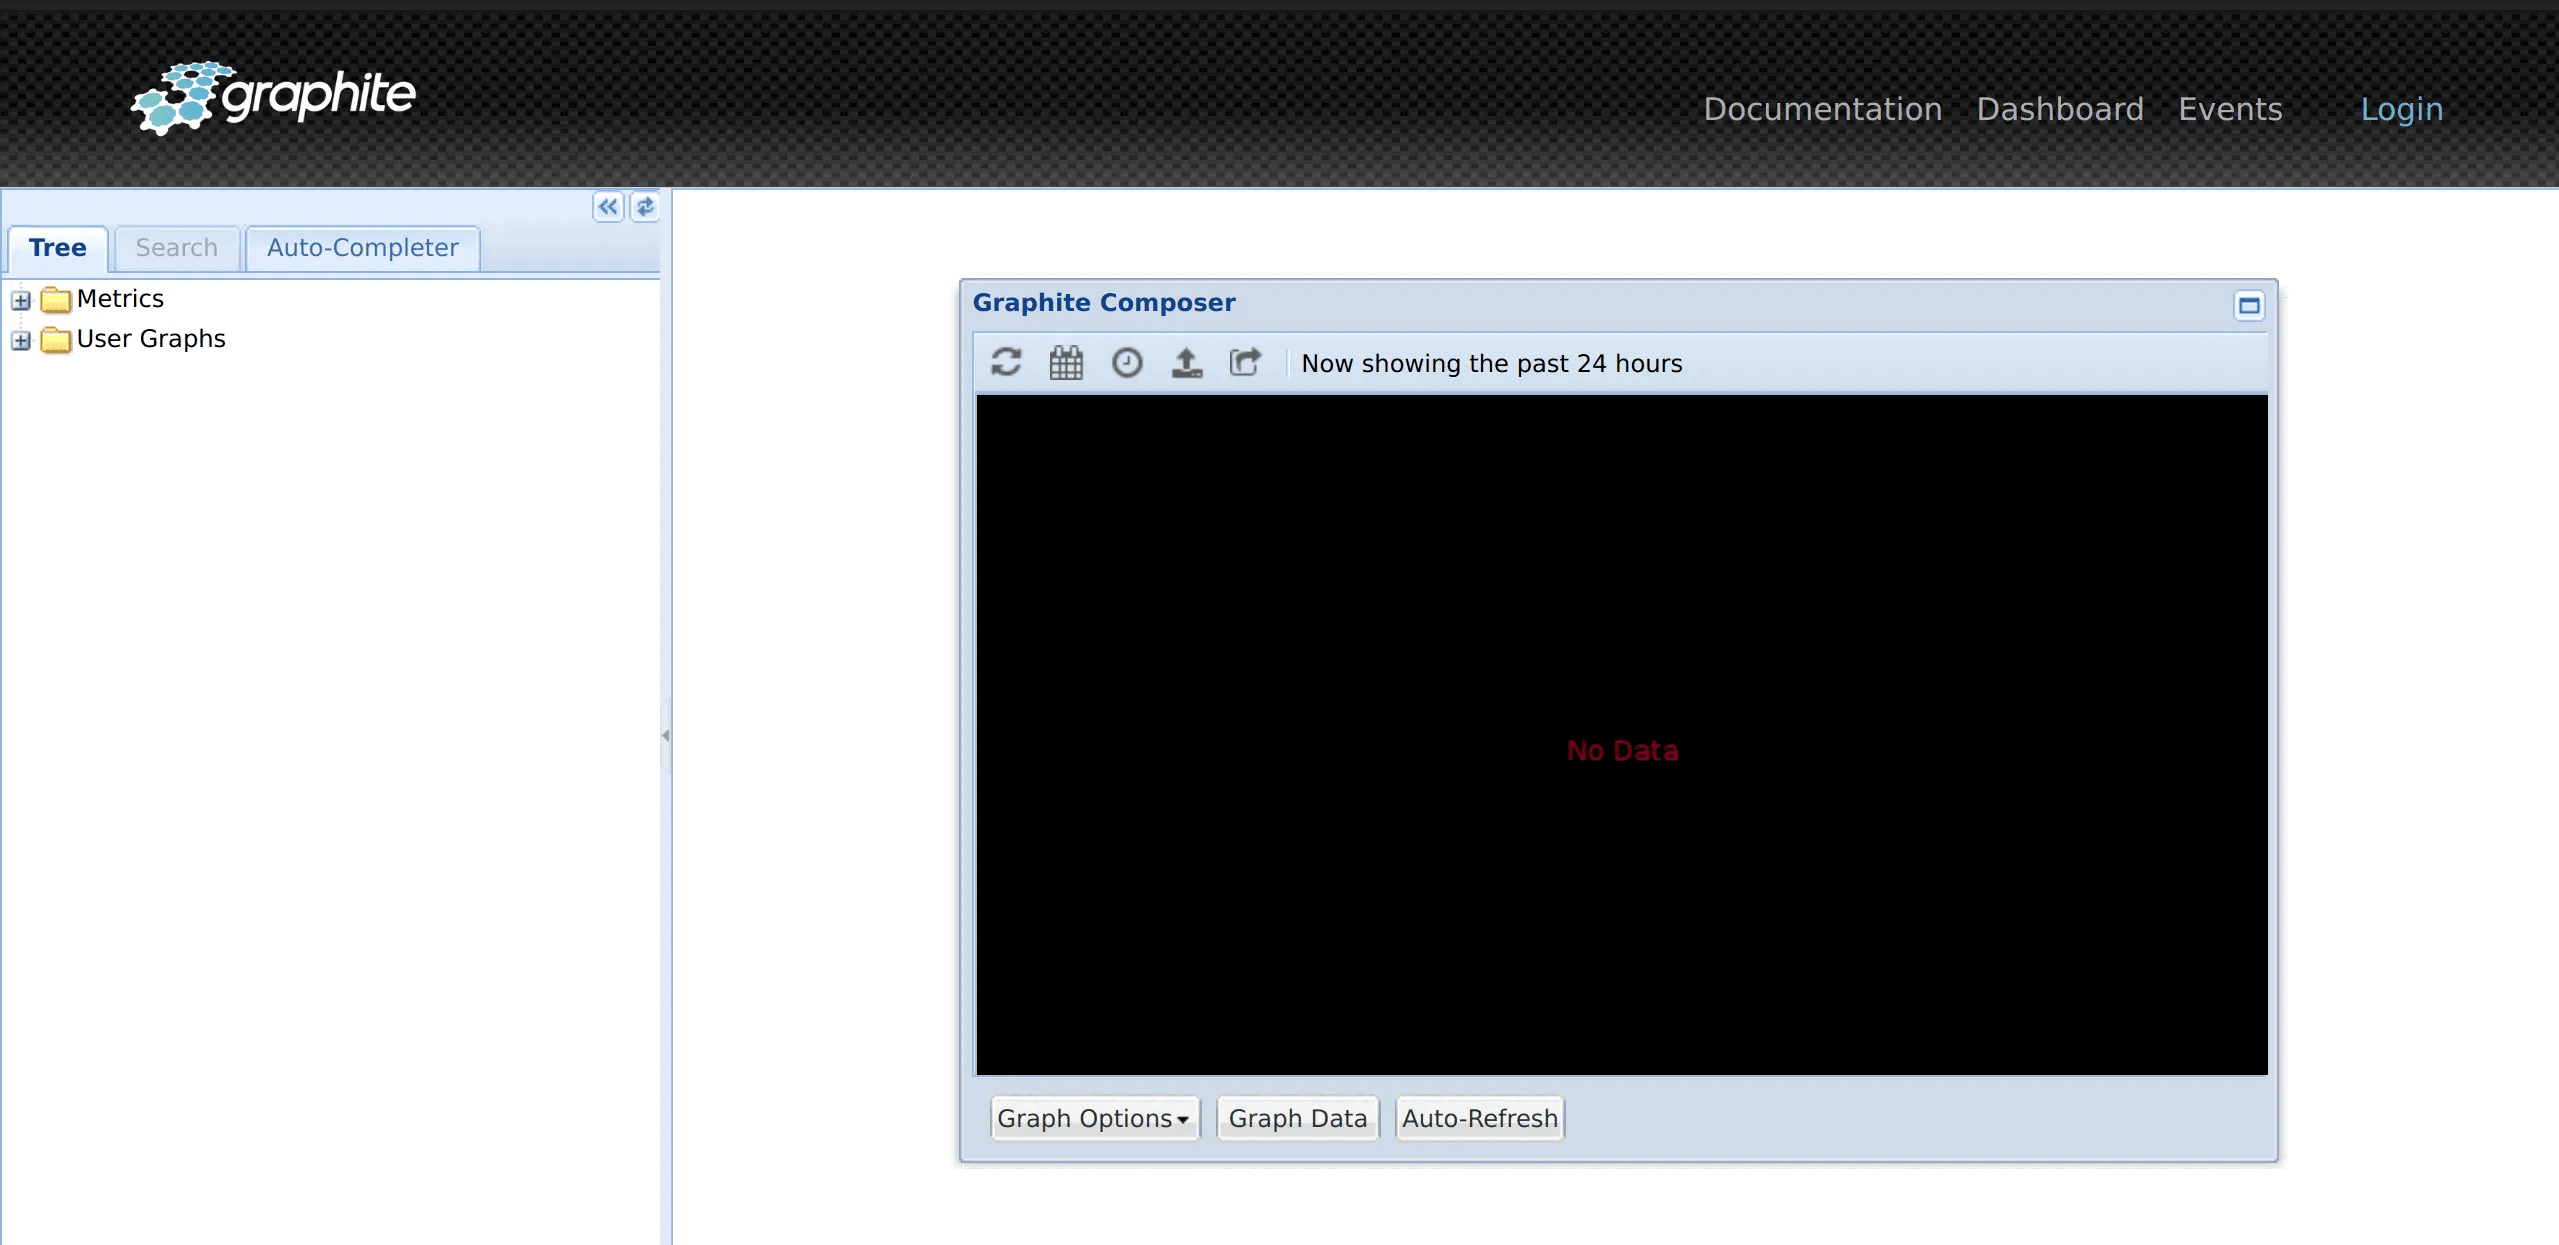
1) Next, access the Graphite Dashboard by using the server IP address or port number and the port mapped on the host to container port 80.

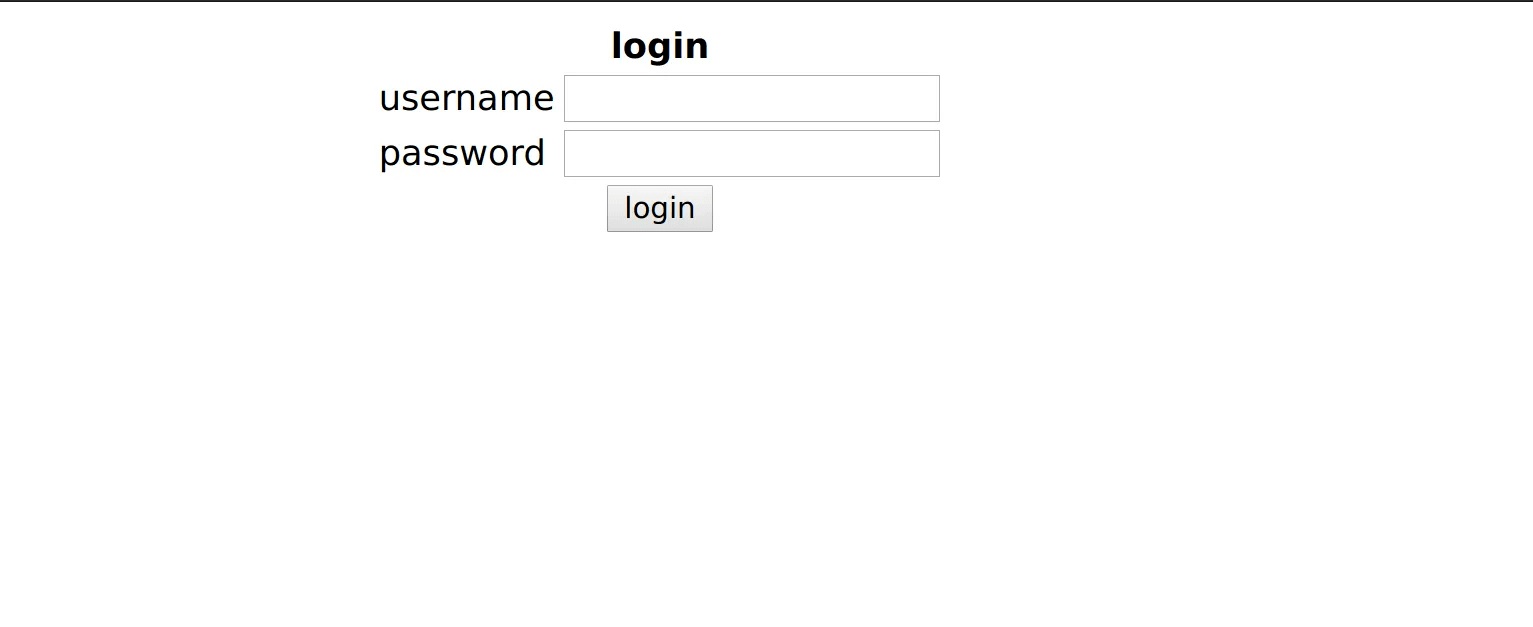
2) The default login credentials are as follows:
Username: root
Password: root

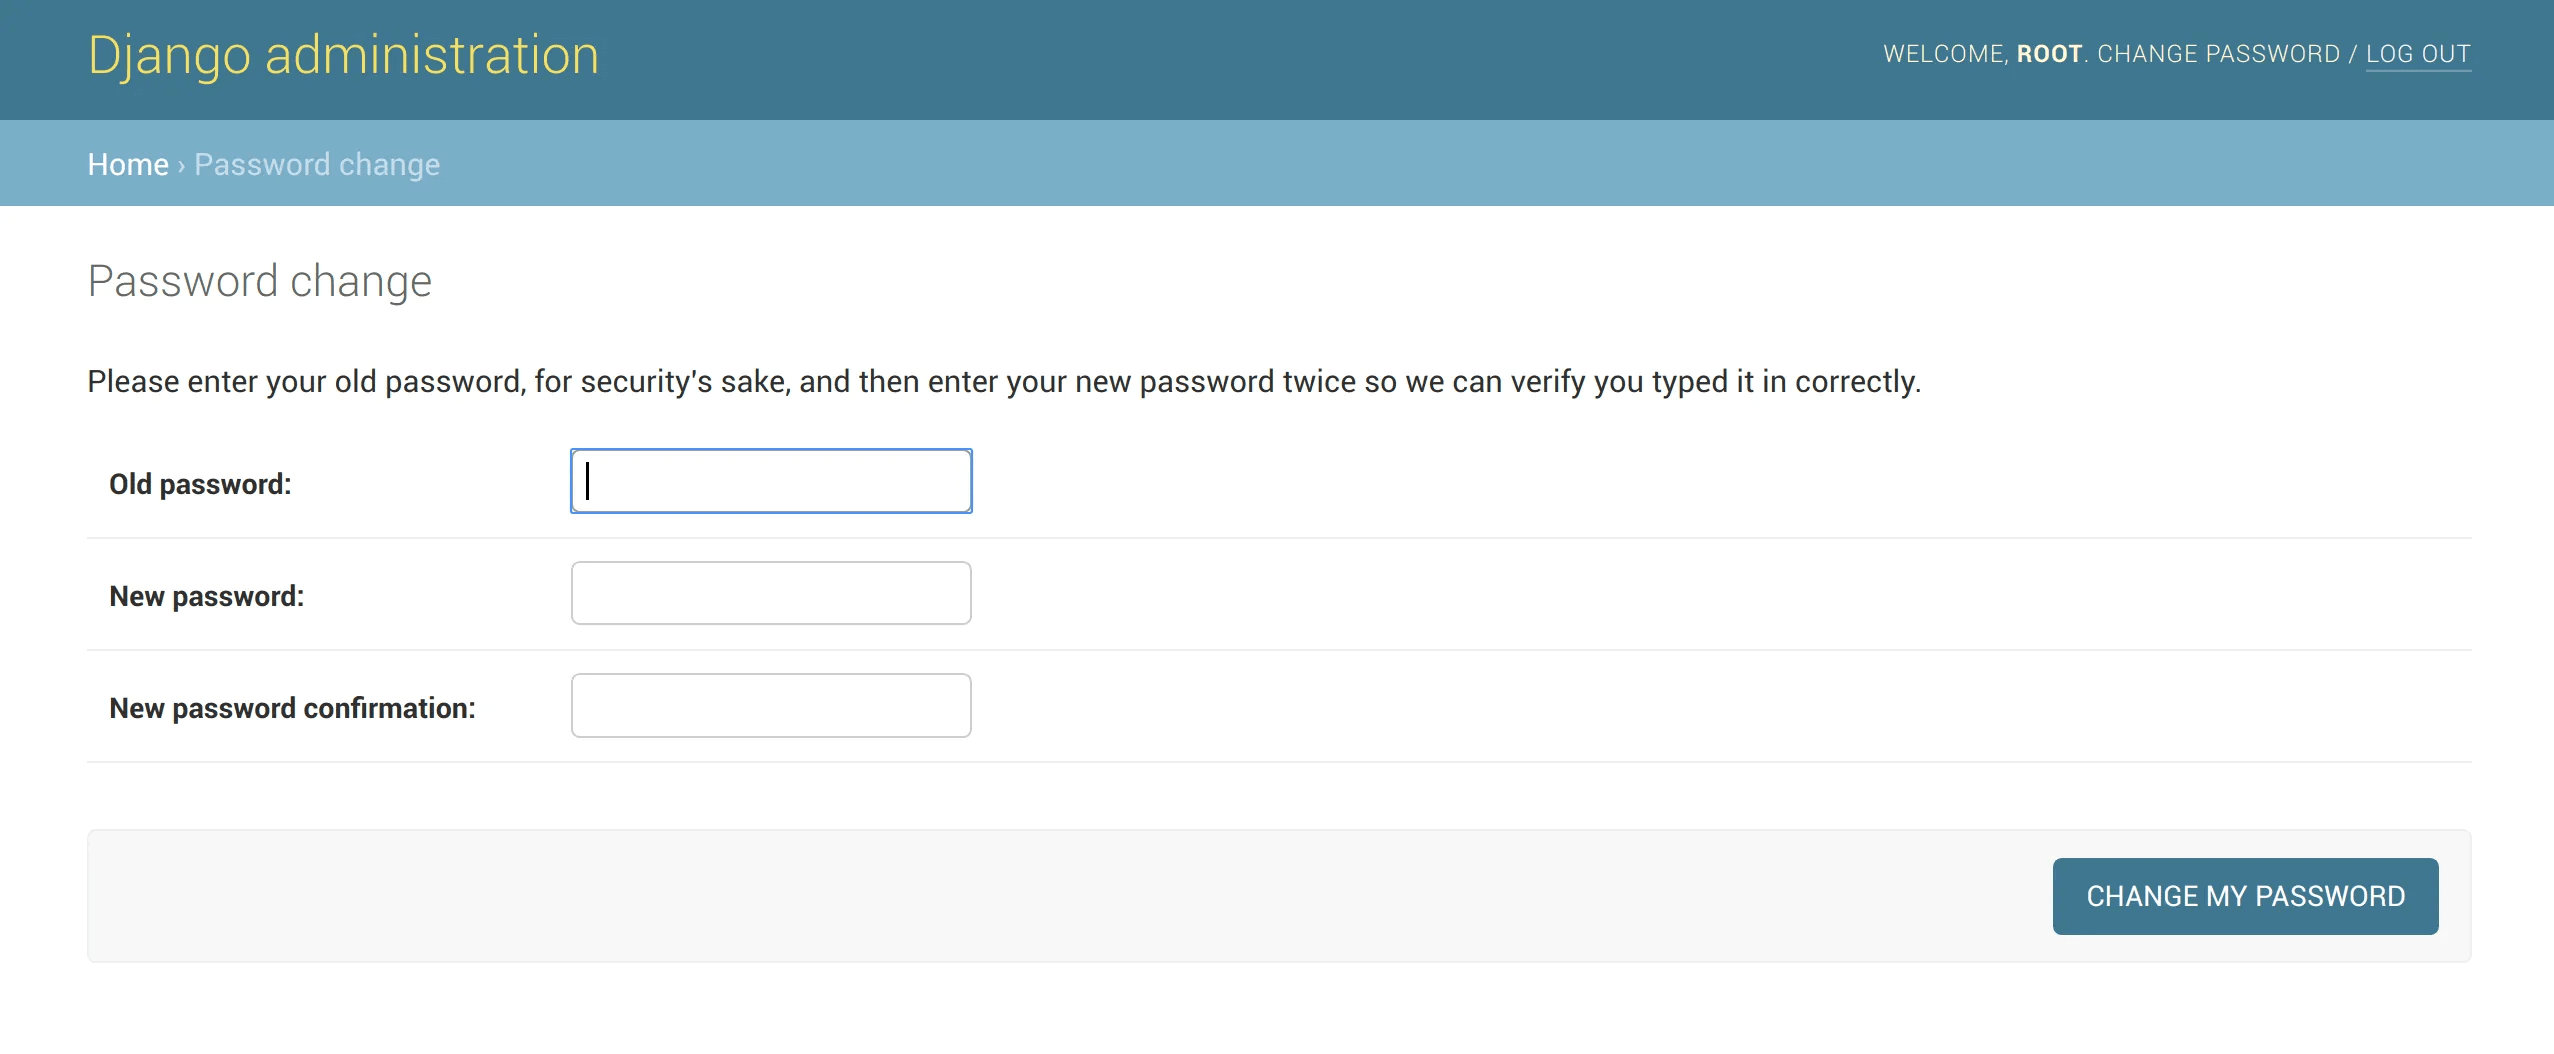
3) Change the login credentials, post the first login at http://ip-address/admin/auth/user/1/

4) Put in the desired root password.

5) Log out and login again to confirm the password change.
FAQ's to Install and Configure Graphite on Ubuntu 18.04
What is the purpose of Graphite-web and Graphite-carbon packages?
Graphite-web is the web application that provides the interface for querying and visualizing data. Graphite-carbon is the component responsible for collecting, storing, and rendering the time-series data.
How do I start/stop Graphite services on Ubuntu 18.04?
You can start/stop Graphite services using the systemctl command.
To start the services, use:
sudo systemctl start carbon-cache
sudo systemctl start apache2
To stop the services, use:
sudo systemctl stop carbon-cache
sudo systemctl stop apache2
How can I access the Graphite web interface after installation?
By default, the Graphite web interface is accessible at http://your_server_ip/graphite. You can access it using your web browser.
How can I configure Graphite to store its data?
Graphite data is stored in /var/lib/graphite/whisper/. You can adjust the retention settings and other configurations in the storage-schemas.conf and storage-aggregation.conf files located in /etc/carbon/.
Can I use Graphite to monitor data from other servers or devices?
Yes, you can collect data from remote servers or devices by configuring the carbon-relay component to forward the data to your Graphite server.
Can I integrate Graphite with other monitoring tools like Grafana?
Yes, Graphite can be used as a data source for visualization tools like Grafana. You can set up Grafana to connect to your Graphite instance to create more advanced and interactive dashboards.
How can I monitor the performance of my applications using Graphite?
You can use Graphite's Python-based API, StatsD, or other supported protocols to send metrics from your applications to Graphite. This way, you can monitor and analyze the performance metrics of your applications over time.
Conclusion
We hope this detailed tutorial helped you understand how to install and configure Graphite on Ubuntu 18.04. To learn more about Graphite installation on Ubuntu 18.04 server, check out the official Graphite installation document.
If you have any queries, please leave a comment below, and we’ll be happy to respond to them for sure.


