
Choose a different version or distribution
Introduction
Before we begin talking about how to install OnlyOffice on Ubuntu 18.04 OS, let’s briefly understand – What is OnlyOffice?
OnlyOffice is a versatile and user-friendly office suite designed to enhance productivity and collaboration. It offers a comprehensive set of tools, including word processing, spreadsheets, and presentation software, all accessible in a cloud-based environment.
With its intuitive interface and real-time co-editing capabilities, OnlyOffice enables seamless teamwork and efficient document management. Whether for individuals or businesses, OnlyOffice is an ideal solution for boosting productivity and streamlining tasks in the modern workplace.
In this tutorial, you will install OnlyOffice. Also, we will answer some FAQs regarding the OnlyOffice installation.
Advantages of OnlyOffice
- Versatile Office Suite: OnlyOffice offers a comprehensive set of tools, including word processing, spreadsheets, and presentations, catering to diverse business needs.
- Real-time Co-editing: Its collaborative features allow multiple users to work on documents simultaneously, fostering seamless teamwork and enhancing productivity.
- Cloud-based Accessibility: With cloud integration, users can access and edit their files from anywhere, ensuring flexibility and convenience.
- Secure Data Management: OnlyOffice prioritizes data security, protecting sensitive information and providing secure document storage and sharing options.
- User-friendly Interface: Its intuitive design makes it easy for individuals and teams to adapt quickly, minimizing the learning curve and maximizing efficiency.
Prerequisites to Install OnlyOffice on Ubuntu 18.04
- Ubuntu 18.04 64-bit operating system
- Minimum 50 GB disk space.
- Minimum 6GB of memory.
Step 1 - Install OnlyOffice
1) Firstly, get a Community Edition Script by downloading the OnlyOffice script file from the official website with the below command:
wget https://download.onlyoffice.com/install/workspace-install.sh
2) Secondly, run OnlyOffice installation:
bash workspace-install.sh -md "yourdomain.com"
3) Use your registered domain name instead of “yourdomain.com”. After that, run the following command in case you don’t want to install Mail Server:
sudo bash workspace-install.sh -ims false
4) Initiate the script and choose one of the following installation options depending on your requirements:
Install with Docker [Y/N/C]:
- Choose 'Y' to install OnlyOffice using Docker.
The above step is recommended if you want to install the Community Edition with Documents and Mail servers at once. All the modules and dependencies will be set up by the Docker script using a Docker container.
- Choose 'N' to install OnlyOffice using the DEB package.
This script will install Community Edition components as well as prerequisites. Please note that if you are installing it using the DEB package, then you need to manually install the mail server and then configure it with OnlyOffice.
Step 2 - Post Installation
1) Firstly, check if the Community Edition is working.
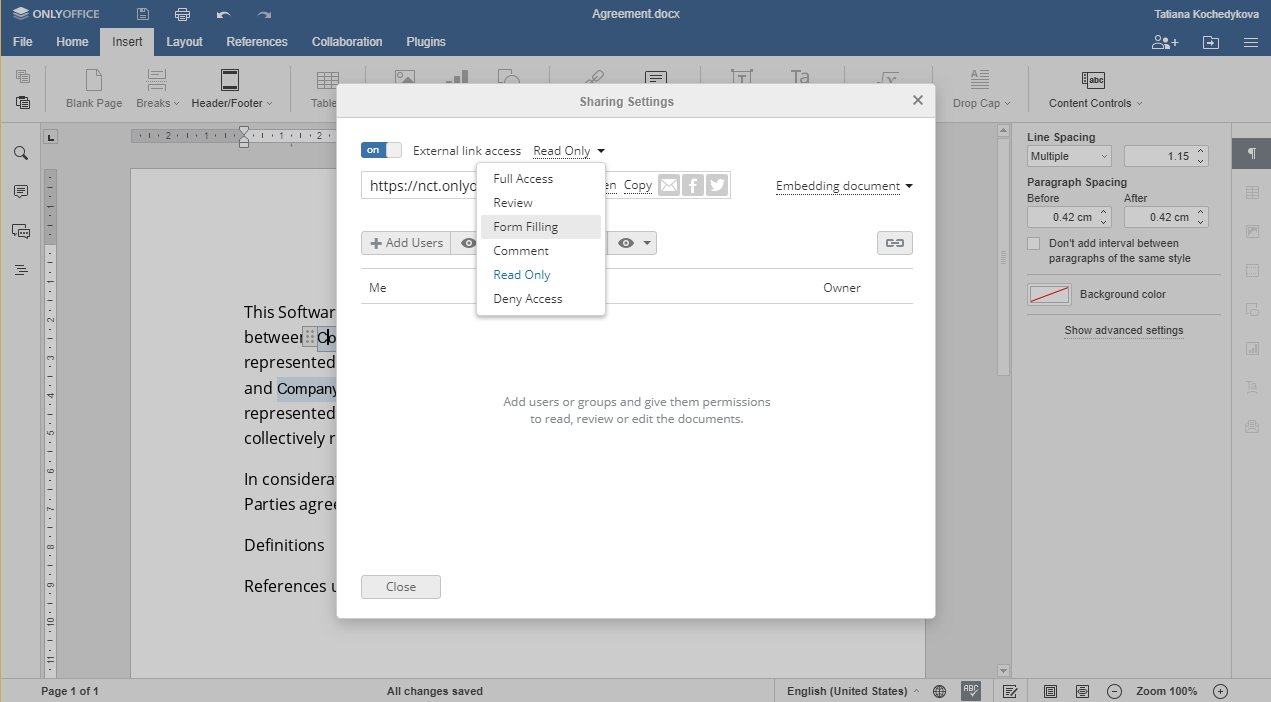
2) Secondly, You can start creating, editing, and collaborating on your OnlyOffice.

3) You can store and share your files using different cloud storage services like Google Drive, Dropbox, or your own cloud.
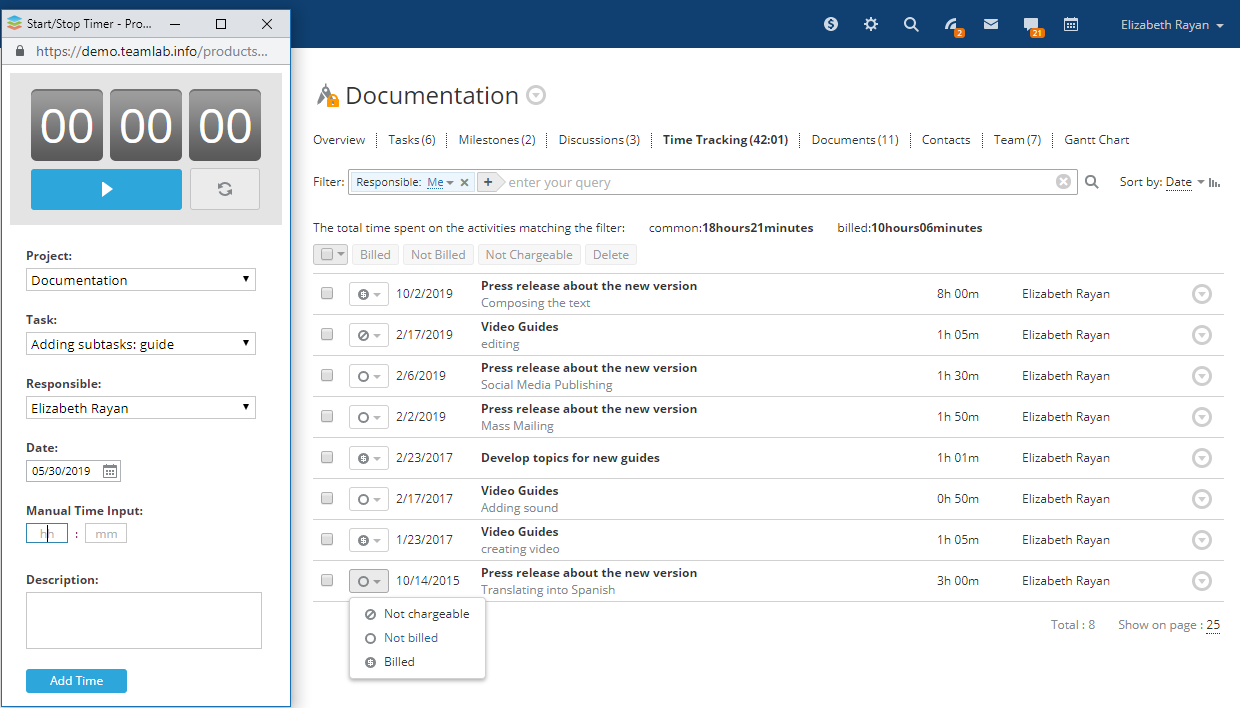
4) After that, you can schedule workflow, distribute tasks and subtasks, store the project-related documentation, lead discussions, track time, and generate reports via Doc builder.
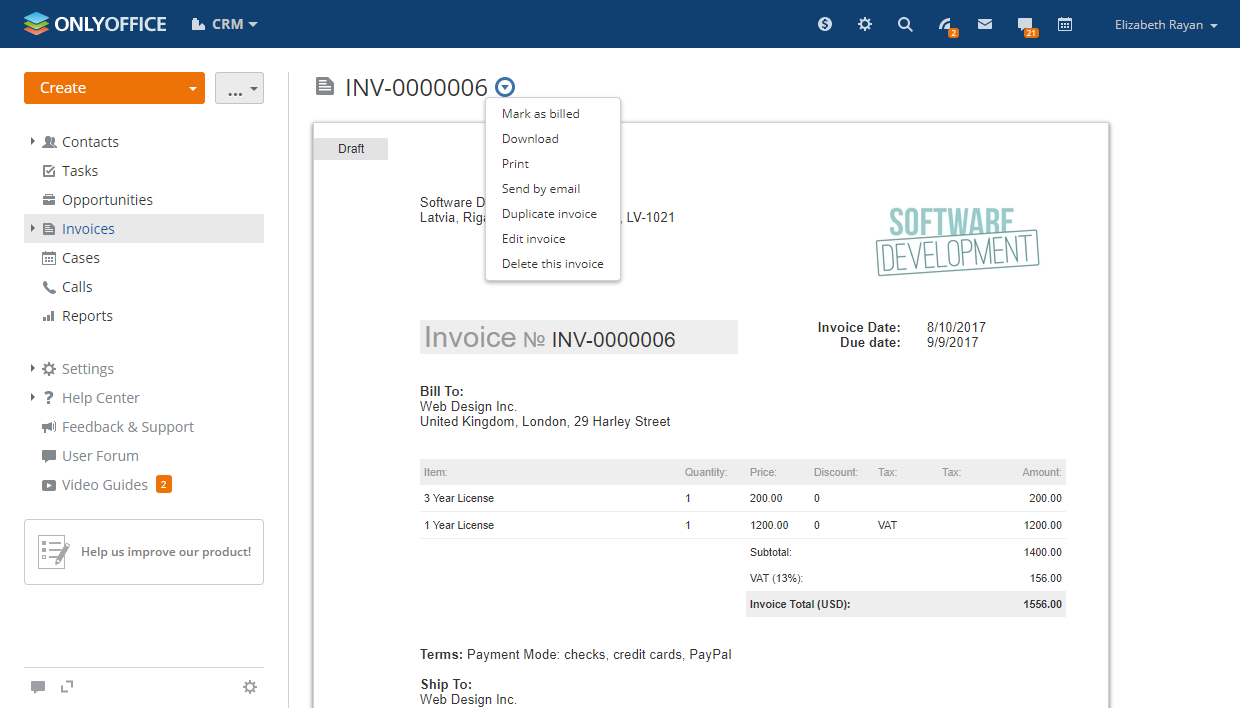
5) Also, you can create and keep track of a client database and potential sales via the CRM model.
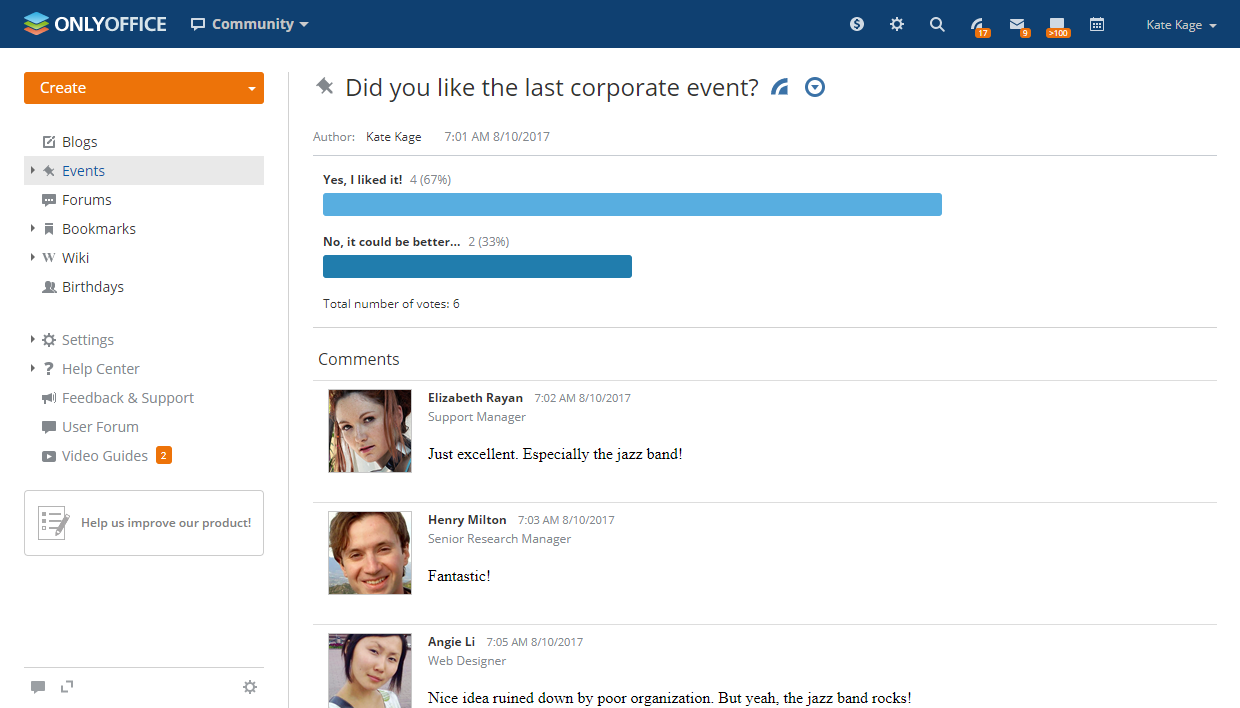
6) After that, you can also organize social networks with news, blogs, forums, bookmarks, polls, and wikis.
7) Now, you can also manage your emails efficiently with their mail module.

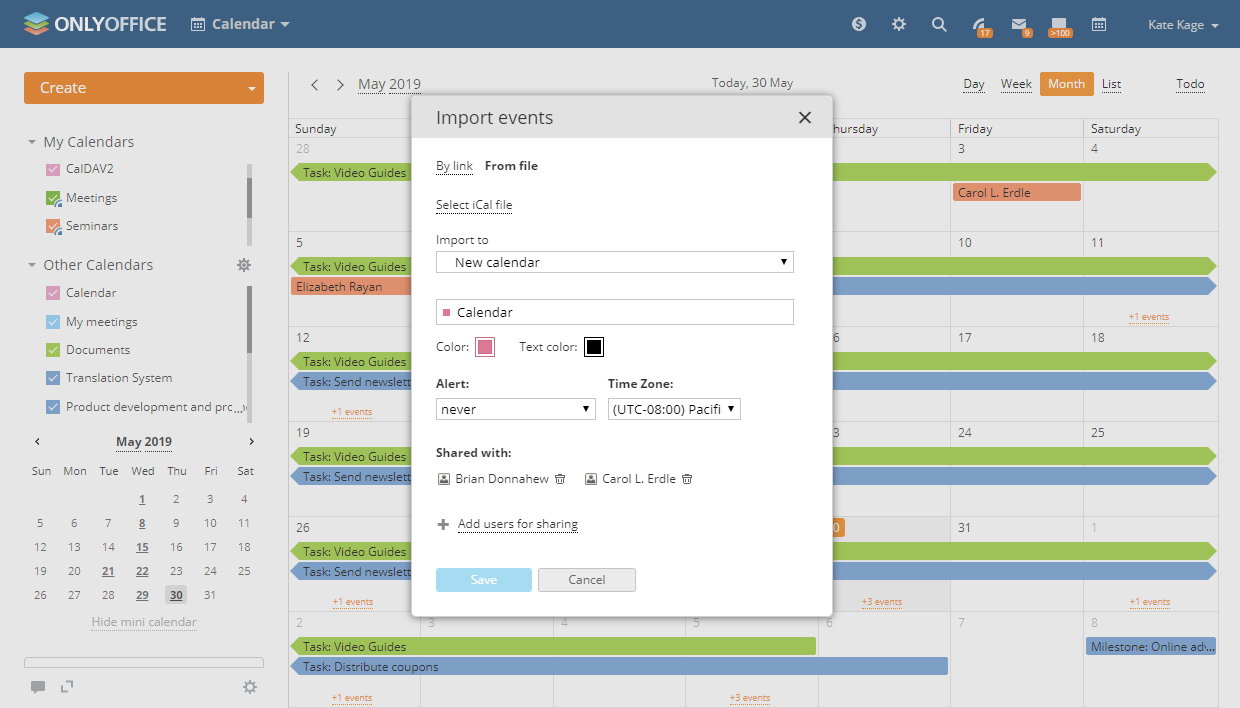
8) Finally, you can also use their calendars to schedule corporate and personal events.
Select the tool you required and start enjoying your work!
FAQs to Install OnlyOffice on Ubuntu 18.04
What are the system requirements for installing OnlyOffice on Ubuntu 18.04?
The minimum system requirements include a 2-core processor, 2 GB of RAM, and 6 GB of available disk space.
Is OnlyOffice compatible with both 32-bit and 64-bit versions of Ubuntu 18.04?
OnlyOffice is compatible with 64-bit versions of Ubuntu 18.04. It does not support 32-bit systems.
Does OnlyOffice provide a free version for Ubuntu 18.04?
Yes, there is a free version of OnlyOffice available for Ubuntu 18.04 with limited features. You can also explore the paid plans for more advanced functionality.
Can I integrate OnlyOffice with my existing cloud storage on Ubuntu 18.04?
Yes, OnlyOffice offers integration with popular cloud storage services like Google Drive, Dropbox, and Nextcloud on Ubuntu 18.04.
Are there any known issues when installing OnlyOffice on Ubuntu 18.04?
While installation is generally smooth, some users might encounter issues depending on their system configuration. Check the official support forums for solutions to common problems.
Does OnlyOffice on Ubuntu 18.04 support collaboration and real-time co-editing?
Yes, OnlyOffice supports real-time co-editing, allowing multiple users to collaborate on documents simultaneously, enhancing team productivity.
Are there any alternative office suites for Ubuntu 18.04?
Yes, there are alternative office suites available for Ubuntu 18.04, such as LibreOffice, which is pre-installed on many Ubuntu systems.
Conclusion
We hope this simple tutorial helped you understand how to install OnlyOffice on your Ubuntu 18.04 machine.
If you have any queries, please leave a comment below, and we’ll be happy to respond to them for sure.