
Choose a different version or distribution
Introduction
Before we begin talking about how to set up MinIO Object Storage Server on Ubuntu 18.04, let’s briefly understand – What is MinIO?
MinIO is an open-source object storage server released under Apache License V2. It is light enough to be bundled with the application stack. MinIO enables organizations to store and retrieve vast amounts of unstructured data, making it ideal for applications like data backup, cloud-native apps, and big data analytics.
Whether you're managing vast amounts of data or need a dependable storage solution, MinIO has you covered. Its simplicity and versatility make it a top pick for businesses and developers alike. Experience the power of MinIO and harness the potential of open-source object storage.
In this tutorial, you will set up MinIO Object Storage Server on Ubuntu 18.04. We will also address a few FAQs on how to set up MinIO Object Storage Server on Ubuntu 18.04.
Prerequisites
- Ubuntu 18.04 64-bit operating system
- A user account with sudo privileges
- Command-line/terminal
You will be needing a domain name in this tutorial, you can purchase one or can use a free domain name. In this tutorial, we will be addressing your domain as your_domain.
Step 1 - Install and Configure the MinIO Server
1) Firstly, you need to install and configure the MinIO server through a precompiled binary.
- Login into your server by replacing
johnywith your username andyour_server_ipwith your Ubuntu 18.04 server’s IP address:
ssh johny@your_server_ip
2) After that, update the package database.
sudo apt update
3) Now, download the binary file from the MinIO server’s official website:
wget https://dl.min.io/server/minio/release/linux-amd64/minio
You must see the following output:
Output

--2021-10-24 10:08:49--  https://dl.min.io/server/minio/release/linux-amd64/minio
Resolving dl.min.io (dl.min.io)... 178.128.69.202
Connecting to dl.min.io (dl.min.io)|178.128.69.202|:443... connected.
HTTP request sent, awaiting response... 200 OK
Length: 44511616 (42M) [application/octet-stream]
Saving to: ‘minio’

minio               100%[===================>]  42.45M  21.9MB/s    in 1.9s

2021-10-24 10:08:49 (21.9 MB/s) - ‘minio’ saved [44511616/44511616]
4) Meanwhile, execute the file named minio which you will find in your directory:
sudo chmod +x minio
5) Now, it's time to move the file into the /usr/local/bin directory where MinIO’s systemd startup script will find it:
sudo mv minio /usr/local/bin
6) Now, let's make a new user, since the systemd script you’ll use in Step 2 looks for a user account and group called minio-user. Avoid running the MinIO server as root for security reasons:
sudo useradd -r minio-user -s /sbin/nologin
7) In this command, you should use -s flag to set /sbin/nologin as the shell for minio-user. This is a shell that does not allow user login, which is not needed for minio-user.
Next, change ownership of the MinIO binary to minio-user:
8) Meanwhile, in this command, to set /sbin/nologin as the shell for minio-user you used -s flag. As user login is not needed for minio-user this shell does not allow user login.
- Let's change ownership of the MinIO binary to
minio-user:
sudo chown minio-user:minio-user /usr/local/bin/minio
9) After that, you must create a directory to store files. MinIO servers later organize the objects you store as buckets in this storage location. We will name the directory as minio in this tutorial:
sudo mkdir /usr/local/share/minio
10) Now, let the minio-user get ownership of that directory:
sudo chown minio-user:minio-user /usr/local/share/minio
11) After that, create your MinIO configuration file at /etc directory:
sudo mkdir /etc/minio
12) Now, again, let's give ownership of that directory to minio-user, too:
sudo chown minio-user:minio-user /etc/minio
13) Meanwhile, create the environment file needed to modify the default configuration using Nano (you can use any text editor as you wish):
sudo nano /etc/default/minio
14) Now, set some important environment variables in your environment file by adding the following lines:
MINIO_ACCESS_KEY="minio"
MINIO_VOLUMES="/usr/local/share/minio/"
MINIO_OPTS="-C /etc/minio --address your_server_ip:9000"
MINIO_SECRET_KEY="miniostorage"
Now, change your_server_ip with your local IP address, then save and close the file after making changes.
Step 2 - Install the MinIO Systemd Startup Script
1) Firstly, using the following command, download the official MinIO service descriptor file:
curl -O https://raw.githubusercontent.com/minio/minio-service/master/linux-systemd/minio.service
You must see a similar output:
Output

% Total    % Received % Xferd  Average Speed   Time    Time     Time  Current
                                 Dload  Upload   Total   Spent    Left  Speed
100   835  100   835    0     0   6139      0 --:--:-- --:--:-- --:--:--  6139
2) Secondly, view the contents of minio.service before applying it:
nano minio.service
You will see the following:
[Unit]
Description=MinIO
Documentation=https://docs.min.io
Wants=network-online.target
After=network-online.target
AssertFileIsExecutable=/usr/local/bin/minio

[Service]
WorkingDirectory=/usr/local/

User=minio-user
Group=minio-user

EnvironmentFile=/etc/default/minio
ExecStartPre=/bin/bash -c "if [ -z \"${MINIO_VOLUMES}\" ]; then echo \"Variable MINIO_VOLUMES not set in /etc/default/minio\"; exit 1; fi"

ExecStart=/usr/local/bin/minio server $MINIO_OPTS $MINIO_VOLUMES

# Let systemd restart this service always
Restart=always

# Specifies the maximum file descriptor number that can be opened by this process
LimitNOFILE=65536

# Disable timeout logic and wait until process is stopped
TimeoutStopSec=infinity
SendSIGKILL=no

[Install]
WantedBy=multi-user.target

# Built for ${project.name}-${project.version} (${project.name})
After looking at the contents, you can close the text editor.
3) After that, you must move minio.service to systemd configuration directory:
sudo mv minio.service /etc/systemd/system
4) Now, reload all systemd units by running the following command:
sudo systemctl daemon-reload
5) Finally, activate MinIO to start on boot:
sudo systemctl enable minio
You must see the following output:
Output

Created symlink from /etc/systemd/system/multi-user.target.wants/minio.service to
/etc/systemd/system/minio.service.
Systemd script is installed and configured now.
Step 3 - Start the MinIO Server
1) Firstly, start the MinIO Server:
sudo systemctl start minio
2) Verify the IP address, Memory usage, and other stuff regarding the MinIO server by running the below command:
sudo systemctl status minio
You must see the following output:
● minio.service - MinIO
   Loaded: loaded (/etc/systemd/system/minio.service; enabled; vendor preset: enabled)
   Active: active (running) since Mon 2019-12-09 21:54:02 UTC; 46s ago
     Docs: https://docs.min.io
  Process: 3405 ExecStartPre=/bin/bash -c if [ -z "${MINIO_VOLUMES}" ]; then echo "Variable MINIO_VOLUMES not set in /etc/default/minio"; exit 1; fi (code=exited, status=0/SUCCES
 Main PID: 3407 (minio)
    Tasks: 7 (limit: 1152)
   CGroup: /system.slice/minio.service
           └─3407 /usr/local/bin/minio server -C /etc/minio --address your_server_IP:9000 /usr/local/share/minio/

Dec 09 21:54:02 cart-Minion-Object-1804-1 systemd[1]: Started MinIO.
Dec 09 21:54:03 cart-Minion-Object-1804-1 minio[3407]: Endpoint:  http://your_server_IP:9000
Dec 09 21:54:03 cart-Minion-Object-1804-1 minio[3407]: Browser Access:
Dec 09 21:54:03 cart-Minion-Object-1804-1 minio[3407]:    http://your_server_IP:9000
3) After that, activate access through the firewall to the MinIO server on the configured port. In this tutorial, that port will be port 9000.
- Firstly, add the rule:
sudo ufw allow 9000
sudo ufw allow 22
- Now, activate the firewall:
sudo ufw enable
- You must see the following output:
Output

Command may disrupt existing ssh connections. Proceed with operation (y|n)?
- To generate the following output, press
yandENTER:
Output

Firewall is active and enabled on system startup
Finally, your MinIO server is ready to accept the traffic!
Step 4 - Secure Access to Your MinIO Server With a TLS Certificate
1) Firstly, open the port 80 to allow HTTP and HTTPS access through your firewall:
sudo ufw allow 80
2) Secondly, for HTTPS, open up port 443:
sudo ufw allow 443
3) Next, check the firewall status after adding these rules by running the following command:
sudo ufw status verbose
You must receive a similar output:
Output

Status: active
Logging: on (low)
Default: deny (incoming), allow (outgoing), disabled (routed)
New profiles: skip

To                         Action      From
--                         ------      ----
22/tcp (OpenSSH)           ALLOW IN    Anywhere
9000                       ALLOW IN    Anywhere
443                        ALLOW IN    Anywhere
80                         ALLOW IN    Anywhere
22/tcp (OpenSSH (v6))      ALLOW IN    Anywhere (v6)
9000 (v6)                  ALLOW IN    Anywhere (v6)
443 (v6)                   ALLOW IN    Anywhere (v6)
80 (v6)                    ALLOW IN    Anywhere (v6)
Now your port 443 and port 80 are open.
4) After that, you will install Certbot to maintain a separate PPA repository by adding it to your list of repositories:
- Firstly, install
software-properties-common, a package for managing PPAs:
sudo apt install software-properties-common
- Secondly, add the Universe repository:
sudo add-apt-repository universe
- Now, it's time to add the Certbot repository:
sudo add-apt-repository ppa:certbot/certbot
You must see the following output:
Output

This is the PPA for packages prepared by Debian Let's Encrypt Team and backported for Ubuntu(s).
More info: https://launchpad.net/~certbot/+archive/ubuntu/certbot
Press [ENTER] to continue or ctrl-c to cancel adding it
Press ENTER and accept.
- Now, update the package list:
sudo apt update
- Finally, install
certbot:
sudo apt install certbot
5) Now, generate a new SSL certificate by using certbot:
- Use the
certonlycommand and--standaloneto obtain the certificate:
sudo certbot certonly --standalone -d minio-server.your_domain
You must see the following output:
Output

Saving debug log to /var/log/letsencrypt/letsencrypt.log
Plugins selected: Authenticator standalone, Installer None
Enter email address (used for urgent renewal and security notices) (Enter 'c' to
cancel):
Press ENTER and add your email.
Certbot will then ask you to register with Let’s Encrypt:
Output

- - - - - - - - - - - - - - - - - - - - - - - - - - - - - - - - - - - - - - - -
Please read the Terms of Service at
https://letsencrypt.org/documents/LE-SA-v1.2-November-15-2017.pdf. You must
agree in order to register with the ACME server at
https://acme-v02.api.letsencrypt.org/directory
- - - - - - - - - - - - - - - - - - - - - - - - - - - - - - - - - - - - - - - -
(A)gree/(C)ancel:
Press ENTER and type A to agree.
Now you will be asked for your consent:
Output

- - - - - - - - - - - - - - - - - - - - - - - - - - - - - - - - - - - - - - - -
Would you be willing to share your email address with the Electronic Frontier
Foundation, a founding partner of the Let's Encrypt project and the non-profit
organization that develops Certbot? We'd like to send you email about our work
encrypting the web, EFF news, campaigns, and ways to support digital freedom.
- - - - - - - - - - - - - - - - - - - - - - - - - - - - - - - - - - - - - - - -
(Y)es/(N)o:
Once you answer Y or N, your public and private keys will be generated and saved in the /etc/letsencrypt/live/minio-server.your_domain_name directory.
6) Now, it's time to copy these two files (privkey.pem and fullchain.pem) into the certs directory under MinIO’s server configuration folder, which is /etc/minio for this tutorial. Use the following to copy privkey.pem and rename the file private.key:
sudo cp /etc/letsencrypt/live/minio-server.your_domain_name/privkey.pem /etc/minio/certs/private.key
7) After that, repeat the same with fullchain.pem, naming the result public.crt:
sudo cp /etc/letsencrypt/live/minio-server.your_domain_name/fullchain.pem /etc/minio/certs/public.crt
8) Firstly, doing for private.key change the ownership of the files to minio-user:
sudo chown minio-user:minio-user /etc/minio/certs/private.key
9) Now, to public.crt:
sudo chown minio-user:minio-user /etc/minio/certs/public.crt
10) After that, to start using HTTPS restart the MinIO server:
sudo systemctl restart minio
Step 5 - Secure Connection to MinIO’s Web Interface Using HTTPS
1) First, connect to the MinIO web interface through HTTPS. You can access their web interface by pointing your browser to https://minio-server.your_domain:9000 or http://your_ip:9000.
Below, you can see the login screen of the MinIO server:
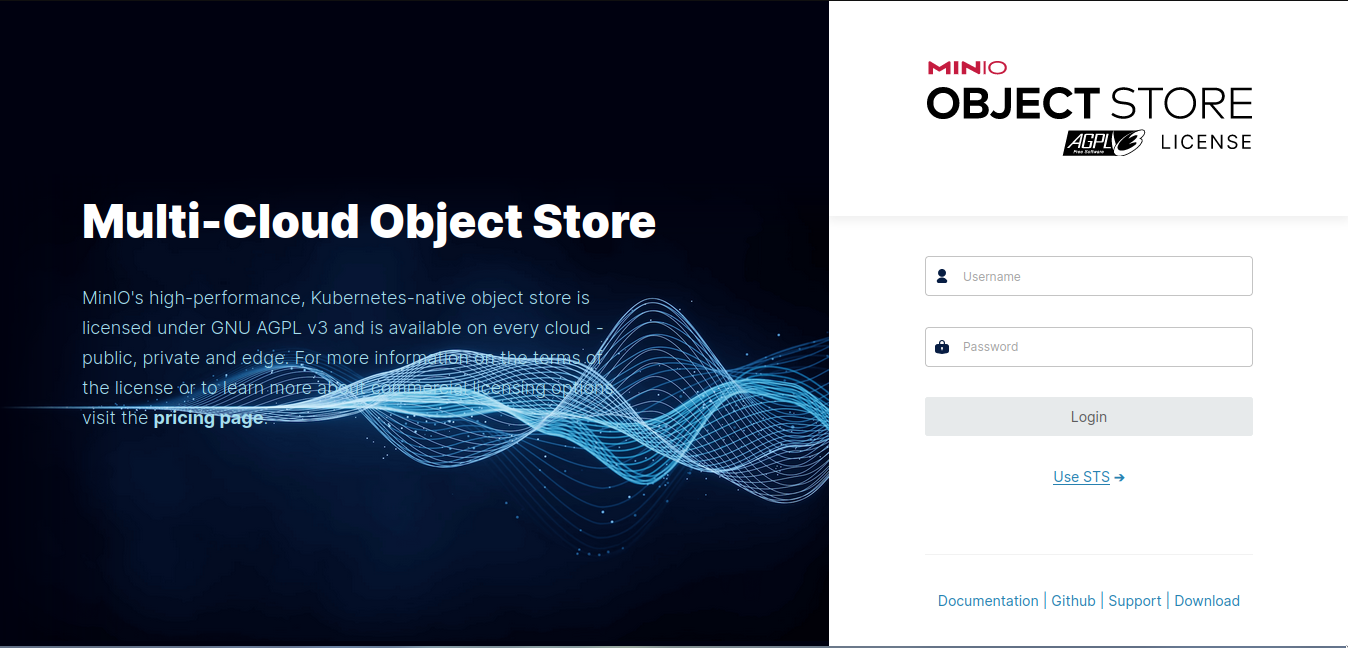
2) Now, you can log in by using your credentials. Enter the MINIO_ACCESS_KEY you set in the /etc/default/minio environment file in Step 1 for the Username. Enter the MINIO_SECRET_KEY you set in the same file for Password And click on login.
- Now, create a new bucket list where you can store objects, click on
Create a Bucketin the main interface.
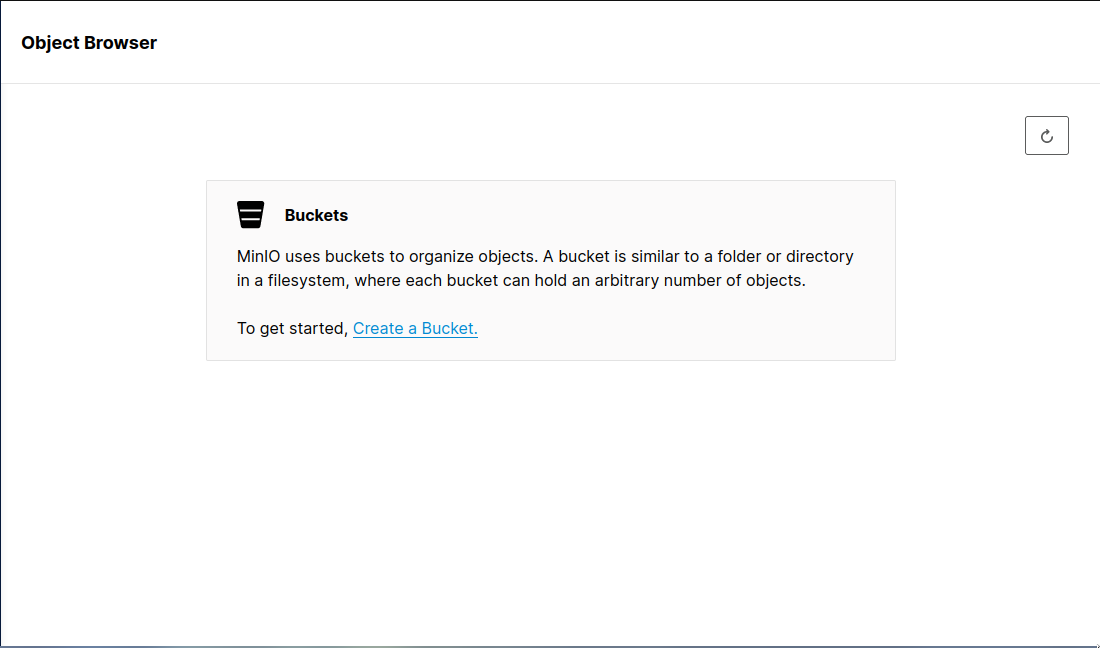
Now, enter a name for your new bucket in the prompt, check the radio button according to you, and then press ENTER key to save your progress.
FAQs to Set Up MinIO Object Storage Server on Ubuntu 18.04
What are the hardware requirements for running MinIO?
MinIO is lightweight and can run on standard hardware. It requires minimal resources, making it suitable for a wide range of systems.
Can I use MinIO for both on-premises and cloud deployments?
Yes, MinIO is versatile and can be used for on-premises, hybrid, or cloud deployments. It's compatible with various cloud providers and storage backends.
Is there a web-based management interface for MinIO?
Yes, MinIO provides a user-friendly web-based interface for managing your object storage server. You can access it through a web browser.
How do I secure my MinIO server on Ubuntu 18.04?
MinIO offers security features like access control policies, encryption, and HTTPS support. Follow our security recommendations to ensure your server is protected.
Can I integrate MinIO with other applications and services?
Yes, MinIO offers a robust API, making it easy to integrate with various applications and services, including backup solutions, data analytics platforms, and more.
What is MinIO's data redundancy and fault tolerance mechanism?
MinIO provides data redundancy through erasure coding and distributed data storage, ensuring high availability and fault tolerance. You can configure these settings for your specific needs.
How can I monitor the performance of my MinIO server?
MinIO offers built-in metrics and monitoring tools. You can set up monitoring solutions like Prometheus and Grafana to track server performance and health.
Conclusion
We hope this simple guide helped you understand how to set up an object storage server using MinIO on Ubuntu 18.04.
If you have any queries, please leave a comment below, and we’ll be happy to respond to them for sure.
